本文主要是介绍NeRF项目代码详解,希望对大家解决编程问题提供一定的参考价值,需要的开发者们随着小编来一起学习吧!
1 项目结构
开源代码:https://github.com/yenchenlin/nerf-pytorch

在上述框架图中,首先重config_parse 中读取文件参数,
然后通过load_blender加载数据,加载的数据包括训练集、验证集和测试集以及摄像机的内外参数;
在creat_nerf中通过get_embeder 获取 视线方向和三维点的位置编码,并初始化NeRF模型的MLP层 ,
通过get_rays_np 获取视线起点rays_o 和方向rays_d.
在渲染时,若使用LLFF数据集需要调用ndc_rays, 将空间变换到NDC空间中;
在batchify_rays 中,可以通过chunk的大小来控制加载的数据量大小,
在run_network 函数中,将通过get_rays_np 获取视线起点rays_o 和方向rays_d的位置编码输入到MLP网络中,以预测颜色和体素。
在raw2outputs中,通过计算得到的体素和颜色,利用体渲染得到图像,然后计算损失函数。
2 视线方向代码解读
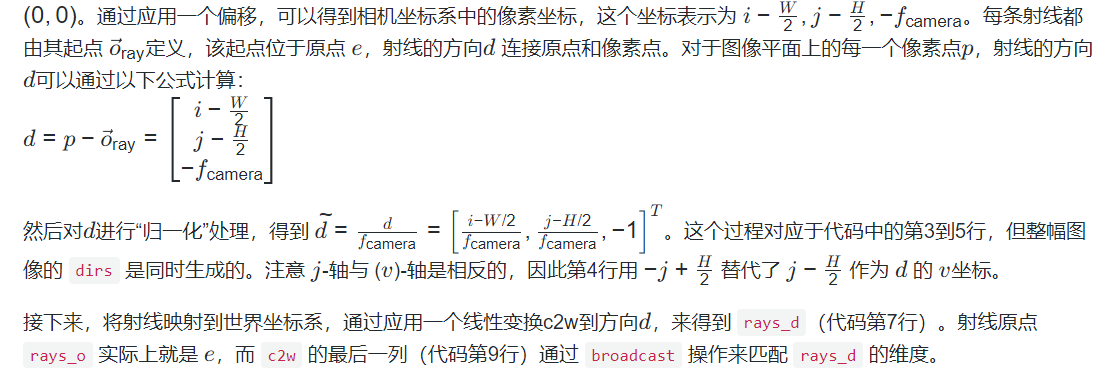
def get_rays_np(H, W, K, c2w):i, j = np.meshgrid(np.arange(W, dtype=np.float32), np.arange(H, dtype=np.float32), indexing='xy')dirs = np.stack([ (i-K[0][2]) / K[0][0],-(j-K[1][2]) / K[1][1],-np.ones_like(i) ], -1)# rotate ray directions from camera frame to the world framerays_d = np.sum(dirs[..., np.newaxis, :] * c2w[:3,:3], -1) # dot product, equals to: [c2w.dot(dir) for dir in dirs]# translate camera frame's origin to the world frame. It is the origin of all rays.rays_o = np.broadcast_to(c2w[:3,-1], np.shape(rays_d))return rays_o, rays_d 


3 基本渲染流程
def render(H, W, K, chunk=1024*32, rays=None, c2w=None, ndc=True,near=0., far=1.,use_viewdirs=False, c2w_staticcam=None,**kwargs):if c2w is not None:# special case to render full imagerays_o, rays_d = get_rays(H, W, K, c2w)else:# use provided ray batchrays_o, rays_d = rays# provide ray directions as inputif use_viewdirs:viewdirs = rays_dif c2w_staticcam is not None:# special case to visualize effect of viewdirsrays_o, rays_d = get_rays(H, W, K, c2w_staticcam)viewdirs = viewdirs / torch.norm(viewdirs, dim=-1, keepdim=True)viewdirs = torch.reshape(viewdirs, [-1,3]).float()sh = rays_d.shape # shape: … × 3这篇关于NeRF项目代码详解的文章就介绍到这儿,希望我们推荐的文章对编程师们有所帮助!


