本文主要是介绍自定义尺寸和内部布局、手写 TagLayout,希望对大家解决编程问题提供一定的参考价值,需要的开发者们随着小编来一起学习吧!

第一步:
就是xml布局写的开发者的要求
第二步:第三步:
// 第二步 widthMeasureSpec  heightMeasureSpec 父view传给我的要求
//哪一类要求?具体值是多少?
//要求分三类 1具体值 2上限  3不限制
override fun onMeasure(widthMeasureSpec: Int, heightMeasureSpec: Int) {//第三步 结合父控件的要求做修正 自己算var width = (RADIUS + PADDING) * 2var height = (RADIUS + PADDING) * 2//        //三种测量
//        var spaceWidthMode = MeasureSpec.getMode(widthMeasureSpec)
//        var spaceWidthtSize = MeasureSpec.getSize(widthMeasureSpec)
//        //判断三种测量
//        when(spaceWidthMode) {
//            MeasureSpec.EXACTLY -> width = spaceWidthtSize //设置具体值
//            MeasureSpec.AT_MOST -> if(width > spaceWidthtSize) { width = spaceWidthtSize } //设置上限
//            MeasureSpec.UNSPECIFIED -> width = width //不限制
//        }//实际上Android已经帮我们写好了方法//(自己算出来的宽度, 父view要求的宽度)width = resolveSize(width, widthMeasureSpec)height = resolveSize(height, heightMeasureSpec)setMeasuredDimension(width, height}
@Overrideprotected void onMeasure(int widthMeasureSpec, int heightMeasureSpec) {resolveUri();int w;int h;......
第四步:
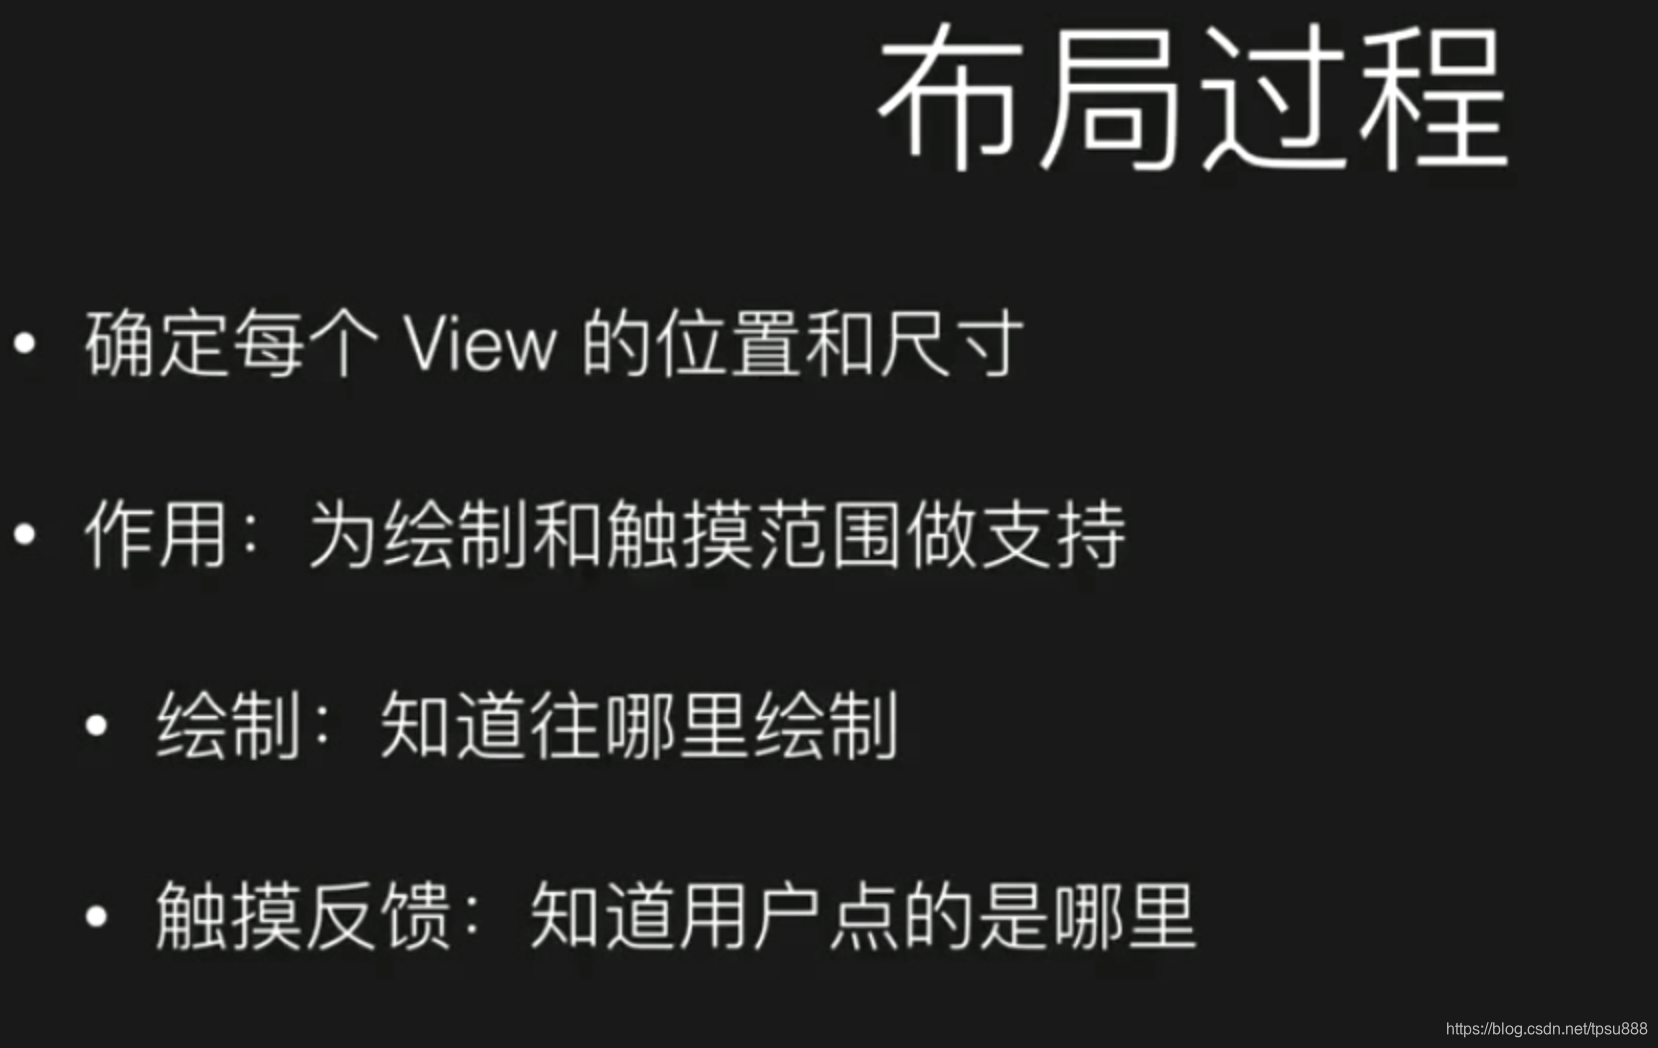
第五步:layout
Layout 和 onLayout区别?
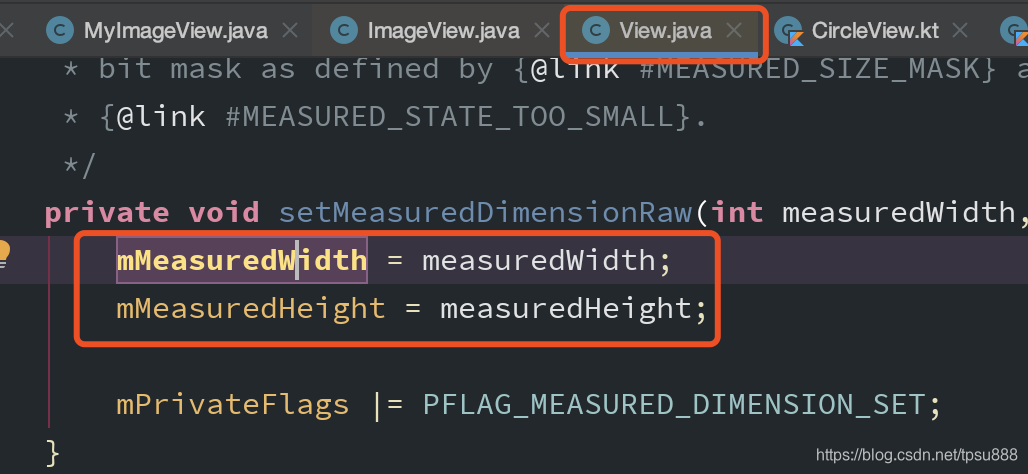
Layout是把左上右下的值 保存下来的。
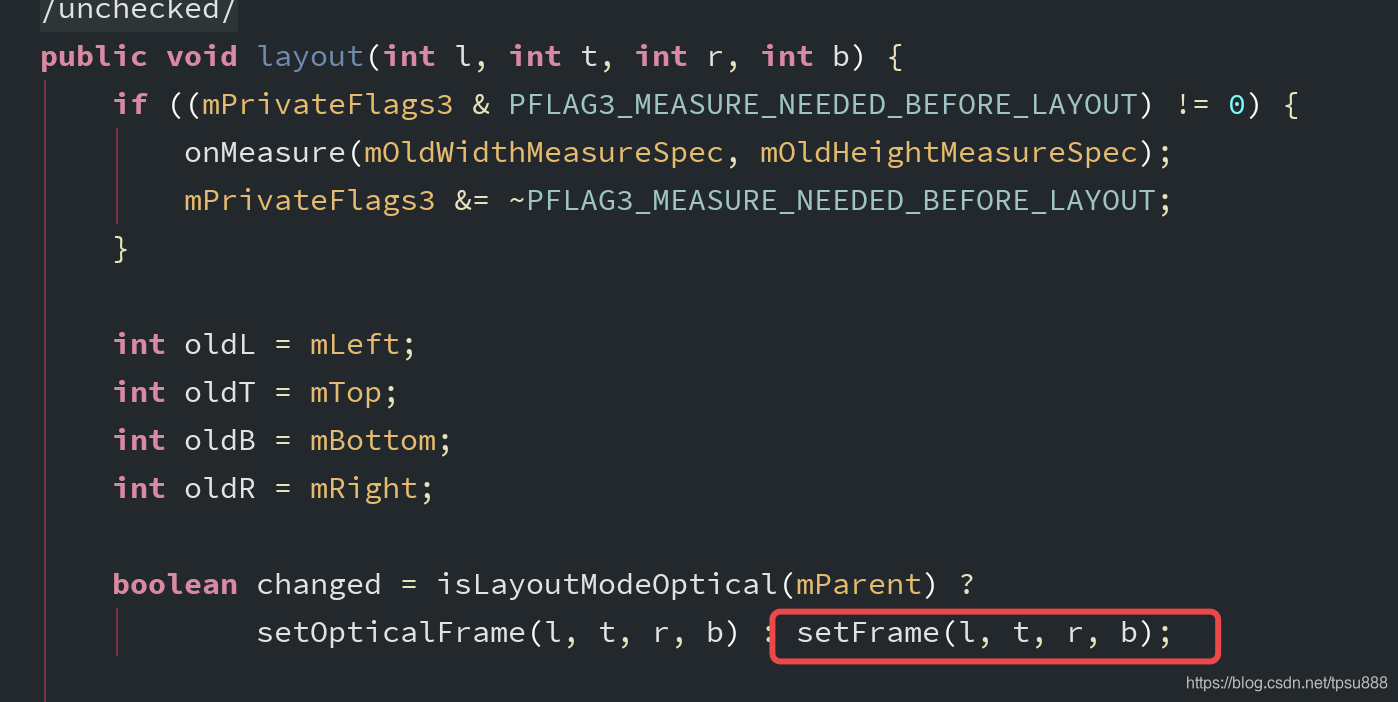
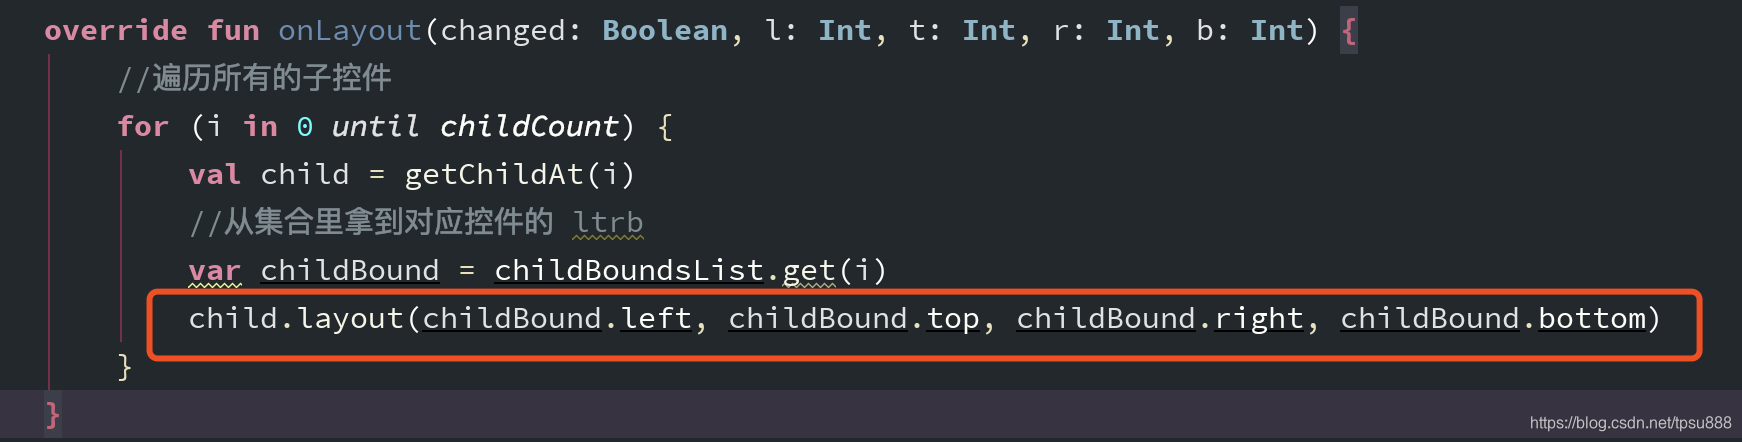
onLayout是调用子view的Layout方法 进行布局
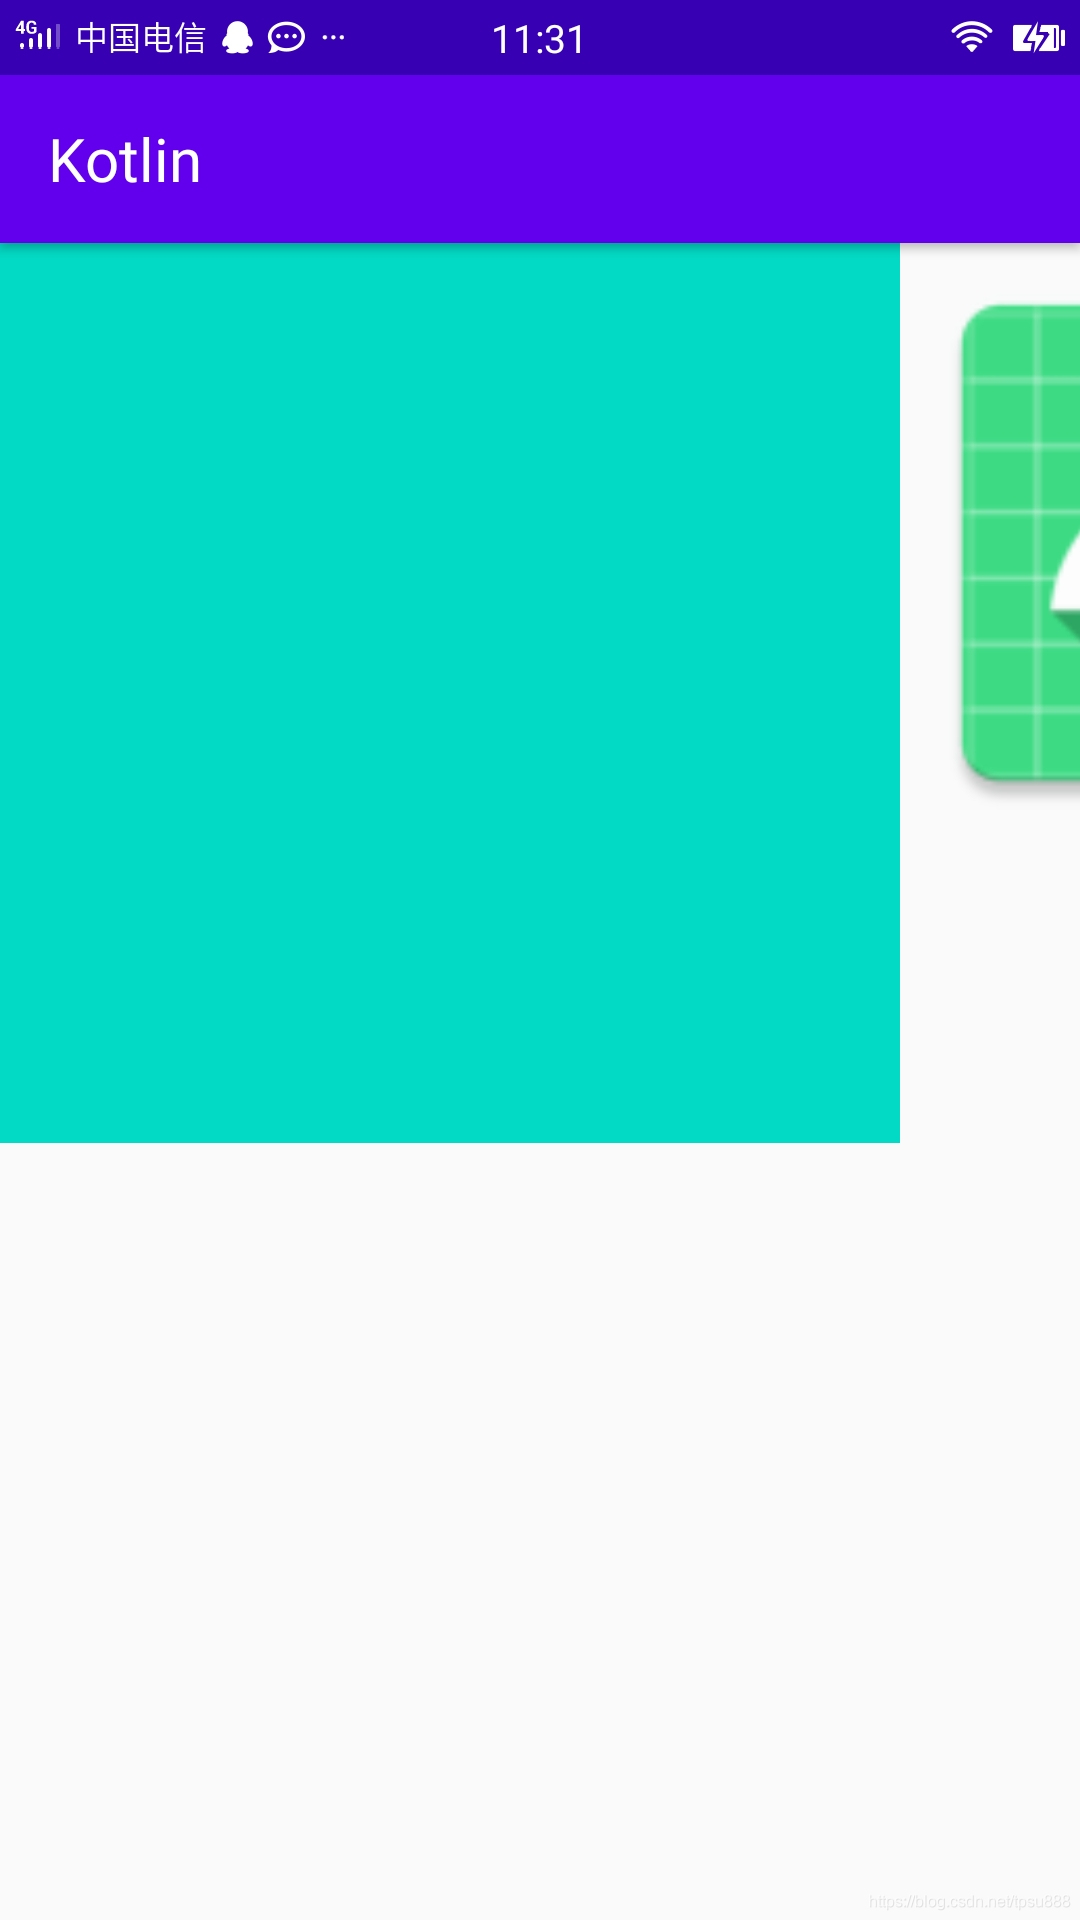
示例一
<my.layout.SquareImageVIewandroid:layout_width="200dp"android:layout_height="300dp"android:scaleType="centerCrop"android:background="@color/colorAccent"/><Viewandroid:layout_width="200dp"android:layout_height="200dp"android:background="@mipmap/ic_launcher" />
class SquareImageVIew(context: Context?,attrs: AttributeSet?
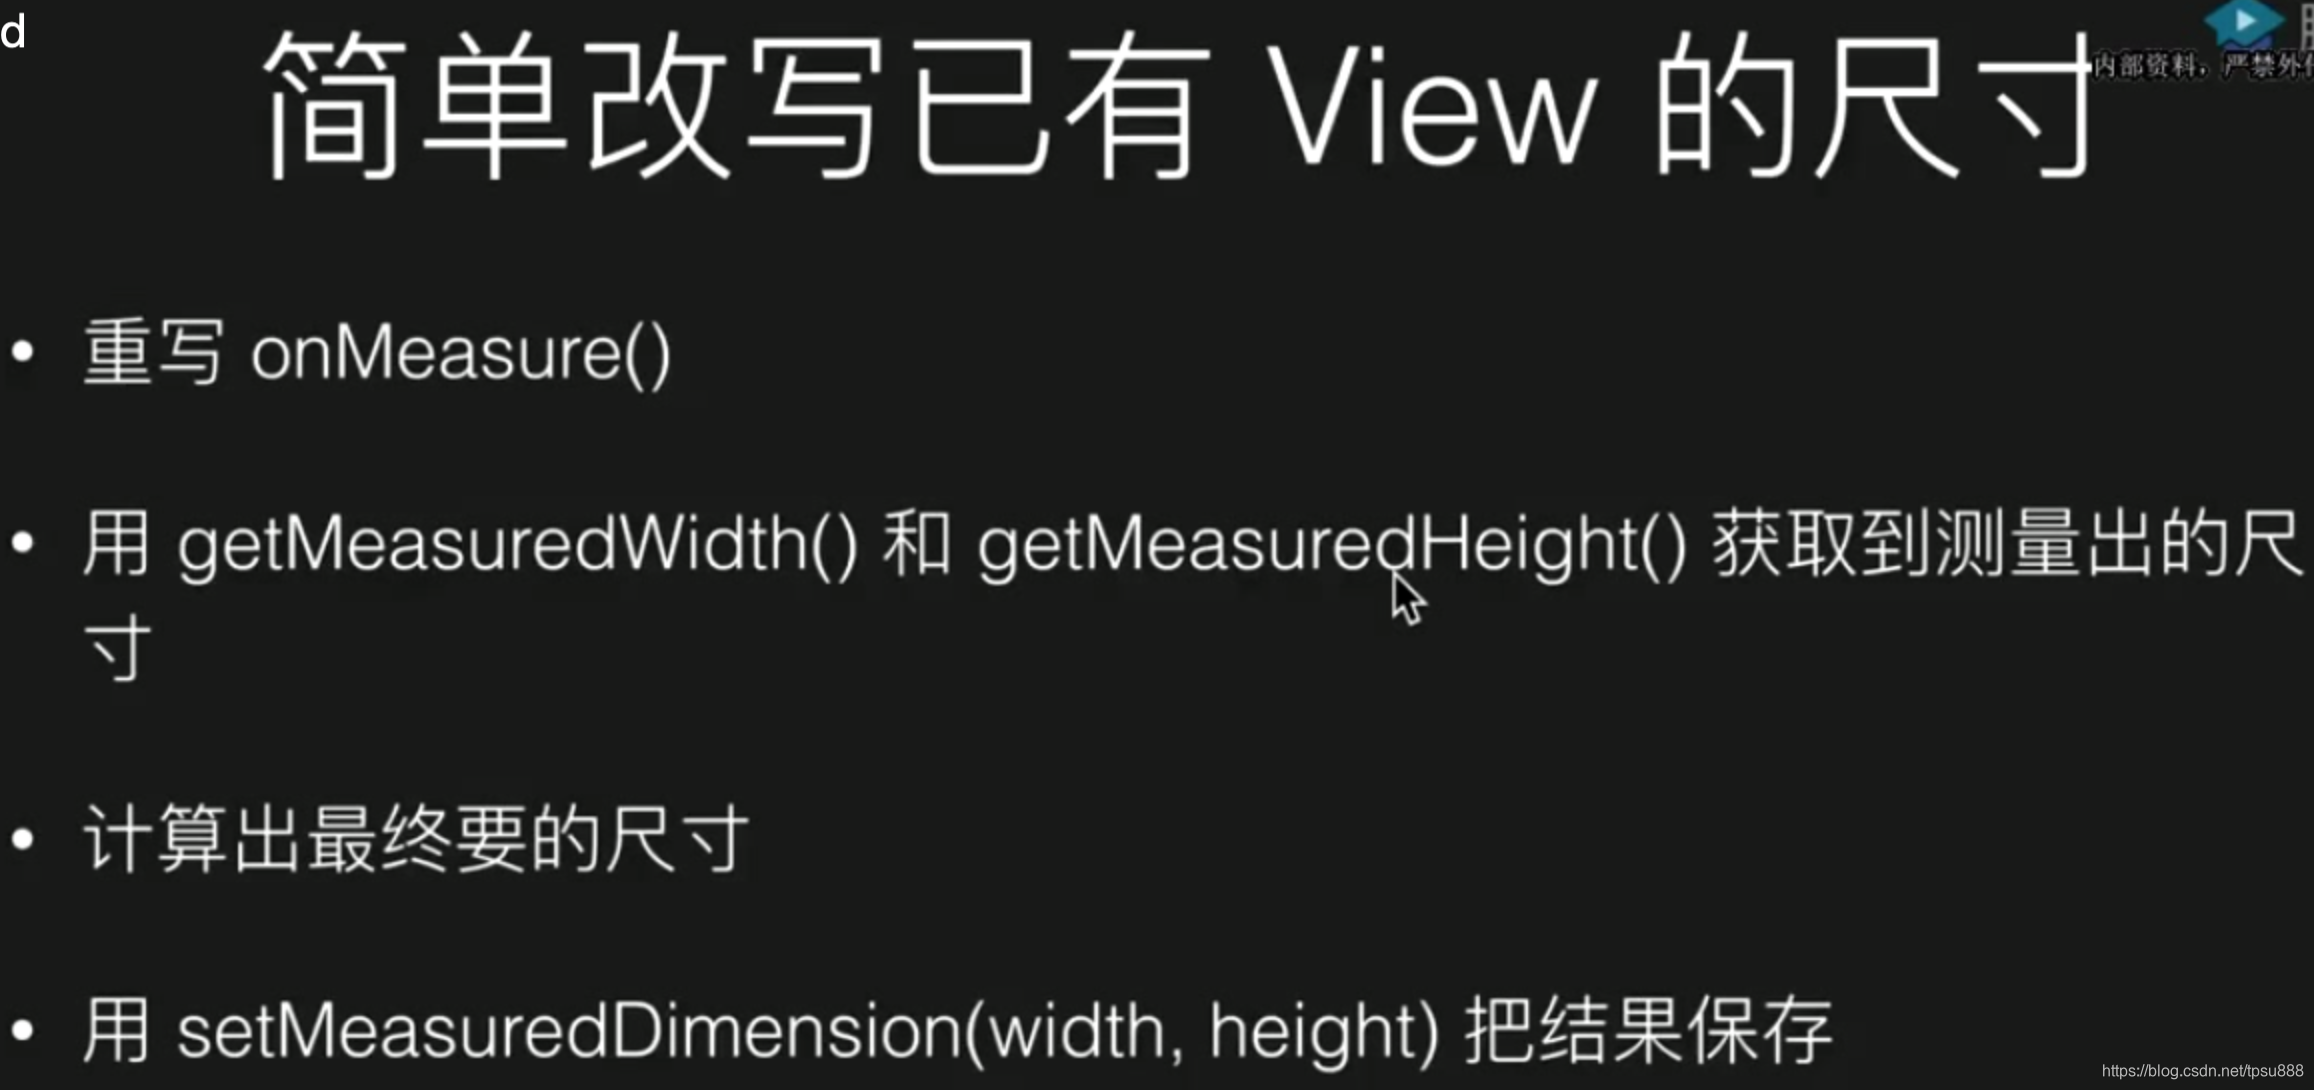
) :AppCompatImageView(context, attrs) {override fun onMeasure(widthMeasureSpec: Int, heightMeasureSpec: Int) {//1、父view算出出来super.onMeasure(widthMeasureSpec, heightMeasureSpec)//2、拿到宽高值var width = measuredWidthvar height = measuredHeight//3、自己修改var size = Math.max(width, height)//4、保存setMeasuredDimension(size, size) //宽 高}/**这么写 显示会出现问题,因为父控件不知道你改了*/
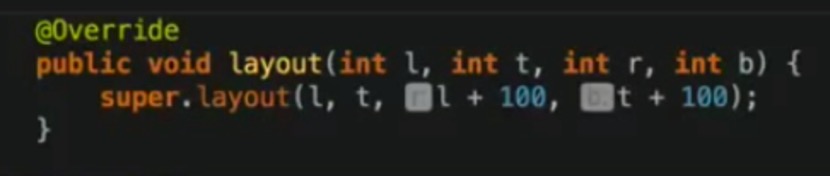
// override fun layout(l: Int, t: Int, r: Int, b: Int) {
super.layout(l, t, l+200, t+200)
// var width = r - l
// var height = b - t
// var size = Math.max(width, height) //哪个边长,就以哪个边做正方形
// super.layout(l, t, l+size, t+size)
// }}
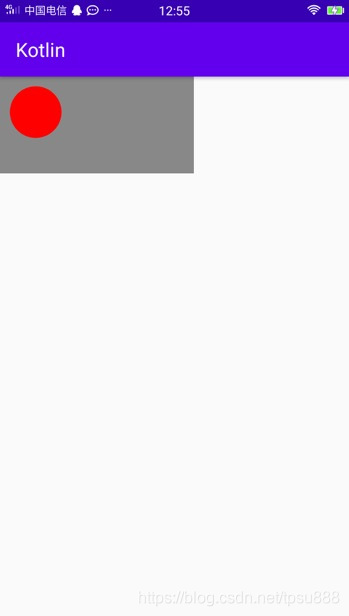
只重写layout 会出现的问题
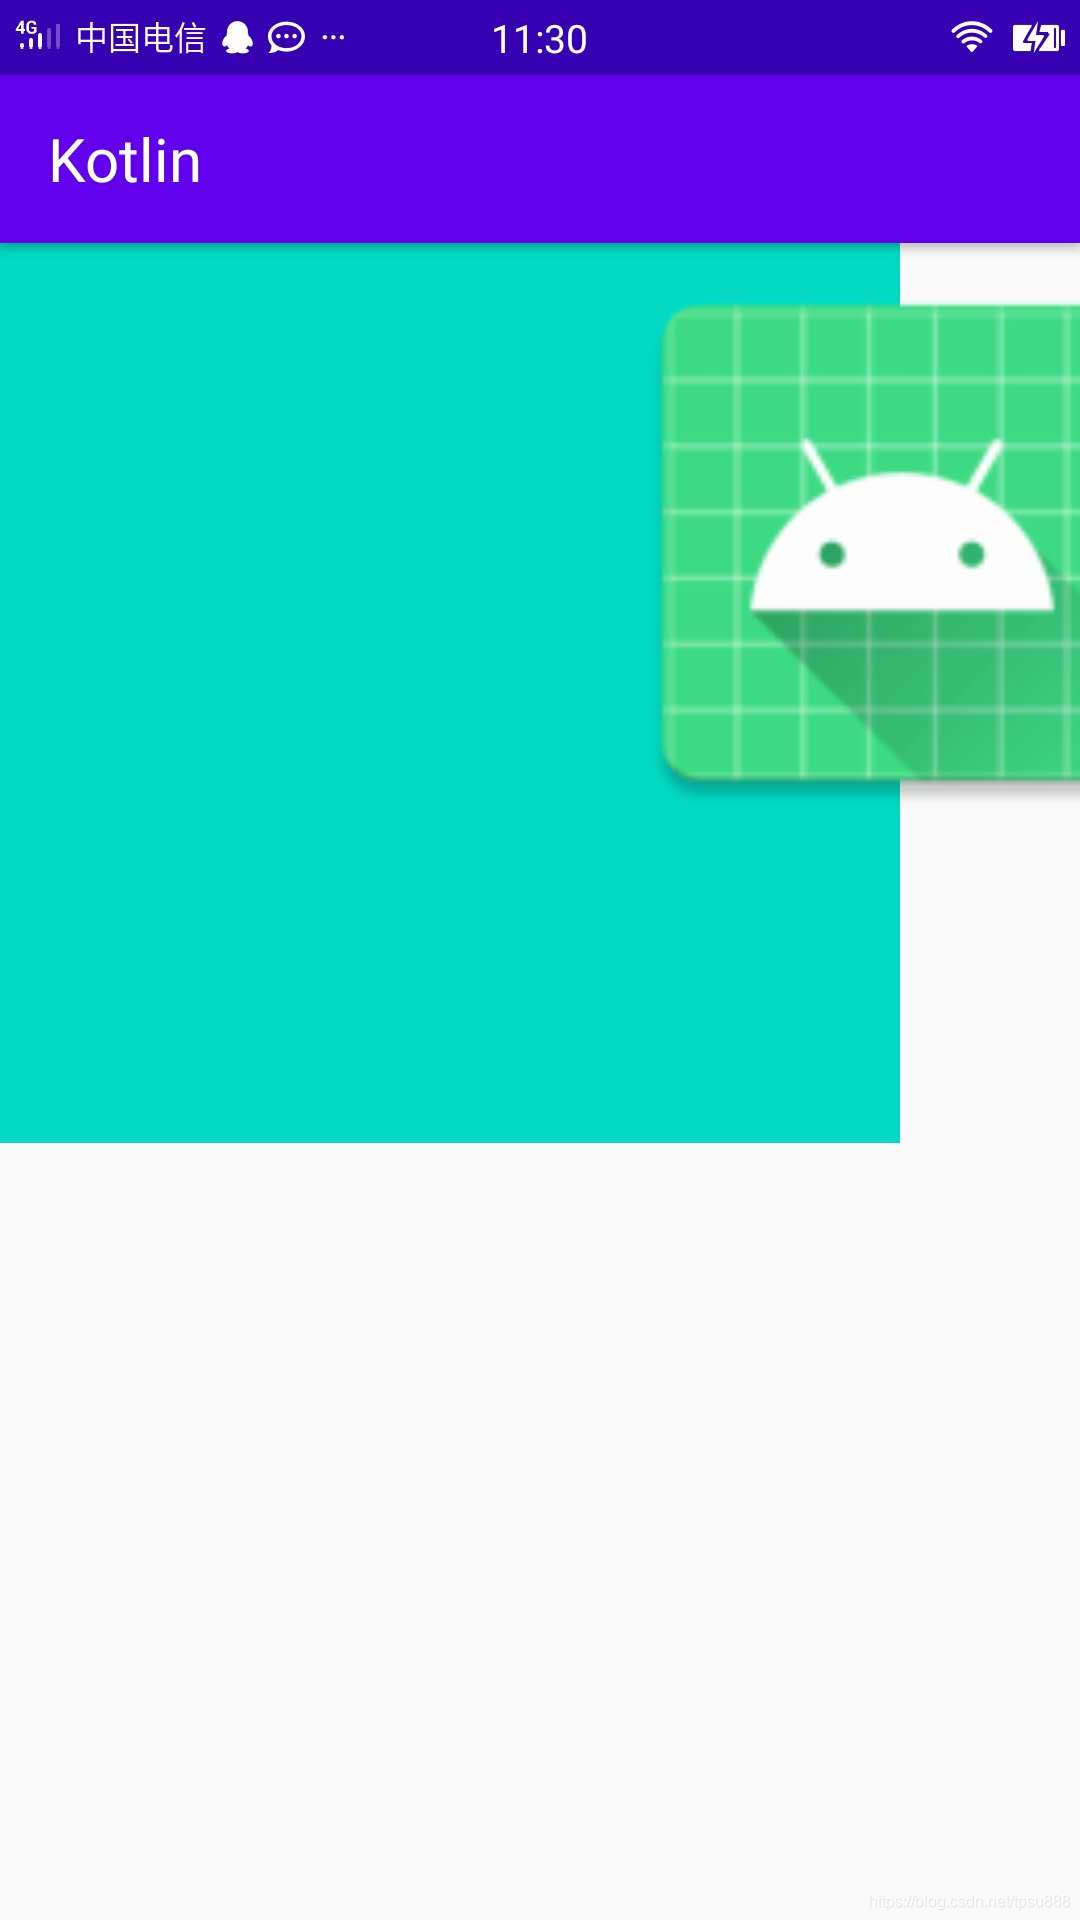
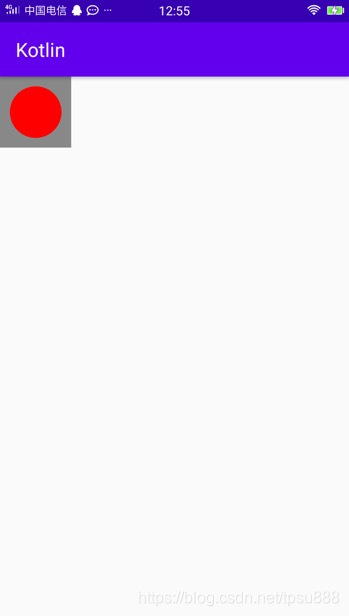
重写onMeasure方法 才正确
示例二
<my.layout.CircleViewandroid:layout_width="200dp"android:layout_height="100dp"/>
class CircleView(context: Context?, attrs: AttributeSet?) :View(context, attrs) {val RADIUS = 80val PADDING = 30var paint = Paint(Paint.ANTI_ALIAS_FLAG)override fun onMeasure(widthMeasureSpec: Int, heightMeasureSpec: Int) {var width = (RADIUS + PADDING) * 2var height = (RADIUS + PADDING) * 2//        //三种测量
//        var spaceWidthMode = MeasureSpec.getMode(widthMeasureSpec)
//        var spaceWidthtSize = MeasureSpec.getSize(widthMeasureSpec)
//        //判断三种测量
//        when(spaceWidthMode) {
//            MeasureSpec.EXACTLY -> width = spaceWidthtSize //设置具体值
//            MeasureSpec.AT_MOST -> if(width > spaceWidthtSize) { width = spaceWidthtSize } //设置上限
//            MeasureSpec.UNSPECIFIED -> width = width //不限制
//        }//实际上Android已经帮我们写好了方法//(自己算出来的宽度, 父view要求的宽度)width = resolveSize(width, widthMeasureSpec)height = resolveSize(height, heightMeasureSpec)setMeasuredDimension(width, height)}override fun onDraw(canvas: Canvas?) {super.onDraw(canvas)canvas?.drawColor(Color.GRAY)paint.color = Color.REDcanvas?.drawCircle((RADIUS + PADDING).toFloat(), (RADIUS + PADDING).toFloat(),RADIUS.toFloat(), paint)}
}
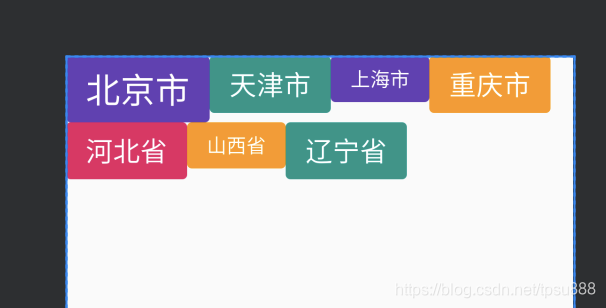
示例三
自定义布局 TabLayout
思路:
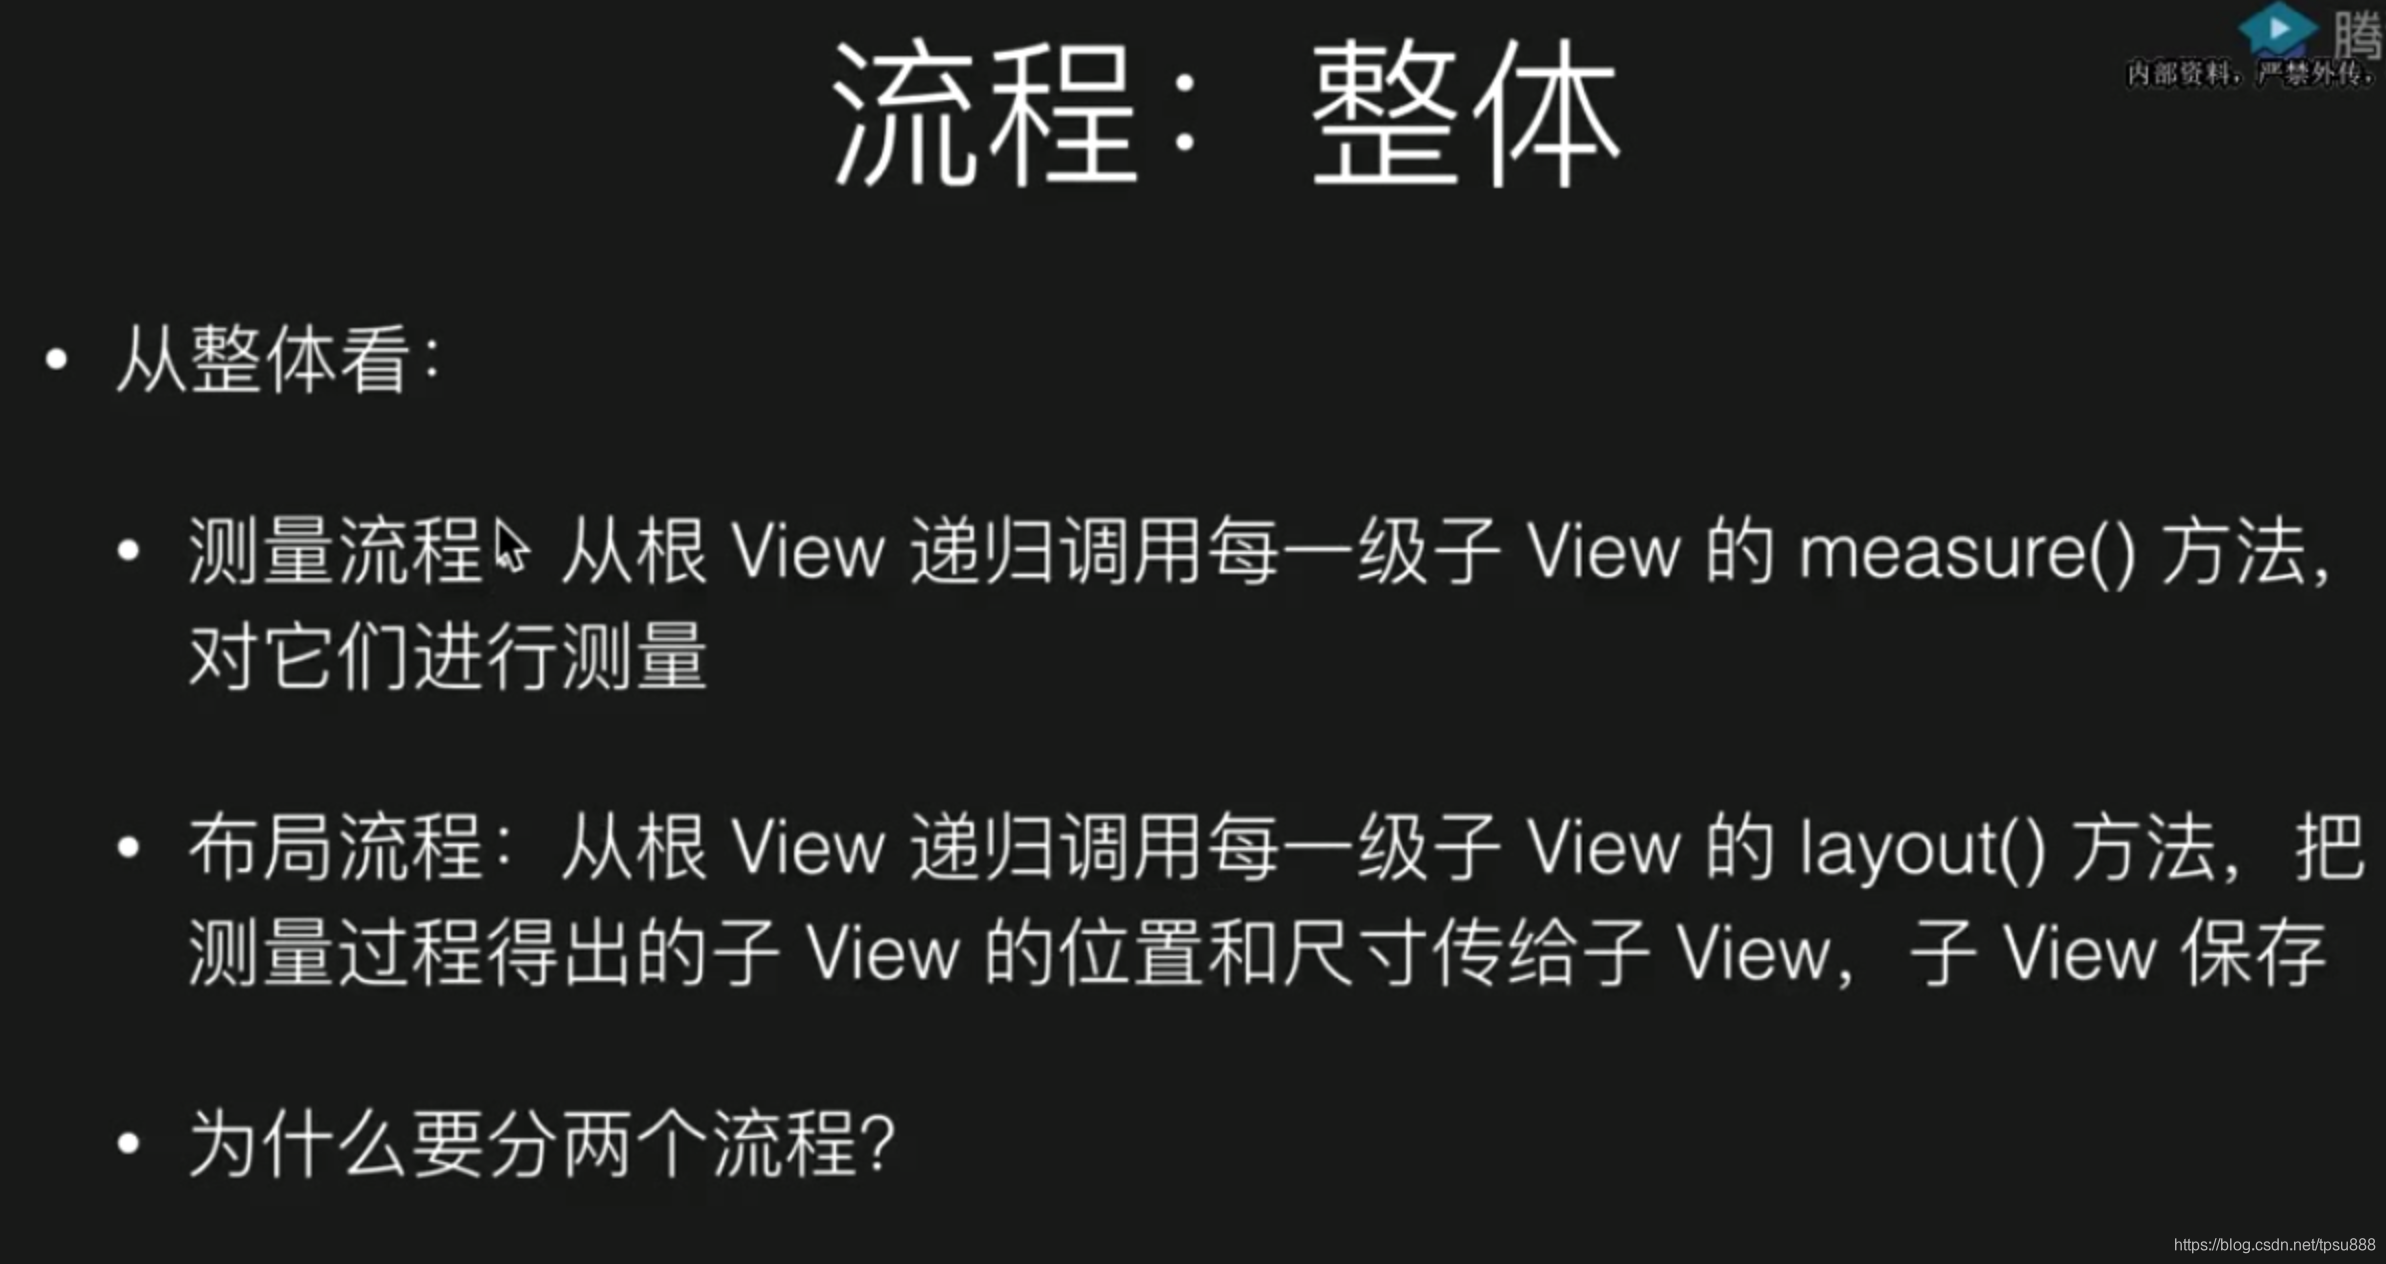
1、每一个子view的尺寸,是由TabLayout中的onLayout方法里,去调用每个子view 的layout方法,把l t r b,传过去,并由子view保存。
2、子view的ltrb的值怎么来的呢?是在TabLayout的onMeasure方法里算出来的。
3、但是onMeasure方法和onLayout方法是两个过程,如何传递数据呢?
通过一个集合来存储。
4、onMeasure方法中,遍历child,对每个子view测量,调用child.measure(childMeasureWidthSpec, childMeasureHeightSpec)
5、把计算出来的值,保存到相对应的集合里。
6、计算出TabLayout自己本身的宽高,并存储。
细节
onMeasure方法里 measureChildWithMargins()具体做了什么?
measureChildWithMargins(child, widthMeasureSpec, widthUsed, heightMeasureSpec, heightUsed)
//获得子控件对父控件要求的布局参数 也就是步骤一里的 开发者在xml里的要求val layoutParams = child.layoutParams//TabLayout 获取父控件对自己的要求val spacWidthMode = MeasureSpec.getMode(widthMeasureSpec)val spacWidthSize = MeasureSpec.getSize(widthMeasureSpec)//子控件的mode和sizevar childWidthMode: Intvar childWidthSize: Int//判断子控件对TabLayout 要求when (layoutParams.width) {LayoutParams.MATCH_PARENT -> when (spacWidthMode) {MeasureSpec.EXACTLY , MeasureSpec.AT_MOST-> { //上限和具体值一样,都是父控件size - 已用sizechildWidthMode =MeasureSpec.EXACTLY //因为tablayout的父控件对TabLayout的要求是具体值EXACTLYchildWidthSize = spacWidthSize - widthUsed //子控件的size = 父控件的size - 已经用过的宽度MeasureSpec.makeMeasureSpec(childWidthSize, childWidthMode) //把tablayout对子控件的要求传给子控件}MeasureSpec.UNSPECIFIED -> { //父控件对我不限制,对子控件宽度为0childWidthMode =MeasureSpec.UNSPECIFIEDchildWidthSize = 0MeasureSpec.makeMeasureSpec(childWidthSize, childWidthMode) //把tablayout对子控件的要求传给子控件}//。。。。还有很多判断 不一一举例了}}完整代码:
class TagLayout(context: Context, attributeSet: AttributeSet) :ViewGroup(context, attributeSet) {var childBoundsList = arrayListOf<Rect>()override fun onMeasure(widthMeasureSpec: Int, heightMeasureSpec: Int) {var widthUsed = 0 //使用过的宽度var heightUsed = 0 //使用过的高度 控件总体高度var lineWidthUsed = 0 //横向使用过的宽度var lineMaxHeight = 0 //整行最大高度var specMode = MeasureSpec.getMode(widthMeasureSpec)var specSWidth = MeasureSpec.getSize(widthMeasureSpec)//遍历所有的子控件for (i in 0 until childCount) {val child = getChildAt(i)
//            measureChildWithMargins(child, widthMeasureSpec, widthUsed, heightMeasureSpec, heightUsed)//可以折行measureChildWithMargins(child, widthMeasureSpec, 0, heightMeasureSpec, heightUsed)if (specMode != MeasureSpec.UNSPECIFIED &&(lineWidthUsed + child.measuredWidth) > specSWidth) {//如果 已使用的宽度 + 子控件的宽度 超出了 本身自己的 宽度  即 折行lineWidthUsed = 0  //换行 左侧怼到头heightUsed += lineMaxHeight //累计本身自己的总高度lineMaxHeight = 0 //单行高度清零//再测量一遍measureChildWithMargins(child, widthMeasureSpec, 0, heightMeasureSpec, heightUsed)}//定义childBoundlateinit var childBound: Rectif (childBoundsList.size <= i) {//把childBound 入集合childBound = Rect()childBoundsList.add(childBound)} else {//如果childBound = childBoundsList.get(i)}//设置 子view 的左上右下, 左(已经使用的宽度) 上(已经使用的高度) 右(已经使用的宽度 + 子view本身宽度) 下(已经使用的高度 + 子view本身的高度)childBound.set(lineWidthUsed,heightUsed,lineWidthUsed + child.measuredWidth,heightUsed + child.measuredHeight)//累加使用过的宽度lineWidthUsed += child.measuredWidth//整行 最大宽度 高度widthUsed = Math.max(widthUsed, lineWidthUsed)lineMaxHeight = Math.max(lineMaxHeight, child.measuredHeight)//控件本身自己的宽高var width = widthUsedvar height = heightUsed + lineMaxHeightsetMeasuredDimension(width, height)}}override fun onLayout(changed: Boolean, l: Int, t: Int, r: Int, b: Int) {//遍历所有的子控件for (i in 0 until childCount) {val child = getChildAt(i)//从集合里拿到对应控件的 ltrbvar childBound = childBoundsList.get(i)child.layout(childBound.left, childBound.top, childBound.right, childBound.bottom)}}//固定格式,如果不声明 child.getLayoutParams()获取的是默认值override fun generateLayoutParams(attrs: AttributeSet?): LayoutParams {return MarginLayoutParams(context, attrs)}
} <my.layout.TagLayoutandroid:layout_width="match_parent"android:layout_height="match_parent"><my.layout.ColoredTextViewandroid:layout_width="wrap_content"android:layout_height="wrap_content"android:text="北京市" /><my.layout.ColoredTextViewandroid:layout_width="wrap_content"android:layout_height="wrap_content"android:text="天津市" /><my.layout.ColoredTextViewandroid:layout_width="wrap_content"android:layout_height="wrap_content"android:text="上海市" /><my.layout.ColoredTextViewandroid:layout_width="wrap_content"android:layout_height="wrap_content"android:text="重庆市" /><my.layout.ColoredTextViewandroid:layout_width="wrap_content"android:layout_height="wrap_content"android:text="河北省" /><my.layout.ColoredTextViewandroid:layout_width="wrap_content"android:layout_height="wrap_content"android:text="山西省" /><my.layout.ColoredTextViewandroid:layout_width="wrap_content"android:layout_height="wrap_content"android:text="辽宁省" /></my.layout.TagLayout>
效果:
这篇关于自定义尺寸和内部布局、手写 TagLayout的文章就介绍到这儿,希望我们推荐的文章对编程师们有所帮助!


