本文主要是介绍python使用tkinter和ttkbootstrap制作UI界面(二),希望对大家解决编程问题提供一定的参考价值,需要的开发者们随着小编来一起学习吧!
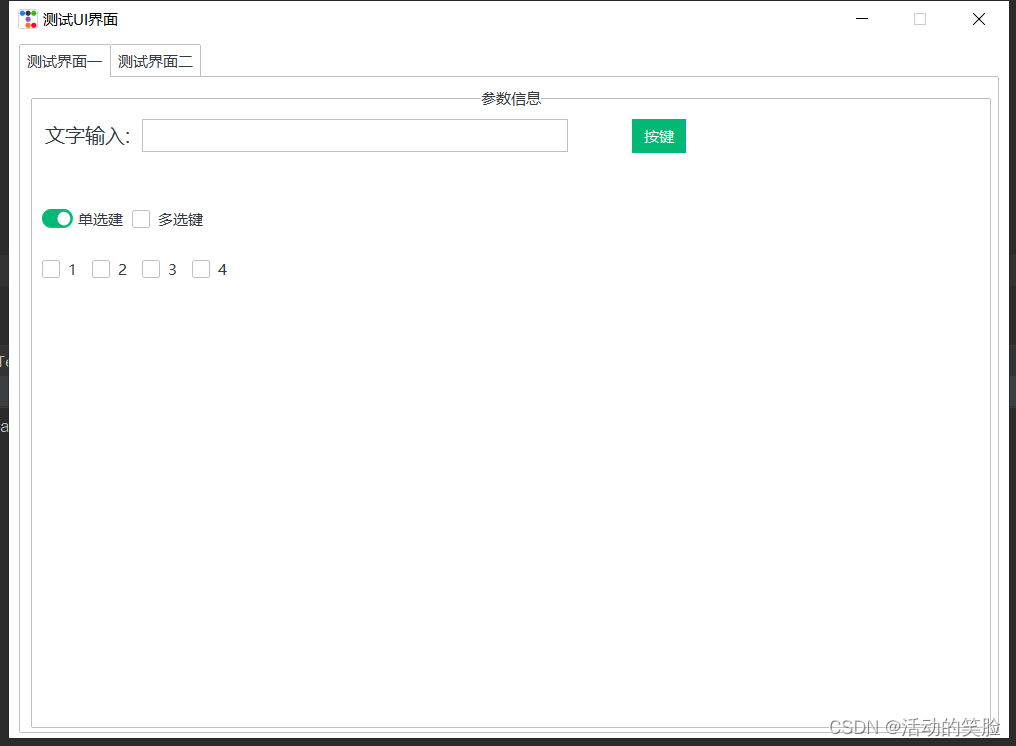
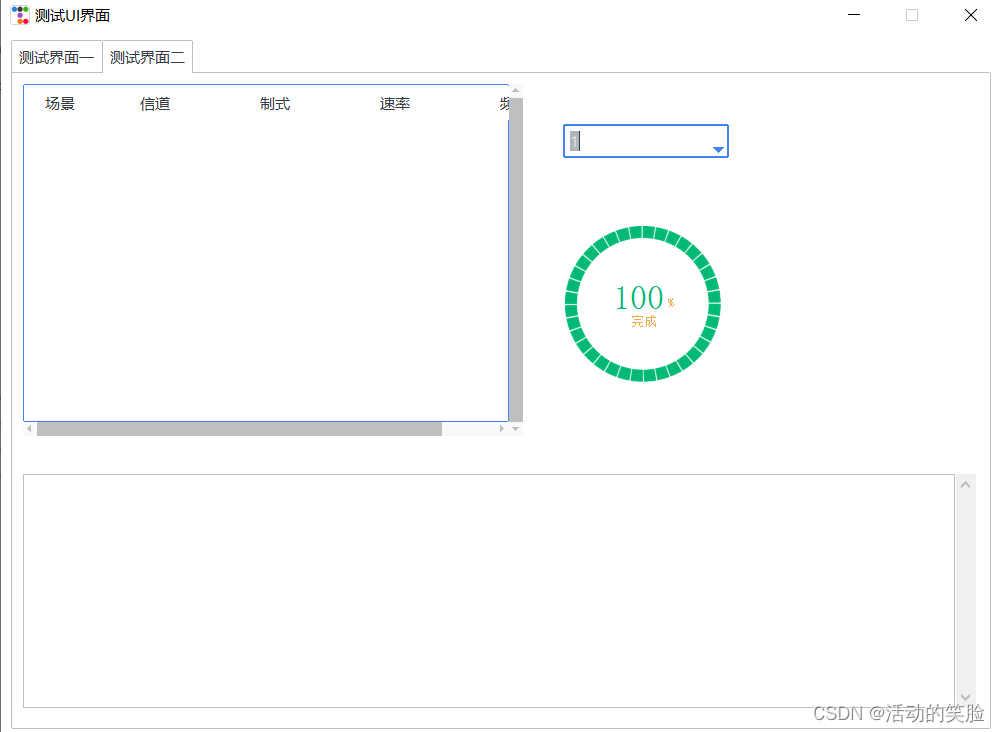
这次讲解UI界面常用的主键,延续上文的框架进行编写,原界面如下:
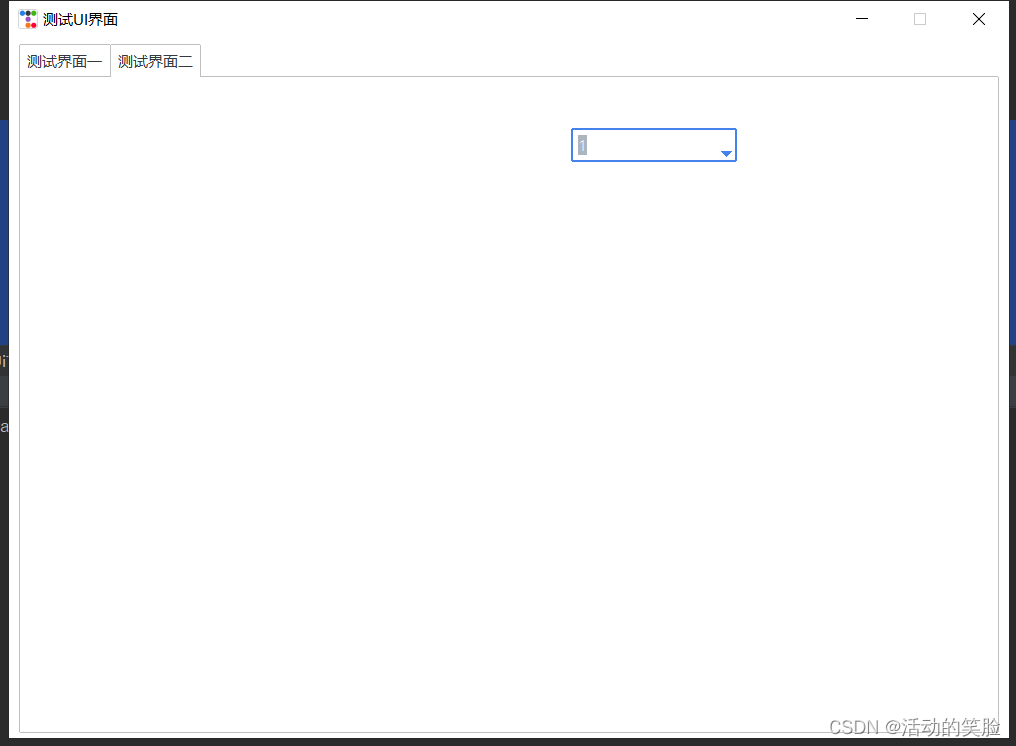
Combobox组件应用(下拉框)
"""Combobox组件"""global comvalue_operatorcomvalue_operator = tk.StringVar()value_operator = ttk.Combobox(self.frame_two, textvariable=comvalue_operator, width=15)value_operator["values"] = ["1", "2"]value_operator.current(0)value_operator.place(x=550, y=50)
效果如下:
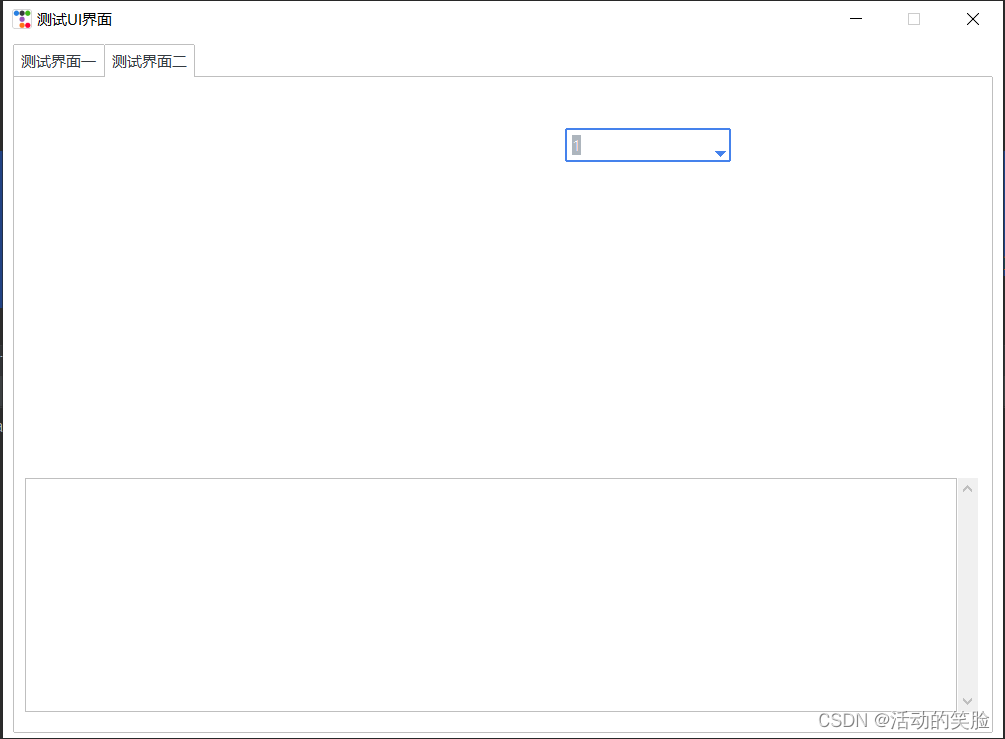
ScrolledText组件应用(多行文本)
"""ScrolledText组件"""scr_explain = scrolledtext.ScrolledText(self.frame_two, font=('微软雅黑', 10), width=102, height=11)scr_explain.place(x=10, y=400)
效果如下:
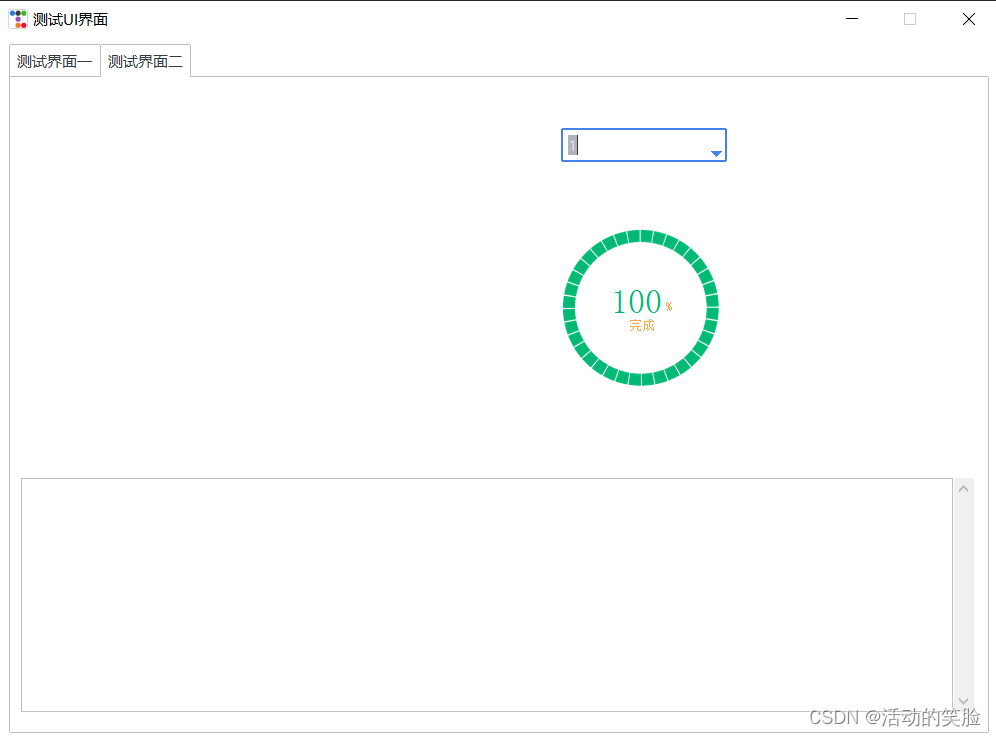
Meter组件应用(圆形进度表)
"""Meter组件"""progress_bar = ttkbootstrap.Meter(master=self.frame_two,bootstyle="success",subtextstyle="warning",stripethickness=10,metertype="full", # 将仪表显示为一个完整的圆形或半圆形(semi)# wedgesize=5, #设置弧周围的指示器楔形长度,如果大于 0,则此楔形设置为以当前仪表值为中心的指示器amounttotal=100, # 仪表的最大值,默认100amountused=100, # 仪表的当前值metersize=130, # 仪表大小showtext=True, # 指示是否在仪表上显示左、中、右文本标签interactive=False, # 是否可以手动调节数字的大小# textleft='进度:', # 插入到中心文本左侧的短字符串textright='%',textfont="-size 20", # 中间数字大小# subtext=" ",subtext="完成",subtextfont="-size 8", # 文本大小)progress_bar.place(x=550, y=150)
效果如下:
Treeview组件(数据表单)
"""Treeview组件"""tree_top = ["信道", "制式", "速率", "频宽"]frame = Frame(self.frame_two)frame.place(x=10, y=10, width=500)# 设置x轴和y轴的滚动条ybar = ttk.Scrollbar(frame, orient=VERTICAL)ybar.pack(side='right', fill='y')xbar = ttk.Scrollbar(frame, orient=tk.HORIZONTAL)xbar.pack(side='bottom', fill='x')# 创建表格self.tree_date = ttk.Treeview(frame, show='tree headings', height=15)self.tree_date.pack(side='left', fill='y')self.tree_date.configure(yscrollcommand=ybar.set, xscrollcommand=xbar.set)# 使用command参数来绑定treevievwybar.config(command=self.tree_date.yview)xbar.config(command=self.tree_date.xview)# 定义列date_columns = tree_topself.tree_date["columns"] = date_columns# 设置列宽度self.tree_date.column('#0', width=70, anchor="center", stretch=False)self.tree_date.column(tree_top[0], width=120, anchor="center")self.tree_date.column(tree_top[1], width=120, anchor="center")self.tree_date.column(tree_top[2], width=120, anchor="center")self.tree_date.column(tree_top[3], width=120, anchor="center")# 添加列名self.tree_date.heading("#0", text="场景")for j in date_columns:self.tree_date.heading(j, text=j)效果如下:
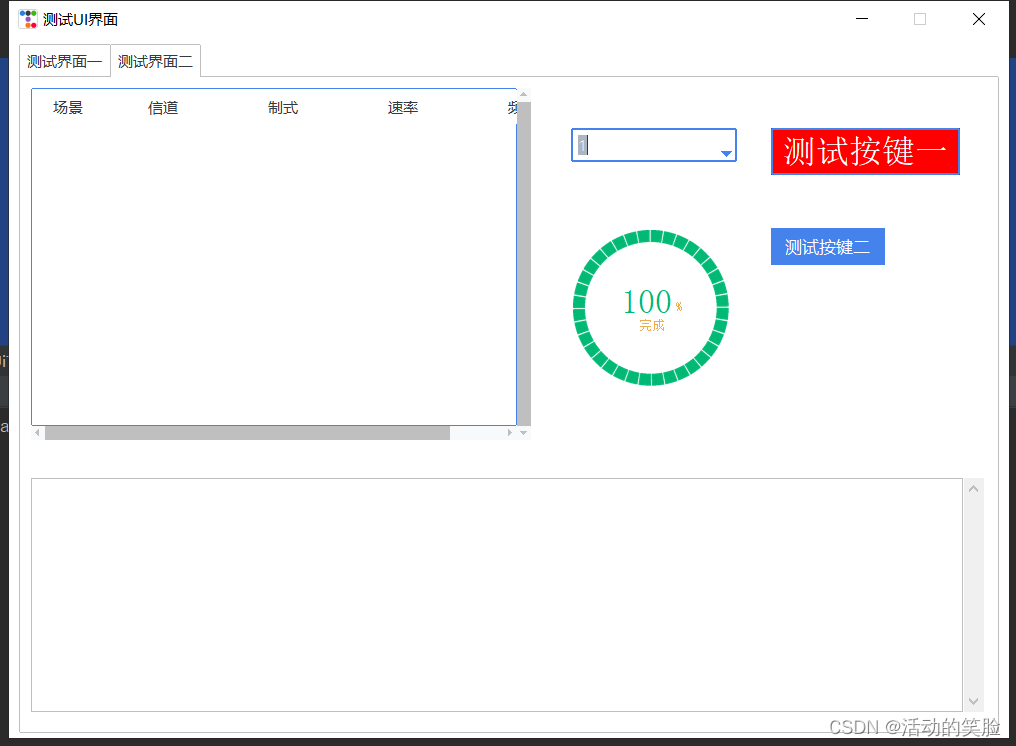
Style风格应用(兼容老的参数设置)
"""Style使用"""style = ttk.Style()style.configure('custom.TButton', font=('宋体', 20), background='red')style.configure("My.TButton", font=('微软雅黑', 10), width=9, height=2)test_button_one = ttkbootstrap.Button(self.frame_two, text="测试按键一")test_button_one["style"] = "custom.TButton"test_button_one.place(x=750, y=50)test_button_two = ttkbootstrap.Button(self.frame_two, text="测试按键二")test_button_two["style"] = "My.TButton"test_button_two.place(x=750, y=150)
效果如下:
本次在ui_test.py新增代码,新增如下:
import ttkbootstrap
from tkinter import Framefrom ui_show.test_one import UiTestOne
from ui_show.test_two import UiTestTwoclass UiTest(object):def __init__(self):self.window = ttkbootstrap.Window()self.frame_one = Frame()self.frame_two = Frame()def main_interface(self):"""测试主界面"""# 设置标题self.window.title('测试UI界面')# 屏幕的尺寸大小sw = self.window.winfo_screenwidth()sh = self.window.winfo_screenheight()# 设置UI界面的高度和宽度ww = 1000wh = 700# 窗口居中设置x = (sw - ww) / 2y = (sh - wh) / 2self.window.geometry("%dx%d+%d+%d" % (ww, wh, x, y))# 设置窗口是否可以变化长宽,默认可变self.window.resizable(width=False, height=False)"""多窗口设置"""all_notebook = ttkbootstrap.Notebook(self.window)all_notebook.pack(padx=10, pady=5, fill=ttkbootstrap.BOTH, expand=True)self.frame_one = Frame(all_notebook)self.frame_two = Frame(all_notebook)all_notebook.add(self.frame_one, text='测试界面一')all_notebook.add(self.frame_two, text='测试界面二')def run_main(self):self.main_interface()ui_test_one = UiTestOne(self.frame_one)ui_test_one.show_interface()ui_test_two = UiTestTwo(self.frame_two)ui_test_two.show_interface()self.window.mainloop()if __name__ == '__main__':ui_test = UiTest()ui_test.run_main()
在test_two.py写入界面二,代码如下:
import ttkbootstrap
import tkinter as tkfrom tkinter import ttk, scrolledtext, Frame, VERTICALclass UiTestTwo(object):def __init__(self, window):self.frame_two = windowdef show_interface(self):"""Combobox组件"""global comvalue_operatorcomvalue_operator = tk.StringVar()value_operator = ttk.Combobox(self.frame_two, textvariable=comvalue_operator, width=15)value_operator["values"] = ["1", "2"]value_operator.current(0)value_operator.place(x=550, y=50)"""ScrolledText组件"""scr_explain = scrolledtext.ScrolledText(self.frame_two, font=('微软雅黑', 10), width=102, height=11)scr_explain.place(x=10, y=400)"""Style使用"""style = ttk.Style()style.configure('custom.TButton', font=('宋体', 20), background='red')style.configure("My.TButton", font=('微软雅黑', 10), width=9, height=2)test_button_one = ttkbootstrap.Button(self.frame_two, text="测试按键一")test_button_one["style"] = "custom.TButton"test_button_one.place(x=750, y=50)test_button_two = ttkbootstrap.Button(self.frame_two, text="测试按键二")test_button_two["style"] = "My.TButton"test_button_two.place(x=750, y=150)"""Meter组件"""progress_bar = ttkbootstrap.Meter(master=self.frame_two,bootstyle="success",subtextstyle="warning",stripethickness=10,metertype="full",  # 将仪表显示为一个完整的圆形或半圆形(semi)# wedgesize=5, #设置弧周围的指示器楔形长度,如果大于 0,则此楔形设置为以当前仪表值为中心的指示器amounttotal=100,  # 仪表的最大值,默认100amountused=100,  # 仪表的当前值metersize=130,  # 仪表大小showtext=True,  # 指示是否在仪表上显示左、中、右文本标签interactive=False,  # 是否可以手动调节数字的大小# textleft='进度:',  # 插入到中心文本左侧的短字符串textright='%',textfont="-size 20",  # 中间数字大小# subtext="  ",subtext="完成",subtextfont="-size 8",  # 文本大小)progress_bar.place(x=550, y=150)"""Treeview组件"""tree_top = ["信道", "制式", "速率", "频宽"]frame = Frame(self.frame_two)frame.place(x=10, y=10, width=500)# 设置x轴和y轴的滚动条ybar = ttk.Scrollbar(frame, orient=VERTICAL)ybar.pack(side='right', fill='y')xbar = ttk.Scrollbar(frame, orient=tk.HORIZONTAL)xbar.pack(side='bottom', fill='x')# 创建表格self.tree_date = ttk.Treeview(frame, show='tree headings', height=15)self.tree_date.pack(side='left', fill='y')self.tree_date.configure(yscrollcommand=ybar.set, xscrollcommand=xbar.set)# 使用command参数来绑定treevievwybar.config(command=self.tree_date.yview)xbar.config(command=self.tree_date.xview)# 定义列date_columns = tree_topself.tree_date["columns"] = date_columns# 设置列宽度self.tree_date.column('#0', width=70, anchor="center", stretch=False)self.tree_date.column(tree_top[0], width=120, anchor="center")self.tree_date.column(tree_top[1], width=120, anchor="center")self.tree_date.column(tree_top[2], width=120, anchor="center")self.tree_date.column(tree_top[3], width=120, anchor="center")# 添加列名self.tree_date.heading("#0", text="场景")for j in date_columns:self.tree_date.heading(j, text=j)
本次讲解UI常用组件的写法,后续将更新组件的调用方法,有疑问欢迎找博主进行答疑,我是活动的笑脸,希望大家积极点赞,本篇到此结束。
这篇关于python使用tkinter和ttkbootstrap制作UI界面(二)的文章就介绍到这儿,希望我们推荐的文章对编程师们有所帮助!


