本文主要是介绍windows Webrtc +VS2019 (M124)下载编译以及调通测试demo,希望对大家解决编程问题提供一定的参考价值,需要的开发者们随着小编来一起学习吧!
下载depot tools
设置梯子
git config --global http.proxy =127.0.0.1:10000
git config --global https.proxy =127.0.0.1:10000
下载
$ git clone https://chromium.googlesource.com/chromium/tools/depot_tools.git
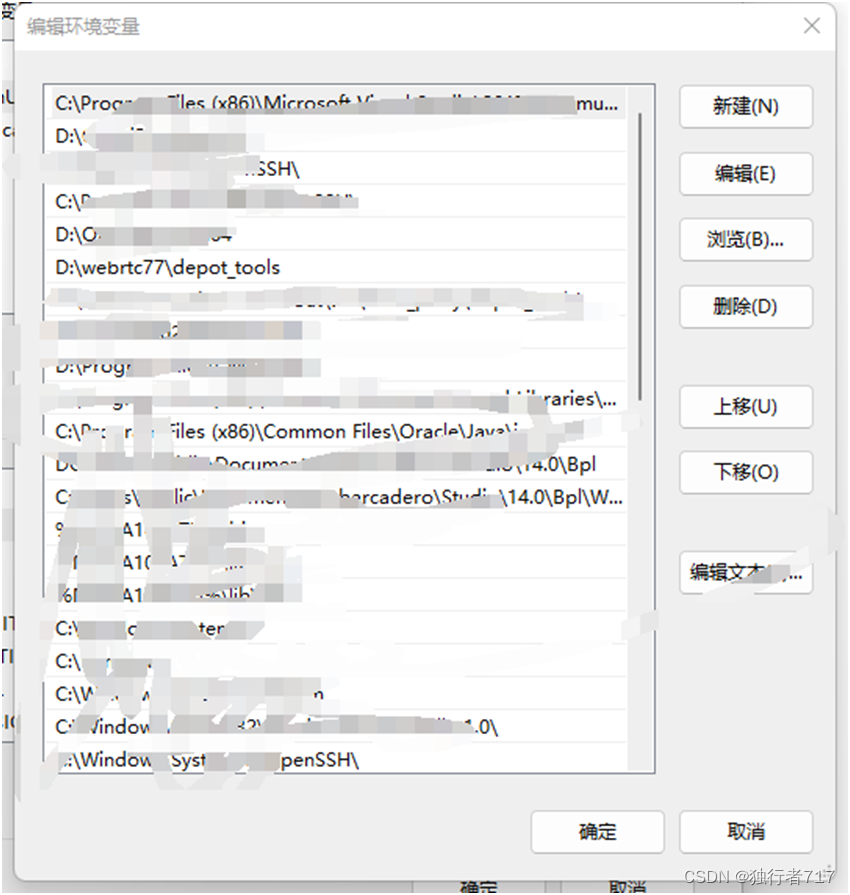
设置depot_tools目录为环境变量

下载webrtc
# 设置系统代理
set https_proxy= 127.0.0.1:10000
# 创建源码目录
mkdir webrtc-checkout
cd webrtc-checkout
# 拉取 webrtc 源码
fetch --nohooks webrtc
# 同步工具
gclient sync –with_branch_heads
git fetch
git branch –a
切换到指定版本
git checkout –b m124 remotes/branch-heads/6367
生成VS工程以及编译
set DEPOT_TOOLS_WIN_TOOLCHAIN=0
set GYP_MSVS_VERSION=2019
set GYP_MSVS_OVERRIDE_PATH="C:\Program Files (x86)\Microsoft Visual Studio\2019\Community"
set GYP_GENERATORS=msvs-ninja,ninja
gn gen out/project --ide=vs2019
# 编译 webrtc
ninja -C out/project -j 8
以后每次编译都需要去设置一下“set DEPOT_TOOLS_WIN_TOOLCHAIN=0”
测试peerconnection_client/peerconnection_server
找到两台内网机器
A:开启server程序,以及开启client程序,并设置ip为127.0.0.1
B:开启client程序,并设置A的ip地址
问题:测试结果发现新版的webrtc没有去触发tcp的onconnect信号
解决方法:
1. 在peerconnection_client下 main.cc 内新增类
class CustomSocketServer:public rtc::PhysicalSocketServer {
public:
bool Wait(webrtc::TimeDelta max_wait_duration, bool process_io) override {
if (!process_io)
return true;
return rtc::PhysicalSocketServer::Wait(webrtc::TimeDelta::Zero(), process_io);
}
};
2. 注释rtc::PhysicalSocketServer ss 使用CustomSocketServer ss:
int PASCAL wWinMain(HINSTANCE instance,
HINSTANCE prev_instance,
wchar_t* cmd_line,
int cmd_show) {
rtc::WinsockInitializer winsock_init;
//rtc::PhysicalSocketServer ss;
CustomSocketServer ss;
rtc::AutoSocketServerThread main_thread(&ss);
3. 在注释 //Main loop前新增:
main_thread.Start();
// Main loop.
MSG msg;
BOOL gm;
再重复之前的测试发现可以了,从此webrtc-demo就跑通了
这篇关于windows Webrtc +VS2019 (M124)下载编译以及调通测试demo的文章就介绍到这儿,希望我们推荐的文章对编程师们有所帮助!


