本文主要是介绍使用colab进行yolov5小demo练习,希望对大家解决编程问题提供一定的参考价值,需要的开发者们随着小编来一起学习吧!
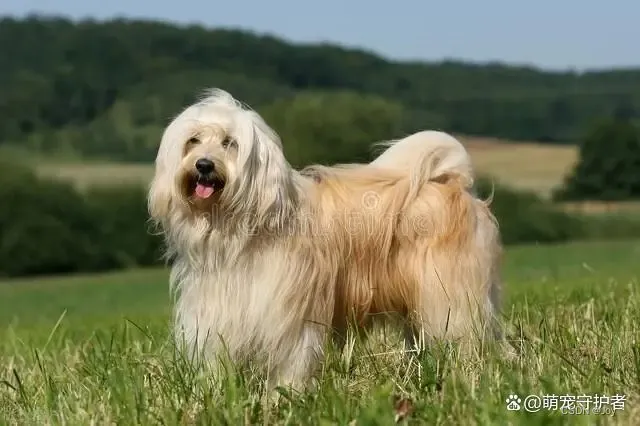
输入一张动物的图片进行目标检测和分类
!pip install yolov5
import torch
from PIL import Image
from torchvision import transforms
from yolov5.models.experimental import attempt_load
from yolov5.utils.general import non_max_suppression# 加载YOLOv5模型
device = torch.device('cpu')  # 或者使用torch.device('cuda')以使用GPU
model = attempt_load("yolov5s.pt", device=device)# 设置模型为评估模式
model.eval()# 加载图像
image_path = "images/example_image.jpg"
image = Image.open(image_path)# 调整图像大小为模型期望的输入大小(416x416)
resize_transform = transforms.Resize((416, 416))
image_resized = resize_transform(image)# 定义图像转换
transform = transforms.Compose([transforms.ToTensor(),
])# 对图像进行转换
input_tensor = transform(image_resized).unsqueeze(0).to(device)# 进行目标检测
with torch.no_grad():results = model(input_tensor)# 对结果进行非极大值抑制
results = non_max_suppression(results, conf_thres=0.3)# 如果检测到目标,打印检测到的目标信息
if results is not None and len(results[0]) > 0:for detection in results[0]:print(f"类别: {detection[-1]}, 置信度: {detection[4]}, 边界框: {detection[:4]}")
else:print("未检测到任何目标。")
返回结果:
Fusing layers...
YOLOv5s summary: 270 layers, 7235389 parameters, 0 gradients, 16.6 GFLOPs
类别: 17.0, 置信度: 0.8820466995239258, 边界框: tensor([ 95.17632, 88.61916, 327.81903, 387.15582])
图片 baidu

这篇关于使用colab进行yolov5小demo练习的文章就介绍到这儿,希望我们推荐的文章对编程师们有所帮助!


