本文主要是介绍.NET SignalR Redis实时Web应用,希望对大家解决编程问题提供一定的参考价值,需要的开发者们随着小编来一起学习吧!
环境 Win10 VS2022 .NET8 Docker Redis
前言
什么是 SignalR?
ASP.NET Core SignalR 是一个开放源代码库,可用于简化向应用添加实时 Web 功能。 实时 Web 功能使服务器端代码能够将内容推送到客户端。
适合 SignalR 的候选项:
- 需要从服务器进行高频率更新的应用。 (游戏、社交网络、投票、拍卖、地图和 GPS 应用)
- 仪表板和监视应用。 (公司仪表板、即时销售更新或出行警报)
- 协作应用。 (包括白板应用和团队会议软件)
- 需要通知的应用。( 社交网络、电子邮件、聊天、游戏等)
SignalR 提供用于创建服务器到客户端的远程过程调用 (RPC) API。 RPC 从服务器端 .NET Core 代码调用客户端上的函数。支持JavaScript ,.NET ,JAVA,Swift (官方没有明确支持,这是第三方库)其中每个平台都有各自的客户端 SDK。 因此,RPC 调用所调用的编程语言有所不同。
ASP.NET Core SignalR 的一些功能:
- 自动处理连接管理。
- 同时向所有连接的客户端发送消息。 例如聊天室。
- 向特定客户端或客户端组发送消息。
- 对其进行缩放,以处理不断增加的流量。
- SignalR 中心协议
1.👋nuget引入SignalR


2.👀创建SignalR Hub
using Microsoft.AspNetCore.SignalR;
using System.Threading.Tasks;namespace WebSignalR
{public class ChatHub : Hub{public async Task SendMessage(string user, string message){await Clients.All.SendAsync("ReceiveMessage", user, message);}}}
3.🌱 Program.cs添加SignalR服务
(Startup.cs)
//添加SignalR服务
builder.Services.AddSignalR();
builder.Services.AddControllersWithViews();
app.UseEndpoints(endpoints =>
{endpoints.MapHub<ChatHub>("/chathub");endpoints.MapControllerRoute(name: "default",pattern: "{controller=Home}/{action=Index}/{id?}");
});4.📫 添加前端代码
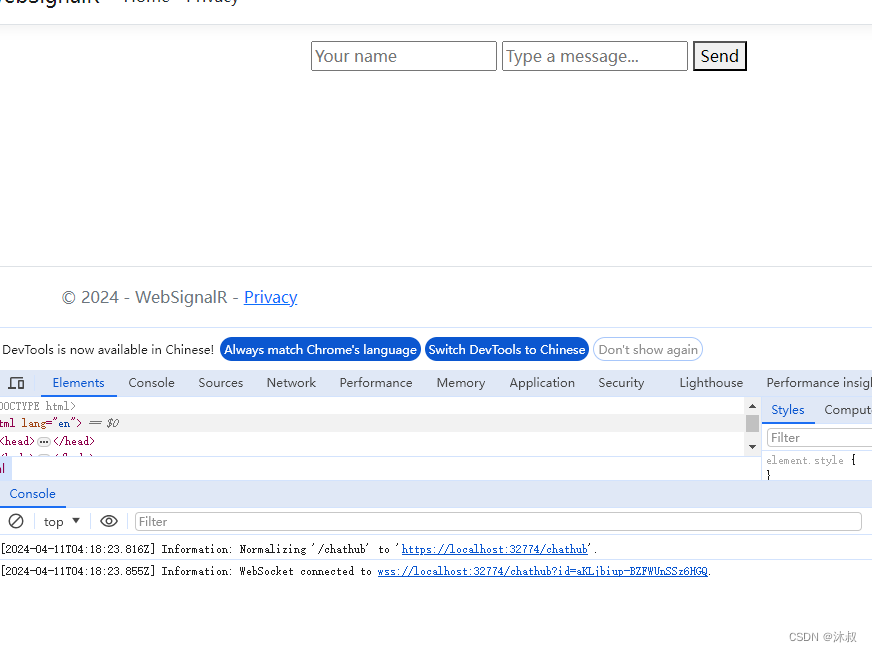
<div class="text-center"><div id="chat-container"><input type="text" id="userInput" placeholder="Your name" /><input type="text" id="messageInput" placeholder="Type a message..." /><button id="sendButton">Send</button><ul id="messagesList"></ul></div><script src="https://cdnjs.cloudflare.com/ajax/libs/microsoft-signalr/5.0.12/signalr.min.js"></script><script>const connection = new signalR.HubConnectionBuilder().withUrl("/chathub").build();connection.on("ReceiveMessage", function (user, message) {const encodedUser = user.replace(/&/g, "&").replace(/</g, "<").replace(/>/g, ">");const encodedMessage = message.replace(/&/g, "&").replace(/</g, "<").replace(/>/g, ">");const li = document.createElement("li");li.textContent = `${encodedUser}: ${encodedMessage}`;document.getElementById("messagesList").appendChild(li);});connection.start().catch(function (err) {return console.error(err.toString());});document.getElementById("sendButton").addEventListener("click", function (event) {const user = document.getElementById("userInput").value;const message = document.getElementById("messageInput").value;connection.invoke("SendMessage", user, message).catch(function (err) {return console.error(err.toString());});event.preventDefault();});</script></div>
5.⚡F5运行
升级优化
封装Msg
public class Msg{public string? user { get; set; }public string? message { get; set; }}
sendMessage
public async Task SendMessage(Msg entity){if (Clients != null)await Clients.All.SendAsync("ReceiveMessage", entity.user, entity.message);// $"{entity.user} 发送消息:{entity.message}");}前端 connection.invoke("SendMessage" ... 传递msg对象进来即可
6.💪跨域问题
builder.Services.AddCors(options =>
{options.AddPolicy("CorsPolicy",builder => builder.AllowAnyMethod().AllowAnyHeader().WithOrigins("http://localhost:5173") // 替换为你允许的来源.AllowCredentials());
});
//通过添加app.UseCors("CorsPolicy")中间件来启用跨域支持
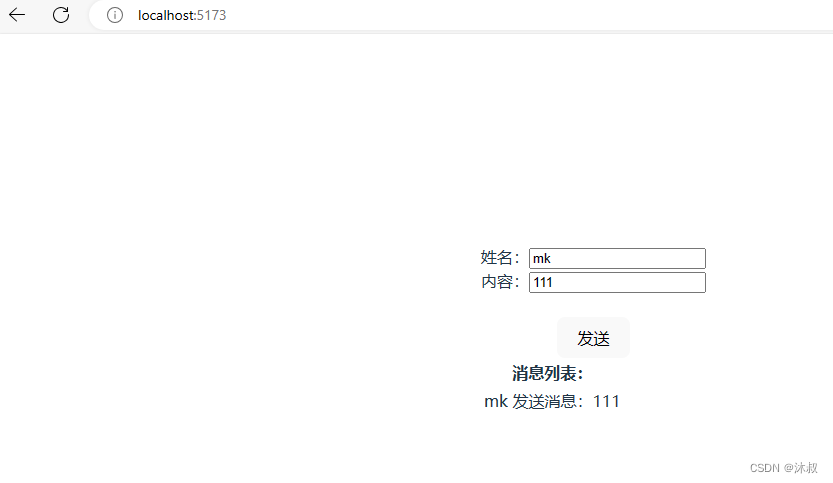
app.UseCors("CorsPolicy"); 上面代码中的WithOrigins方法指定了允许访问SignalR端点的来源。将"http://localhost:5173"替换为你允许的实际来源。如果要允许任何来源访问,可以使用通配符"*"。
这样就可以跨域访问 👇Vue跨域
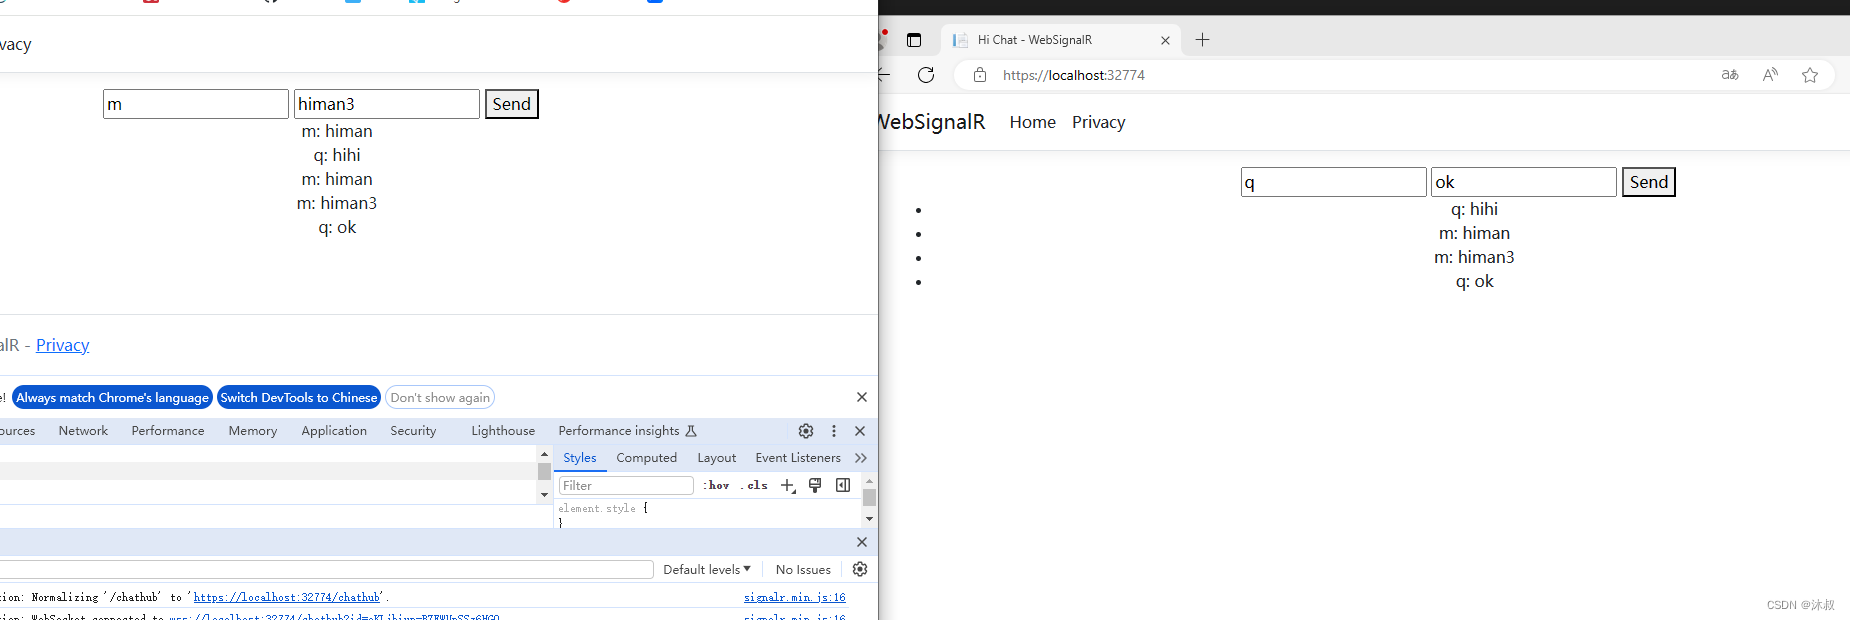
7.🧙♂️聊天池的实现
实际生产可能需要1对1或者多对多,可在后端建立一个字典,将聊天池的标识映射到该聊天池的连接ID列表。
public Dictionary<string, List<string>> _chatRooms = new Dictionary<string, List<string>>();public async Task JoinChatRoom(string chatRoomId){// 将用户连接添加到特定的聊天池if (!MsgSt._chatRooms2.ContainsKey(chatRoomId)){MsgSt._chatRooms2[chatRoomId] = new List<string>();}MsgSt._chatRooms2[chatRoomId].Add(Context.ConnectionId);// int i = _chatRooms.Count;Console.WriteLine("chatRoomId-Cid" + chatRoomId + " " + Context.ConnectionId);}public async Task SendMessageToChatRoom(string chatRoomId, string user, string message){// Console.WriteLine(connectionIds);// 向特定的聊天池发送消息if (MsgSt._chatRooms2.TryGetValue(chatRoomId, out var connectionIds)){foreach (var connectionId in connectionIds){await Clients.Client(connectionId).SendAsync("ReceiveMessage",user, message);}}// await Clients.Client(connectionId).SendAsync("ReceiveMessage", message);} public class MsgSt{public static Dictionary<string, List<string>> _chatRooms2= new Dictionary<string, List<string>>();//public static int temp2 = 0;}在前端发送消息时,除了发送消息内容外,还要发送消息到的聊天池的标识。
JoinChatRoom SendMessageToChatRoom
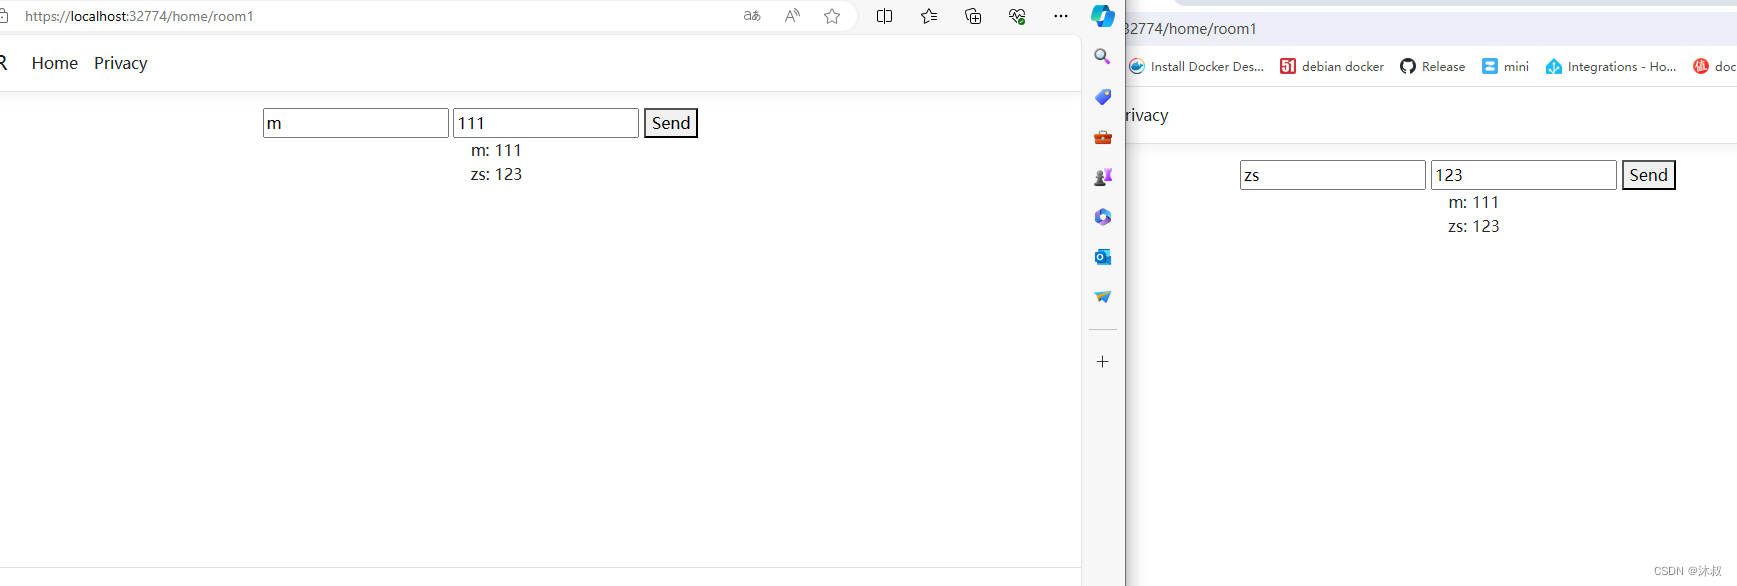
<script>const connection = new signalR.HubConnectionBuilder().withUrl("/chathub").build();const userId = "userid001";const chatRoomId = "room001"; // 聊天池标识connection.on("ReceiveMessage", function (user, message) {const encodedUser = user.replace(/&/g, "&").replace(/</g, "<").replace(/>/g, ">");const encodedMessage = message.replace(/&/g, "&").replace(/</g, "<").replace(/>/g, ">");const li = document.createElement("li");li.textContent = `${encodedUser}: ${encodedMessage}`;document.getElementById("messagesList").appendChild(li);});connection.start().then(() => {console.log("Connection started" +chatRoomId);connection.invoke("JoinChatRoom", chatRoomId); // 加入特定的聊天池}).catch(err => console.error(err));document.getElementById("sendButton").addEventListener("click", function (event) {const message = document.getElementById("messageInput").value;const user = document.getElementById("userInput").value;connection.invoke("SendMessageToChatRoom", chatRoomId, user, message).catch(function (err) {return console.error(err.toString());});event.preventDefault();});</script>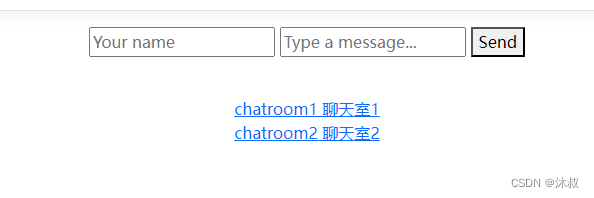
chatroom1
8.☔断线重连
确保客户端在与 SignalR Hub 的连接断开后能够重新连接并恢复之前的状态
可以在客户端代码中实现重连逻辑
let isConnected = false; // 用于标识是否已连接// 连接成功时将 isConnected 设置为 trueconnection.onclose(() => {isConnected = false;});async function startConnection() {try {await connection.start();console.log("Connection started");isConnected = true;} catch (err) {console.error(err);isConnected = false;// 连接失败时尝试重新连接setTimeout(startConnection, 5000); // 5秒后重试}}startConnection(); // 初始连接9.🌠配置Redis分布式缓存
Docker Redis 👈 Redis部署
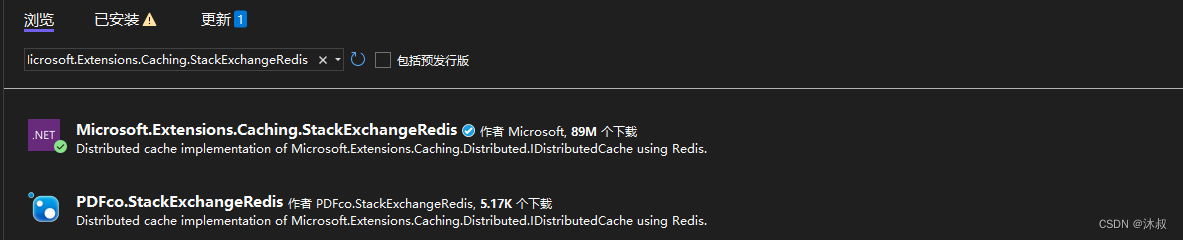
用 Microsoft.Extensions.Caching.StackExchangeRedis 包连接到 Redis 并使用分布式缓存。这样可以确保即使服务重启,也能够保留聊天室的状态。
安装 Microsoft.Extensions.Caching.StackExchangeRedis
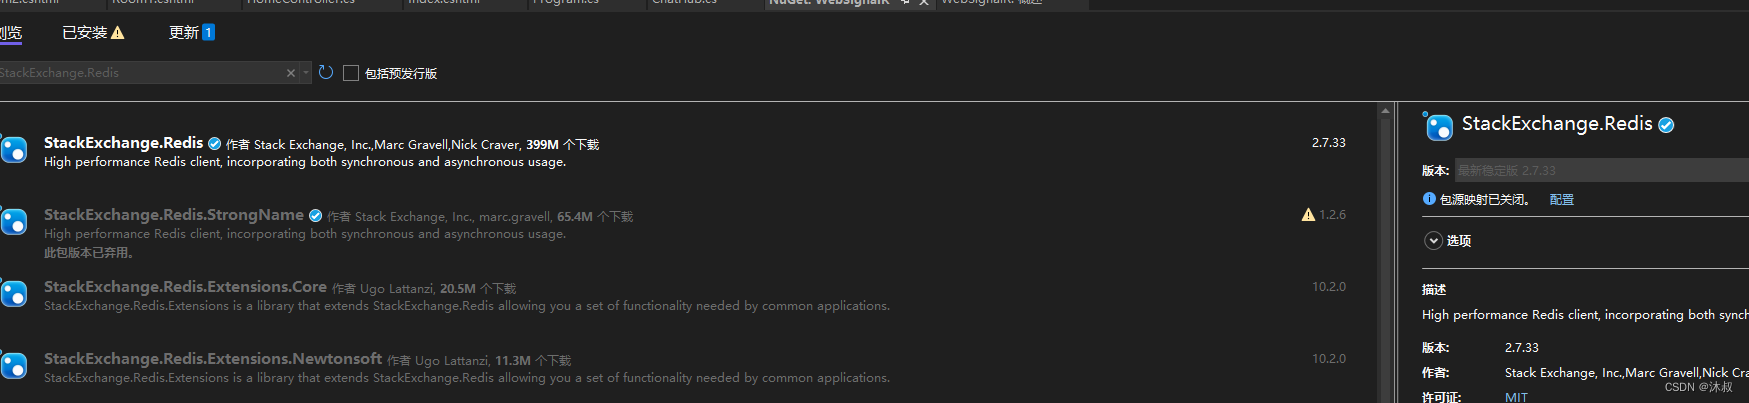
or StackExchange.Redis
Program.cs
// 添加Redis缓存
builder.Services.AddStackExchangeRedisCache(options =>
{options.Configuration = "127.0.0.1:6379"; // Redis服务器地址options.InstanceName = "ChatRooms"; // 实例名称
});
options.Configuration 设置为 Redis 服务器的地址,如果 Redis 运行在本地,则可以设置为 "localhost"。options.InstanceName 是 Redis 实例名称。
启动Redis服务
在 ChatHub 中注入 IDistributedCache,连接到 Redis
_cache相当于 _chatRooms2存放连接ID的列表
private readonly IDistributedCache _cache;public ChatHub(IDistributedCache cache){_cache = cache;}public async Task JoinChatRoom(string chatRoomId){// 使用Redis的SET操作来添加连接ID到聊天室 var connectionId = Context.ConnectionId;var key = $"chatrooms:{chatRoomId}";var connectionIds = await _cache.GetStringAsync(key);var connectionsList = string.IsNullOrEmpty(connectionIds)? new List<string>(): connectionIds.Split(new[] { ',' }, StringSplitOptions.RemoveEmptyEntries).ToList();connectionsList.Add(connectionId);await _cache.SetStringAsync(key, string.Join(",", connectionsList));Console.WriteLine($"chatRoomId-Cid {chatRoomId} {connectionId}");}public async Task SendMessageToChatRoom(string chatRoomId, string user, string message){var key = $"chatrooms:{chatRoomId}";var connectionIds = await _cache.GetStringAsync(key);if (!string.IsNullOrEmpty(connectionIds)){var connectionsList = connectionIds.Split(new[] { ',' }, StringSplitOptions.RemoveEmptyEntries);foreach (var connectionId in connectionsList){await Clients.Client(connectionId).SendAsync("ReceiveMessage", user, message);}}}这样前端传过来的 room001 room002 便会存入到Redis里面
运行调试的时候可以看到有用户JionChatRoom的chatRoomId connectionId

也可通过Redis命令 KEY * 查看
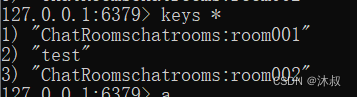
PS:这里用简单的字符串来存储连接ID的列表,连接ID之间用逗号分隔,实际生产可使用Redis的集合(Set)数据类型来存储连接ID,还需处理Redis连接失败、缓存过期等异常情况。
📜参考资料:
ASP.NET Core SignalR 入门 | Microsoft Learn
RPC-wiki
这篇关于.NET SignalR Redis实时Web应用的文章就介绍到这儿,希望我们推荐的文章对编程师们有所帮助!


