本文主要是介绍龙书D3D11章节习题答案(第八章),希望对大家解决编程问题提供一定的参考价值,需要的开发者们随着小编来一起学习吧!
以下答案仅供参考,有错欢迎留言。
Chapter 8 : Texturing
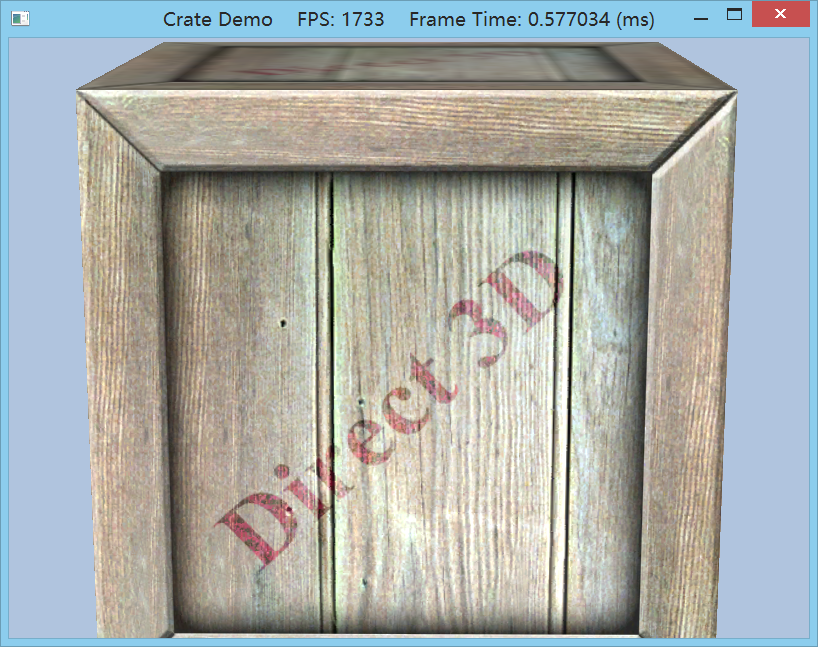
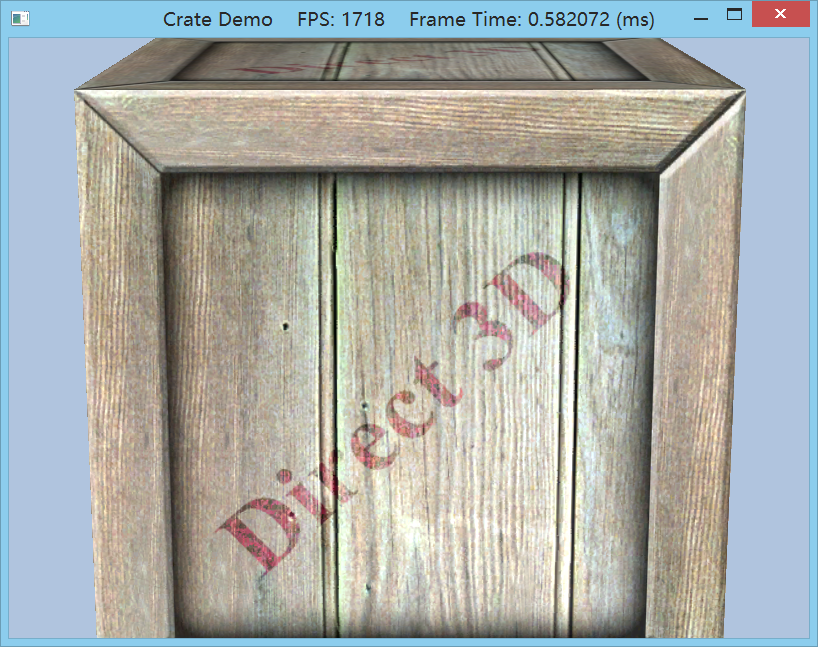
1. Experiment with the “Crate” demo by changing the texture coordinates and using different address mode combinations and filtering options. In particular, reproduce the images in Figures 8.7, 8.9, 8.10, 8.11, 8.12, and 8.13.
通过修改CrateDemo中的Box的uv纹理坐标和切换不同的address mode和filtering options来重新实现Figures 8.7, 8.9, 8.10, 8.11, 8.12, and 8.13的效果。
8.7: 是两张对比Magification情况下constant interpolating和linear interpolating的差异图,前者像素间过度没有后者平滑。当我们在Basic.fx中把SampleState结构体中的Fileter改完以后,会发现在拉远拉近镜头的时候,始终不能得到magnification的情况,这是因为我们之前设置的PerSpective Matrix的Y方向的视野夹角太大了,应修改为:
void CrateApp::OnResize()
{D3DApp::OnResize();XMMATRIX P = XMMatrixPerspectiveFovLH(0.01f*MathHelper::Pi, AspectRatio(), 1.0f, 1000.0f);XMStoreFloat4x4(&mProj, P);
}
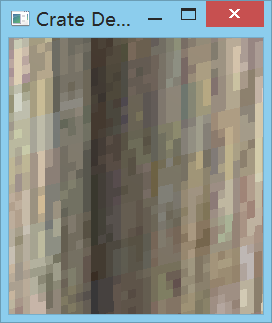 MAG_LINEAR:
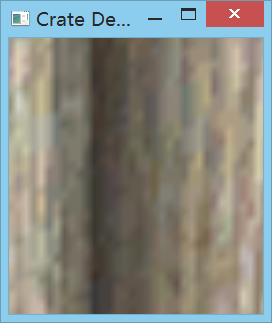
8.9: 这里Filter设置和MAG无关,与MIN和MIP有关。
POINT: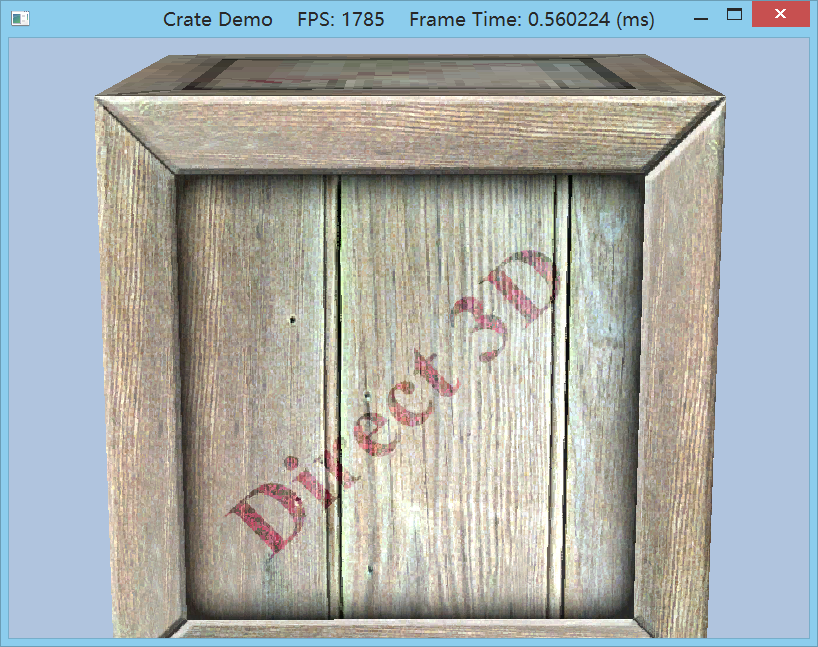
ANISOTROPIC:
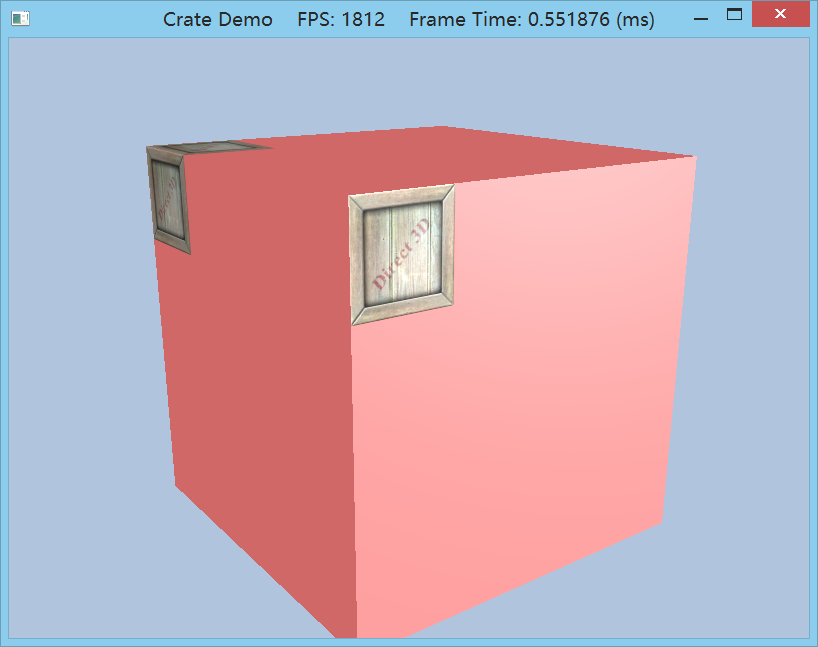
8.10,11,12,13:
// 在类中添加关于Box纹理拉伸的成员变量XMFLOAT4X4 mBoxTexScale;// Init的时候赋值XMMATRIX boxTexScale = XMMatrixScaling(4.0f,4.0f,0.0f);XMStoreFloat4x4(&mBoxTexScale, boxTexScale);// DrawScene的时候用Effects11设置到FX文件
Effects::BasicFX->SetTexTransform(XMLoadFloat4x4(&mBoxTexScale));</span>Wrap: 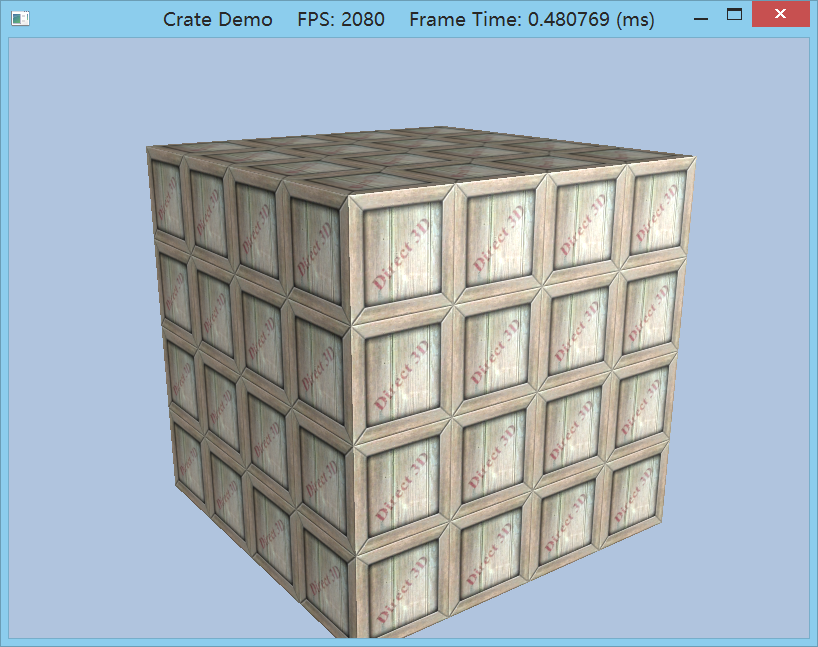
Clamp: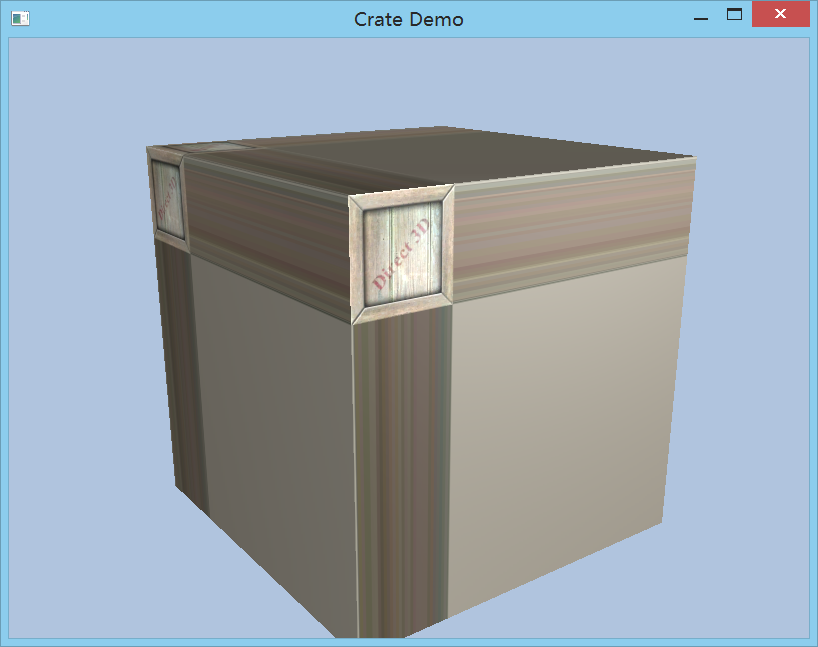
AddressU和AddressV可以设置不同的Address Mode来达到混合效果:
比如AddressU: Wrap + Address: Border = 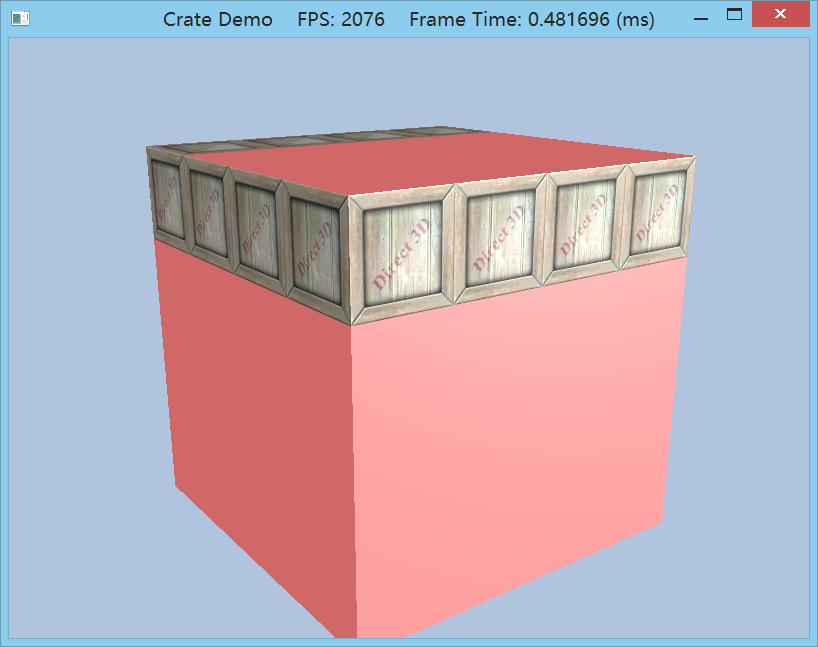
2. Using the DirectX Texture Tool, we can manually specify each mipmap level (File->Open Onto This Surface). Creat
这篇关于龙书D3D11章节习题答案(第八章)的文章就介绍到这儿,希望我们推荐的文章对编程师们有所帮助!
