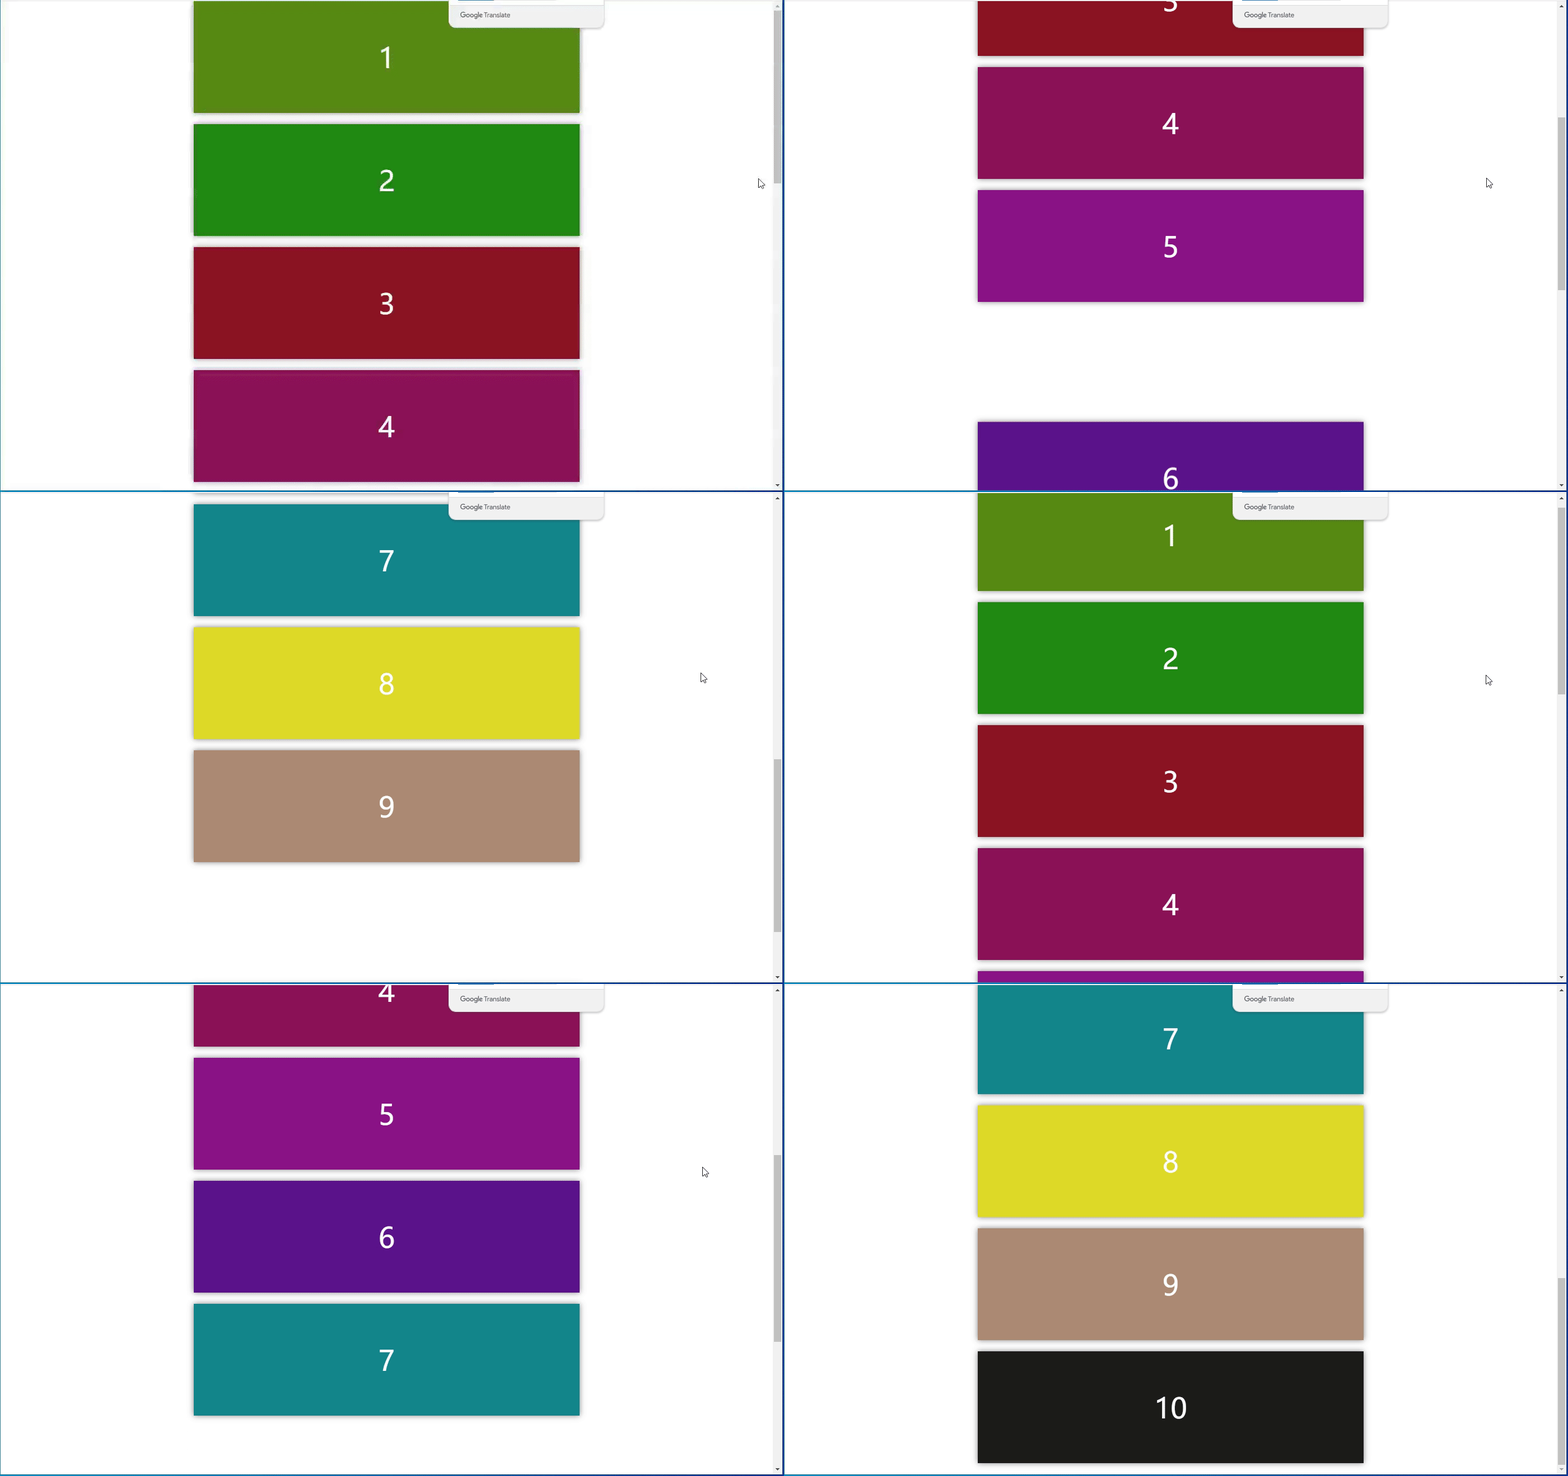
本文主要是介绍Vue通过自定义指令实现元素平滑上升的动画效果。没一句废话,希望对大家解决编程问题提供一定的参考价值,需要的开发者们随着小编来一起学习吧!
1、演示

2、介绍
这个指令不是原生自带的,需要手动去书写,但是这辈子只需要编写这一次就好了,后边可以反复利用。
用到的API:IntersectionObserver 这里有详细介绍
3、Vue文件代码
<template><div class="container"><div v-slide-in class="item" v-for="item in 10">{{ item }}</div></div>
</template><script setup>
import { ref, reactive } from 'vue'
</script><style scoped lang="scss">
.container {width: 100%;display: flex;flex-direction: column;align-items: center;
}
.item {width: 50%;height: 200px;margin-bottom: 20px;text-align: center;line-height: 200px;font-size: 50px;color: #fff;box-shadow: rgba(0, 0, 0, 0.5) 0px 0px 10px 0px;
}
.item:nth-child(1) {background-color: rgb(87, 139, 19);
}
.item:nth-child(2) {background-color: rgb(33, 139, 19);
}
.item:nth-child(3) {background-color: rgb(139, 19, 35);
}
.item:nth-child(4) {background-color: rgb(139, 19, 87);
}
.item:nth-child(5) {background-color: rgb(139, 19, 135);
}
.item:nth-child(6) {background-color: rgb(91, 19, 139);
}
.item:nth-child(7) {background-color: rgb(19, 133, 139);
}
.item:nth-child(8) {background-color: rgb(221, 218, 40);
}
.item:nth-child(9) {background-color: rgb(173, 139, 115);
}
.item:nth-child(10) {background-color: rgb(29, 28, 27);
}
</style>
4、指令文件及注释
// WeakMap是一种键值对的集合
// 这里用来将一个dom元素和一种动画对应起来
const map = new WeakMap()// 创建一个观察对象
const ob = new IntersectionObserver(entries => {// 遍历所有被观察的元素 entries为一个数组for (const entry of entries) {// 判断该元素是否与视口相交(出现在视口里面了)if (entry.isIntersecting) {// 判断目标元素是出现在上视口还是下视口if (entry.boundingClientRect.top > entry.rootBounds.top) {// 找出这个元素对应的动画const animation = map.get(entry.target)if (animation) {// 播放该元素的动画animation.play()}}}}
})
// 辅助函数,用来判断页面上的元素是否在视口外
function isBelowViewport(el) {const rect = el.getBoundingClientRect()return rect.top > window.innerHeight
}export default function (app) {app.directive('slideIn', {mounted(el, bindings) {// 如果元素已经在视口内了,直接return 不加动画if (!isBelowViewport(el)) return//  创建一个动画  animate是Vue自带的const animation = el.animate([// 数组的每一个对象都表示关键帧 相当于css中的 @keyframes 这里想写多少个就写多少个{transform: `translateY(${200}px)`,},{transform: `translateY(0px)`,},],// duration:执行时间  easing:动画效果,fill:动画结束过后的行为  这些跟css中的一样{ duration: 1000, easing: 'ease-in-out', fill: 'forwards' })// 一开始的时候让动画暂停,这里只是先定义好animation.pause()// 当元素进入视口的时候在进行动画播放ob.observe(el)// 存储键值map.set(el, animation)},// 在元素卸载时,取消观察unmounted(el) {ob.unobserve(el)},})
}
这篇关于Vue通过自定义指令实现元素平滑上升的动画效果。没一句废话的文章就介绍到这儿,希望我们推荐的文章对编程师们有所帮助!


