本文主要是介绍20240409在全志H3平台的Nano Pi NEO CORE开发板运行的Ubuntu Core更新boot.img(eMMC启动),希望对大家解决编程问题提供一定的参考价值,需要的开发者们随着小编来一起学习吧!
20240409在全志H3平台的Nano Pi NEO CORE开发板运行的Ubuntu Core更新zImage内核
2024/4/9 9:21
一、生成zImage:
参考资料:
http://wiki.friendlyelec.com/wiki/index.php/NanoPi_NEO_Core/zh#.E7.83.A7.E5.86.99.E5.88.B0eMMC
NanoPi NEO Core/zh
6 FriendlyCore的使用
11 开发者指南
定制开发相关
Building U-boot and Linux for H5/H3/H2+
http://wiki.friendlyelec.com/wiki/index.php/Building_U-boot_and_Linux_for_H5/H3/H2%2B/zh#.E7.BC.96.E8.AF.91Linux.E5.86.85.E6.A0.B8
Building U-boot and Linux for H5/H3/H2+/zh
3 为H3/H2+编译Linux-4.14 BSP
3.1 安装交叉编译器
访问此处下载地址的toolchain目录,下载交叉编译器arm-cortexa9-linux-gnueabihf-4.9.3.tar.xz,然后解压编译器:
https://pan.baidu.com/s/1P0j1crgmyN2tANK1936NYA#list/path=%2F
NanoPi-NEO - free download
百度网盘 Google Drive
Mainland Chinese users please click on: International users please click on:
BaiduPan Google Drive
提取码:vssl
04_SDK与编译器 -2023-11-09 00:21
\\192.168.3.124\rootroot\home\rootroot\neo
arm-cortexa9-linux-gnueabihf-4.9.3-20160512.tar.xz
$ mkdir -p /opt/FriendlyARM/toolchain
$ tar xf arm-cortexa9-linux-gnueabihf-4.9.3.tar.xz -C /opt/FriendlyARM/toolchain/
$ export PATH=/opt/FriendlyARM/toolchain/4.9.3/bin:$PATH
$ export GCC_COLORS=auto
$ . ~/.bashrc
$ arm-linux-gcc -v
rootroot@rootroot-HP-ZHAN-66-Pro-A-14-G3:~/neo$ sudo mkdir -p /opt/FriendlyARM/toolchain
[sudo] password for rootroot:
rootroot@rootroot-HP-ZHAN-66-Pro-A-14-G3:~/neo$
rootroot@rootroot-HP-ZHAN-66-Pro-A-14-G3:~/neo$ tar xf arm-cortexa9-linux-gnueabihf-4.9.3-20160512.tar.xz
rootroot@rootroot-HP-ZHAN-66-Pro-A-14-G3:~/neo$
rootroot@rootroot-HP-ZHAN-66-Pro-A-14-G3:~/neo$ ll
total 400248
drwxrwxr-x 4 rootroot rootroot 4096 4月 9 09:48 ./
drwxr-xr-x 32 rootroot rootroot 4096 4月 9 09:26 ../
dr-xr-xr-x 8 rootroot rootroot 4096 11月 14 2015 4.9.3/
-rwx------ 1 rootroot rootroot 60177488 4月 9 09:46 arm-cortexa9-linux-gnueabihf-4.9.3-20160512.tar.xz*
drwxrwxr-x 27 rootroot rootroot 4096 4月 9 09:40 linux/
-rw-rw-r-- 1 rootroot rootroot 349653581 4月 9 09:30 linux_20240409_0929.tar.gz
rootroot@rootroot-HP-ZHAN-66-Pro-A-14-G3:~/neo$
rootroot@rootroot-HP-ZHAN-66-Pro-A-14-G3:~/neo$
rootroot@rootroot-HP-ZHAN-66-Pro-A-14-G3:~/neo$ du -sh 4.9.3/
373M 4.9.3/
rootroot@rootroot-HP-ZHAN-66-Pro-A-14-G3:~/neo$
rootroot@rootroot-HP-ZHAN-66-Pro-A-14-G3:~/neo$ sudo mv 4.9.3/ /opt/FriendlyARM/toolchain/
rootroot@rootroot-HP-ZHAN-66-Pro-A-14-G3:~/neo$
rootroot@rootroot-HP-ZHAN-66-Pro-A-14-G3:~/neo$ ll
total 400244
drwxrwxr-x 3 rootroot rootroot 4096 4月 9 09:49 ./
drwxr-xr-x 32 rootroot rootroot 4096 4月 9 09:26 ../
-rwx------ 1 rootroot rootroot 60177488 4月 9 09:46 arm-cortexa9-linux-gnueabihf-4.9.3-20160512.tar.xz*
drwxrwxr-x 27 rootroot rootroot 4096 4月 9 09:40 linux/
-rw-rw-r-- 1 rootroot rootroot 349653581 4月 9 09:30 linux_20240409_0929.tar.gz
rootroot@rootroot-HP-ZHAN-66-Pro-A-14-G3:~/neo$
rootroot@rootroot-HP-ZHAN-66-Pro-A-14-G3:~/neo$
rootroot@rootroot-HP-ZHAN-66-Pro-A-14-G3:~/neo$ echo $PATH
/home/rootroot/.local/bin:/usr/local/sbin:/usr/local/bin:/usr/sbin:/usr/bin:/sbin:/bin:/usr/games:/usr/local/games:/snap/bin
rootroot@rootroot-HP-ZHAN-66-Pro-A-14-G3:~/neo$
rootroot@rootroot-HP-ZHAN-66-Pro-A-14-G3:~/neo$ export PATH=/opt/FriendlyARM/toolchain/4.9.3/bin:$PATH
rootroot@rootroot-HP-ZHAN-66-Pro-A-14-G3:~/neo$
rootroot@rootroot-HP-ZHAN-66-Pro-A-14-G3:~/neo$ echo $PATH
/opt/FriendlyARM/toolchain/4.9.3/bin:/home/rootroot/.local/bin:/usr/local/sbin:/usr/local/bin:/usr/sbin:/usr/bin:/sbin:/bin:/usr/games:/usr/local/games:/snap/bin
rootroot@rootroot-HP-ZHAN-66-Pro-A-14-G3:~/neo$
rootroot@rootroot-HP-ZHAN-66-Pro-A-14-G3:~/neo$
rootroot@rootroot-HP-ZHAN-66-Pro-A-14-G3:~/neo$
rootroot@rootroot-HP-ZHAN-66-Pro-A-14-G3:~/neo$ export GCC_COLORS=auto
rootroot@rootroot-HP-ZHAN-66-Pro-A-14-G3:~/neo$
rootroot@rootroot-HP-ZHAN-66-Pro-A-14-G3:~/neo$ arm-linux-gcc -v
Using built-in specs.
COLLECT_GCC=arm-linux-gcc
COLLECT_LTO_WRAPPER=/opt/FriendlyARM/toolchain/4.9.3/libexec/gcc/arm-cortexa9-linux-gnueabihf/4.9.3/lto-wrapper
Target: arm-cortexa9-linux-gnueabihf
Configured with: /work/toolchain/build/src/gcc-4.9.3/configure --build=x86_64-build_pc-linux-gnu --host=x86_64-build_pc-linux-gnu --target=arm-cortexa9-linux-gnueabihf --prefix=/opt/FriendlyARM/toolchain/4.9.3 --with-sysroot=/opt/FriendlyARM/toolchain/4.9.3/arm-cortexa9-linux-gnueabihf/sys-root --enable-languages=c,c++ --with-arch=armv7-a --with-tune=cortex-a9 --with-fpu=vfpv3 --with-float=hard --with-pkgversion=ctng-1.21.0-229g-FA --with-bugurl=http://www.friendlyarm.com/ --enable-__cxa_atexit --disable-libmudflap --disable-libgomp --disable-libssp --disable-libquadmath --disable-libquadmath-support --disable-libsanitizer --with-gmp=/work/toolchain/build/arm-cortexa9-linux-gnueabihf/buildtools --with-mpfr=/work/toolchain/build/arm-cortexa9-linux-gnueabihf/buildtools --with-mpc=/work/toolchain/build/arm-cortexa9-linux-gnueabihf/buildtools --with-isl=/work/toolchain/build/arm-cortexa9-linux-gnueabihf/buildtools --with-cloog=/work/toolchain/build/arm-cortexa9-linux-gnueabihf/buildtools --with-libelf=/work/toolchain/build/arm-cortexa9-linux-gnueabihf/buildtools --enable-lto --with-host-libstdcxx='-static-libgcc -Wl,-Bstatic,-lstdc++,-Bdynamic -lm' --enable-threads=posix --enable-linker-build-id --with-linker-hash-style=gnu --enable-plugin --enable-gold --disable-multilib --with-local-prefix=/opt/FriendlyARM/toolchain/4.9.3/arm-cortexa9-linux-gnueabihf/sys-root --enable-long-long
Thread model: posix
gcc version 4.9.3 (ctng-1.21.0-229g-FA)
rootroot@rootroot-HP-ZHAN-66-Pro-A-14-G3:~/neo$
3.3 编译Linux内核
下载Linux内核源码,并切换分支:
$ git clone https://github.com/friendlyarm/linux.git -b sunxi-4.14.y --depth 1
编译和更新Linux内核:
修正步骤:
sudo apt install u-boot-tools
cd linux
touch .scmversion
make sunxi_defconfig ARCH=arm CROSS_COMPILE=arm-linux-
make zImage dtbs ARCH=arm CROSS_COMPILE=arm-linux- -j8
【多线程大概2-3分钟,看您的电脑配置。不加-j8的单线程可能要10分钟+】
参考资料:
http://wiki.friendlyelec.com/wiki/index.php/How_to_Build_FriendlyWrt/zh#H3.E5.B9.B3.E5.8F.B0
How to Build FriendlyWrt/zh
二、打包生成boot.img
【请严格按照这个步骤执行,否则可能出现启动异常的情况】
http://wiki.friendlyelec.com/wiki/index.php/NanoPi_NEO_Core/zh#.E7.83.A7.E5.86.99.E5.88.B0eMMC
NanoPi NEO Core/zh
11 开发者指南
定制开发相关
Building U-boot and Linux for H5/H3/H2+
How to Build FriendlyWrt
Qt dev: How to Build, Install and Setting Qt Application
系统映像相关
How to make your own SD-bootable ROM
How to use overlayfs on Linux
EFlasher
http://wiki.friendlyelec.com/wiki/index.php/How_to_make_your_own_SD-bootable_ROM
http://wiki.friendlyelec.com/wiki/index.php/How_to_make_your_own_SD-bootable_ROM/zh
How to make your own SD-bootable ROM/zh
5 制作H3 平台的系统映像
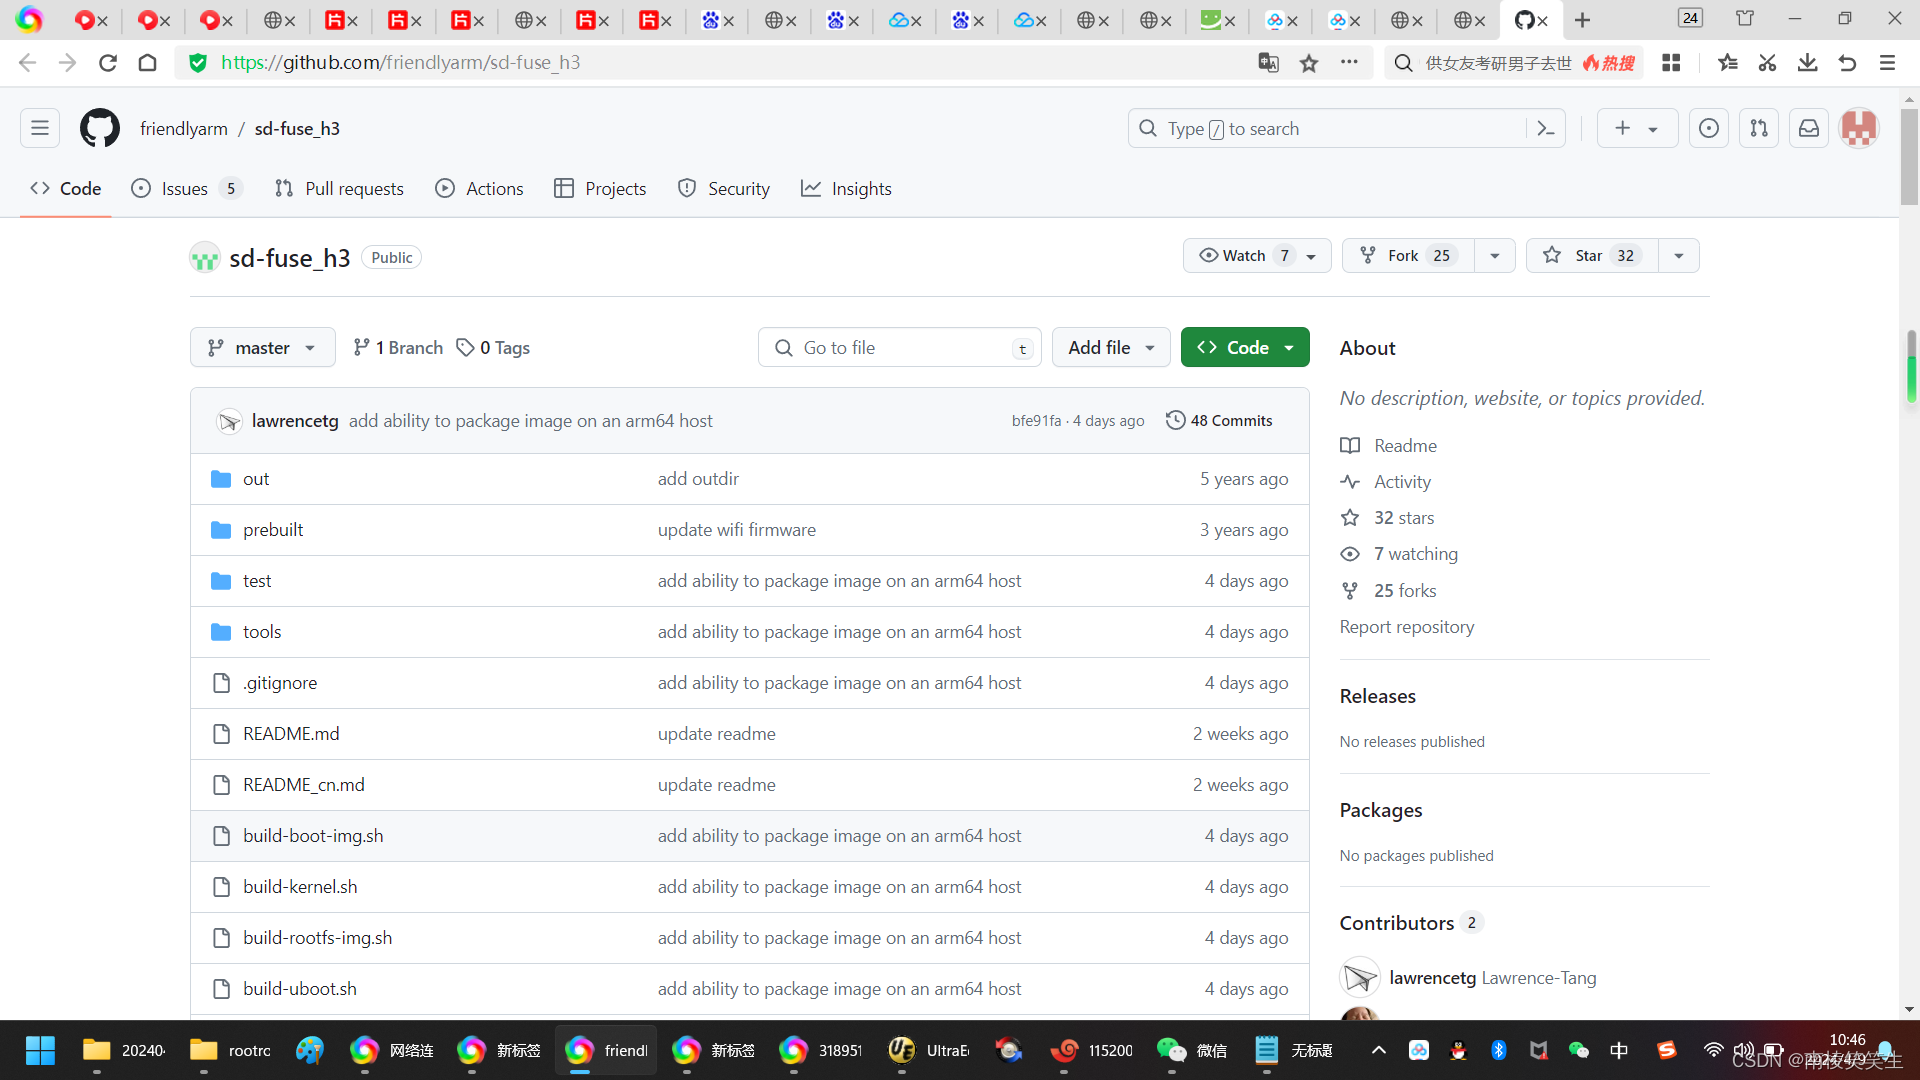
请参考这个git仓库: https://github.com/friendlyarm/sd-fuse_h3
sd-fuse_h3
Introduction
This repository is a bunch of scripts to build bootable SD card images for FriendlyElec H3 boards, the main features are as follows:
Create root ?lesystem image from a directory
Build bootable SD card image
Easy way to compile kernel、uboot and third-party driver
Read this in other languages: 简体中文
https://github.com/friendlyarm/sd-fuse_h3/blob/master/README_cn.md
sd-fuse_h3
简介
sd-fuse 提供一些工具和脚本, 用于制作SD卡固件, 具体用途如下:
制作分区镜像文件, 例如将rootfs目录打包成rootfs.img
将多个分区镜像文件打包成可直接写SD卡的单一镜像文件
简化内核和uboot的编译, 一键编译内核、第三方驱动, 并更新rootfs.img中的内核模块
其他语言版本: English
重新打包 SD-to-eMMC 卡刷固件
注: 这里以friendlycore-jammy系统为例进行说明
下载本仓库到本地, 然后下载并解压分区镜像文件压缩包, 这里需要下载friendlycore-jammy和eflasher系统的文件:
git clone https://github.com/friendlyarm/sd-fuse_h3 -b master --single-branch sd-fuse_h3
cd sd-fuse_h3
wget http://112.124.9.243/dvdfiles/h3/images-for-eflasher/friendlycore-jammy-images.tgz
tar xvzf friendlycore-jammy-images.tgz
wget http://112.124.9.243/dvdfiles/h3/images-for-eflasher/emmc-flasher-images.tgz
tar xvzf emmc-flasher-images.tgz
再使用以下命令, 打包卡刷固件, autostart=yes参数表示使用此固件开机时,会自动进入烧写流程:
./mk-emmc-image.sh friendlycore-jammy autostart=yes
命令执行成功后, 将生成以下文件, 此文件可烧写到SD卡运行:
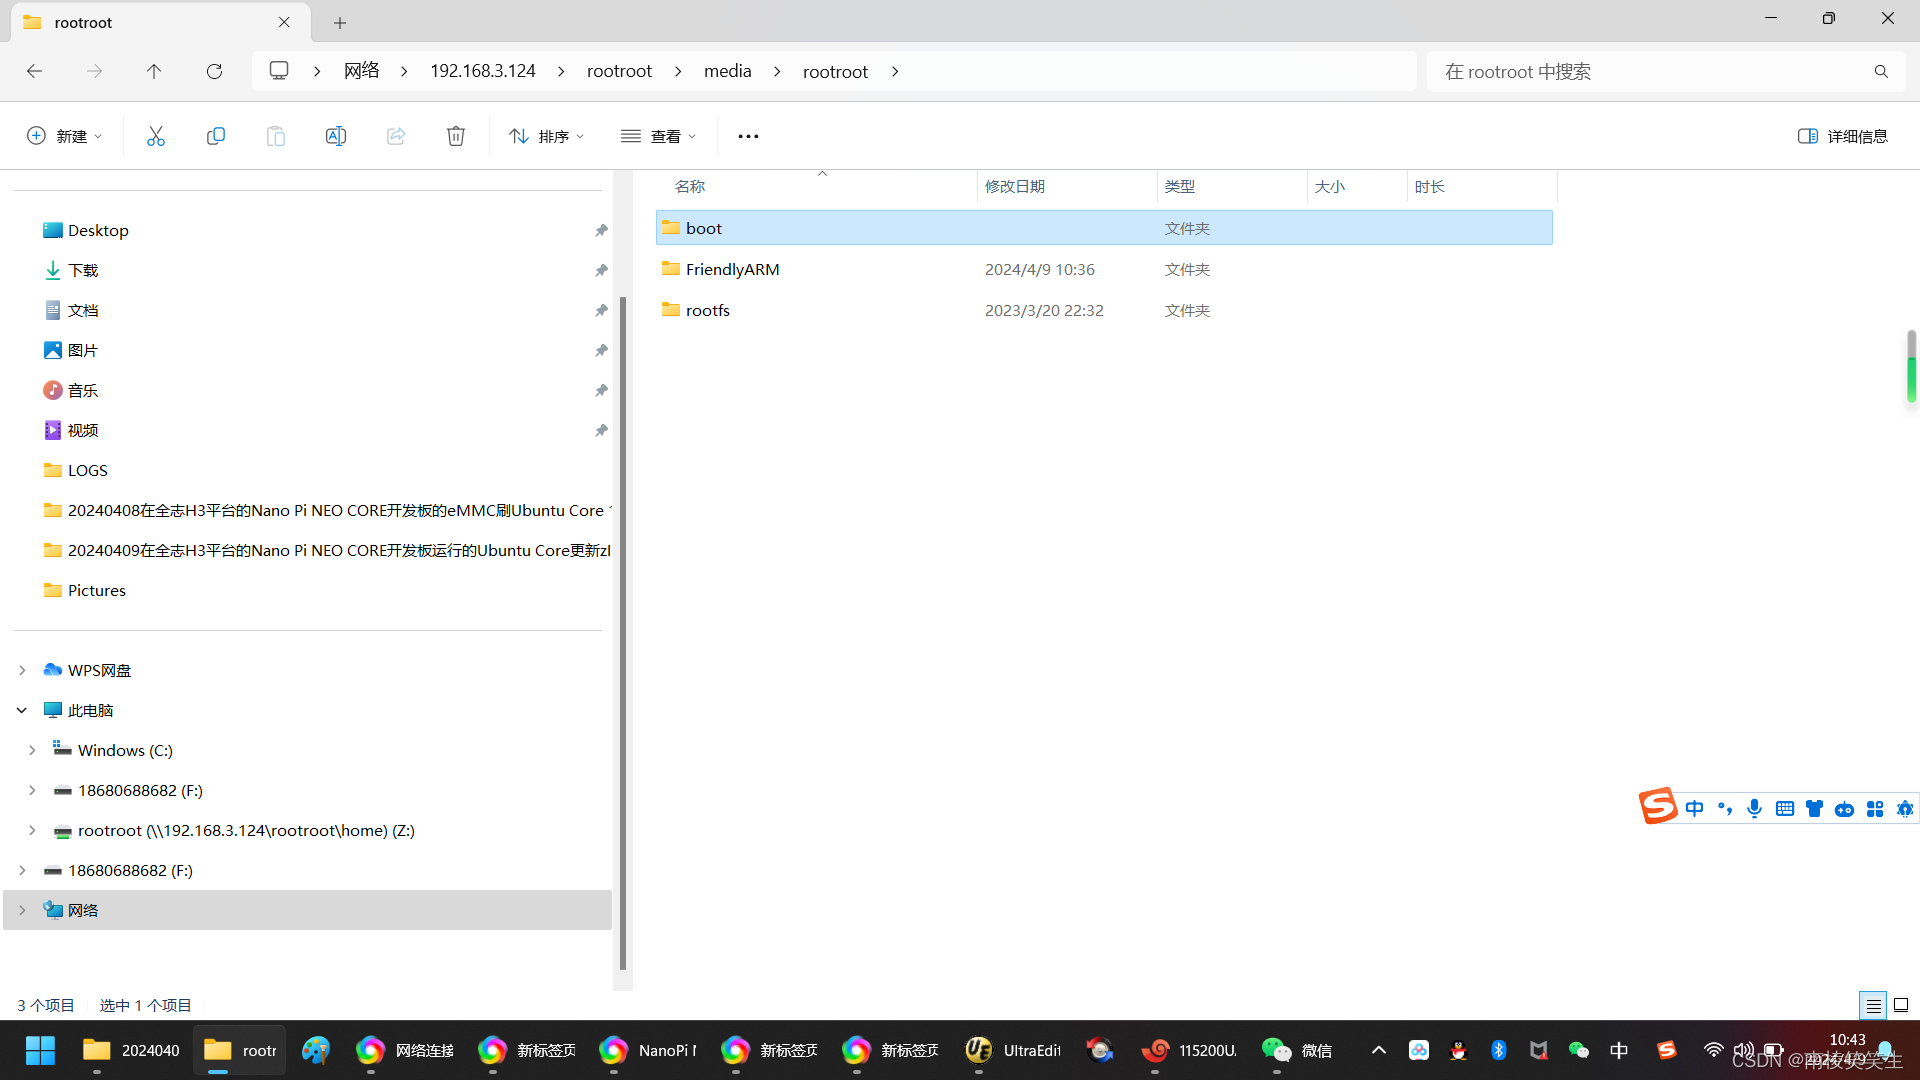
将TF上面的boot分区整个拷贝到,Z:\neo\sd-fuse_h3
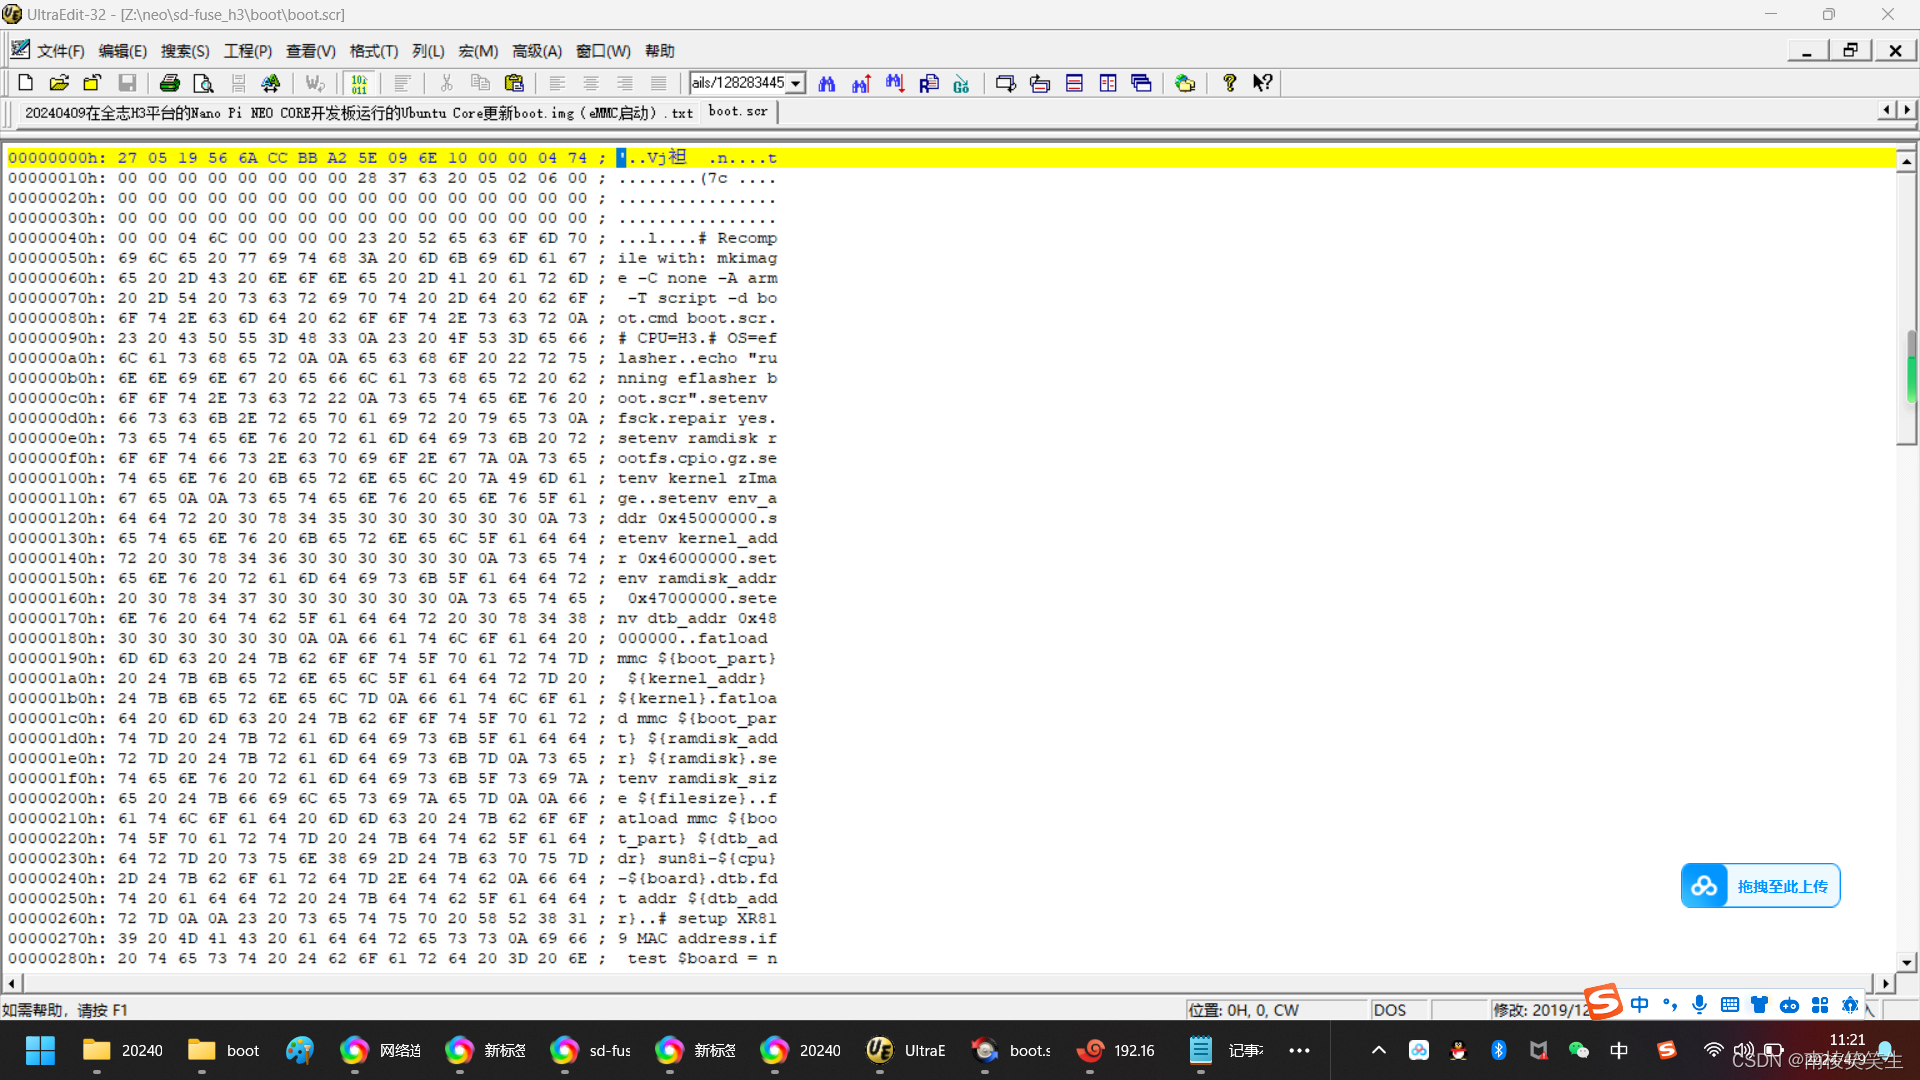
然后替换掉TF卡上的启动文件:boot.cmd、boot.scr


Z:\neo\sd-fuse_h3\boot\boot.cmd
TF卡启动的:
# Recompile with: mkimage -C none -A arm -T script -d boot.cmd boot.scr
# CPU=H3
# OS=eflasher
echo "running eflasher boot.scr"
setenv fsck.repair yes
setenv ramdisk rootfs.cpio.gz
setenv kernel zImage
setenv env_addr 0x45000000
setenv kernel_addr 0x46000000
setenv ramdisk_addr 0x47000000
setenv dtb_addr 0x48000000
fatload mmc ${boot_part} ${kernel_addr} ${kernel}
fatload mmc ${boot_part} ${ramdisk_addr} ${ramdisk}
setenv ramdisk_size ${filesize}
fatload mmc ${boot_part} ${dtb_addr} sun8i-${cpu}-${board}.dtb
fdt addr ${dtb_addr}
# setup XR819 MAC address
if test $board = nanopi-duo; then fdt set xr819 local-mac-address ${wifi_mac_node}; fi
# setup boot_device
fdt set mmc${boot_mmc} boot_device <1>
setenv fbcon map:0
#setenv hdmi_res drm_kms_helper.edid_firmware=HDMI-A-1:edid/1280x720.bin video=HDMI-A-1:1280x720@60
setenv pmdown snd-soc-core.pmdown_time=3600000
setenv bootargs "console=ttyS0,115200 earlyprintk
root=${rootfs_part} rootfstype=ext4 rw rootwait fsck.repair=${fsck.repair}
panic=10 fbcon=${fbcon} ${hdmi_res} ${overlayfs} ${pmdown}"
bootz ${kernel_addr} ${ramdisk_addr}:${ramdisk_size} ${dtb_addr}
eMMC启动的:
# Recompile with: mkimage -C none -A arm -T script -d boot.cmd boot.scr
# CPU=H3
# OS=friendlycore/ubuntu-oled/ubuntu-wifiap/openwrt/debian/debian-nas...
echo "running boot.scr"
setenv load_addr 0x44000000
setenv fix_addr 0x44500000
fatload mmc 0 ${load_addr} uEnv.txt
env import -t ${load_addr} ${filesize}
fatload mmc 0 ${kernel_addr} ${kernel}
fatload mmc 0 ${ramdisk_addr} ${ramdisk}
setenv ramdisk_size ${filesize}
fatload mmc 0 ${dtb_addr} sun8i-${cpu}-${board}.dtb
fdt addr ${dtb_addr}
# merge overlay
fdt resize 65536
overlay search
for i in ${overlays}; do
if fatload mmc 0 ${load_addr} overlays/sun8i-h3-${i}.dtbo; then
echo "applying overlay ${i}..."
fdt apply ${load_addr}
fi
done
fatload mmc 0 ${fix_addr} overlays/sun8i-h3-fixup.scr
source ${fix_addr}
# setup XR819 MAC address
if test $board = nanopi-duo; then fdt set xr819 local-mac-address ${wifi_mac_node}; fi
# setup boot_device
fdt set mmc${boot_mmc} boot_device <1>
setenv overlayfs data=/dev/mmcblk0p3
#setenv hdmi_res drm_kms_helper.edid_firmware=HDMI-A-1:edid/1280x720.bin video=HDMI-A-1:1280x720@60
setenv pmdown snd-soc-core.pmdown_time=3600000
setenv bootargs "console=${debug_port} earlyprintk
root=/dev/mmcblk0p2 rootfstype=ext4 rw rootwait fsck.repair=${fsck.repair}
panic=10 fbcon=${fbcon} ${hdmi_res} ${overlayfs} ${pmdown}"
bootz ${kernel_addr} ${ramdisk_addr}:${ramdisk_size} ${dtb_addr}
boot.img的生成过程:
rootroot@rootroot-HP-ZHAN-66-Pro-A-14-G3:~/neo/sd-fuse_h3$
rootroot@rootroot-HP-ZHAN-66-Pro-A-14-G3:~/neo/sd-fuse_h3$ ./build-boot-img.sh boot/ boot.img
Re-running script under sudo...
[sudo] password for rootroot:
Reading package lists... Done
Building dependency tree
Reading state information... Done
The following additional packages will be installed:
swig4.0
Suggested packages:
swig-doc swig-examples swig4.0-examples swig4.0-doc
The following NEW packages will be installed:
exfat-fuse exfat-utils swig swig4.0
0 upgraded, 4 newly installed, 0 to remove and 102 not upgraded.
Need to get 1,151 kB of archives.
After this operation, 5,715 kB of additional disk space will be used.
Do you want to continue? [Y/n] y
Get:1 http://mirrors.tuna.tsinghua.edu.cn/ubuntu focal/universe amd64 exfat-fuse amd64 1.3.0-1 [24.6 kB]
Get:2 http://mirrors.tuna.tsinghua.edu.cn/ubuntu focal/universe amd64 exfat-utils amd64 1.3.0-1 [40.7 kB]
Get:3 http://mirrors.tuna.tsinghua.edu.cn/ubuntu focal/universe amd64 swig4.0 amd64 4.0.1-5build1 [1,081 kB]
Get:4 http://mirrors.tuna.tsinghua.edu.cn/ubuntu focal/universe amd64 swig all 4.0.1-5build1 [5,528 B]
Fetched 1,151 kB in 25s (45.7 kB/s)
Selecting previously unselected package exfat-fuse.
(Reading database ... 213509 files and directories currently installed.)
Preparing to unpack .../exfat-fuse_1.3.0-1_amd64.deb ...
Unpacking exfat-fuse (1.3.0-1) ...
Selecting previously unselected package exfat-utils.
Preparing to unpack .../exfat-utils_1.3.0-1_amd64.deb ...
Unpacking exfat-utils (1.3.0-1) ...
Selecting previously unselected package swig4.0.
Preparing to unpack .../swig4.0_4.0.1-5build1_amd64.deb ...
Unpacking swig4.0 (4.0.1-5build1) ...
Selecting previously unselected package swig.
Preparing to unpack .../swig_4.0.1-5build1_all.deb ...
Unpacking swig (4.0.1-5build1) ...
Setting up exfat-utils (1.3.0-1) ...
Setting up exfat-fuse (1.3.0-1) ...
Setting up swig4.0 (4.0.1-5build1) ...
Setting up swig (4.0.1-5build1) ...
Processing triggers for man-db (2.9.1-1) ...
0+0 records in
0+0 records out
0 bytes copied, 0.000158339 s, 0.0 kB/s
generating boot.img done.
rootroot@rootroot-HP-ZHAN-66-Pro-A-14-G3:~/neo/sd-fuse_h3$
rootroot@rootroot-HP-ZHAN-66-Pro-A-14-G3:~/neo/sd-fuse_h3$
rootroot@rootroot-HP-ZHAN-66-Pro-A-14-G3:~/neo/sd-fuse_h3$
rootroot@rootroot-HP-ZHAN-66-Pro-A-14-G3:~/neo/sd-fuse_h3$ ./build-boot-img.sh boot/ boot.img
Re-running script under sudo...
0+0 records in
0+0 records out
0 bytes copied, 0.000143679 s, 0.0 kB/s
generating boot.img done.
rootroot@rootroot-HP-ZHAN-66-Pro-A-14-G3:~/neo/sd-fuse_h3$


刷机之后确认内核编译时间:【已zImage的生成时间为准,而不是boot.img的打包时间!】
Starting Update UTMP about System Runlevel Changes...
[ OK ] Started Update UTMP about System Runlevel Changes.
Ubuntu 16.04.2 LTS NanoPi-NEO-Core ttyS0
Default Login:
Username = pi
Password = pi
NanoPi-NEO-Core login: pi (automatic login)
_____ _ _ _ _____ _ _____ ____
| ___| __(_) ___ _ __ __| | |_ _| ____| | | ____/ ___|
| |_ | '__| |/ _ \ '_ \ / _` | | | | | _| | | | _|| |
| _|| | | | __/ | | | (_| | | |_| | |___| |___| |__| |___
|_| |_| |_|\___|_| |_|\__,_|_|\__, |_____|_____|_____\____|
|___/
Welcome to Ubuntu 16.04.2 LTS 4.14.111
System load: 0.14 Up time: 44 sec
Memory usage: 8 % of 491Mb IP:
CPU temp: 42°C
Usage of /: 9% of 6.0G
* Documentation: http://wiki.friendlyarm.com/Ubuntu
* Forum: http://www.friendlyarm.com/Forum/
pi@NanoPi-NEO-Core:~$
pi@NanoPi-NEO-Core:~$ cat /etc/issue
Ubuntu 16.04.2 LTS \n \l
pi@NanoPi-NEO-Core:~$
pi@NanoPi-NEO-Core:~$ uname -a
Linux NanoPi-NEO-Core 4.14.111 #1 SMP Tue Apr 9 09:53:51 CST 2024 armv7l armv7l armv7l GNU/Linux
pi@NanoPi-NEO-Core:~$
pi@NanoPi-NEO-Core:~$
pi@NanoPi-NEO-Core:~$ [ 57.136444] cdc_ether 3-1:1.0 usb0: kevent 12 may have been dropped
pi@NanoPi-NEO-Core:~$ poweroff
Failed to set wall message, ignoring: Interactive authentication required.
Failed to power off system via logind: Interactive authentication required.
Failed to start poweroff.target: Interactive authentication required.
See system logs and 'systemctl status poweroff.target' for details.
Failed to open /dev/initctl: Permission denied
Failed to talk to init daemon.
pi@NanoPi-NEO-Core:~$ su
Password:
root@NanoPi-NEO-Core:/home/pi# poweroff

这篇关于20240409在全志H3平台的Nano Pi NEO CORE开发板运行的Ubuntu Core更新boot.img(eMMC启动)的文章就介绍到这儿,希望我们推荐的文章对编程师们有所帮助!


