本文主要是介绍helm 部署 Kube-Prometheus + Grafana + 钉钉告警部署 Kube-Prometheus,希望对大家解决编程问题提供一定的参考价值,需要的开发者们随着小编来一起学习吧!
背景
| 角色 | IP | K8S 版本 | 容器运行时 |
|---|---|---|---|
| k8s-master-1 | 172.16.16.108 | v1.24.1 | containerd://1.6.8 |
| k8s-node-1 | 172.16.16.109 | v1.24.1 | containerd://1.6.8 |
| k8s-node-2 | 172.16.16.110 | v1.24.1 | containerd://1.6.8 |
安装 kube-prometheus
mkdir -p /data/yaml/kube-prometheus/prometheus && cd /data/yaml/kube-prometheus/prometheus# 添加 bitnami charts 仓库
helm repo add bitnami https://charts.bitnami.com/bitnamihelm search repo kube-prometheushelm pull bitnami/kube-prometheus --version 8.3.0tar -zxvf kube-prometheus-8.3.0.tgzcat > my-values.yaml << EOF
global:storageClass: "nfs-client"  # 默认 storageClassprometheus:service:type: NodePort      # 配置 NodePortnodePorts: http: 30090       # 配置 NodePort 端口persistence:enabled: true       # 开启持久化size: 9Gi           # 存储大小alertmanager:service:type: NodePort      # 配置 NodePortnodePorts: http: 30093       # 配置 NodePort 端口persistence:enabled: true       # 开启持久化size: 9Gi           # 存储大小config:route:receiver: 'devops'   # 告警接收者routes:- match:receiver: 'devops'receivers:- name: 'devops'       # 告警接收者webhook_configs:- url: 'http://prometheus-webhook-dingtalk.kube-prometheus:8060/dingtalk/devops/send'     # 注意这里的 devops 需要与 prometheus-webhook-dingtalk 中的 --ding.profile 值相同send_resolved: true
EOF# 创建命名空间
kubectl create ns kube-prometheus# 测试
helm install --namespace kube-prometheus prometheus -f my-values.yaml --dry-run  kube-prometheus# 启动
helm install --namespace kube-prometheus prometheus -f my-values.yaml  kube-prometheus# 查看
helm -n kube-prometheus lskubectl -n kube-prometheus get pod
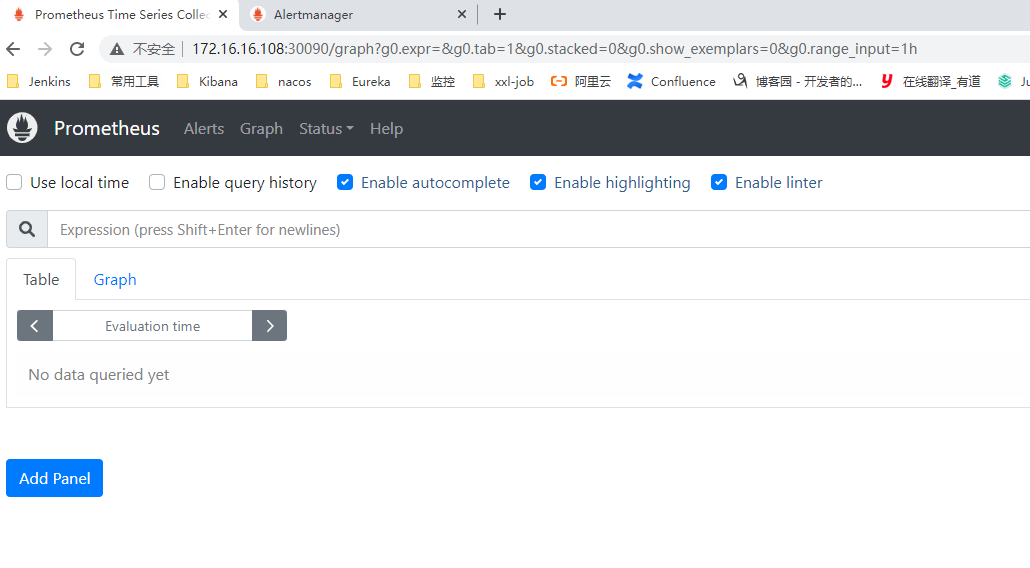
访问 Prometheus
http://172.16.16.108:30090/
配置 Pod 告警策略
mkdir -p /data/yaml/kube-prometheus/prometheus/rules && cd /data/yaml/kube-prometheus/prometheus/rulescat >> k8s-pod-rules.yaml << -'EOF'
apiVersion: monitoring.coreos.com/v1
kind: PrometheusRule
metadata:labels:prometheus-name: kube-prometheus-prometheusmanaged-by: prometheus-operator          name: prometheus-k8s-pod-rulesnamespace:  kube-prometheus
spec:groups:- name: PodMemUsagerules:- alert: Pod内存使用率告警expr: sum by (pod, namespace, job, container) (container_memory_working_set_bytes{pod!="",container !=""}) / sum by (pod, namespace, job, container) (container_spec_memory_limit_bytes{pod!="",container !=""}) * 100 != +Inf > 95for: 1mlabels:severity: 紧急告警service: podsannotations:description: "{{$labels.instance}}: 当前Pod内存使用率大于95% ,使用率为: {{ $value }}"summary: "Pod:{{ $labels.pod }} 检测到内存使用率超过limit值95%"  - name: Pod_cpurules:- alert: Pod_CPU使用率告警expr: sum(irate(container_cpu_usage_seconds_total{pod!="",container !=""}[1m])) by (container, pod) / (sum(container_spec_cpu_quota{pod!="",container !=""}/100000) by (container, pod)) * 100 > 130for: 1mlabels:severity: 严重告警service: podsannotations:description: "{{$labels.pod}}: 一分钟内Pod的cpu使用率大于130%,当前的使用率为: {{ $value }}"  - name: Pod_Network_rxrules:- alert: Pod网络IO(rx方向)告警expr: (sum (rate (container_network_receive_bytes_total{pod!=""}[1m])) by (pod)) / 1024  / 1024 > 200for: 1mlabels:severity: 严重告警service: podsannotations:description: "{{$labels.instance}}: 一分钟内Pod的Pod网络IO(rx方向)大于200Mbps,当前的值为: {{ $value }} Mbps"summary: "Pod:{{ $labels.pod }} 检测到一分钟内网络IO(rx方向)过高"  - name: Pod_Network_txrules:- alert: Pod网络IO(tx方向)告警expr: (sum (rate (container_network_transmit_bytes_total{pod!=""}[1m])) by (pod)) / 1024 / 1024 > 200for: 1mlabels:severity: 严重告警service: podsannotations:description: "{{$labels.instance}}: 一分钟内Pod的Pod网络IO(tx方向)大于200Mbps,当前的值为: {{ $value }} Mbps"summary: "检测到一分钟内Pod网络IO(tx方向)过高"  - name: imagepullbackoffrules:- alert: 拉取镜像失败expr: kube_pod_container_status_waiting_reason{reason="ImagePullBackOff"} == 1for: 1mlabels:severity: 紧急告警annotations:summary: "POD:{{ $labels.pod }} 拉取镜像失败,无法创建容器"description: "请确认镜像是否存在"- name: Pod_Start_Exceptionrules:- alert: POD 资源配置不正确expr: sum by (namespace, pod) (kube_pod_status_phase{ phase=~"Pending|Unknown"}) == 1for: 15slabels:severity: 紧急告警annotations:summary: "POD:{{ $labels.pod }} 启动失败,请及时查看"description: "POD 无法正常启动,请查看资源是否配置正确"- name: crashloopbackoffrules:- alert: POD启动失败expr: kube_pod_container_status_waiting_reason{reason="CrashLoopBackOff"} == 1for: 1mlabels:severity: 紧急告警annotations:summary: "POD:{{ $labels.pod }} 启动失败,请查看程序日志"description: "确认配置参数是否正确"
-EOFkubectl apply -f k8s-pod-rules.yaml# 检查
kubectl -n kube-prometheus get cm
这篇关于helm 部署 Kube-Prometheus + Grafana + 钉钉告警部署 Kube-Prometheus的文章就介绍到这儿,希望我们推荐的文章对编程师们有所帮助!


