本文主要是介绍Typecho 博客文章评论添加显示 UserAgent(UA)的功能,希望对大家解决编程问题提供一定的参考价值,需要的开发者们随着小编来一起学习吧!
- 本篇文章实现了为 Typecho 博客文章评论添加显示 UserAgent(UA)的功能
- 本功能可替代 UserAgent 插件,更美观、简洁且好看
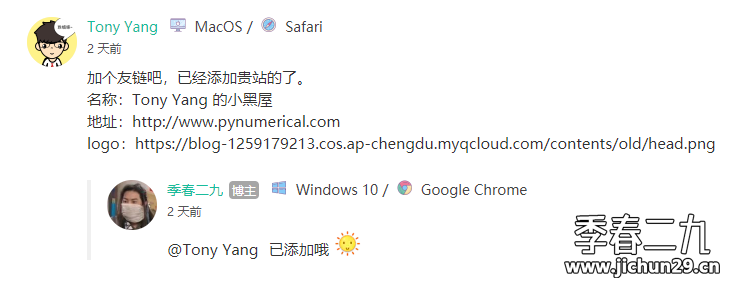
效果显示
- 大概就是这样了,实际效果请看我的评论!
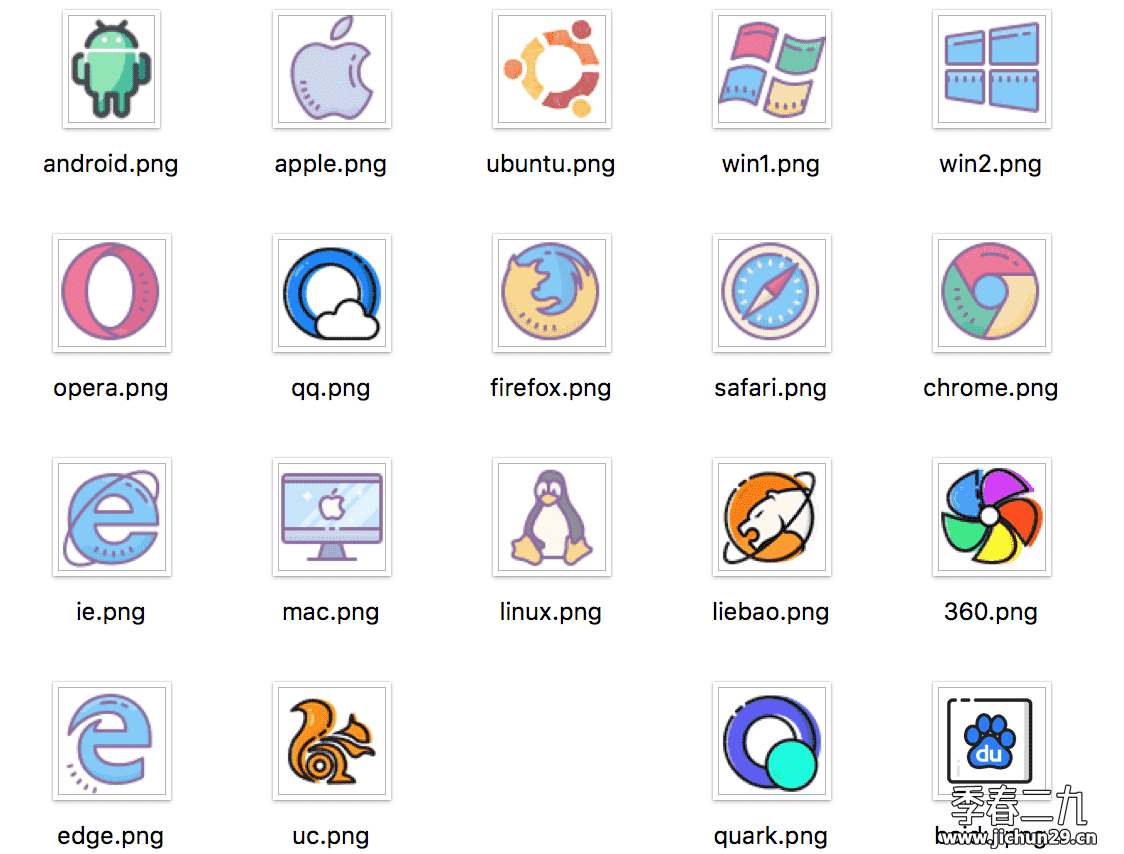
- 目前可以识别的操作系统以及浏览器
食用方法
- 这里以
Mirages主题为例,其他主题操作方法类似。
首先
将下面这段 css 全部加入到 Mirages/css/7.10.0/Mirages.min.css 末尾。
.ua-icon{display:inline-block;width:1pc;height:1pc;background-size:cover;background-repeat:no-repeat;vertical-align:text-top}.icon-360{background-image:url(https://img.jichun29.cn/img/20200226125429.png)}.icon-android{background-image:url(https://img.jichun29.cn/img/20200226125423.png);height:19px}.icon-apple{background-image:url(https://img.jichun29.cn/img/20200226125422.png)}.icon-baidu{background-image:url(https://img.jichun29.cn/img/20200226125424.png)}.icon-chrome{background-image:url(https://img.jichun29.cn/img/20200226125427.png)}.icon-edge{background-image:url(https://img.jichun29.cn/img/20200226125425.png)}.icon-firefox{background-image:url(https://img.jichun29.cn/img/20200226125426.png)}.icon-google{background-image:url(https://img.jichun29.cn/img/20200226125428.png)}.icon-ie{background-image:url(https://img.jichun29.cn/img/20200226125431.png)}.icon-liebao{background-image:url(https://img.jichun29.cn/img/20200226125430.png)}.icon-linux{background-image:url(https://img.jichun29.cn/img/20200226125433.png)}.icon-mac{background-image:url(https://img.jichun29.cn/img/20200226125432.png)}.icon-opera{background-image:url(https://img.jichun29.cn/img/20200226125434.png)}.icon-qq{background-image:url(https://img.jichun29.cn/img/20200226125435.png)}.icon-quark{background-image:url(https://img.jichun29.cn/img/20200226125437.png)}.icon-safari{background-image:url(https://img.jichun29.cn/img/20200226125438.png)}.icon-ubuntu{background-image:url(https://img.jichun29.cn/img/20200226125436.png)}.icon-uc{background-image:url(https://img.jichun29.cn/img/20200226125439.png)}.icon-win1{background-image:url(https://img.jichun29.cn/img/20200226125440.png)}.icon-win2{background-image:url(https://img.jichun29.cn/img/20200226125421.png)}
- 也可后台加入自定义 css 或是直接在 header.php 中引入
然后
找到 Mirages/functions.php,将下面代码完整复制,加到 functions.php 文件的最末尾
// 获取浏览器信息function getBrowser($agent){if (preg_match('/MSIE\s([^\s|;]+)/i', $agent, $regs)) {$outputer = '<i class="ua-icon icon-ie"></i> Internet Explore';} else if (preg_match('/FireFox\/([^\s]+)/i', $agent, $regs)) {$str1 = explode('Firefox/', $regs[0]);$FireFox_vern = explode('.', $str1[1]);$outputer = '<i class="ua-icon icon-firefox"></i> FireFox';} else if (preg_match('/Maxthon([\d]*)\/([^\s]+)/i', $agent, $regs)) {$str1 = explode('Maxthon/', $agent);$Maxthon_vern = explode('.', $str1[1]);$outputer = '<i class="ua-icon icon-edge"></i> MicroSoft Edge';} else if (preg_match('#360([a-zA-Z0-9.]+)#i', $agent, $regs)) {$outputer = '<i class="ua-icon icon-360"></i> 360极速浏览器';} else if (preg_match('/Edge([\d]*)\/([^\s]+)/i', $agent, $regs)) {$str1 = explode('Edge/', $regs[0]);$Edge_vern = explode('.', $str1[1]);$outputer = '<i class="ua-icon icon-edge"></i> MicroSoft Edge';} else if (preg_match('/UC/i', $agent)) {$str1 = explode('rowser/', $agent);$UCBrowser_vern = explode('.', $str1[1]);$outputer = '<i class="ua-icon icon-uc"></i> UC浏览器';} else if (preg_match('/QQ/i', $agent, $regs)||preg_match('/QQBrowser\/([^\s]+)/i', $agent, $regs)) {$str1 = explode('rowser/', $agent);$QQ_vern = explode('.', $str1[1]);$outputer = '<i class= "ua-icon icon-qq"></i> QQ浏览器';} else if (preg_match('/UBrowser/i', $agent, $regs)) {$str1 = explode('rowser/', $agent);$UCBrowser_vern = explode('.', $str1[1]);$outputer = '<i class="ua-icon icon-uc"></i> UC浏览器';} else if (preg_match('/Opera[\s|\/]([^\s]+)/i', $agent, $regs)) {$outputer = '<i class= "ua-icon icon-opera"></i> Opera';} else if (preg_match('/Chrome([\d]*)\/([^\s]+)/i', $agent, $regs)) {$str1 = explode('Chrome/', $agent);$chrome_vern = explode('.', $str1[1]);$outputer = '<i class="ua-icon icon-chrome""></i> Google Chrome';} else if (preg_match('/safari\/([^\s]+)/i', $agent, $regs)) {$str1 = explode('Version/', $agent);$safari_vern = explode('.', $str1[1]);$outputer = '<i class="ua-icon icon-safari"></i> Safari';} else{$outputer = '<i class="ua-icon icon-chrome"></i> Google Chrome';}echo $outputer;}// 获取操作系统信息function getOs($agent){$os = false;if (preg_match('/win/i', $agent)) {if (preg_match('/nt 6.0/i', $agent)) {$os = ' <i class= "ua-icon icon-win1"></i> Windows Vista / ';} else if (preg_match('/nt 6.1/i', $agent)) {$os = ' <i class= "ua-icon icon-win1"></i> Windows 7 / ';} else if (preg_match('/nt 6.2/i', $agent)) {$os = ' <i class="ua-icon icon-win2"></i> Windows 8 / ';} else if(preg_match('/nt 6.3/i', $agent)) {$os = ' <i class= "ua-icon icon-win2"></i> Windows 8.1 / ';} else if(preg_match('/nt 5.1/i', $agent)) {$os = ' <i class="ua-icon icon-win1"></i> Windows XP / ';} else if (preg_match('/nt 10.0/i', $agent)) {$os = ' <i class="ua-icon icon-win2"></i> Windows 10 / ';} else{$os = ' <i class="ua-icon icon-win2"></i> Windows X64 / ';}} else if (preg_match('/android/i', $agent)) {if (preg_match('/android 9/i', $agent)) {$os = ' <i class="ua-icon icon-android"></i> Android Pie / ';}else if (preg_match('/android 8/i', $agent)) {$os = ' <i class="ua-icon icon-android"></i> Android Oreo / ';}else{$os = ' <i class="ua-icon icon-android"></i> Android / ';}}else if (preg_match('/ubuntu/i', $agent)) {$os = ' <i class="ua-icon icon-ubuntu"></i> Ubuntu / ';} else if (preg_match('/linux/i', $agent)) {$os = ' <i class= "ua-icon icon-linux"></i> Linux / ';} else if (preg_match('/iPhone/i', $agent)) {$os = ' <i class="ua-icon icon-apple"></i> iPhone / ';} else if (preg_match('/mac/i', $agent)) {$os = ' <i class="ua-icon icon-mac"></i> MacOS / ';}else if (preg_match('/fusion/i', $agent)) {$os = ' <i class="ua-icon icon-android"></i> Android / ';} else {$os = ' <i class="ua-icon icon-linux"></i> Linux / ';}echo $os;}
最后
在 Mirages/lib/comments.php 中找到合适位置添加以下代码:
<span class="comment-ua"><?php getOs($comments->agent); ?><?php getBrowser($comments->agent); ?></span>

如果修改完都显示 Linux 的话,需要将上面的 $comments 替换成 $this 即可,注意代码缩进
修改完后刷新浏览器缓存,现在你的评论 UA 已经变得很漂亮啦!
这篇关于Typecho 博客文章评论添加显示 UserAgent(UA)的功能的文章就介绍到这儿,希望我们推荐的文章对编程师们有所帮助!


