本文主要是介绍ChatGLM:CPU版本如何安装和部署使用,希望对大家解决编程问题提供一定的参考价值,需要的开发者们随着小编来一起学习吧!
前段时间想自己部署一个ChatGLM来训练相关的物料当做chatgpt使用,但是奈何没有gpu机器,只能使用cpu服务器尝试使用看看效果
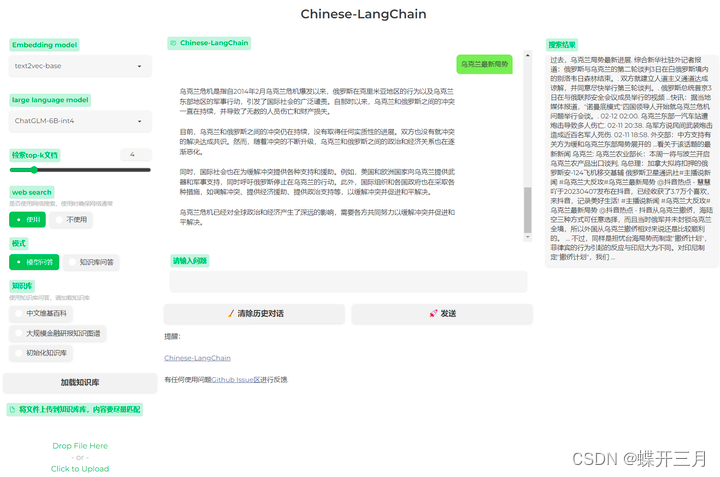
我部署的 Chinese-LangChain 这个项目,使用的是LLM(ChatGLM)+embedding(GanymedeNil/text2vec-large-chinese)+langChain的组合
一、环境
- OS:CentOS
- python3.9及以上
- gcc
- CPU:32核
- 内存:128G
二、安装步骤
1、克隆源码
git clone https://github.com/THUDM/ChatGLM-6B.git2、安装依赖
cd ChatGLM-6B
pip3 install -r requirements.txt
3、下载模型到本地
git lfs install
git clone https://huggingface.co/THUDM/chatglm-6b
GIT_LFS_SKIP_SMUDGE=1
如果上面下载太慢,也可以去https://huggingface.co/THUDM/chatglm-6b-int4/tree/main 手动下载,然后上传到服务器上的指定目录下
4、修改代码支持cpu
找到web_demo.py脚本,找到以下代码
tokenizer = AutoTokenizer.from_pretrained("THUDM/chatglm-6b", trust_remote_code=True)
model = AutoModel.from_pretrained("THUDM/chatglm-6b", trust_remote_code=True).half().cuda()
修改为
tokenizer = AutoTokenizer.from_pretrained("**step3存放的路径**", trust_remote_code=True)
model = AutoModel.from_pretrained("**step3存放的路径**", trust_remote_code=True).float()
模型的名字由THUDM/chatglm-6b改为 本地模型路径/chatglm-6b-int4
gpu模型源码中.half().cuda()替换为.float()
5、运行python web_demo.py
前台运行
python3 web_demo.py后台运行
nohup python3 -u web_demo.py >web_demo.out 2>&1 &
6、运行成功,直接在浏览器上打开服务器上提示的地址,进行访问即可

这篇关于ChatGLM:CPU版本如何安装和部署使用的文章就介绍到这儿,希望我们推荐的文章对编程师们有所帮助!


