本文主要是介绍dolphinscheduler海豚调度(五)seatunnel案例,希望对大家解决编程问题提供一定的参考价值,需要的开发者们随着小编来一起学习吧!
seatunnel作为新一代流行的数据集成工具,其功能非常强大且简单易用,今天演示一下如何通过dolphinscheduler创建并运行seatunnel任务
本次dolphinscheduler和seatunnel均部署在同一机器上的单机版本
1、环境配置
打开dolphinscheduler安装目录,编辑dolphinscheduler_env.sh,添加seatunnel的环境
vim bin/env/dolphinscheduler_env.sh export SEATUNNEL_HOME=${SEATUNNEL_HOME:-/opt/seatunnel/apache-seatunnel-2.3.3}2、创建seatunnel任务
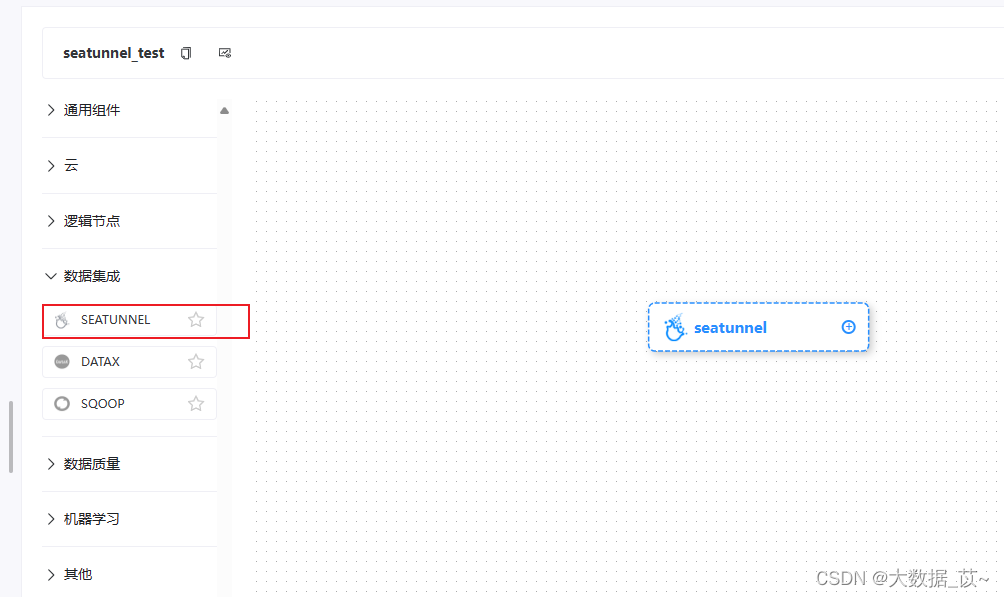
在数据集成下选择seatunnel组件

3、编辑任务
本次采用seatunnel默认引擎,所以选择seatunnel.sh

需要选择部署模式,否则任务报错

编辑脚本
env {execution.parallelism = 2job.mode = "BATCH"
}
source {Jdbc {url = "jdbc:mysql://ip:3306/database"driver = "com.mysql.cj.jdbc.Driver"connection_check_timeout_sec = 100user = "user "password = "password"query = "select * from table1 limit 4"}
}transform {# If you would like to get more information about how to configure seatunnel and see full list of transform plugins,# please go to https://seatunnel.apache.org/docs/transform/sql
}sink {jdbc {url = "jdbc:mysql://ip:3306/database"driver = "com.mysql.cj.jdbc.Driver"user = "user"password = "password "query = "insert into table1 (id,name) values(?,?)"}
}
4、运行

完成!
好了,赶快创建你的seatunnel任务吧~
这篇关于dolphinscheduler海豚调度(五)seatunnel案例的文章就介绍到这儿,希望我们推荐的文章对编程师们有所帮助!


