本文主要是介绍基于react-native实现情侣小游戏,希望对大家解决编程问题提供一定的参考价值,需要的开发者们随着小编来一起学习吧!
title: 基于react-native实现情侣小游戏
date: 2018-06-25 11:19:33
tags: react-native
–
一、背景
前段时间,突发奇想,想要自己做一款能够上架的app,就根据react-native进行了开发,其中具有的功能点就是情侣了解度的测试,通过一些情侣应该知道的问题进行测试双方的了解程度,了解的越多,则得分也就越高,在这个app里边区分男方和女方,用户点击进如对应的题库进行答题,最终获取分值.
二、效果

三、下载安装与查看
1.首先,通过命令进行克隆项目
git clone https://github.com/suwu150/LoveYouDeeply.git
也可以直接到网站https://github.com/suwu150/LoveYouDeeply进行直接下载到本地
2.在下载之后,进入到项目中,执行下面命令进行安装依赖
npm install
确保安装没有出错,然后运行下面命令
react-native run-ios或者react-native run-android
注意,在mac系统中可直接运行react-native run-ios命令,windows系统中,运行react-native run-android这个之前需要确定有模拟器是启动着的或者有真机是连接着的。
按照上面的过程实施之后,就可以看到效果了.
四、代码及实现过程
1.项目结构如下所示:
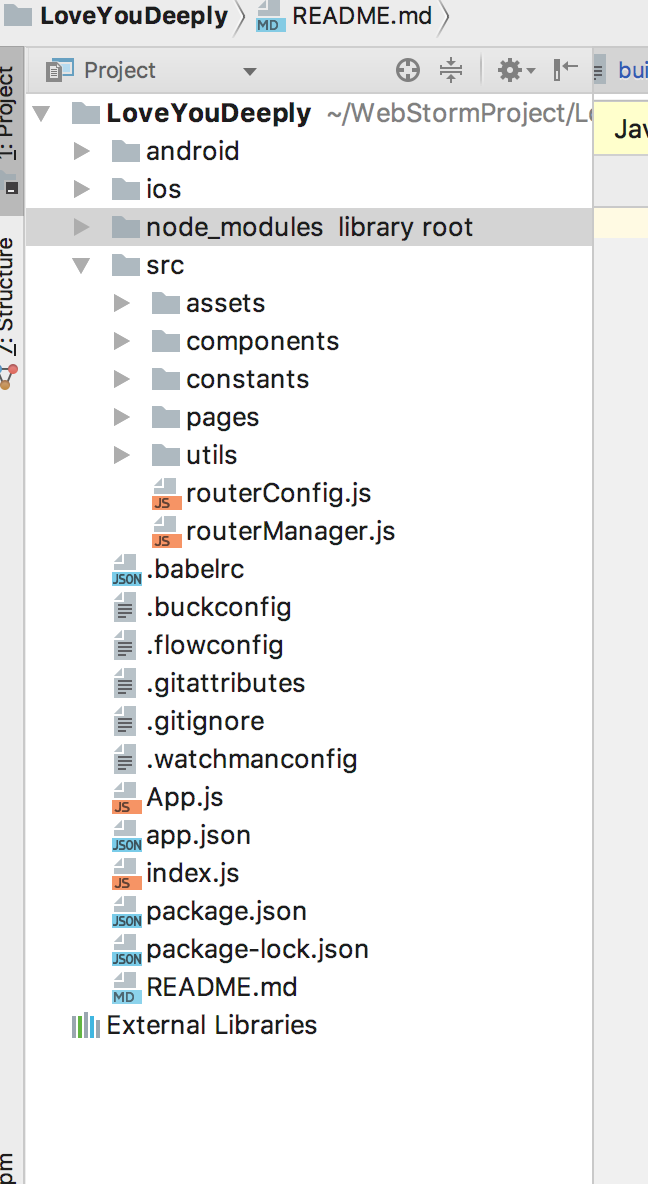 项目结构
项目结构
1.主页面代码(home)
/*** Created by jkwu on 2018/6/18.*/
import React, { Component } from 'react';
import { Drawer, List } from 'antd-mobile-rn';
import Ionicons from 'react-native-vector-icons/Ionicons';
import { View, Text, TouchableOpacity, Alert } from 'react-native';
import StringDistinction from 'react-native-string-distinction';
import styleDict from '../../constants/styleDict';
import LocalKeyStore from '../../utils/storageUtil';import { maleQuestions, femaleQuestions } from '../../constants/questions';export default class Home extends Component {static navigationOptions = ({ navigation }) => {const { params } = navigation.state;return {title: '',headerLeft: null,headerRight: (<TouchableOpacityonPress={() => {params && params.onOpenChange && params.onOpenChange();}}><Ionicons name="md-more" size={28} color="#fff" style={{ marginRight: 15 }} /></TouchableOpacity>),};};constructor(props) {super(props);this.state = {  open: false };}componentDidMount() {const { navigation } = this.props;navigation && navigation.setParams({ onOpenChange: this._onOpenChange });LocalKeyStore.setKey('femaleQuestions', femaleQuestions, (error) => {if (error) {Alert.alert(error.message, '');} else {// Alert.alert('保存成功', '');}});LocalKeyStore.setKey('maleQuestions', maleQuestions, (error) => {if (error) {Alert.alert(error.message, '');} else {// Alert.alert('保存成功', '');}});}_onOpenChange = () => {this.setState({  open: !this.state.open });};_toContent = (gender) => {const questionType = gender === 'male' ? 'maleQuestions' : 'femaleQuestions';LocalKeyStore.getKey(questionType, (error, questions) => {const { navigation } = this.props;if (!error) { navigation.navigate('Content', { gender, questions });  }});};_onPress = (router) => {const { navigation } = this.props;navigation.navigate(router);};render() {const itemWidth = styleDict.windowW / 2;const itemHeight = styleDict.windowH - 10;const sidebarList = [<List.Item onClick={() => this._onPress('About')}><View><Text>关于软件</Text></View></List.Item>,<List.Item onClick={() => this._onPress('Instructions')}><View><Text>使用说明</Text></View></List.Item>,<List.Item onClick={() => this._onPress('QuestionAdd')}><View><Text>添加问题</Text></View></List.Item>,<List.Item onClick={() => this._onPress('QuestionList')}><View><Text>问题列表</Text></View></List.Item>,<List.Item onClick={() => this._onPress('Version')}><View><Text>版本 1.0</Text></View></List.Item>,];return (<View style={{ flex: 1 }}><DrawerenableDragHandleposition="right"style={{ position: 'relative', height: styleDict.windowH }}contentStyle={{ color: '#A6A6A6', textAlign: 'center', paddingTop: 42 }}sidebar={sidebarList}open={this.state.open}drawerWidth={styleDict.windowW / 2}drawerBackgroundColor="#fff"onOpenChange={this.onOpenChange}><View style={{ height: 150, justifyContent: 'center', alignItems: 'center' }}><Text style={{ fontSize: 30, color: '#ffbbef' }}>选择主人公</Text></View><View style={{ flexDirection: 'row', justifyContent: 'center',alignItems: 'center', height: 300 }}><TouchableOpacity onPress={() => this._toContent('male')}><View style={{ flex: 1, width: itemWidth, height: itemHeight, backgroundColor: '#fcff81',justifyContent: 'center', alignItems: 'center'}}><StringDistinctionvalue={'我是男主'}delimiter={'男'}frontStyle={{ fontSize: 20, color: '#fd7251' }}delimiterStyle={{ fontSize: 30, color: '#92cbfd' }}behindStyle={{ fontSize: 26, color: '#fd7251' }}/></View></TouchableOpacity><TouchableOpacity onPress={() => this._toContent('female')}><View style={{ flex: 1, width: itemWidth, height: itemHeight, backgroundColor: '#ffbbef',justifyContent: 'center', alignItems: 'center'}}><StringDistinctionvalue={'我是女主'}delimiter={'女'}frontStyle={{ fontSize: 20, color: '#fd7251' }}delimiterStyle={{ fontSize: 30, color: '#fd697d' }}behindStyle={{ fontSize: 26, color: '#fd7251' }}/></View></TouchableOpacity></View></Drawer></View>);}
}
2.内容界面(content)代码如下所示:
import React, { Component } from 'react';
import { View, Text, Image, StyleSheet } from 'react-native';
import SwipeCards from 'react-native-swipe-cards';
import Card from './card';
import NoMoreCard from './noMoreCard';
import styleDict from '../../constants/styleDict';
import randomStyle from '../../utils/randomStyle';import femaleQuestions from '../../constants/female_questions.json';
import maleQuestions from '../../constants/male_questions.json';export default class Home extends Component {constructor(props) {super(props);const { navigation } = this.props;const { params } = navigation.state;this.state = {gender: params.gender,questions: (params.gender === 'male' ? maleQuestions : femaleQuestions) || [],totalScore: 0};}_handleYup = (card) => {// 右划-否console.log(`Yup for ${card.text}`);this.setState({totalScore: this.state.totalScore - card.score <= 0 ? 0 : this.state.totalScore - card.score});};_handleNope = (card) => {// 左划-是console.log(`Nope for ${card.text}`);this.setState({totalScore: this.state.totalScore + card.score});};_handleMaybe = (card) => {// 上划console.log(`Maybe for ${card.text}`);this.setState({totalScore: this.state.totalScore + (card.score / 2)});};render() {const explainItem = styleDict.windowW / 3;return (<View style={{ flex: 1, alignItems: 'center' }}><View style={{ flexDirection: 'row', alignItems: 'center', width: styleDict.windowW,height: 30, position: 'absolute', top: 0, zIndex: 999 }}><Viewstyle={{ width: explainItem, backgroundColor: '#ffa6f3', height: 30, borderBottomRightRadius: 30,alignItems: 'center', justifyContent: 'center'}}><Textstyle={{ alignSelf: 'flex-start', textAlign: 'left' }}>{'左滑选是'}</Text></View><Viewstyle={{ width: explainItem, backgroundColor: '#ffa6f3', height: 30, borderRadius: 30,alignItems: 'center', justifyContent: 'center' }}><Textstyle={{ alignSelf: 'center', width: explainItem, textAlign: 'center' }}>{'上滑也许是吧'}</Text></View><Viewstyle={{ width: explainItem, backgroundColor: '#ffa6f3', height: 30, borderBottomLeftRadius: 30,alignItems: 'center', justifyContent: 'center' }}><Textstyle={{ alignSelf: 'flex-end', width: explainItem, textAlign: 'right' }}>{'右滑选否'}</Text></View></View><View style={{ flex: 1 }}><SwipeCardscards={this.state.questions}renderCard={(cardData) => <Card {...cardData} />}renderNoMoreCards={() => <NoMoreCard />}handleYup={this._handleYup}handleNope={this._handleNope}handleMaybe={this._handleMaybe}yupTextStyle={{ color: '#ff6559' }}yupText="否"yupStyle={{ borderColor: '#ff6559' }}nopeStyle={{ borderColor: '#3d7d29' }}nopeTextStyle={{ color: '#3d7d29' }}nopeText="是"maybeText="也许是吧"hasMaybeAction/></View><Imagesource={require('../../assets/images/heart.jpg')}style={{ width: styleDict.windowW, height: 50, resizeMode: Image.resizeMode.stretch, opacity: 0.7 }}/><View style={{height: 150,width: styleDict.windowW,justifyContent: 'center',alignItems: 'center',backgroundColor: this.state.gender === 'male' ? '#ffe144' : '#ffa0c4'}}><Text style={randomStyle()}>{this.state.totalScore}</Text></View></View>);}
}
五、已完成功能以及待完成功能
- [+].增加用户自己提交问题的功能
- [].增加远程服务器,进行账号数据保存,进行实时更新问题列表
六、仓库地址
欢迎访问代码仓库:https://github.com/suwu150/LoveYouDeeply 点赞加星星
这篇关于基于react-native实现情侣小游戏的文章就介绍到这儿,希望我们推荐的文章对编程师们有所帮助!


