本文主要是介绍uni-app 实现拍照后给照片加水印功能,希望对大家解决编程问题提供一定的参考价值,需要的开发者们随着小编来一起学习吧!
遇到个需求需要实现,研究了一下后写了个demo
本质上就是把拍完照后的照片放到canvas里,然后加上水印样式然后再重新生成一张图片
代码如下,看注释即可~使用的话记得还是得优化下代码
<template><view class="content"><button @click="handlePhotoAndWatermask">测试按钮</button><!-- uni-app必须要有一个canvas元素 --><!-- 所以在这里放置一个并且将它隐藏起来 --><view style="position: absolute; left: 9999px"><canvascanvas-id="myCanvas":style="{ width: `${canvasWidth}px`, height: `${canvasHeight}px` }"></canvas></view></view>
</template><script>
export default {data() {return {canvasWidth: 300,canvasHeight: 150,}},methods: {handlePhotoAndWatermask() {// 调用拍照功能uni.chooseMedia({mediaType: ['image'],sourceType: ['camera'],maxDuration: 30,camera: 'back',success: (res) => {const filePath = res.tempFiles[0].tempFilePath// 获取图片宽高uni.getImageInfo({src: filePath,success: ({ width, height }) => {// 将canvas的宽高置成同样的宽高this.canvasWidth = widththis.canvasHeight = height// 用this.$nextTick不行,第一次还是会按默认的300 * 150截取// setTimeout时间也不能太短,500ms左右setTimeout(() => {const ctx = uni.createCanvasContext('myCanvas')// 将图片放到canvas中ctx.drawImage(filePath, 0, 0, width, height)// 加上想要绘制的水印ctx.font = '50px system-ui'ctx.fillStyle = 'red'ctx.fillText('测试写入', 20, 100)ctx.draw()// 将canvas转化成图片uni.canvasToTempFilePath({canvasId: 'myCanvas',width: this.canvasWidth,height: this.canvasHeight,success: ({ tempFilePath }) => {// 可以对生成的图片做你需要的操作uni.previewImage({current: 0,urls: [tempFilePath],})},})}, 500)},fail() {console.error('获取图片详情失败')},})},})},},
}
</script>
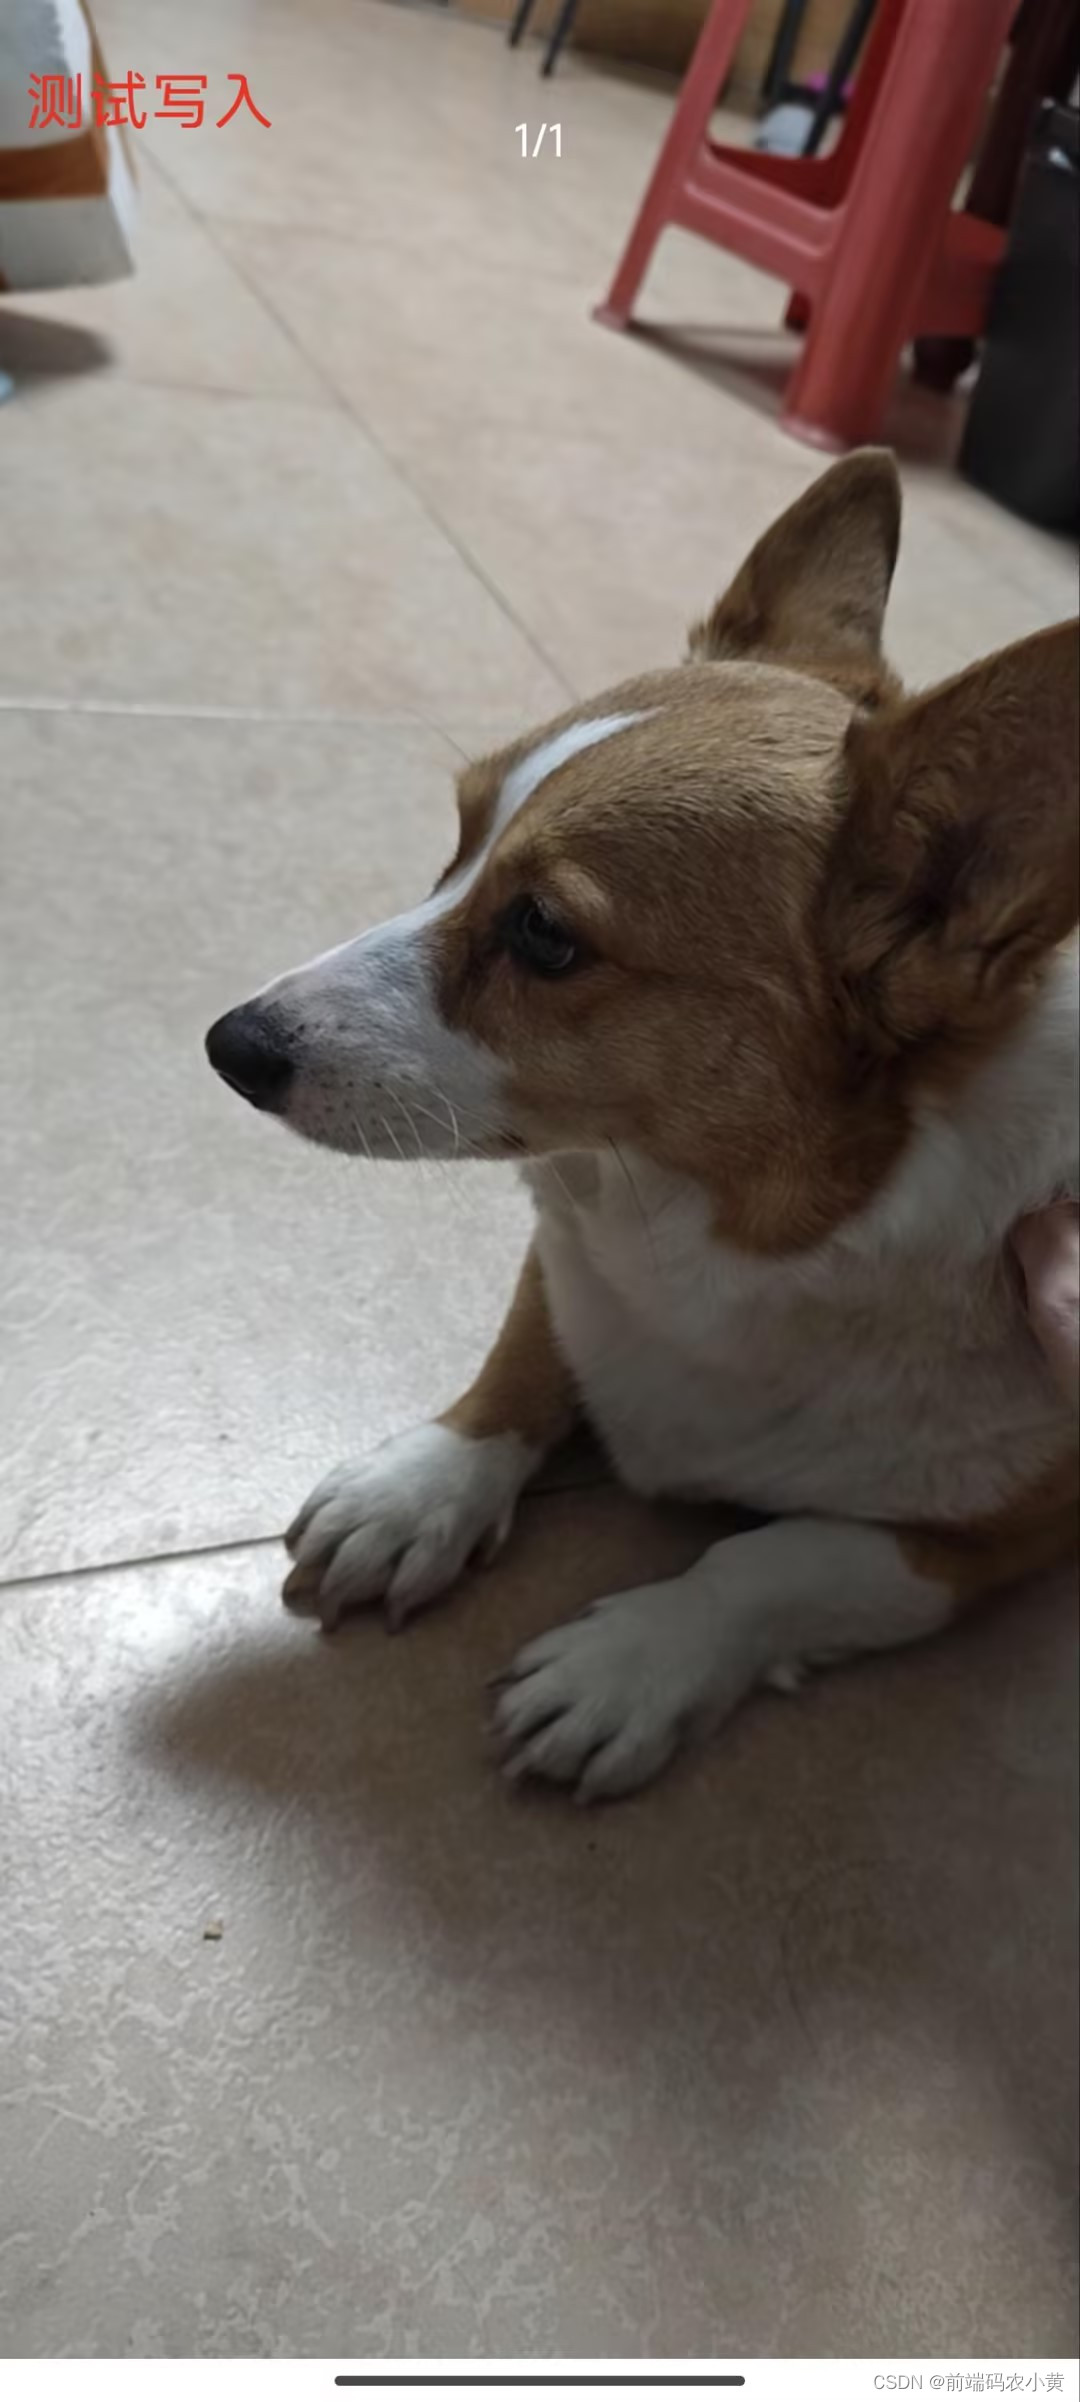
最终展示效果如下~

PS: 这个只是小程序版,不过App端也是类似的实现方式~
这篇关于uni-app 实现拍照后给照片加水印功能的文章就介绍到这儿,希望我们推荐的文章对编程师们有所帮助!


