本文主要是介绍Three.js加载PLY文件,希望对大家解决编程问题提供一定的参考价值,需要的开发者们随着小编来一起学习吧!
这是官方的例子
three.js webgl - PLY
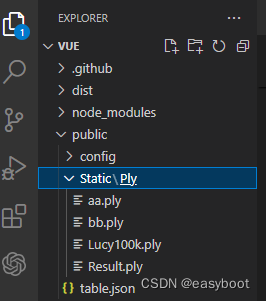
我在Vue3中使用,测试了好久始终不显示点云数据。在网上查询后发现ply文件要放置在public目录下才行

			<el-row><el-button type="primary" class="el-btn" @click="IniThree1">PLY</el-button><div id="my-three" style="height:600px;width:100%"></div></el-row><script setup lang="ts" name="Camera3DScan">
import { ref, onMounted, watch } from 'vue'
import axios from 'axios'
import { ElMessage } from 'element-plus';
import * as THREE from "three";
import { OrbitControls } from "three/examples/jsm/controls/OrbitControls";
import { PLYLoader } from 'three/examples/jsm/loaders/PLYLoader'const scene = new THREE.Scene();
//创建一个透视相机,窗口宽度,窗口高度
const width = window.innerWidth, height = window.innerHeight;
const camera = new THREE.PerspectiveCamera(45, width / height, 1, 1000);
//创建一个WebGL渲染器
const renderer = new THREE.WebGLRenderer()const IniThree1 = async () => {console.log('initThree --')// 添加多个模型(添加圆形)// const  geometry2 = new THREE.SphereGeometry(60, 40, 40);// const  material2 = new THREE.MeshLambertMaterial({//     color: 0xffff00// });// const mesh2 = new THREE.Mesh(geometry2, material2); //网格模型对象Mesh// // mesh3.translateX(120); //球体网格模型沿Y轴正方向平移120// mesh2.position.set(120,0,0);//设置mesh3模型对象的xyz坐标为120,0,0// scene.add(mesh2);scene.add(new THREE.HemisphereLight(0x8d7c7c, 0x494966, 3));//添加光源 //会照亮场景里的全部物体(氛围灯),前提是物体是可以接受灯光的,这种灯是无方向的,即不会有阴影。const ambient = new THREE.AmbientLight(0xffffff, 0.4);const light = new THREE.PointLight(0xffffff, 1);//点光源,color:灯光颜色,intensity:光照强度scene.add(ambient);light.position.set(200, 300, 400);scene.add(light);//设置相机位置camera.position.set(300, 300, 300);//设置相机方向camera.lookAt(0, 0, 0);//创建辅助坐标轴const axesHelper = new THREE.AxesHelper(200);//参数200标示坐标系大小,可以根据场景大小去设置scene.add(axesHelper);const loader = new PLYLoader();try {//在此运行代码//let s = '../../plublic/Static/ply/Lucy100k'//let s = './assets/ply/Result.ply'let s ='../public/Static/ply/Result.ply'loader.load(s,function (geometry) {console.log('loader.load ');//import {aa} from s;console.log(geometry);geometry.computeVertexNormals();const  material2 = new THREE.PointsMaterial({ size: 0.01 });//const material.vertexColors = true;let mesh2 = new THREE.Points(geometry, material2);mesh2.position.x = 0;mesh2.position.y = -1;mesh2.position.z = 0;mesh2.scale.multiplyScalar(0.2);mesh2.castShadow = true;mesh2.receiveShadow = true;scene.add(mesh2);scene.background = new THREE.Color(0x52645b);console.log('loader.load OK');// //创建一个物体(形状)// const geometry1 = new THREE.BoxGeometry(100, 200, 100);//长宽高都是100的立方体// console.log(geometry1);// // const geometry = new THREE.SphereGeometry(60,40,40);//半径是60的圆// //widthSegments, heightSegments:水平方向和垂直方向上分段数。widthSegments最小值为3,默认值为8。heightSegments最小值为2,默认值为6。// //创建材质(外观)// const material = new THREE.MeshLambertMaterial({// 	// color: 0x0000ff,//设置材质颜色(蓝色)// 	color: 0x00ff00,//(绿色)// 	transparent: true,//开启透明度// 	opacity: 0.5 //设置透明度// });// //创建一个网格模型对象// const mesh = new THREE.Mesh(geometry1, material);//网络模型对象Mesh// //把网格模型添加到三维场景// scene.add(mesh);//网络模型添加到场景中},function (xhr) {console.log((xhr.loaded / xhr.total) * 100 + "% loaded");},function (err) {console.error(err);});console.log('loader ok')}catch (err) {//在此处理错误console.log(err)}console.log('loader ok end')renderer.setSize(width, height)//设置渲染区尺寸renderer.render(scene, camera)//执行渲染操作、指定场景、相机作为参数const controls = new OrbitControls(camera, renderer.domElement)//创建控件对象controls.addEventListener('change', () => {renderer.render(scene, camera)//监听鼠标,键盘事件console.log('mouse ')})document.getElementById('my-three')?.appendChild(renderer.domElement)
} //let cameraTarget, renderer;//scene: { background: any; fog: any; add: (arg0: any) => void; }, camera,onMounted(() => {IniThree1()})
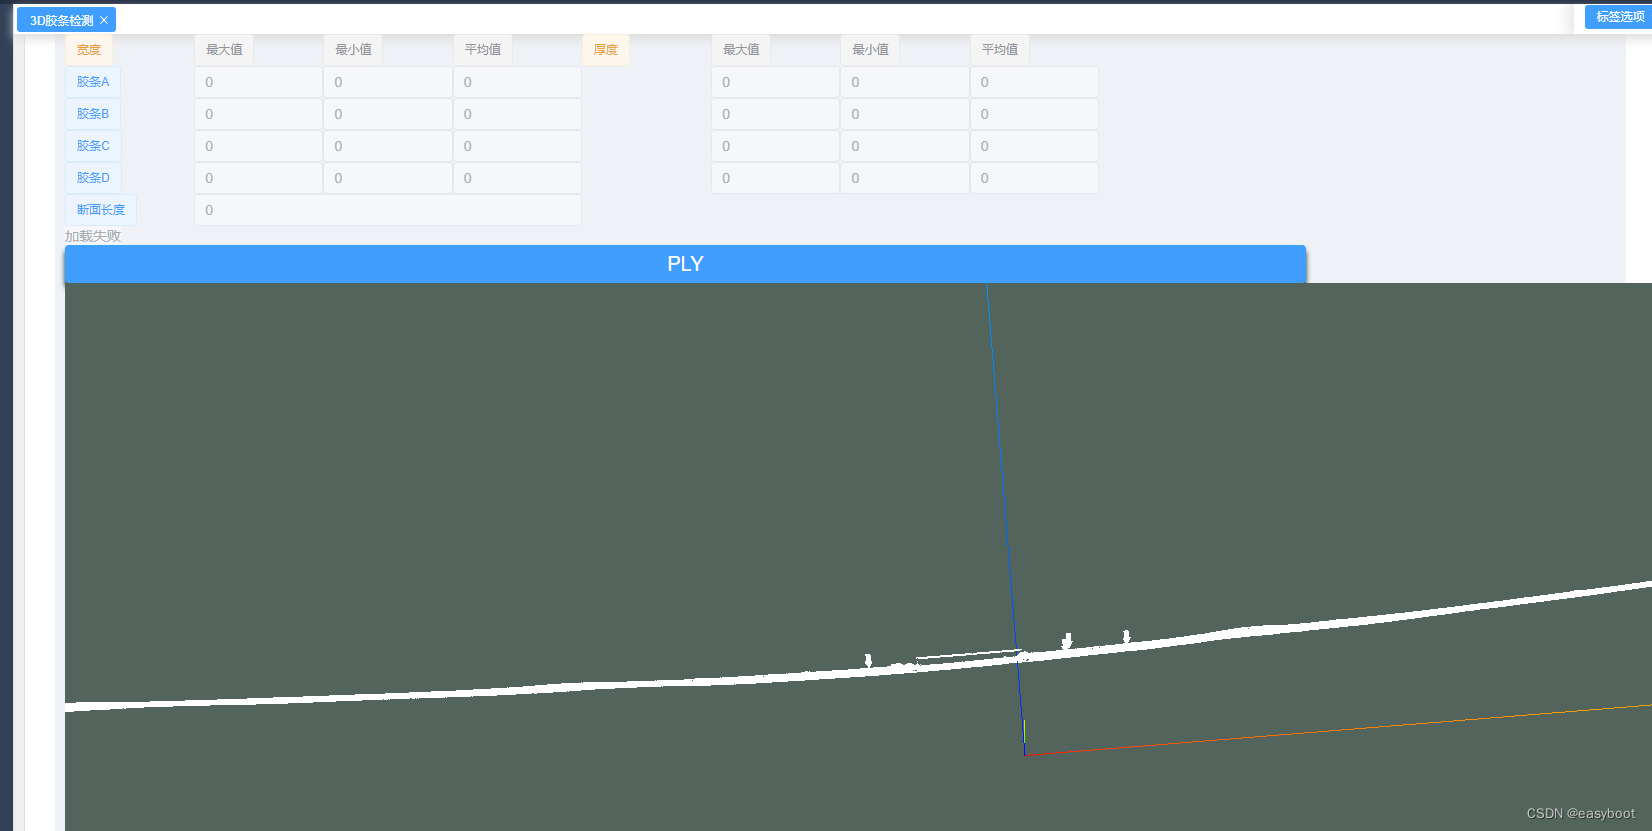
最终效果

这篇关于Three.js加载PLY文件的文章就介绍到这儿,希望我们推荐的文章对编程师们有所帮助!


