本文主要是介绍opencv python投影变换效果,希望对大家解决编程问题提供一定的参考价值,需要的开发者们随着小编来一起学习吧!


变换原理:
https://www.cnblogs.com/txwtech/p/18024547
python示范代码:
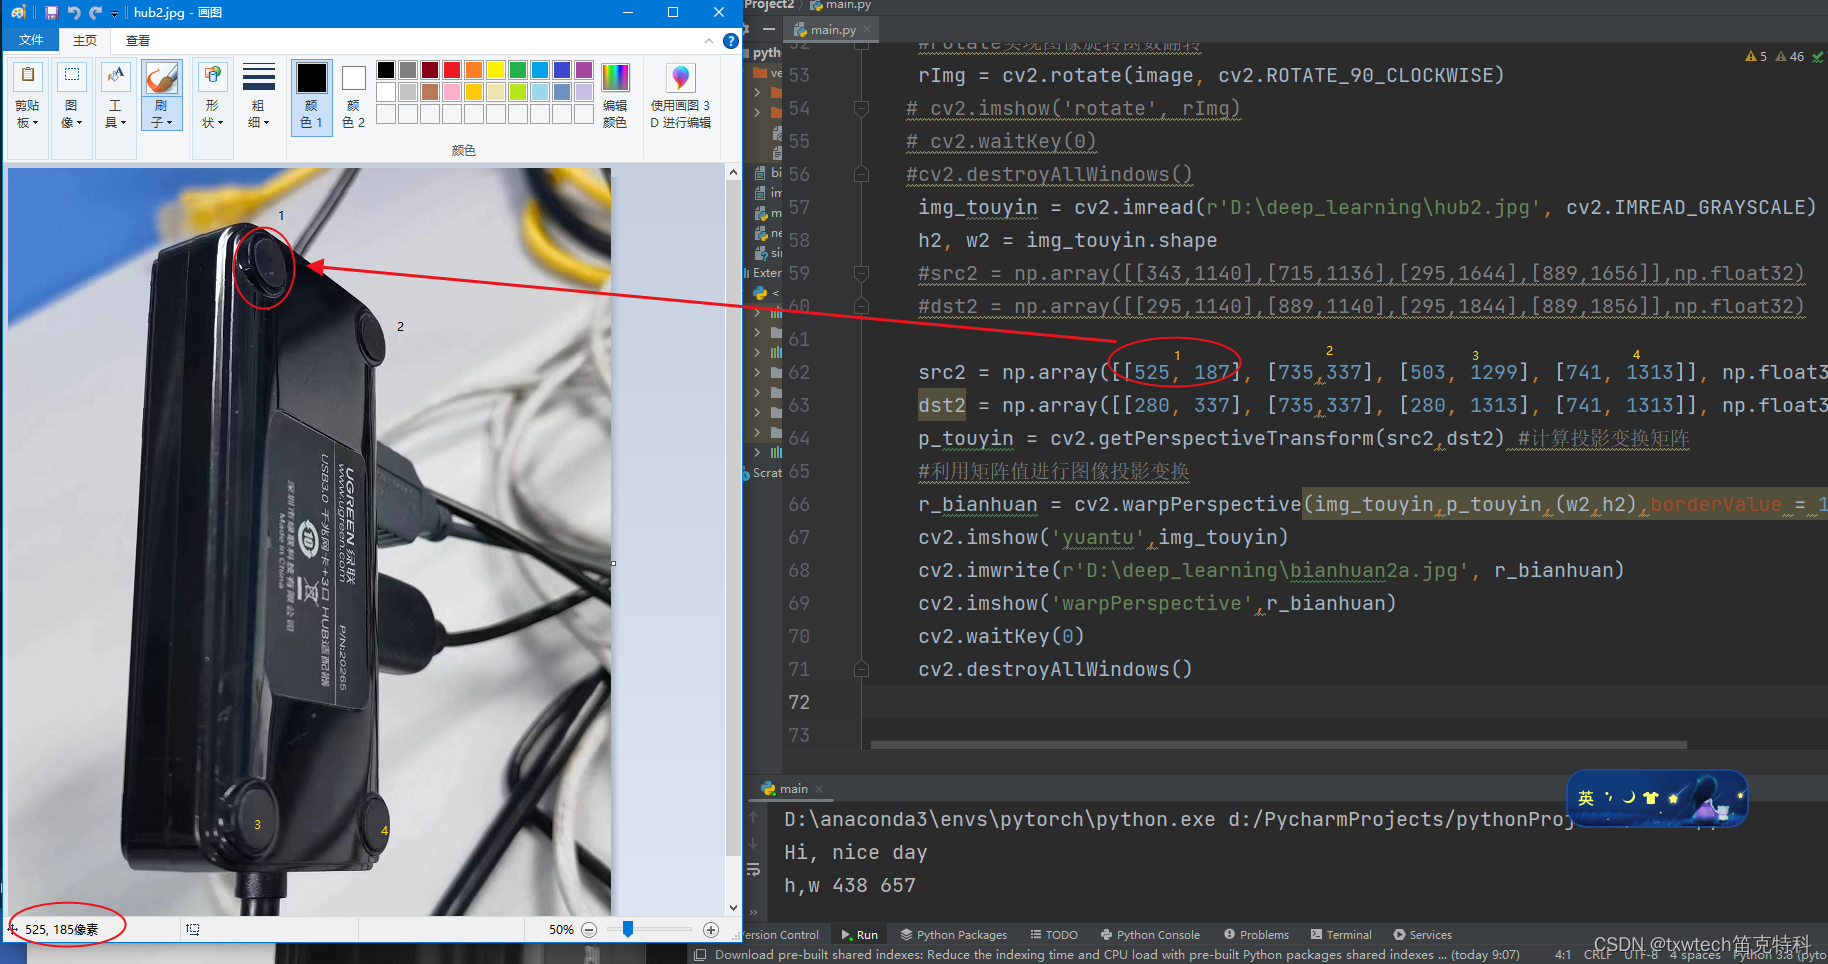
src2原图,4个坐标点
dst2转换后,4个坐标点
p_touyin = cv2.getPerspectiveTransform(src2,dst2) #计算投影变换矩阵
#利用矩阵值进行图像投影变换
r_bianhuan = cv2.warpPerspective(img_touyin,p_touyin,(w2,h2),borderValue = 125)
# This is a sample Python script.# Press Shift+F10 to execute it or replace it with your code.
# Press Double Shift to search everywhere for classes, files, tool windows, actions, and settings.def print_hi(name):# Use a breakpoint in the code line below to debug your script.print(f'Hi, {name}')  # Press Ctrl+F8 to toggle the breakpoint.import sys
import cv2
from numpy import *
import numpy as np
# Press the green button in the gutter to run the script.if __name__ == '__main__':print_hi('nice day')#图像的仿射变换#if len(sys.argv) >1:if 2 > 1:#image = cv2.imread(sys.argv[1],cv2.IMREAD_GRAYSCALE)image = cv2.imread(r'D:\deep_learning\qiqiu\qiqiu.jpg', cv2.IMREAD_GRAYSCALE)else:print('image error')cv2.imwrite('img0206.jpg',image)#读取原图高和宽h_y, w_x = image.shape[:2]print('h,w',h_y, w_x)#python opencv resize实现缩放,缩放到原来的一般dst2 = cv2.resize(image,(int(h_y/2),int(w_x/2)))#cv2.imshow('0.5',dst2)'''dsize:是一个整体包好了(宽和高)(int(h_y/2),int(w_x/2))Traceback (most recent call last):File "d:/PycharmProjects/pythonProject2/main.py", line 35, in <module>dst2 = cv2.resize(image,int(h_y/2),int(w_x/2))
cv2.error: OpenCV(4.9.0) :-1: error: (-5:Bad argument) in function 'resize'
> Overload resolution failed:
>  - Can't parse 'dsize'. Input argument doesn't provide sequence protocol
>  - Can't parse 'dsize'. Input argument doesn't provide sequence protocol'''#缩放0.25倍,四分之一dst2a = cv2.resize(image,(0,0),fx=0.25,fy=0.25,interpolation=cv2.INTER_LINEAR)# cv2.imshow('0.25x', dst2a)# cv2.waitKey(0)# cv2.destroyAllWindows()#rotate实现图像旋转函数翻转rImg = cv2.rotate(image, cv2.ROTATE_90_CLOCKWISE)# cv2.imshow('rotate', rImg)# cv2.waitKey(0)#cv2.destroyAllWindows()img_touyin = cv2.imread(r'D:\deep_learning\hub2.jpg', cv2.IMREAD_GRAYSCALE)h2, w2 = img_touyin.shape#src2 = np.array([[343,1140],[715,1136],[295,1644],[889,1656]],np.float32)#dst2 = np.array([[295,1140],[889,1140],[295,1844],[889,1856]],np.float32)src2 = np.array([[525, 187], [735,337], [503, 1299], [741, 1313]], np.float32)dst2 = np.array([[280, 337], [735,337], [280, 1313], [741, 1313]], np.float32)p_touyin = cv2.getPerspectiveTransform(src2,dst2) #计算投影变换矩阵#利用矩阵值进行图像投影变换r_bianhuan = cv2.warpPerspective(img_touyin,p_touyin,(w2,h2),borderValue = 125)cv2.imshow('yuantu',img_touyin)cv2.imwrite(r'D:\deep_learning\bianhuan2a.jpg', r_bianhuan)cv2.imshow('warpPerspective',r_bianhuan)cv2.waitKey(0)cv2.destroyAllWindows()
这篇关于opencv python投影变换效果的文章就介绍到这儿,希望我们推荐的文章对编程师们有所帮助!


