本文主要是介绍Windows下如何运行mediapipe(极简版),希望对大家解决编程问题提供一定的参考价值,需要的开发者们随着小编来一起学习吧!
硬件准备:一个USB摄像头
必备库:
1.安装opencv-python库(win下安装opencv非常简单,此处不再赘述)
2.安装mediapipe库
pip install mediapipe打开vscode,随便新建一个空的.py文件,将示例代码复制进去,这里以face_detection举例:
示例代码网址 :Face Detection | mediapipe (google.github.io)
代码内容如下:
import cv2
import mediapipe as mp
mp_face_detection = mp.solutions.face_detection
mp_drawing = mp.solutions.drawing_utils# For static images:
IMAGE_FILES = []
with mp_face_detection.FaceDetection(model_selection=1, min_detection_confidence=0.5) as face_detection:for idx, file in enumerate(IMAGE_FILES):image = cv2.imread(file)# Convert the BGR image to RGB and process it with MediaPipe Face Detection.results = face_detection.process(cv2.cvtColor(image, cv2.COLOR_BGR2RGB))# Draw face detections of each face.if not results.detections:continueannotated_image = image.copy()for detection in results.detections:print('Nose tip:')print(mp_face_detection.get_key_point(detection, mp_face_detection.FaceKeyPoint.NOSE_TIP))mp_drawing.draw_detection(annotated_image, detection)cv2.imwrite('/tmp/annotated_image' + str(idx) + '.png', annotated_image)# For webcam input:
cap = cv2.VideoCapture(0)
with mp_face_detection.FaceDetection(model_selection=0, min_detection_confidence=0.5) as face_detection:while cap.isOpened():success, image = cap.read()if not success:print("Ignoring empty camera frame.")# If loading a video, use 'break' instead of 'continue'.continue# To improve performance, optionally mark the image as not writeable to# pass by reference.image.flags.writeable = Falseimage = cv2.cvtColor(image, cv2.COLOR_BGR2RGB)results = face_detection.process(image)# Draw the face detection annotations on the image.image.flags.writeable = Trueimage = cv2.cvtColor(image, cv2.COLOR_RGB2BGR)if results.detections:for detection in results.detections:mp_drawing.draw_detection(image, detection)# Flip the image horizontally for a selfie-view display.cv2.imshow('MediaPipe Face Detection', cv2.flip(image, 1))if cv2.waitKey(5) & 0xFF == 27:break
cap.release()
注意代码中间有一行需要选择摄像头(这是唯一可能需要修改的地方)

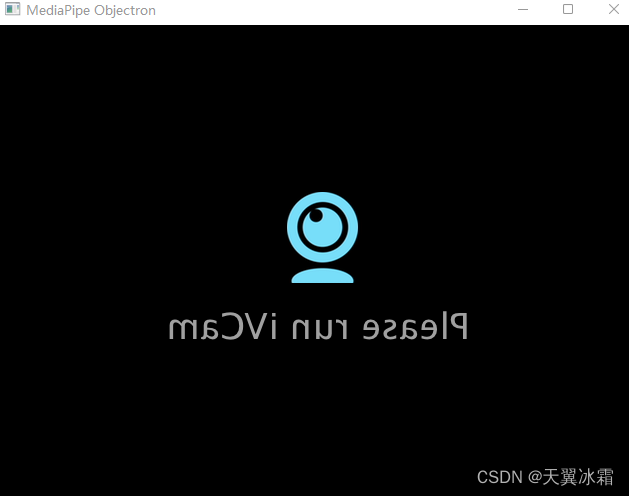
(括号内参数默认为0,表示第一个视频设备),如果代码运行后显示如下图所示(此处为我的虚拟摄像头软件,它占用了设备0),说明需要改,改成1大概率可以解决(其顺序为电脑设备管理器中的视频设备的顺序):

完成,选择合适的解释器运行该Python文件即可(Run Python file)
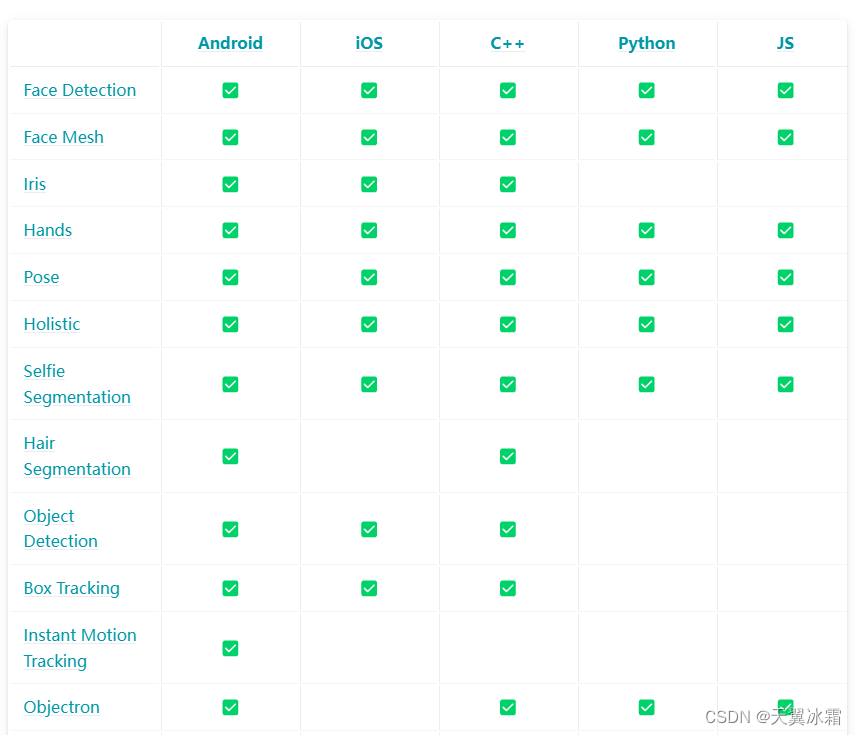
文档地址如下:Python只能运行所选的7个应用
Solutions | mediapipe (google.github.io)

这篇关于Windows下如何运行mediapipe(极简版)的文章就介绍到这儿,希望我们推荐的文章对编程师们有所帮助!


