本文主要是介绍安卓中如何设置轮播图——banner,希望对大家解决编程问题提供一定的参考价值,需要的开发者们随着小编来一起学习吧!
安卓中如何设置轮播图—banner
在安卓中制作app时我们有时候需要制作轮播图,实现图片自动循环播放的功能。虽然在安卓中可以实现,但是太麻烦了,所以我们导入banner控件去实现这个功能。
具体的相关用法请参考一下文档。
banner官网

1 首先导入依赖
添加依赖
implementation 'com.youth.banner:banner:2.1.0'
implementation 'com.github.bumptech.glide:glide:4.12.0'//添加网络图片
添加网络权限,获取http权限
<uses-permission android:name="android.permission.INTERNET"/>android:usesCleartextTraffic="true"
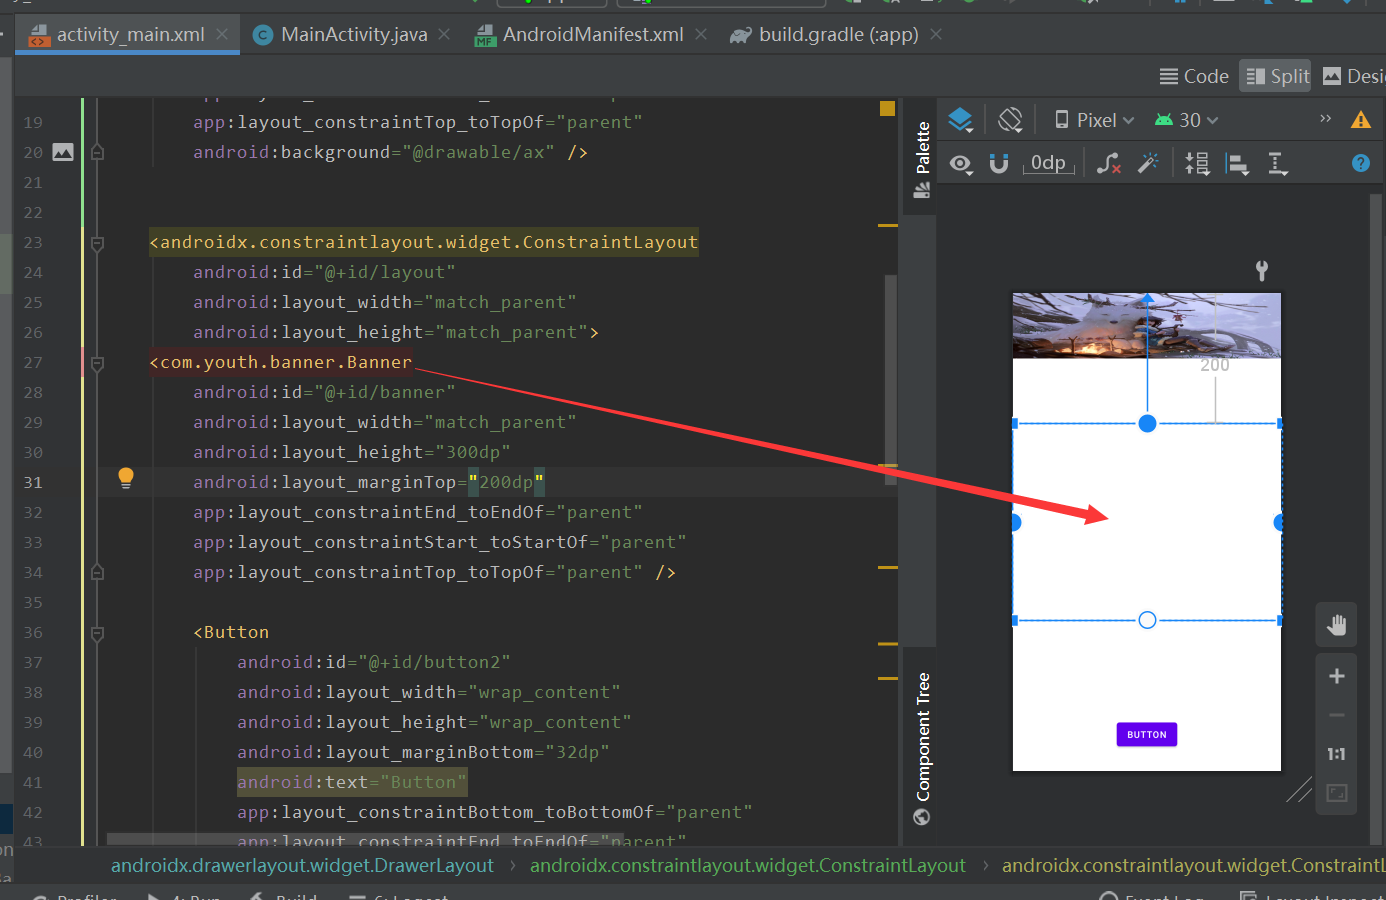
2 在组件中放入banner
3 逻辑代码
package com.huncm.banner;import androidx.annotation.RequiresApi;
import androidx.appcompat.app.AppCompatActivity;
import androidx.constraintlayout.widget.ConstraintLayout;
import androidx.drawerlayout.widget.DrawerLayout;import android.os.Build;
import android.os.Bundle;
import android.view.Gravity;
import android.view.View;import com.bumptech.glide.Glide;
import com.bumptech.glide.load.resource.bitmap.RoundedCorners;
import com.bumptech.glide.request.RequestOptions;
import com.jaeger.library.StatusBarUtil;
import com.youth.banner.Banner;
import com.youth.banner.adapter.BannerAdapter;
import com.youth.banner.adapter.BannerImageAdapter;
import com.youth.banner.holder.BannerImageHolder;
import com.youth.banner.indicator.CircleIndicator;import java.util.ArrayList;
import java.util.List;public class MainActivity extends AppCompatActivity {Banner banner;List<String> stringList = new ArrayList<>();@RequiresApi(api = Build.VERSION_CODES.M)@Overrideprotected void onCreate(Bundle savedInstanceState) {super.onCreate(savedInstanceState);setContentView(R.layout.activity_main);banner = findViewById(R.id.banner);stringList.add("https://ss0.baidu.com/94o3dSag_xI4khGko9WTAnF6hhy/zhidao/pic/item/a6efce1b9d16fdfabf36882ab08f8c5495ee7b9f.jpg");stringList.add("https://ss3.baidu.com/9fo3dSag_xI4khGko9WTAnF6hhy/zhidao/pic/item/0824ab18972bd40797d8db1179899e510fb3093a.jpg");stringList.add("https://ss2.bdstatic.com/70cFvnSh_Q1YnxGkpoWK1HF6hhy/it/u=2647888545,3751969263&fm=224&gp=0.jpg");banner.setAdapter(new BannerImageAdapter<String>(stringList) {@Overridepublic void onBindView(BannerImageHolder holder, String data, int position, int size) {Glide.with(holder.itemView).load(data).apply(RequestOptions.bitmapTransform(new RoundedCorners(30))).into(holder.imageView);}});banner.setIndicator(new CircleIndicator(this));}
}
UI的xml文件:
<?xml version="1.0" encoding="utf-8"?>
<androidx.drawerlayout.widget.DrawerLayout xmlns:android="http://schemas.android.com/apk/res/android"xmlns:app="http://schemas.android.com/apk/res-auto"xmlns:tools="http://schemas.android.com/tools"android:layout_width="match_parent"android:layout_height="match_parent"android:id="@+id/drawlayout"tools:context=".MainActivity"><androidx.constraintlayout.widget.ConstraintLayoutandroid:layout_width="match_parent"android:layout_height="match_parent"><ImageViewandroid:id="@+id/imageView"android:layout_width="match_parent"android:layout_height="100dp"app:layout_constraintEnd_toEndOf="parent"app:layout_constraintStart_toStartOf="parent"app:layout_constraintTop_toTopOf="parent"android:background="@drawable/ax" /><androidx.constraintlayout.widget.ConstraintLayoutandroid:id="@+id/layout"android:layout_width="match_parent"android:layout_height="match_parent"><com.youth.banner.Bannerandroid:id="@+id/banner"android:layout_width="match_parent"android:layout_height="300dp"android:layout_marginTop="200dp"app:layout_constraintEnd_toEndOf="parent"app:layout_constraintStart_toStartOf="parent"app:layout_constraintTop_toTopOf="parent" /><Buttonandroid:id="@+id/button2"android:layout_width="wrap_content"android:layout_height="wrap_content"android:layout_marginBottom="32dp"android:text="Button"app:layout_constraintBottom_toBottomOf="parent"app:layout_constraintEnd_toEndOf="parent"app:layout_constraintStart_toStartOf="parent" /></androidx.constraintlayout.widget.ConstraintLayout></androidx.constraintlayout.widget.ConstraintLayout><androidx.constraintlayout.widget.ConstraintLayoutandroid:layout_width="300dp"android:layout_height="match_parent"android:layout_gravity="left"app:layout_constraintBottom_toBottomOf="parent"app:layout_constraintStart_toStartOf="parent"app:layout_constraintTop_toTopOf="parent"><Buttonandroid:id="@+id/button"android:layout_width="wrap_content"android:layout_height="wrap_content"android:text="Button"app:layout_constraintStart_toStartOf="parent"app:layout_constraintTop_toTopOf="parent" /><ImageViewandroid:id="@+id/imageView2"android:layout_width="match_parent"android:layout_height="300dp"app:layout_constraintBottom_toBottomOf="parent"app:layout_constraintEnd_toEndOf="parent"app:layout_constraintStart_toStartOf="parent"app:layout_constraintTop_toTopOf="parent"android:background="@drawable/ax" /></androidx.constraintlayout.widget.ConstraintLayout></androidx.drawerlayout.widget.DrawerLayout>
这篇关于安卓中如何设置轮播图——banner的文章就介绍到这儿,希望我们推荐的文章对编程师们有所帮助!


