本文主要是介绍iOS控件 -- UICollectionView (瀑布流),希望对大家解决编程问题提供一定的参考价值,需要的开发者们随着小编来一起学习吧!
iOS控件--UICollectionView (瀑布流)
- 前言
- 概念
- UICollectionView的设计理念
- UICollectionView的工作流程
- 使用
- collectionView重要的方法
- 注意!!!
- collectionView需要遵守的协议
- UICollectionViewDelegate协议:
- UICollectionViewDataSource协议
- 必须实现的方法:
- 可选实现的方法:
- 示例
- 九宫格
- 瀑布流
前言
UICollectionView是一个功能十分强大的控件,用法上和UITableView比较相似。
概念
UICollectionView的设计理念
UICollectionView 是 iOS 开发中用于管理和展示一个可滚动的数据集合的一个非常强大的界面组件。它是在 iOS 6 中引入的,作为 UITableView 的一个更加灵活和扩展的版本,允许开发者以二维网格的形式展示项目,而不仅仅是 UITableView 的单一列。
UICollectionView的工作流程
当UICollectionView显示内容时,先从数据源获取cell,然后交给UICollectionView。再从UICollectionViewLayout获取对应的layout attributes(布局属性)。最后,根据每个cell对应的layout attributes(布局属性)来对cell进行布局,生成了最终的界面。而用户交互的时候,都是通过Delegate来进行交互。当然,上面只是布局cell,但是UICollectionView内部还有Supplementary View和Decoration View,也可以对其进行布局。
UICollectionView是比UITableView更加强大的控件,有如下几个方面:
- 支持水平和垂直两个方向上的布局
- 通过layout配置方式进行布局
- CollectionView中的item大小和位置可以自定义
- 通过layout布局回调的代理方法,可以动态的定制每一个item的大小和collection的大体布局属性
- 可以完全自定义一套layout布局方案,实现意想不到的效果
使用
collectionView重要的方法
初始化布局:
//layout布局类UICollectionViewFlowLayout *layout = [[UICollectionViewFlowLayout alloc] init];
设置布局是垂直还是水平:
//布局方向为垂直流布局layout.scrollDirection = UICollectionViewScrollDirectionVertical;设置每个item的大小:
//设置每个item的大小layout.itemSize = CGSizeMake(120, 100);
collectionView的初始化:
self.collectionView = [[UICollectionView alloc] initWithFrame:self.view.frame collectionViewLayout:layout];注册item类型:
[self.collectionView registerClass:[UICollectionViewCell class] forCellWithReuseIdentifier:@"cell"];注意!!!
tableView的cell可以有注册和不注册两种方法,但是collectionView只能注册!!!
collectionView需要遵守的协议
collectionView需要遵守的协议和tableView差不多。
UICollectionViewDelegate协议:
是否允许某个item的高亮,返回NO,则不能进入高亮状态。- (BOOL)collectionView:(UICollectionView *)collectionView shouldHighlightItemAtIndexPath:(NSIndexPath *)indexPath;当item高亮时触发的方法。- (void)collectionView:(UICollectionView *)collectionView didHighlightItemAtIndexPath:(NSIndexPath *)indexPath;结束高亮状态时触发的方法。- (void)collectionView:(UICollectionView *)collectionView didUnhighlightItemAtIndexPath:(NSIndexPath *)indexPath;是否可以选中某个item,返回NO,则不能选中- (BOOL)collectionView:(UICollectionView *)collectionView shouldSelectItemAtIndexPath:(NSIndexPath *)indexPath;是否可以取消选中某个item- (BOOL)collectionView:(UICollectionView *)collectionView shouldDeselectItemAtIndexPath:(NSIndexPath *)indexPath;已经选中某个item时触发的方法- (void)collectionView:(UICollectionView *)collectionView didSelectItemAtIndexPath:(NSIndexPath *)indexPath;取消选中某个item时触发的方法- (void)collectionView:(UICollectionView *)collectionView didDeselectItemAtIndexPath:(NSIndexPath *)indexPath;将要加载某个item时调用的方法- (void)collectionView:(UICollectionView *)collectionView willDisplayCell:(UICollectionViewCell *)cell forItemAtIndexPath:(NSIndexPath *)indexPath NS_AVAILABLE_IOS(8_0);将要加载头尾视图时调用的方法。- (void)collectionView:(UICollectionView *)collectionView willDisplaySupplementaryView:(UICollectionReusableView *)view forElementKind:(NSString *)elementKind atIndexPath:(NSIndexPath *)indexPath NS_AVAILABLE_IOS(8_0);已经展示某个item时触发的方法。- (void)collectionView:(UICollectionView *)collectionView didEndDisplayingCell:(UICollectionViewCell *)cell forItemAtIndexPath:(NSIndexPath *)indexPath;已经展示某个头尾视图时触发的方法。- (void)collectionView:(UICollectionView *)collectionView didEndDisplayingSupplementaryView:(UICollectionReusableView *)view forElementOfKind:(NSString *)elementKind atIndexPath:(NSIndexPath *)indexPath;
UICollectionView进行重新布局时调用的方法- (nonnull UICollectionViewTransitionLayout *)collectionView:(UICollectionView *)collectionView transitionLayoutForOldLayout:(UICollectionViewLayout *)fromLayout newLayout:(UICollectionViewLayout *)toLayout;
以上协议都是可选实现的
UICollectionViewDataSource协议
必须实现的方法:
设置每个分区的item数:
//设置每个分区的item数:- (NSInteger)collectionView:(UICollectionView *)collectionView numberOfItemsInSection:(NSInteger)section;
设置返回每个item的属性:
//设置返回每个item的属性:- (UICollectionViewCell *)collectionView:(UICollectionView *)collectionView cellForItemAtIndexPath:(NSIndexPath *)indexPath;
可选实现的方法:
//设置分区数,虽然这个方法是可选的,一般我们都会去实现,不去设置它的话,它的默认值为1:- (NSInteger)numberOfSectionsInCollectionView:(UICollectionView *)collectionView;//对头视图或者尾视图进行设置- (UICollectionReusableView *)collectionView:(UICollectionView *)collectionView viewForSupplementaryElementOfKind:(NSString *)kind atIndexPath:(NSIndexPath *)indexPath;//设置某个item是否可以被移动,返回NO则不能移动- (BOOL)collectionView:(UICollectionView *)collectionView canMoveItemAtIndexPath:(NSIndexPath *)indexPath NS_AVAILABLE_IOS(9_0);
(void)collectionView:(UICollectionView *)collectionView moveItemAtIndexPath:(NSIndexPath )sourceIndexPath toIndexPath:(NSIndexPath)destinationIndexPath;//移动item的时候,会调用这个方法
- (void)collectionView:(UICollectionView *)collectionView moveItemAtIndexPath:(NSIndexPath )sourceIndexPath toIndexPath:(NSIndexPath)destinationIndexPath;
示例
九宫格
#import "ViewController.h"#define WIDTH ([UIScreen mainScreen].bounds.size.width)
#define HEIGHT ([UIScreen mainScreen].bounds.size.height)@interface ViewController () <UICollectionViewDelegate, UICollectionViewDataSource>
@property (nonatomic, strong) UICollectionView* collectionView;
@end@implementation ViewController- (void)viewDidLoad {[super viewDidLoad];// Do any additional setup after loading the view.self.view.backgroundColor = UIColor.whiteColor;//layout布局类UICollectionViewFlowLayout *layout = [[UICollectionViewFlowLayout alloc] init];//布局方向为垂直流布局layout.scrollDirection = UICollectionViewScrollDirectionVertical;//设置每个item的大小layout.itemSize = CGSizeMake(WIDTH / 3 - 10, WIDTH / 3 - 10);self.collectionView = [[UICollectionView alloc] initWithFrame:self.view.frame collectionViewLayout:layout];//代理设置self.collectionView.delegate = self;self.collectionView.dataSource = self;//重点:必须进行注册!!!(重点中的重点,一旦注册出现错误,就会导致程序崩溃)[self.collectionView registerClass:[UICollectionViewCell class] forCellWithReuseIdentifier:@"cell"];[self.view addSubview:_collectionView];
}//返回分区个数(这个方法并不一定要实现)
- (NSInteger)numberOfSectionsInCollectionView:(UICollectionView *)collectionView {return 1;
}
//返回每个分区的item个数(但是这个方法一定要实现)
- (NSInteger)collectionView:(UICollectionView *)collectionView numberOfItemsInSection:(NSInteger)section {return 9;
}
//返回每个item
- (UICollectionViewCell *)collectionView:(UICollectionView *)collectionView cellForItemAtIndexPath:(NSIndexPath *)indexPath {UICollectionViewCell *cell = [collectionView dequeueReusableCellWithReuseIdentifier:@"cell" forIndexPath:indexPath];cell.backgroundColor = [UIColor colorWithRed:arc4random() % 255 / 255.0 green:arc4random() % 255 / 255.0 blue:arc4random() % 250 / 250.0 alpha:1];return cell;
}@end
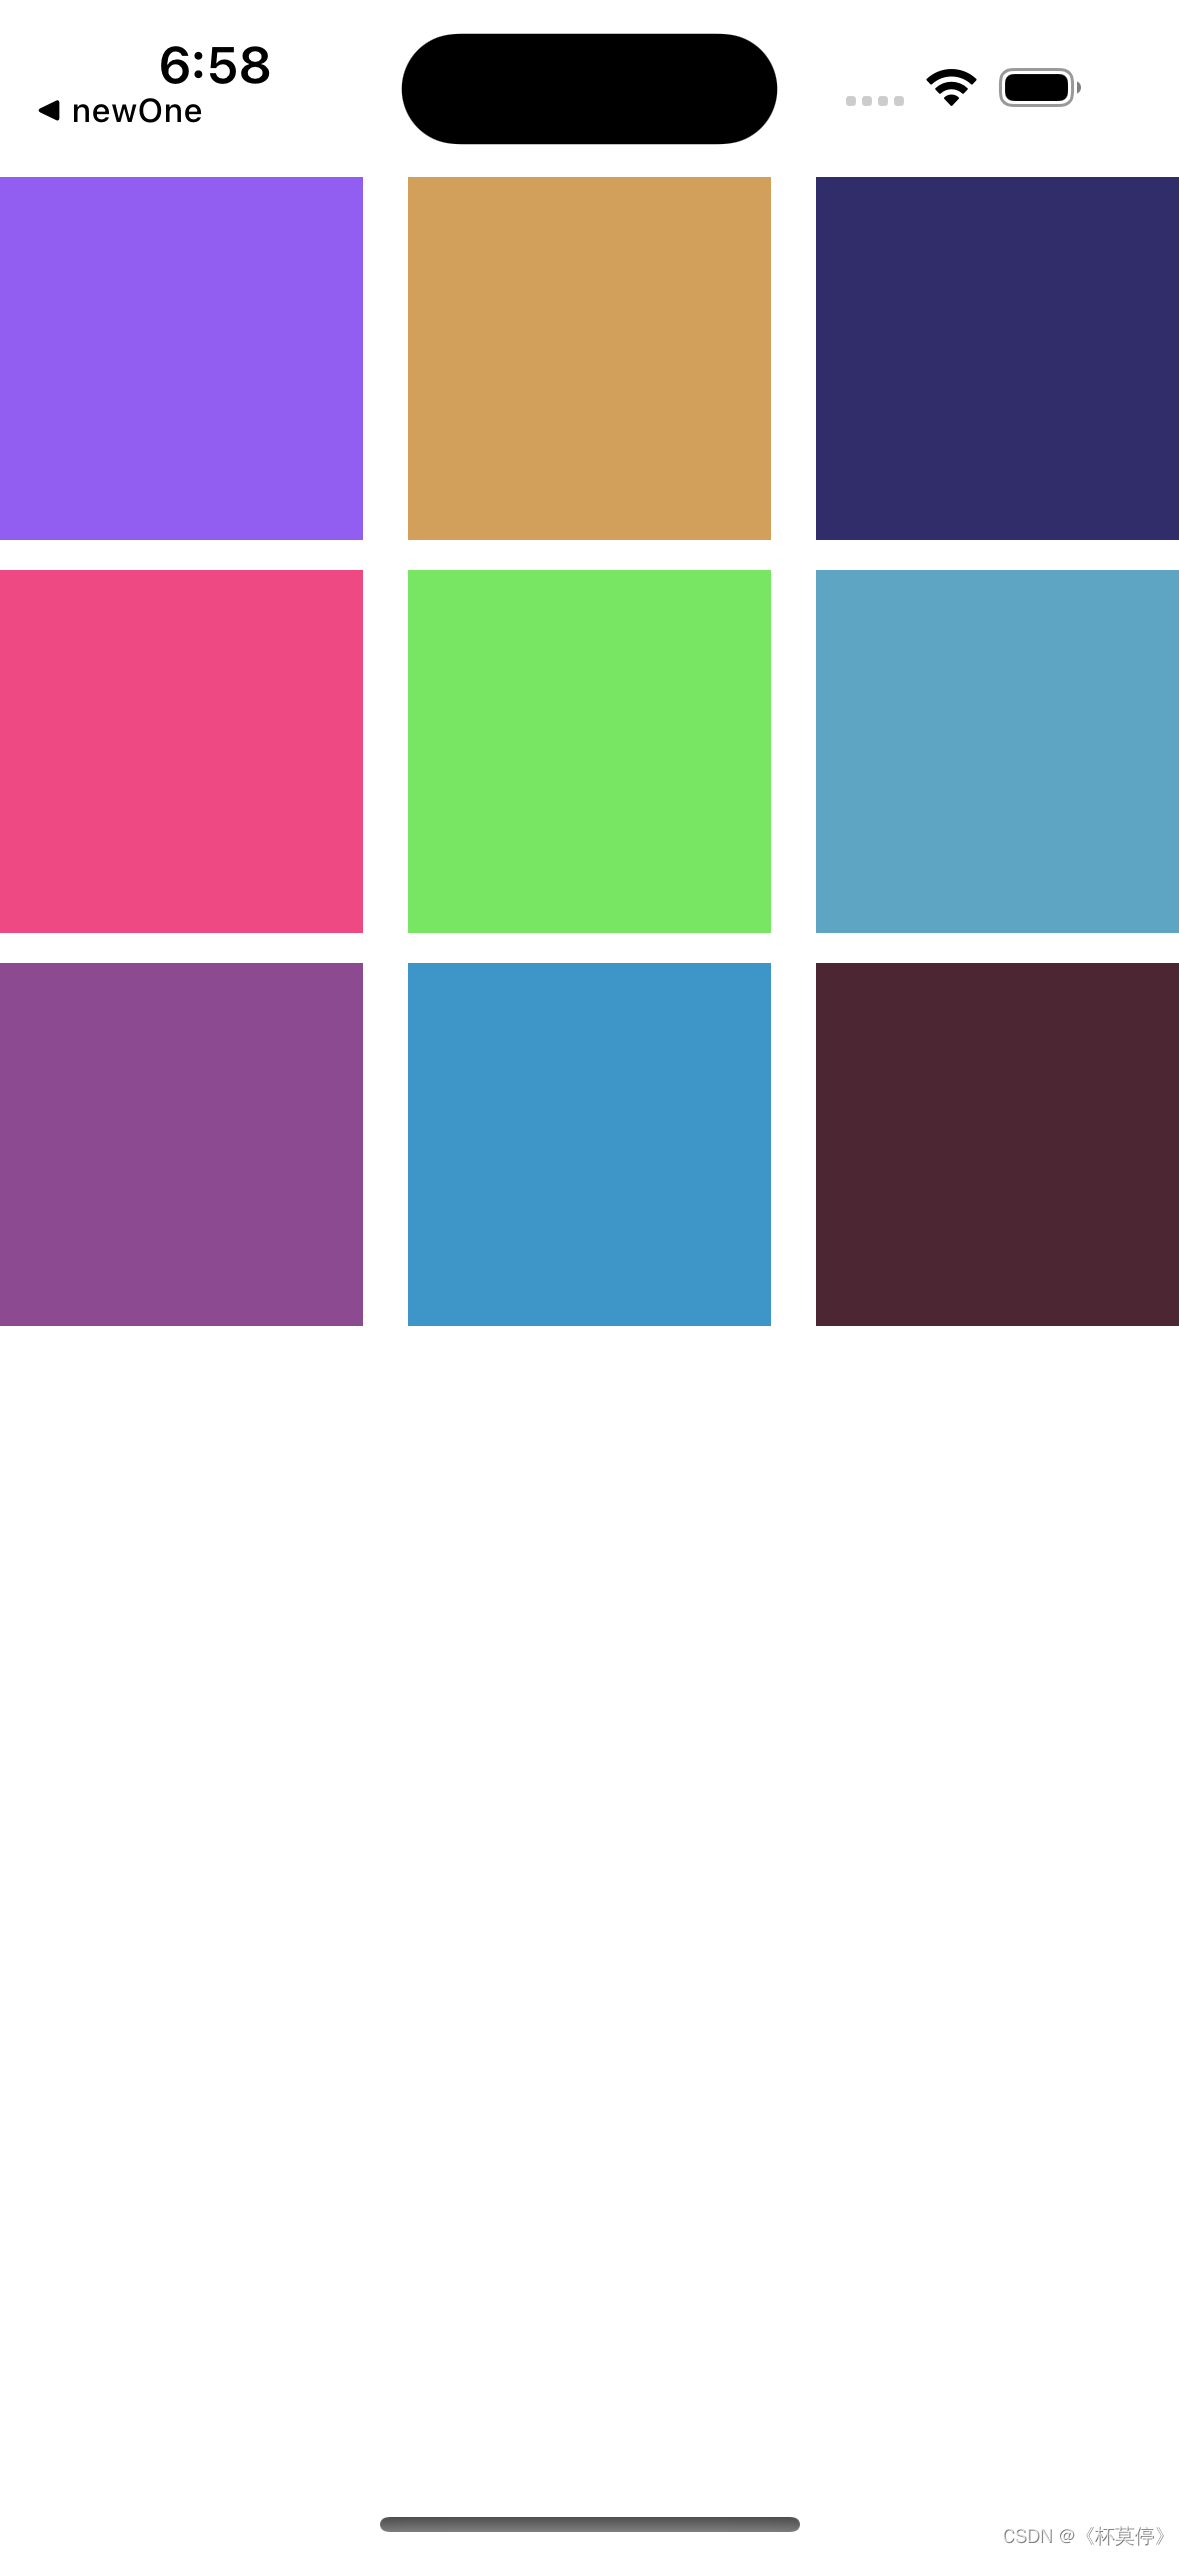
我们这个设置的大小大约是屏幕三分之一,就会自动的三个item为一行
我们来改一下它的size:
layout.itemSize = CGSizeMake(200, 200);
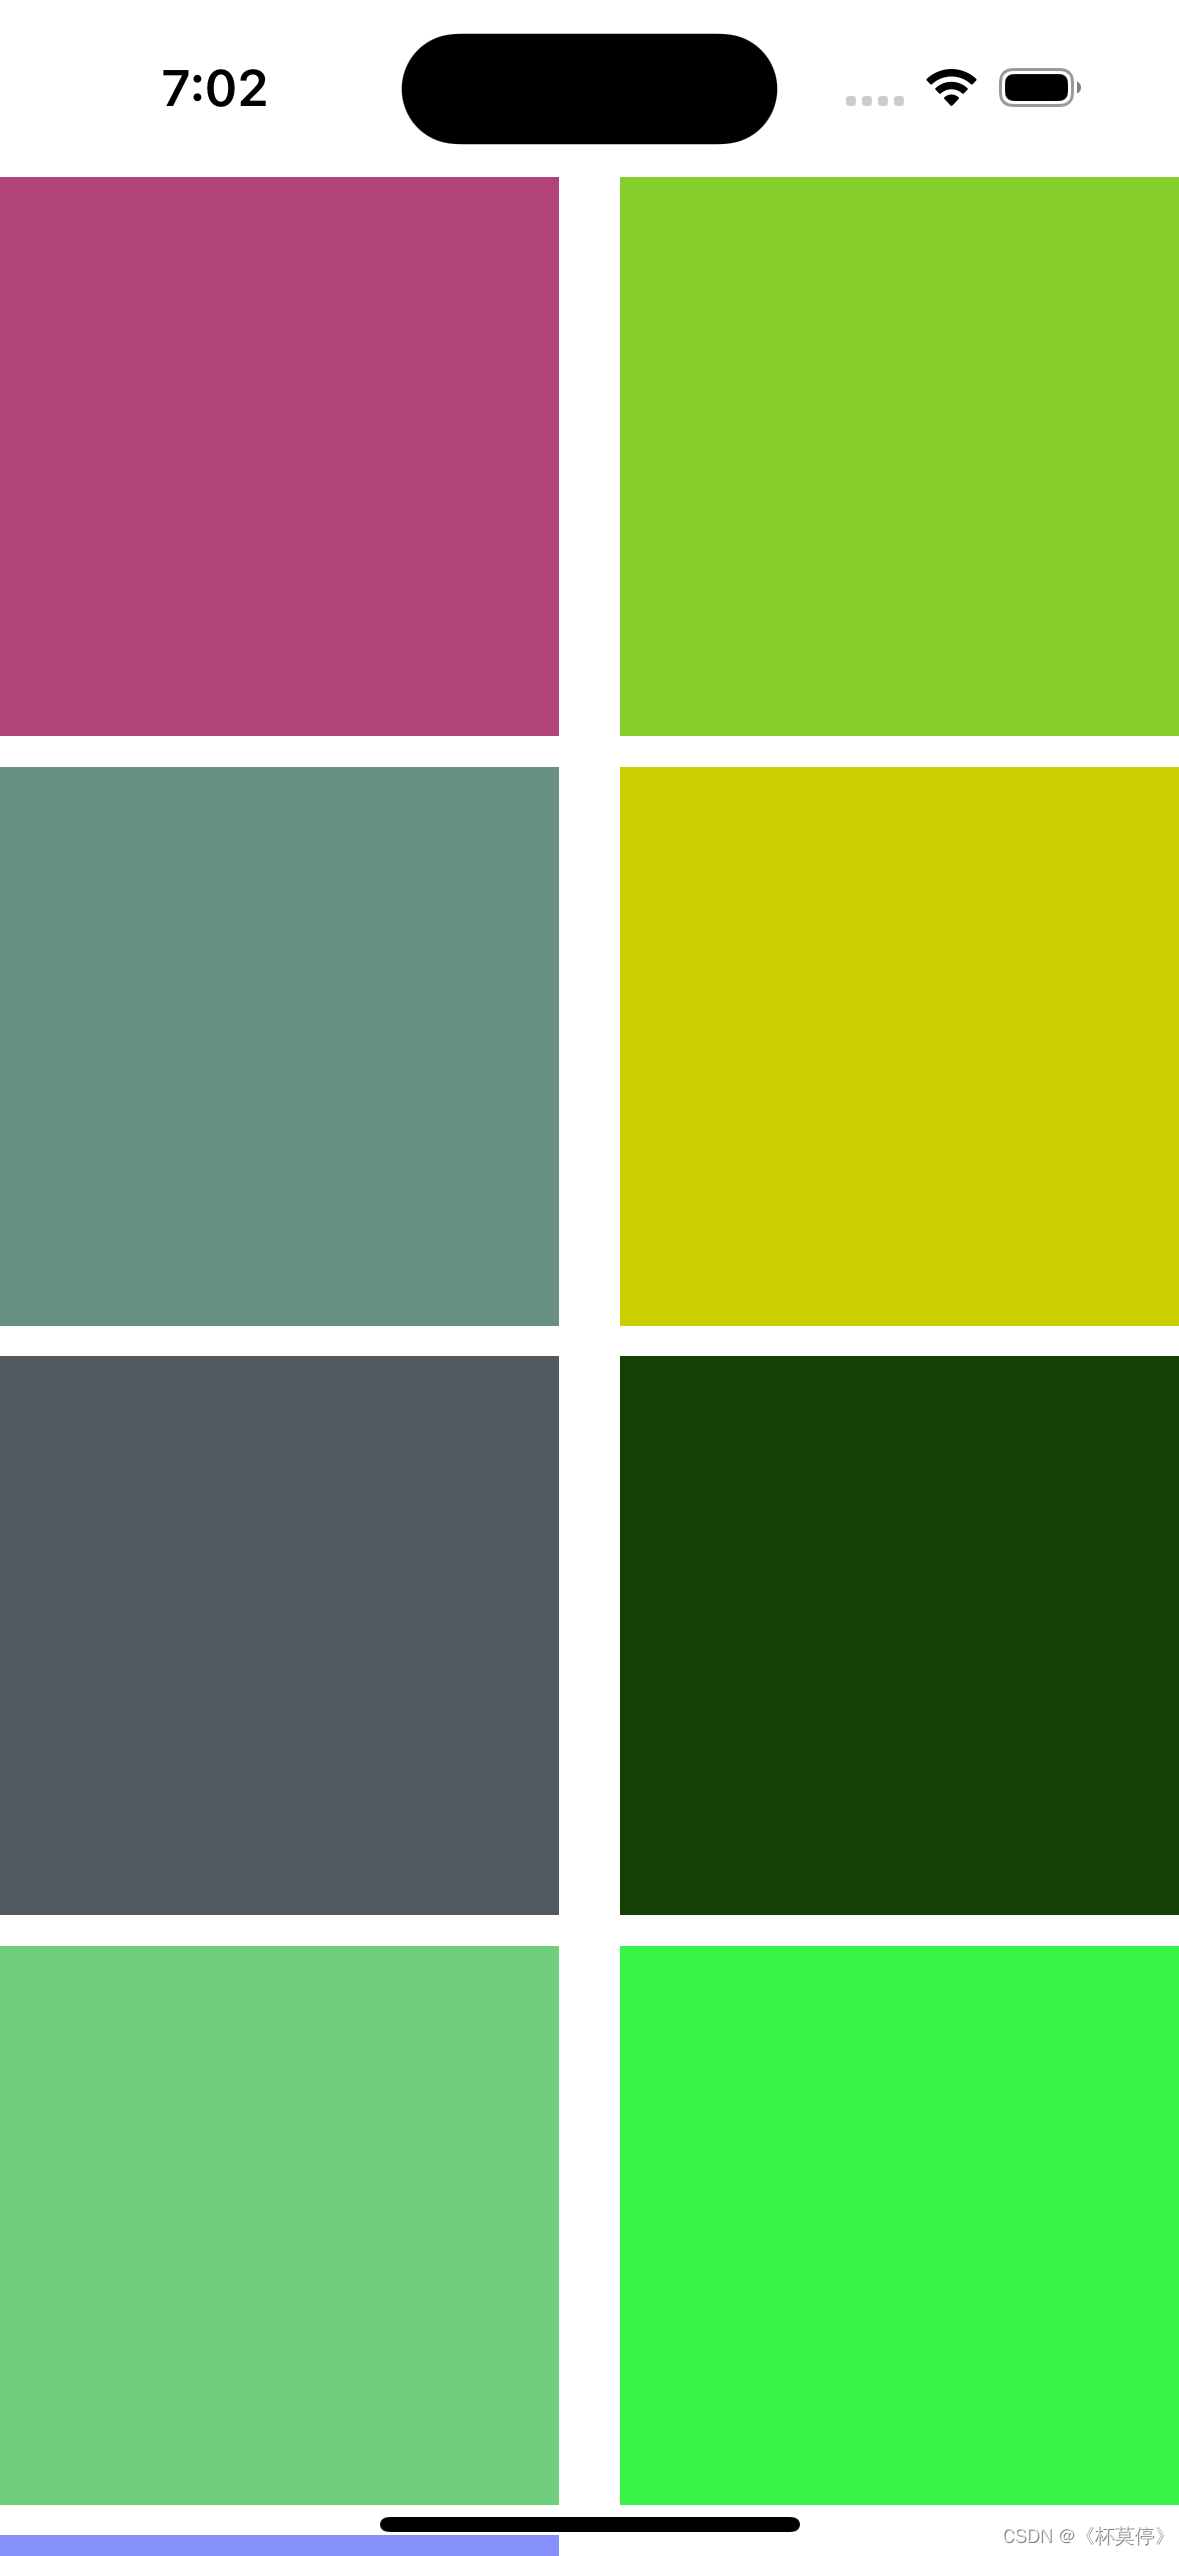
就变成了两个item一行
例如九宫格的例子就可以应用于换头像功能,之前在写其他项目的换头像功能时,运用了循环创建button的方法,在学会了collectionView之后就变得简单了很多。
瀑布流
UICollectionView强大的一个原因,就是我们可以制作属于我们的布局,在我们平常刷一些app时,刷新加载的图片大小可能是不确定的,这是使用系统自带的布局是有局限的,所以我们可以自己去创造一个MyLayout类去实现它。
创建一个MyLayout类继承UICollectionViewFlowLayout.
简单来说,自定义一个FlowLayout布局类就是两个步骤:
1. 设计好我们的布局配置数据,prepareLayout方法中。
2. 返回我们的配置数组,layoutAttributesForElementsInRect方法中。
首先在MyFlowLayout文件中,定义好所需要的数据
#import "MyFlowLayout.h"@implementation MyFlowLayout{NSMutableArray * attributeArray; // frame 数组NSInteger _collectViewRowCount;  // 列数NSMutableArray * _originYAry;    //记录每一列的Y点坐标}- (instancetype)init
{self = [super init];if (self) {attributeArray = [NSMutableArray array];_originYAry = [NSMutableArray array];_collectViewRowCount = 2;}return self;
}- (void)prepareLayout{[attributeArray removeAllObjects];[_originYAry removeAllObjects];//初始化y坐标for (int i =0; i <_collectViewRowCount; i++) {[_originYAry addObject:@(0)];}//返回NSInteger cellCount = [self.collectionView numberOfItemsInSection:0];for (int i = 0; i < cellCount; i ++ ) {NSIndexPath *indexPath = [NSIndexPath indexPathForRow:i inSection:0];//UICollectionViewLayoutAttributes 用于存储layout属性的对象UICollectionViewLayoutAttributes *attrib = [self layoutAttributesForItemAtIndexPath:indexPath];[attributeArray addObject:attrib];}
}//2.返回指定indexPath下的 UICollectionViewLayoutAttributes
- (UICollectionViewLayoutAttributes *)layoutAttributesForItemAtIndexPath:(NSIndexPath *)indexPath{//根据indexPath创建一个UICollectionViewLayoutAttributesUICollectionViewLayoutAttributes *layoutAttr = [UICollectionViewLayoutAttributes layoutAttributesForCellWithIndexPath:indexPath];//设置每个frameCGFloat width = [UIScreen mainScreen].bounds.size.width /_collectViewRowCount;CGFloat height = 50 + arc4random_uniform(20);CGFloat x = width * ( indexPath.row % _collectViewRowCount);CGFloat y = [_originYAry[indexPath.row % _collectViewRowCount] floatValue];_originYAry[indexPath.row % _collectViewRowCount] = @(height + y +10);layoutAttr.frame =CGRectMake(x, y, width, height);return layoutAttr;
}//3.返回collectionView的ContentSize
//由于瀑布流每一列的高度不一定,所以需要判读出最高的列作为height
-(CGSize)collectionViewContentSize{//kvc 获取最大值CGFloat maxY =[[_originYAry valueForKeyPath:@"@max.floatValue"] floatValue];return CGSizeMake([UIScreen mainScreen].bounds.size.width, maxY);
}//4.Returns the layout attributes for all of the cells and views in the specified rectangle.
-(NSArray<UICollectionViewLayoutAttributes *> *)layoutAttributesForElementsInRect:(CGRect)rect{return attributeArray;
}@end
然后在ViewController中进行调用。
MyFlowLayout* layout = [[MyFlowLayout alloc] init];layout.scrollDirection = UICollectionViewScrollDirectionVertical;self.collectionview = [[UICollectionView alloc] initWithFrame:self.view.frame collectionViewLayout:layout];在瀑布流的layout中:
1.可以设置collectionview的列数;
2.每个模块的宽和高;
3.不能确定每个分区的数量;
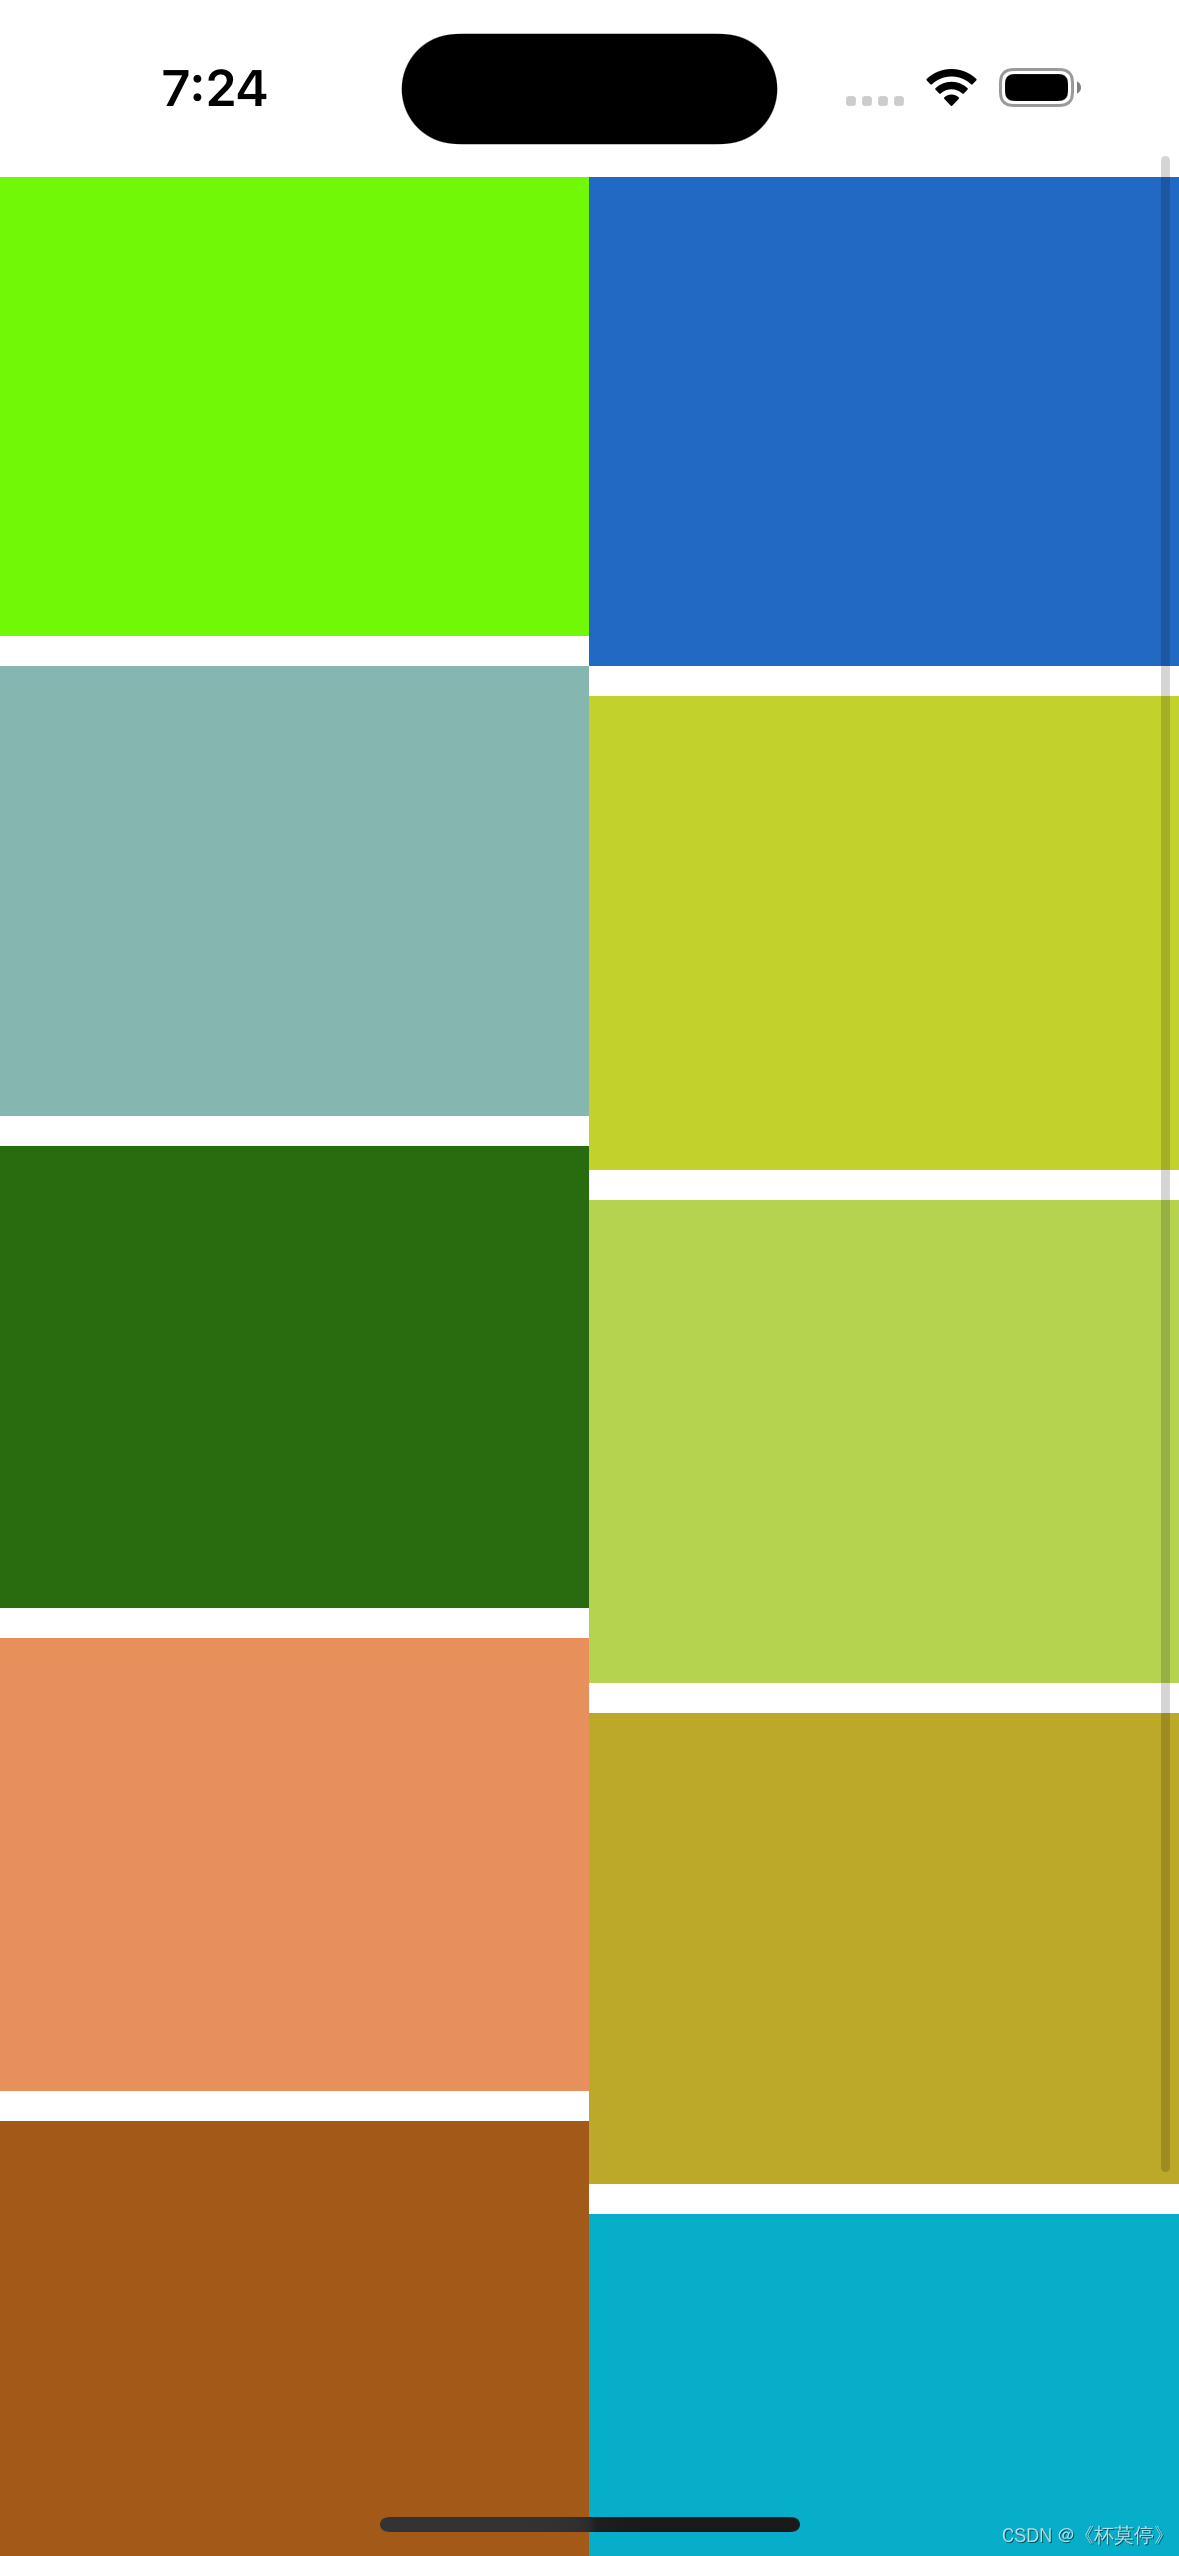
下面是代码的效果图:

这篇关于iOS控件 -- UICollectionView (瀑布流)的文章就介绍到这儿,希望我们推荐的文章对编程师们有所帮助!


