本文主要是介绍.Net6使用SignalR实现前后端实时通信,希望对大家解决编程问题提供一定的参考价值,需要的开发者们随着小编来一起学习吧!
代码部分
- 后端代码 (Asp.net core web api,用的.net6)
- Program.cs
代码运行逻辑:
1. 通过 WebApplication.CreateBuilder(args) 创建一个 ASP.NET Core 应用程序建造器。
2. 使用 builder.Services.AddControllers() 添加 MVC 控制器服务和 builder.Services.AddSignalR() 添加 SignalR 服务。
3. 注册 Swagger 和 Cors 跨域设置的服务,并添加 ChatHub 类作为单例服务。
4. 通过 builder.Build() 构建应用程序。
5. 在 if (app.Environment.IsDevelopment()) 中使用 Swagger 和 SwaggerUI 中间件,只在当前环境下使用。
6. 使用 app.UseAuthorization() 添加授权中间件。
7. 使用 app.UseRouting() 开启路由功能中间件。
8. 使用 app.UseCors(“CorsSingnalR”) 设置跨域策略,使用名为 “CorsSingnalR” 的策略,允许来自任何来源的访问。
9. 使用 app.MapControllers() 将 MVC 控制器添加到请求处理管道中。
10. 使用 app.MapHub(“/chathub”) 添加 SignalR 路由,并将 ChatHub 类注册为路由,在客户端和服务器之间建立 WebSocket 连接
11. 最后,使用 app.Run() 启动应用程序。
using Microsoft.AspNetCore.SignalR;
using PracticeProjects.Logic;var builder = WebApplication.CreateBuilder(args); //创建asp.net core程序建造器,这个建造器允许我们配置应用程序的服务和中间件builder.Services.AddControllers();  //添加mvc控制器服务。用于处理http请求俄响应
builder.Services.AddSignalR();//用来实现实时通信builder.Services.AddEndpointsApiExplorer();
builder.Services.AddSwaggerGen();builder.Services.AddSingleton<ChatHub>();
//跨域设置
builder.Services.AddCors(op =>
{op.AddPolicy("CorsSingnalR",set =>{set.SetIsOriginAllowed(origin => true).AllowAnyHeader().AllowAnyMethod().AllowCredentials();});
});
var app = builder.Build();// Configure the HTTP request pipeline.
if (app.Environment.IsDevelopment())
{app.UseSwagger();app.UseSwaggerUI();
}app.UseAuthorization();app.UseRouting();//中间件,用于开启路由功能。
app.UseCors("CorsSingnalR");//app.UseRouting(),之后app.UseCors设置跨域策略app.MapControllers();//将MVC控制器添加到请求处理管道中
app.MapHub<ChatHub>("/chathub");//添加SignalR路由;将SignalR的ChatHub类作为路由,在客户端与服务段建立WebSocket连接app.Run();//应用程序启动
ChatController.cs
- List item
using Microsoft.AspNetCore.Http;
using Microsoft.AspNetCore.Mvc;
using Microsoft.AspNetCore.SignalR;
using PracticeProjects.Logic;
using PracticeProjects.Model;namespace PracticeProjects.Controllers
{[Route("[controller]")][ApiController]public class ChatController : ControllerBase{private readonly ChatHub _chatHubContext;private readonly ILogger<ChatController> _logger;public ChatController(ChatHub chatHubContext, ILogger<ChatController> logger){_chatHubContext = chatHubContext;_logger = logger;}[Route("api/SendMsg")][HttpPost]public async Task<dynamic> SendMessage(ChatModel chat){await _chatHubContext.SendMessage(chat);return "发送成功";}}
}
方法类(ChatHub:继成Hub,Hub是SignalR中用于处理客户端与服务端双向通信的关键组件。)
using Microsoft.AspNetCore.SignalR;
using PracticeProjects.Model;namespace PracticeProjects.Logic
{/// <summary>/// 消息发送/// </summary>public class ChatHub : Hub{public async Task SendMessage(ChatModel chat){if(Clients!=null)await Clients.All.SendAsync("RecieveMessage", chat.name+":"+chat.content);//第一个参数:调用的客户端函数名,第二个参数:客户端函数的参数}}
}
Model类(ChatModel):
namespace PracticeProjects.Model
{public class ChatModel{public string? name { get; set; }public string? content { get; set; }}
}
- 前端关键部分代码(网上找的代码,用来模拟客户端)
App.vue
<script setup>
import { ref, reactive, onMounted, onBeforeUnmount } from 'vue';import { connection, connect, send, disconnect } from './utils/signalr';const msgInfo = reactive({ name: '张三', content: '' });
const receivemsglist = ref([]);//发送消息
const sendMsg = async () => {await send("SendMessage", msgInfo);//第一个参数:服务端函数名,第二个:函数的参数
}onMounted(async () => {// 建立连接connect('http://localhost:5130/chathub'); // 开始连接await connection.start();// 注册方法(接收服务器推送过来的数据),服务端向客户端发送数据时,使用的方法名为'RecieveMessage'connection.on('RecieveMessage', (res) => {console.log(`【${new Date().toLocaleString()}】:从服务器同步消息成功!`);receivemsglist.value.push(res);});
});// 卸载
onBeforeUnmount(() => {// 断开连接disconnect();
});</script><template><div><a href="https://vitejs.dev" target="_blank"><img src="/vite.svg" class="logo" alt="Vite logo" /></a><a href="https://vuejs.org/" target="_blank"><img src="./assets/vue.svg" class="logo vue" alt="Vue logo" /></a></div><!-- <HelloWorld msg="Vite + Vue" /> --><div>姓名:<input type="text" v-model="msgInfo.name"><br>内容:<input type="text" v-model="msgInfo.content"><br><button type="button" @click="sendMsg">发送</button><br><table><tr><th>消息列表:</th></tr><tr v-for="(item, i) in receivemsglist" :key="i"><td>{{ item }}</td></tr></table></div>
</template>
signalr.js
import * as signalR from '@microsoft/signalr';//如果需要身份验证
//.withUrl('/messageHub', {accessTokenFactory: () => sessionStorage.getItem('token')})
let connection;// 建立连接
async function start(url) {try {connection = new signalR.HubConnectionBuilder().withUrl(url)//跨域需要使用绝对地址.configureLogging(signalR.LogLevel.Information).withAutomaticReconnect() // 设置自动重连机制.build();} catch (err) {console.log(err);setTimeout(start, 10000);//错误重连}
}// 开始signalr连接
const connect = async (url) => {await start(url);console.log(`${new Date().toLocaleString()}:SignalR已连接成功!`);
};// 调用服务端方法 发送消息
async function send(methodName, param) {try {await connection.invoke(methodName, param);} catch (err) { console.error(err); }
}//断开连接
const disconnect = async () => {await connection.stop();console.log(`${new Date().toLocaleString()}:SignalR已断开连接!`);
};export { connection, connect, send, disconnect };
运行测试:
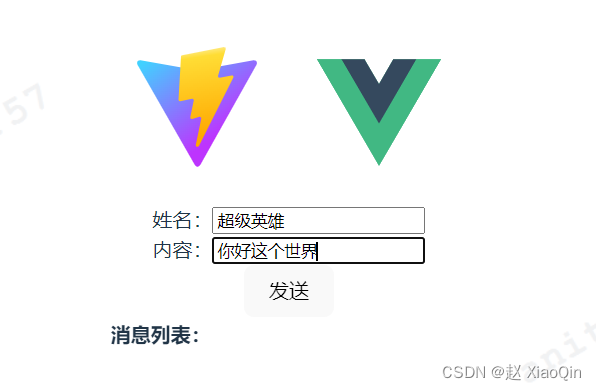
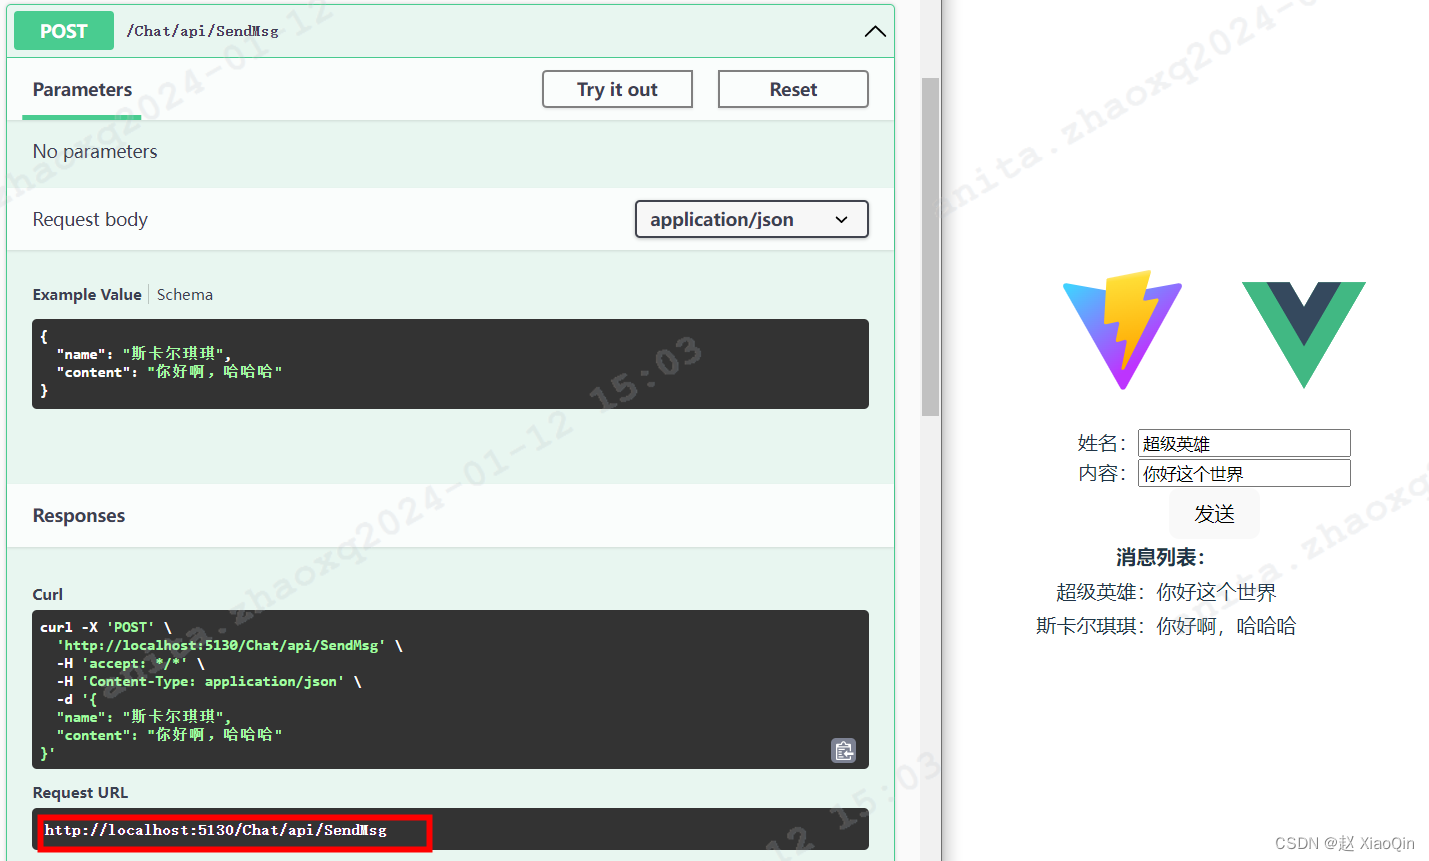
- 前后端代码启动
- 客户端请求服务端建立websocket连接:

- 连接建立后,服务端可主动向前端推送消息

上传的资源:
SignalR实时通信代码资源
这篇关于.Net6使用SignalR实现前后端实时通信的文章就介绍到这儿,希望我们推荐的文章对编程师们有所帮助!


