本文主要是介绍[linux]使用libpng库将数据生成为png图像文件,希望对大家解决编程问题提供一定的参考价值,需要的开发者们随着小编来一起学习吧!
一、需求
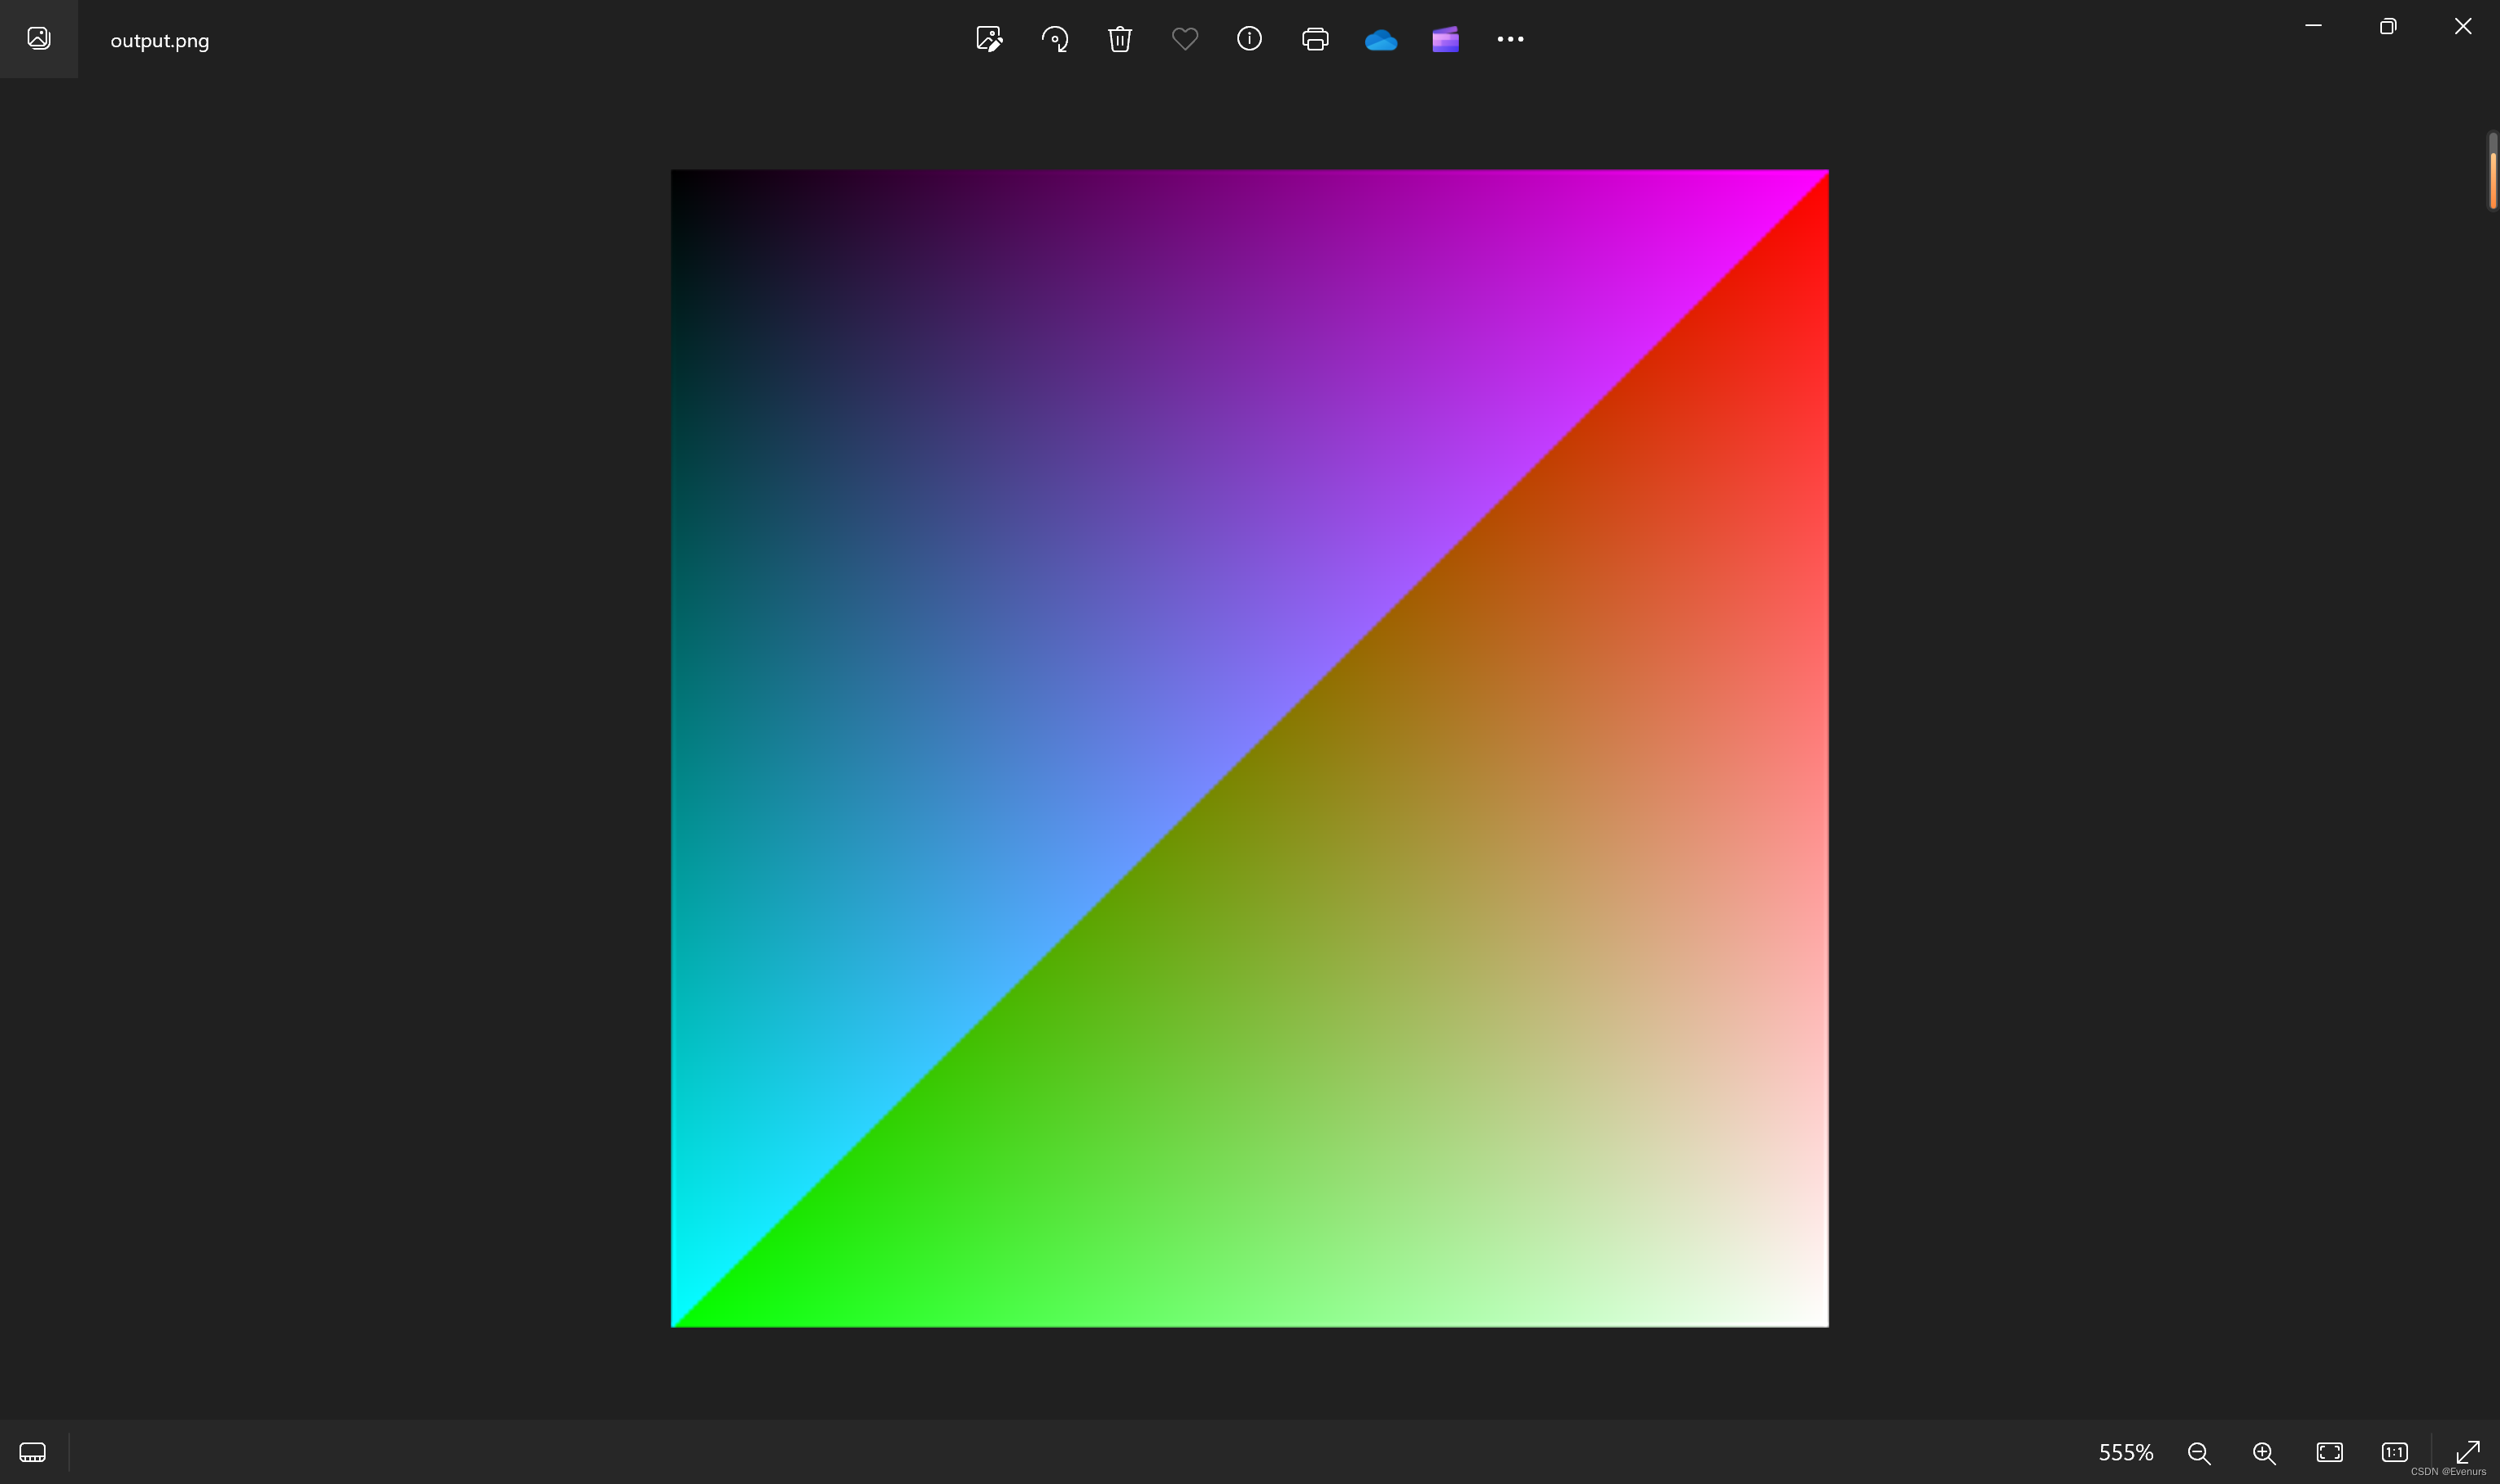
将一段图像数据生成为png图像。
二、方案
使用libpng库,新建png图像文件,将数据按格式写入到文件内。
三、源码
#include <stdio.h>
#include <stdlib.h>
#include <png.h>void write_png_file(char* filename, int width, int height, png_bytep* row_pointers) {FILE* fp = fopen(filename, "wb");if (!fp) {printf("Error opening file %s for writing\n", filename);return;}png_structp png_ptr = png_create_write_struct(PNG_LIBPNG_VER_STRING, NULL, NULL, NULL);if (!png_ptr) {printf("Error creating PNG write structure\n");fclose(fp);return;}png_infop info_ptr = png_create_info_struct(png_ptr);if (!info_ptr) {printf("Error creating PNG info structure\n");png_destroy_write_struct(&png_ptr, NULL);fclose(fp);return;}if (setjmp(png_jmpbuf(png_ptr))) {printf("Error during PNG writing\n");png_destroy_write_struct(&png_ptr, &info_ptr);fclose(fp);return;}png_init_io(png_ptr, fp);png_set_IHDR(png_ptr, info_ptr, width, height, 8, PNG_COLOR_TYPE_RGBA, PNG_INTERLACE_NONE,PNG_COMPRESSION_TYPE_DEFAULT, PNG_FILTER_TYPE_DEFAULT);png_write_info(png_ptr, info_ptr);png_write_image(png_ptr, row_pointers);png_write_end(png_ptr, NULL);png_destroy_write_struct(&png_ptr, &info_ptr);fclose(fp);
}int main() {int width = 256;int height = 256;png_bytep* row_pointers = (png_bytep*)malloc(sizeof(png_bytep) * height);for (int y = 0; y < height; y++) {row_pointers[y] = (png_byte*)malloc(sizeof(png_byte) * width * 4);for (int x = 0; x < width; x++) {png_byte* pixel = &(row_pointers[y][x * 4]);pixel[0] = x % 256;         // Redpixel[1] = y % 256;         // Greenpixel[2] = (x + y) % 256;   // Bluepixel[3] = 255;             // Alpha}}write_png_file("output.png", width, height, row_pointers);for (int y = 0; y < height; y++) {free(row_pointers[y]);}free(row_pointers);return 0;
}
四、编译
gcc编译指令:
依据环境不同,指令内容会有小幅变化。指令编译的各参数解析详见下文:
[linux]使用libqrencode库生成二维码数据![]() https://evenurs.blog.csdn.net/article/details/135655176?spm=1001.2014.3001.5502
https://evenurs.blog.csdn.net/article/details/135655176?spm=1001.2014.3001.5502
Evenurs@admin-PowerEdge-T630-212:~/f1c100s/dev/f1c100s/tina$ /home/Evenurs/f1c100s/dev/f1c100s/tina/prebuilt/gcc/linux-x86/arm/toolchain-sunxi-arm9-musl/toolchain/bin/arm-openwrt-linux-muslgnueabi-gcc -I /home/Evenurs/f1c100s/dev/f1c100s/tina/out/c200s-F1C200s/compile_dir/target/libpng-1.2.56/ -I /home/Evenurs/f1c100s/dev/f1c100s/tina/out/c200s-F1C200s/compile_dir/target/zlib-1.2.8/ data2png.c -o data2png -L /home/Evenurs/f1c100s/dev/f1c100s/tina/out/c200s-F1C200s/compile_dir/target/libpng-1.2.56/.libs/ -L /home/Evenurs/f1c100s/dev/f1c100s/tina/out/c200s-F1C200s/compile_dir/target/zlib-1.2.8/ -lpng -lz 编译结果:
arm-openwrt-linux-muslgnueabi-gcc.bin: warning: environment variable 'STAGING_DIR' not defined
arm-openwrt-linux-muslgnueabi-gcc.bin: warning: environment variable 'STAGING_DIR' not defined
arm-openwrt-linux-muslgnueabi-gcc.bin: warning: environment variable 'STAGING_DIR' not defined
五、通过adb push烧录
详细烧录步骤参考下文:
【adb】adb push命令 向设备传输文件![]() https://evenurs.blog.csdn.net/article/details/128940198?spm=1001.2014.3001.5502
https://evenurs.blog.csdn.net/article/details/128940198?spm=1001.2014.3001.5502
六、linux下运行
root@TinaLinux:/# chmod -R 777 ./data2png
root@TinaLinux:/# ./data2png
root@TinaLinux:/# ls
bin          hello        overlay      qrencode     sbin         var
data2png     lib          proc         rdinit       sys          www
dev          mnt          pseudo_init  rom          tmp
etc          output.png   qrcode.png   root         usr
root@TinaLinux:/# exitC:\Users\Evenurs>adb pull /output.png D:\work\temp
/output.png: 1 file pulled. 0.0 MB/s (855 bytes in 0.019s)C:\Users\Evenurs>
七、结果检查
图像生成算法:
for (int y = 0; y < height; y++) {row_pointers[y] = (png_byte*)malloc(sizeof(png_byte) * width * 4);for (int x = 0; x < width; x++) {png_byte* pixel = &(row_pointers[y][x * 4]);pixel[0] = x % 256; // Redpixel[1] = y % 256; // Greenpixel[2] = (x + y) % 256; // Bluepixel[3] = 255; // Alpha}}png图像:

八、结论
可以通过libpng将数据直接转为png图像文件。
这篇关于[linux]使用libpng库将数据生成为png图像文件的文章就介绍到这儿,希望我们推荐的文章对编程师们有所帮助!


