本文主要是介绍商城放大镜以及图片切换功能,希望对大家解决编程问题提供一定的参考价值,需要的开发者们随着小编来一起学习吧!
一、效果图
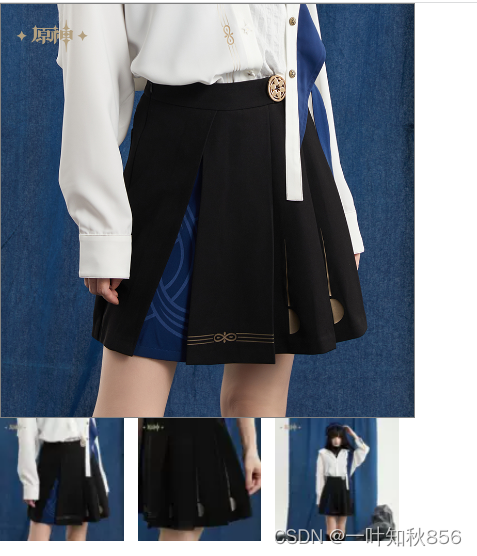
1.开始效果图

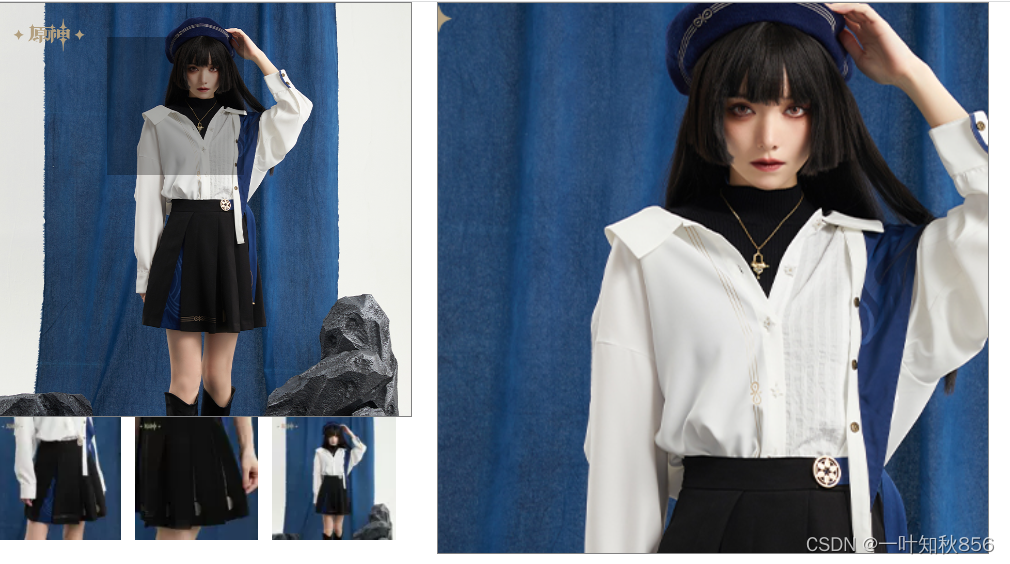
2.放大镜效果图

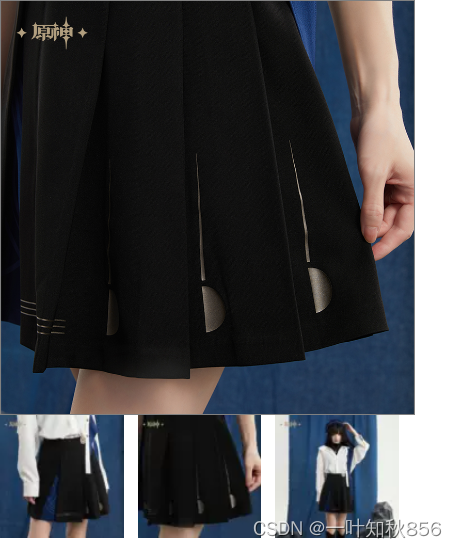
3.图片切换功能(鼠标移入下方相应图片,上面以及放大图片相继改变)

二、HTMl代码
<div class="box1"><div id="smallbox" class="small"><img id="smallImg" src="./img/da1.jpg"/><div id="mask" class="mask"></div></div><div class="bottom"><div id="bottomImg1"><img src="./img/xiao1.webp" alt=""></div><div id="bottomImg2"><img src="./img/xiao2.webp" alt=""></div><div id="bottomImg3"><img src="./img/xiao3.webp" alt=""></div></div></div><div id="bigbox" class="big"><img id="bigImg" src="./img/da1.jpg"/></div>三、CSS代码
*{margin: 0px;padding: 0px;}#smallbox{width: 300px;height: 300px;position: relative;border: 1px solid gray;}#smallbox img{width: 100%;height: 100%;}.mask{width: 100px;height: 100px;background-color: black;opacity: 0.3;position: absolute;top: 0;left: 0;display: none;cursor: move;}.big{width: 400px;height: 400px;overflow: hidden;position: relative;border: 1px solid gray;margin-left: 20px;display: none;z-index: 10;}.big img{width: 800px;height: 800px;position: absolute;top: 0;left: 0;}.small,.big{float: left;}.bottom{width: 300px;float: left;}.bottom div {width: 90px;height: 90px;background-color: blue ;margin-right: 10px;float: left;}.bottom img{width: 100%;height: 100%;}.box1{width: 300px;height: 300px;float: left;}四、JavaScript代码
// 获取各个元素var smallBox = document.getElementById("smallbox");var mask = document.getElementById("mask");var bigbox = document.getElementById("bigbox");var bigImg = document.getElementById("bigImg");var smallImg = document.getElementById("smallImg")var bottomImg1 =document.getElementById("bottomImg1");var bottomImg2 =document.getElementById("bottomImg2");var bottomImg3 =document.getElementById("bottomImg3");//移入鼠标,显示图片和放大图片改为的模块一的图片bottomImg1.onmouseover = function(){smallImg.src = "./img/da1.jpg";bigImg.src = "./img/da1.jpg"}//移入鼠标,显示图片和放大图片改为的模块一的图片bottomImg2.onmouseover = function(){smallImg.src = "./img/da2.jpg";bigImg.src = "./img/da2.jpg"}//移入鼠标,显示图片和放大图片改为的模块一的图片bottomImg3.onmouseover = function(){smallImg.src = "./img/da3.jpg";bigImg.src = "./img/da3.jpg"}// 移入鼠标,遮罩层和放大图片显示smallBox.onmouseover = function(){mask.style.display = "block";bigbox.style.display = "block";}// 移出鼠标,遮罩层和放大图片隐藏smallBox.onmouseout = function(){mask.style.display = "none";bigbox.style.display = "none";}// 进行放大镜设置smallBox.onmousemove = function(e){var x = e.clientX - smallBox.offsetLeft -mask.offsetWidth/2;var y = e.clientY - smallBox.offsetTop -mask.offsetHeight/2;if (x<0){x=0;}if(x>(smallBox.offsetWidth - mask.offsetWidth)){x=smallBox.offsetWidth - mask.offsetWidth;}if(y<0){y=0;}if(y>(smallBox.offsetHeight - mask.offsetHeight)){y=smallBox.offsetHeight - mask.offsetHeight;}mask.style.left = x +'px';mask.style.top = y +'px';bigImg.style.left = -2*x+'px';bigImg.style.top = -2*y+'px';}提示:
相关图片信息请自行修改
这篇关于商城放大镜以及图片切换功能的文章就介绍到这儿,希望我们推荐的文章对编程师们有所帮助!


