本文主要是介绍【SpringBoot】 SpringBoot 打印Banner横幅的源码过程 以及如何修改,希望对大家解决编程问题提供一定的参考价值,需要的开发者们随着小编来一起学习吧!
printBanner
org.springframework.context.ConfigurableApplicationContext的构造方法中调用 printBanner(environment) 方法
if (this.bannerMode == Banner.Mode.OFF) {return null;}ResourceLoader resourceLoader = (this.resourceLoader != null) ? this.resourceLoader: new DefaultResourceLoader(null);SpringApplicationBannerPrinter bannerPrinter = new SpringApplicationBannerPrinter(resourceLoader, this.banner);if (this.bannerMode == Mode.LOG) {return bannerPrinter.print(environment, this.mainApplicationClass, logger);}return bannerPrinter.print(environment, this.mainApplicationClass, System.out);
Banner.Mode 打印模式
Banner.Mode 枚举类 设置Banner打印的模式 有三种
/*** Disable printing of the banner.不打印*/OFF,/*** Print the banner to System.out.打印到控制台*/CONSOLE,/*** Print the banner to the log file.打印到日志文件*/LOG
可以通过配置文件设置打印的模式
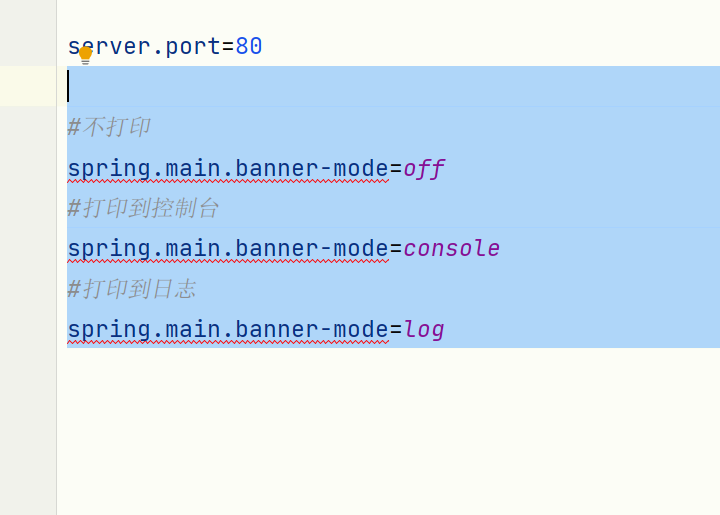
#不打印
spring.main.banner-mode=off
#打印到控制台
spring.main.banner-mode=console
#打印到日志
spring.main.banner-mode=log
再回头看 printBanner 方法
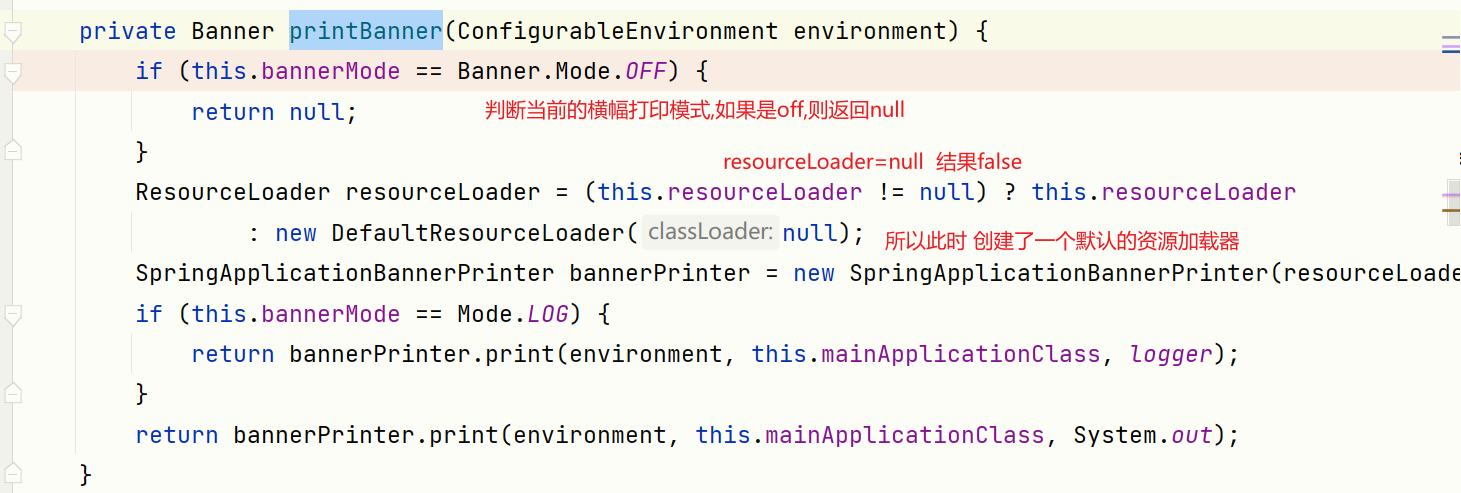
接着创建了 SpringApplicationBannerPrinter 打印横幅的类
SpringApplicationBannerPrinter bannerPrinter = new SpringApplicationBannerPrinter(resourceLoader, this.banner);
resourceLoader 现在是默认的资源加载器
而 this.banner = null
看下这个 SpringApplicationBannerPrinter 类 第一次被访问,初始化静态成员的属性值 并且 初始化了 DEFAULT_BANNER


修改banner的方式一 实现 Banner 接口
所以我们可以直接创建Banner类 实现Banner接口 模仿 SpringBootBanner
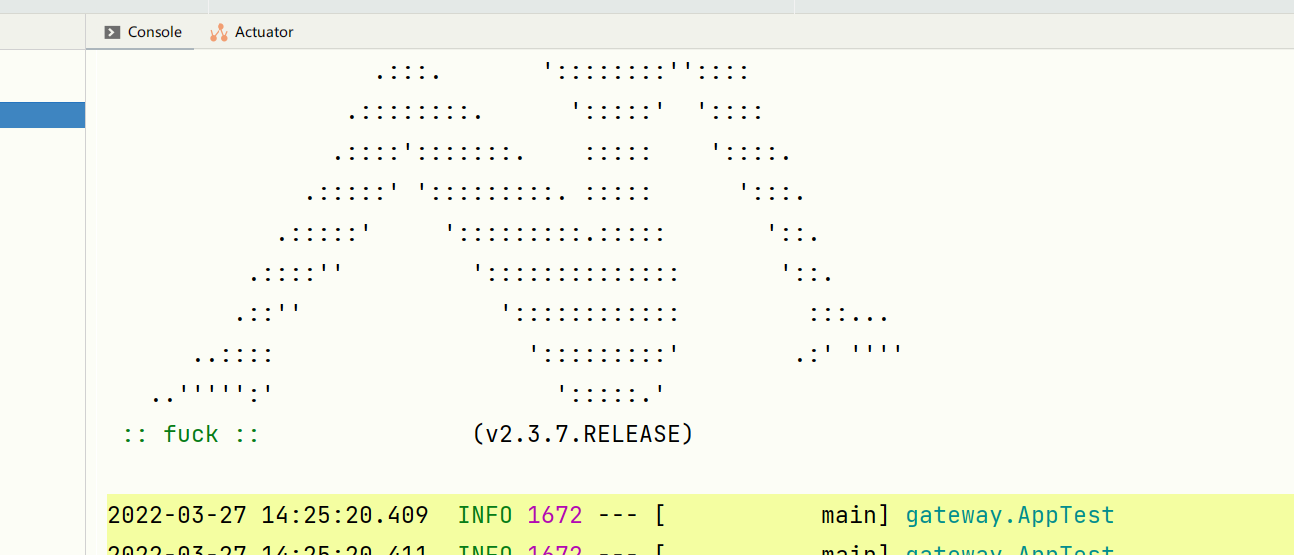
public class MyBanner implements Banner {private static final String[] BANNER = { "", " \n" +"                                .::::.\n" +"                              .::::::::.\n" +"                              :::::::::::\n" +"                              ':::::::::::..\n" +"                               :::::::::::::::'\n" +"                                ':::::::::::.\n" +"                                  .::::::::::::::'\n" +"                                .:::::::::::...\n" +"                               ::::::::::::::''\n" +"                   .:::.       '::::::::''::::\n" +"                 .::::::::.      ':::::'  '::::\n" +"                .::::':::::::.    :::::    '::::.\n" +"              .:::::' ':::::::::. :::::      ':::.\n" +"            .:::::'     ':::::::::.:::::       '::.\n" +"          .::::''         '::::::::::::::       '::.\n" +"         .::''              '::::::::::::         :::...\n" +"      ..::::                  ':::::::::'        .:' ''''\n" +"   ..''''':'                    ':::::.' " };private static final String SPRING_BOOT = " :: fuck :: ";private static final int STRAP_LINE_SIZE = 42;@Overridepublic void printBanner(Environment environment, Class<?> sourceClass, PrintStream printStream) {for (String line : BANNER) {printStream.println(line);}String version = SpringBootVersion.getVersion();version = (version != null) ? " (v" + version + ")" : "";StringBuilder padding = new StringBuilder();while (padding.length() < STRAP_LINE_SIZE - (version.length() + SPRING_BOOT.length())) {padding.append(" ");}printStream.println(AnsiOutput.toString(AnsiColor.GREEN, SPRING_BOOT, AnsiColor.DEFAULT, padding.toString(),AnsiStyle.FAINT, version));printStream.println();}
}
修改主启动类的 main方法
public static void main(String[] args) {SpringApplication springApplication = new SpringApplication(AppTest.class);springApplication.setBanner(new MyBanner());springApplication.run( args);}
效果:
继续分析printBanner方法
org.springframework.boot.SpringApplication#printBanner

调用 bannerPrinter.print(environment, this.mainApplicationClass, System.out) 方法
三个参数 ConfigurableEnvironment 配置环境
mainApplicationClass 主启动类的字节码对象
System.out 输出流
跟进去 来到 org.springframework.boot.SpringApplicationBannerPrinter#print(org.springframework.core.env.Environment, java.lang.Class<?>, java.io.PrintStream)

getBanner
看下这个 getBanner(environment) 从配置环境中拿 Banner对象的方法
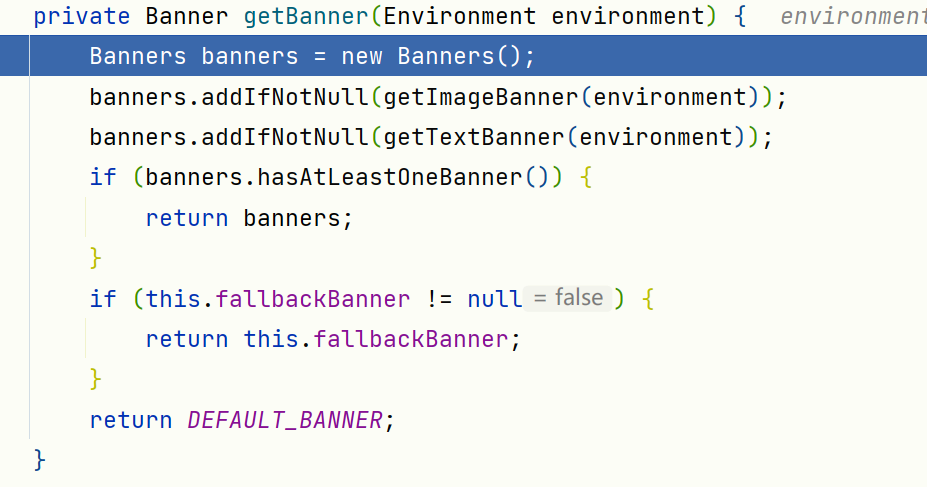
首先创建了一个 Banners 对象 org.springframework.boot.SpringApplicationBannerPrinter.Banners
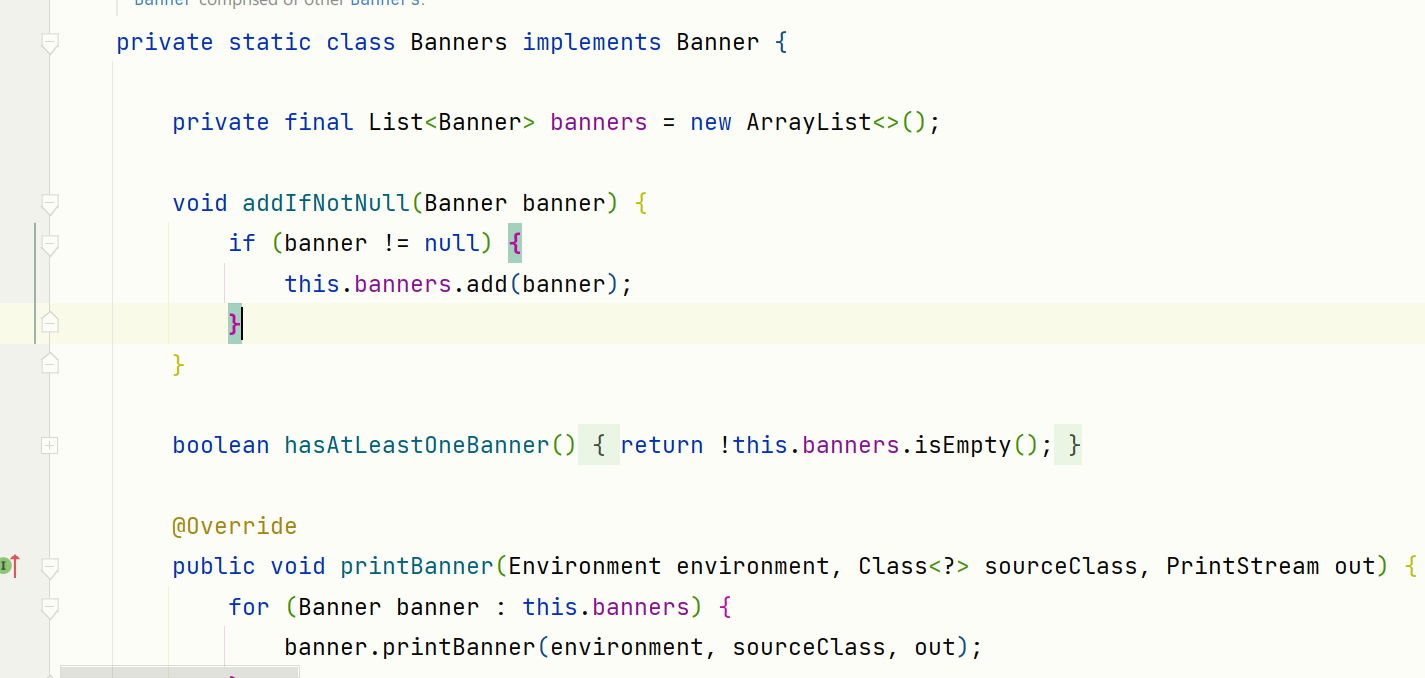
然后调用 banners.addIfNotNull(getImageBanner(environment));
getImageBanner(environment)
看下怎么从图片中拿到Banner对象
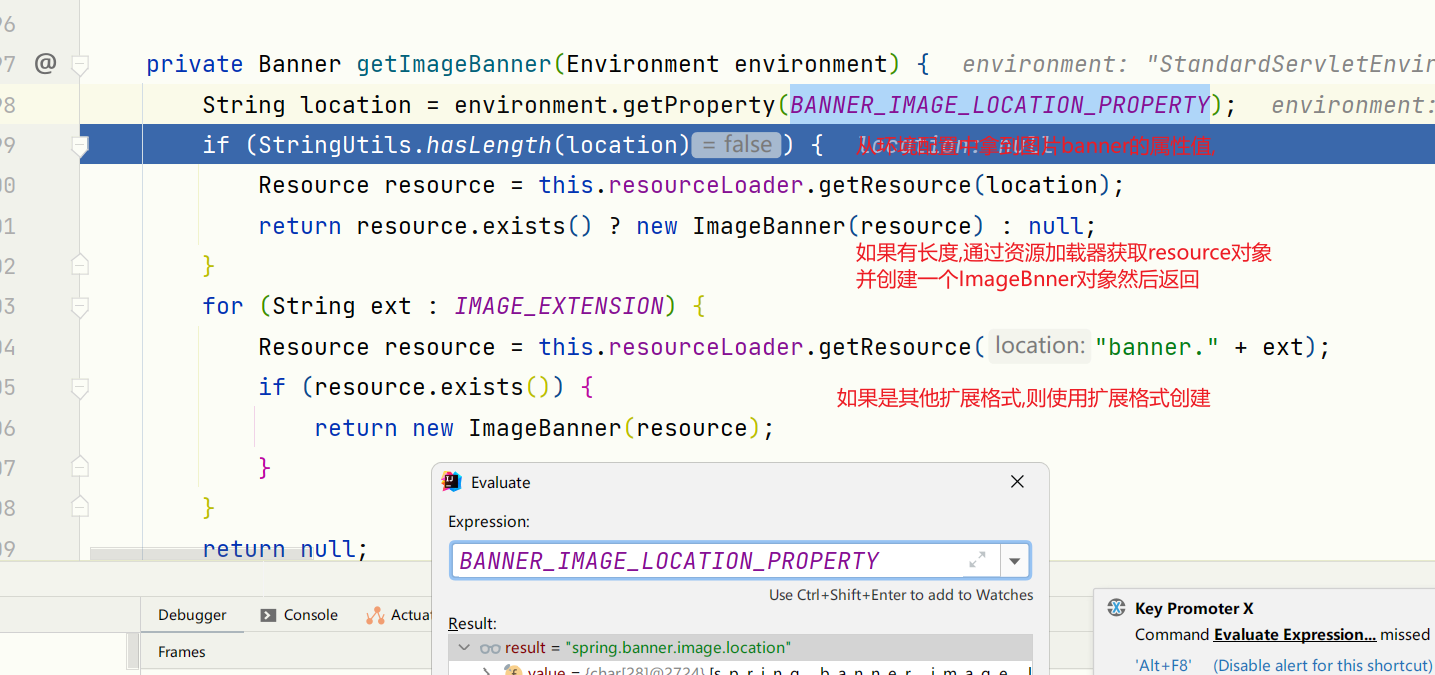
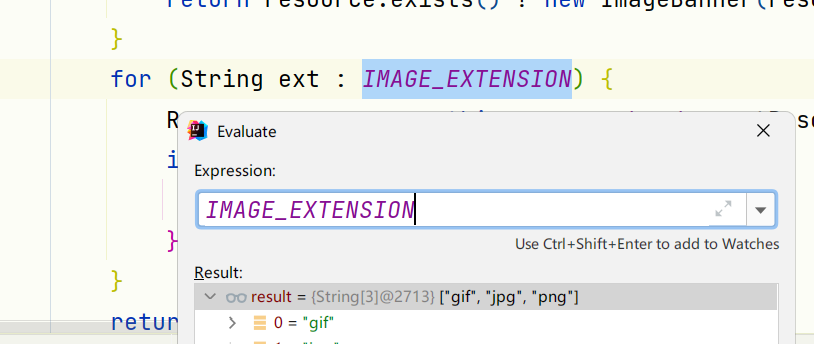
也就是图片只支持这三种格式
resourceLoader.getResource("banner." + ext)
最重要看这行代码
去类加载路径下找 banner.gif,banner.jpg,banner.png文件 如果存在 则添加到 banners 集合中然后 立马返回
如果都没找到,继续执行
getTextBanner(environment)
banners.addIfNotNull(getTextBanner(environment));
org.springframework.boot.SpringApplicationBannerPrinter#getTextBanner
private Banner getTextBanner(Environment environment) {String location = environment.getProperty(BANNER_LOCATION_PROPERTY, DEFAULT_BANNER_LOCATION);Resource resource = this.resourceLoader.getResource(location);if (resource.exists()) {return new ResourceBanner(resource);}return null;}
static final String DEFAULT_BANNER_LOCATION = "banner.txt";
去类加载路径下找 banner.txt 文件 找到添加到 banners 集合里 然后立马返回
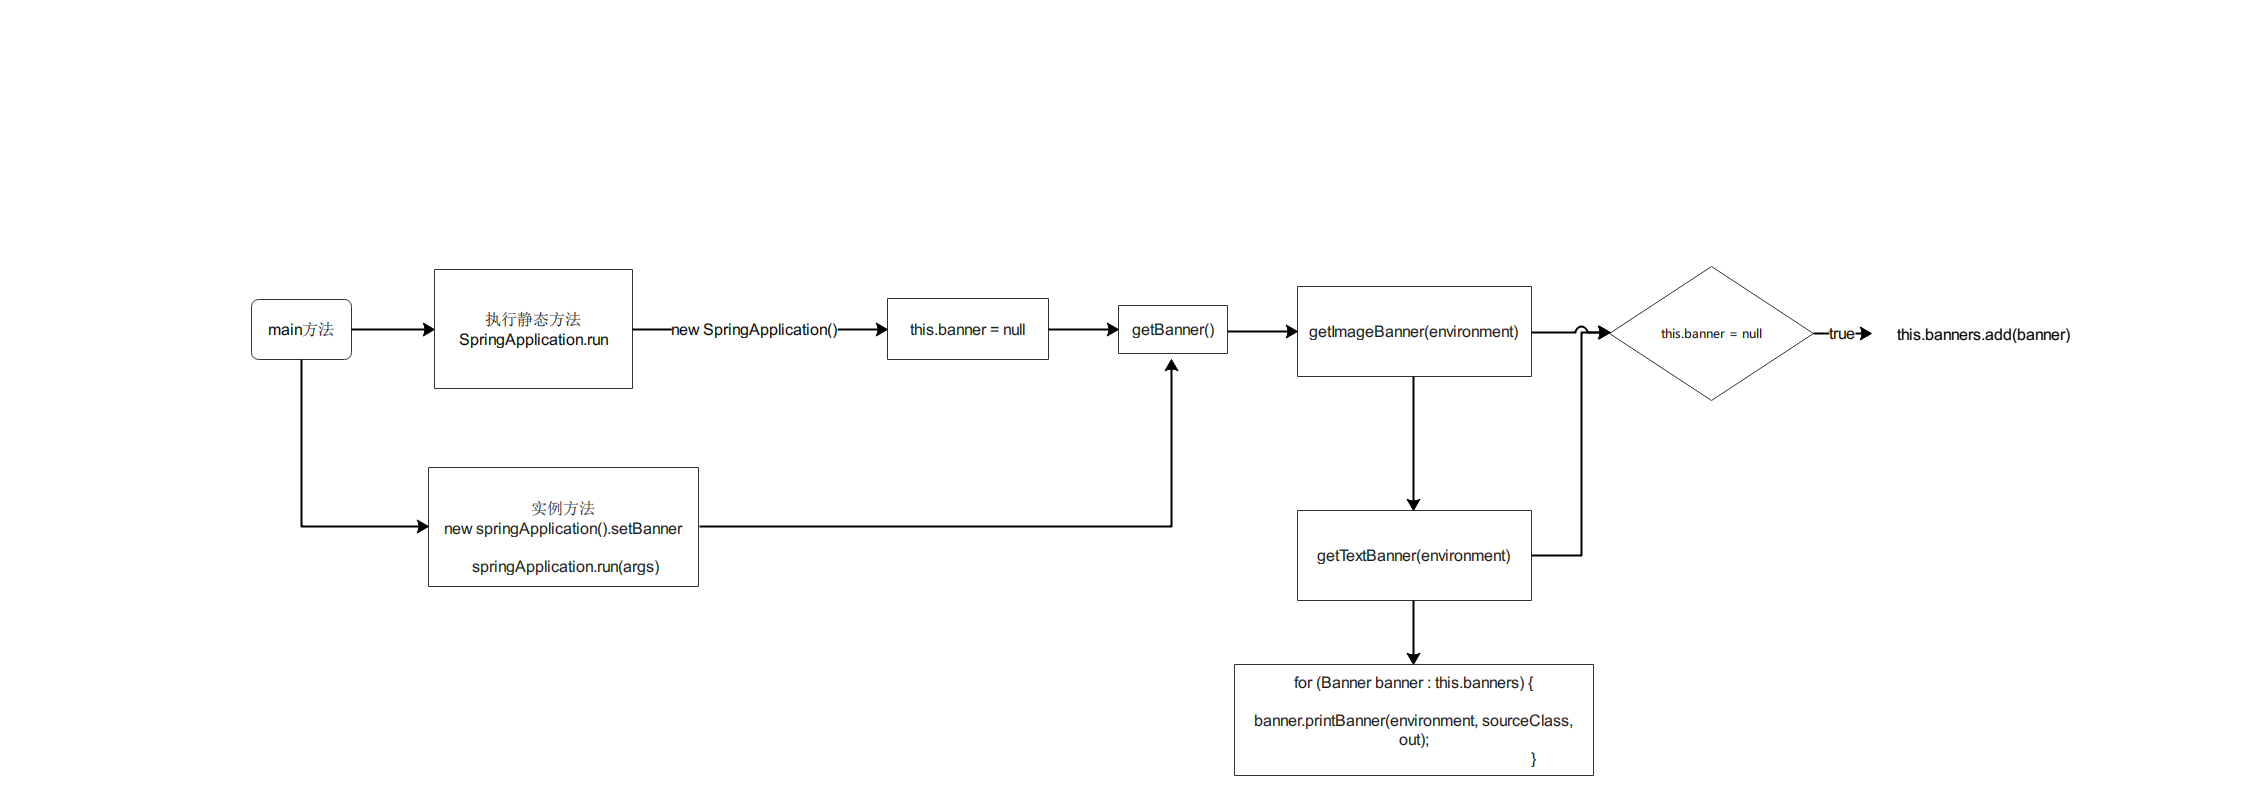
修改banner的方式二 类加载路径下创建 banner.文件
banner文件分两种 一种图片 图片的加载顺序为 gif,jpg,png
一种txt
每种类型只能添加一个 同时最多打印两个banner 一个为图片类型的 一个为txt类型的
如 我在resource路径下放了两个banner文件,一个图片一个txt 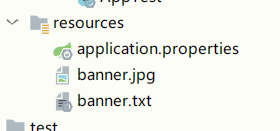
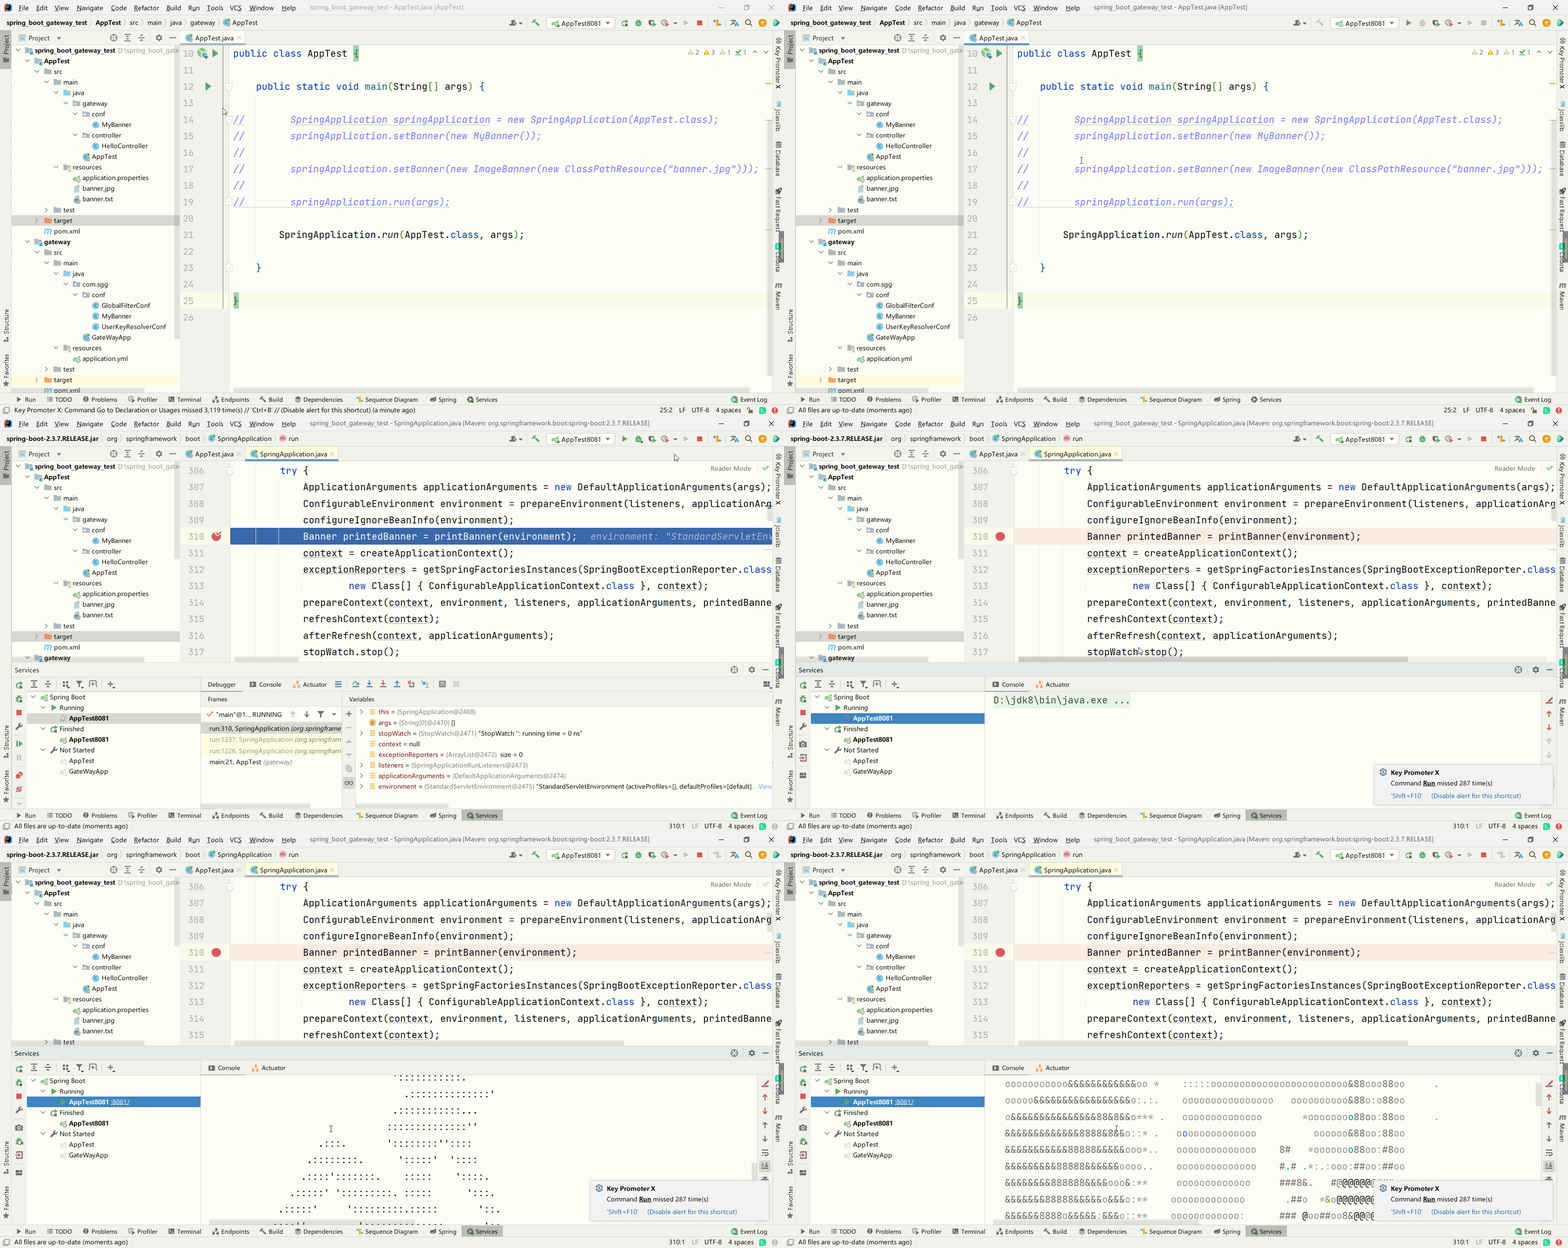
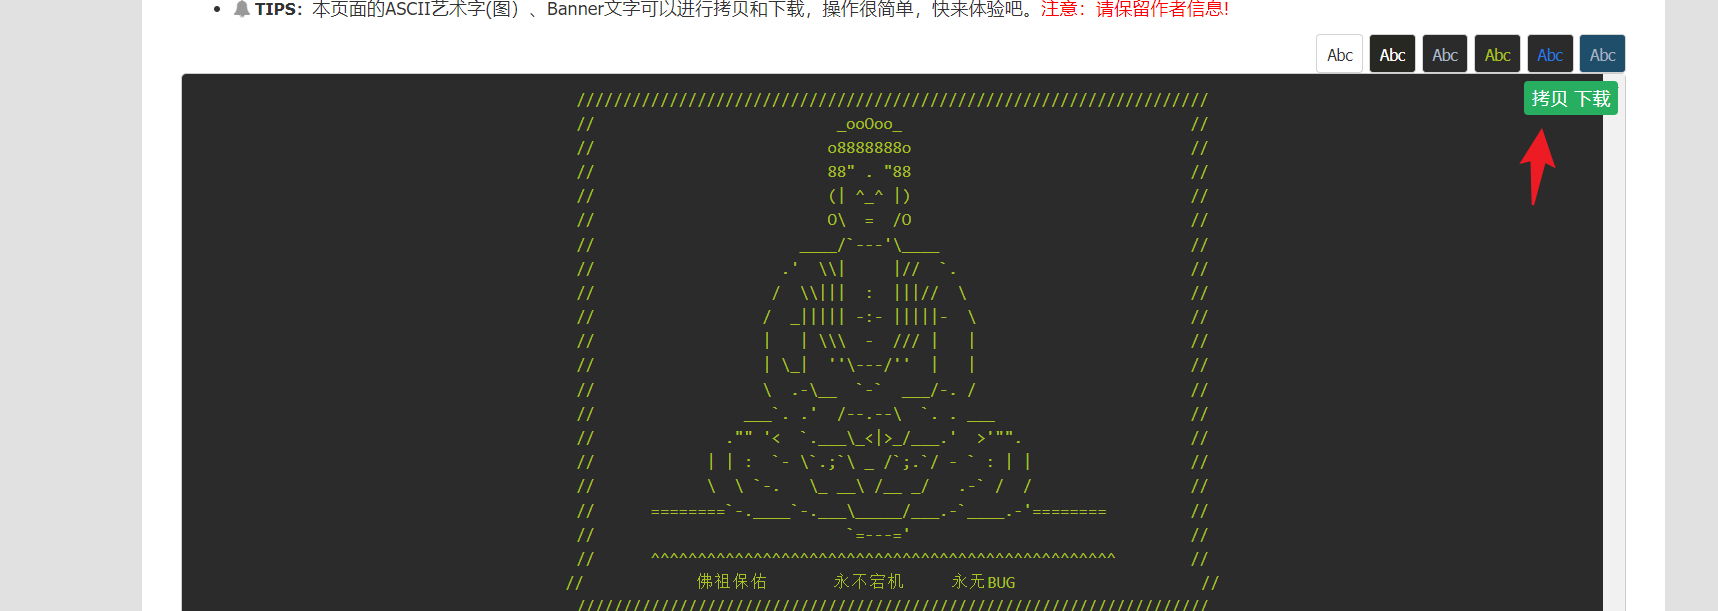
生成banner的网站
关于佛祖的ascii艺术字,Spring Boot 佛祖 Banner-bootschool.net
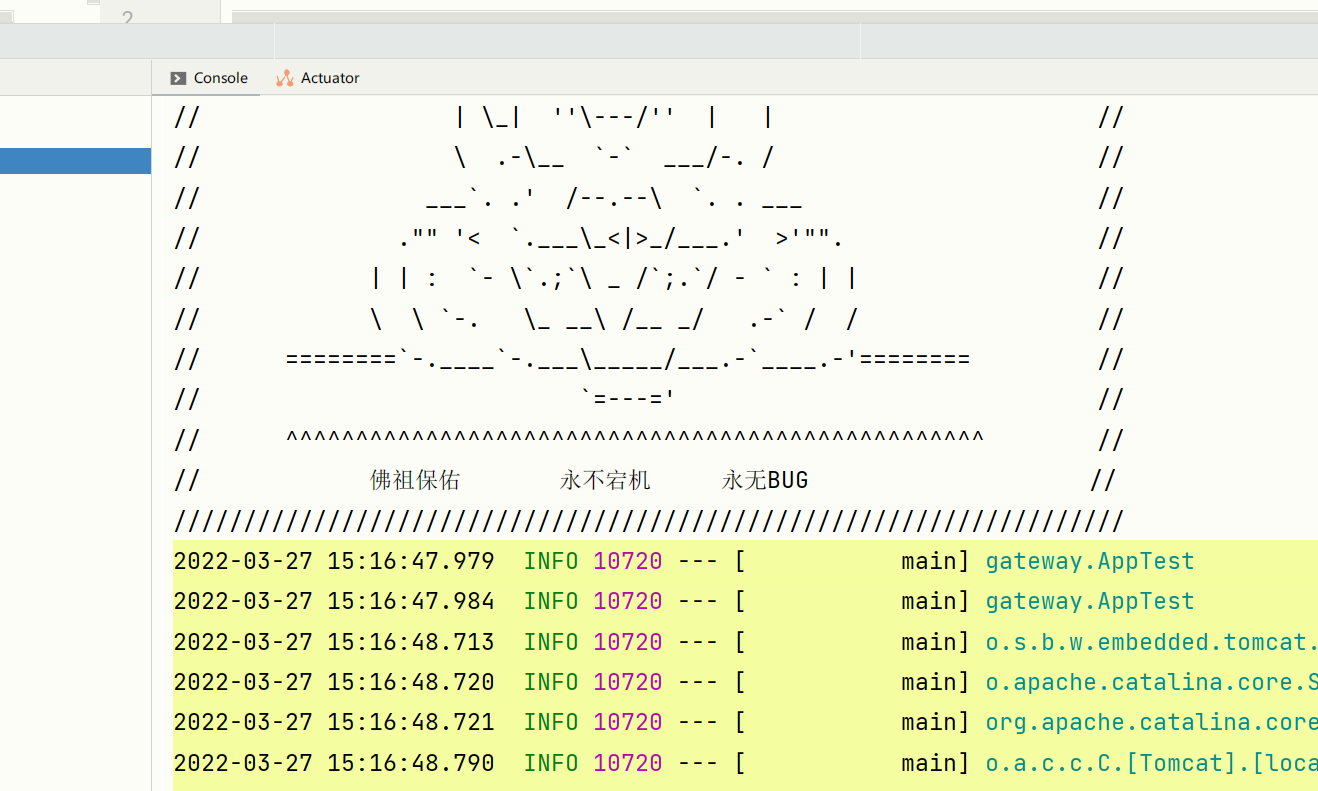
然后resource路径下先进一个banner.txt 粘贴 再启动项目
这篇关于【SpringBoot】 SpringBoot 打印Banner横幅的源码过程 以及如何修改的文章就介绍到这儿,希望我们推荐的文章对编程师们有所帮助!


