本文主要是介绍【Mind+】掌控板的光控/声控/语音灯/mqtt通信,希望对大家解决编程问题提供一定的参考价值,需要的开发者们随着小编来一起学习吧!
实验一:光控灯
功能:当光照强度达到一定值后,关灯并屏幕显示关灯信息;当光照强度小于这个值时,保持光照并屏幕提示开灯信息。
实时模式图形化;

上传模式图形化;

C代码:
#include <MPython.h>// 主程序开始
void setup() {mPython.begin();
}
void loop() {if (((light.read())>1000)) {rgb.write(-1, 0x000000);display.fillScreen(0);display.setCursor(42, 22);display.print("已关灯");delay(1000);}else {rgb.brightness(round(4));rgb.write(-1, 0x0000FF);display.fillScreen(0);display.setCursor(42, 22);display.print("已开灯");delay(1000);}
}
实验效果:


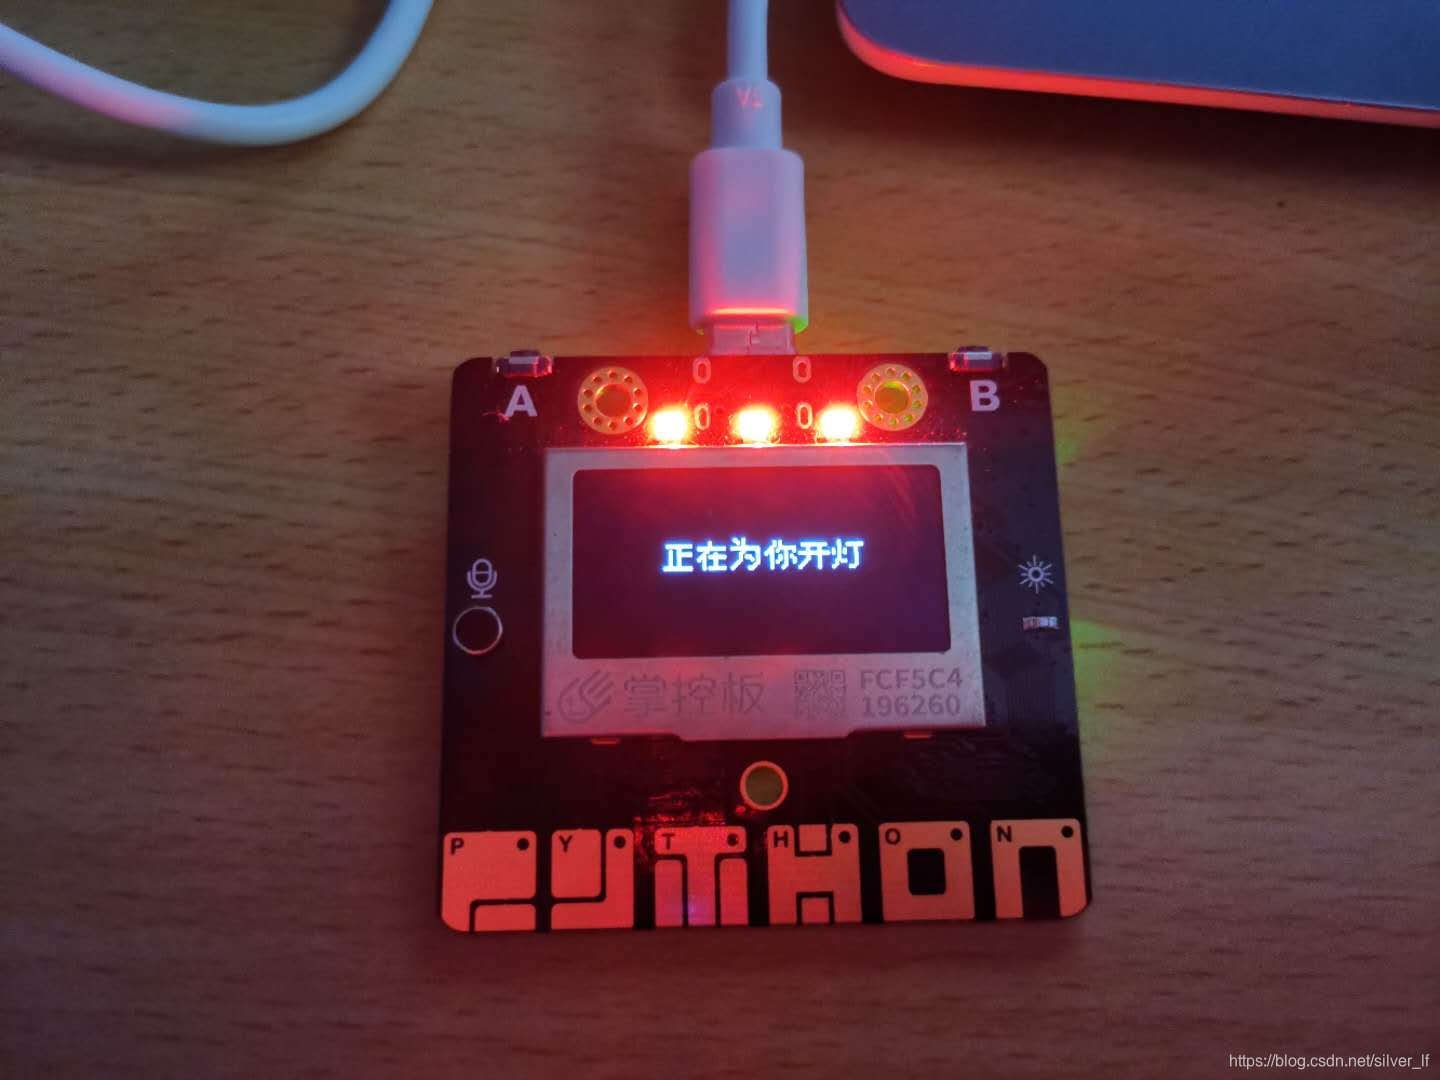
实验二:声控灯
功能:当声音强度达到一定值后,灯亮起并通过屏幕显示当前状态;反之保持关灯并通过屏幕显示当前状态。
实时模式图形化;

上传模式图形化;

C代码:
#include <MPython.h>// 主程序开始
void setup() {mPython.begin();
}
void loop() {if (((sound.read())>500)) {rgb.write(0, 0xFF0000);display.fillScreen(0);display.setCursor(42, 22);display.print("正在为你开灯");delay(6000);}else {rgb.write(-1, 0x000000);display.fillScreen(0);display.setCursor(42, 22);display.print("正在为你关灯");delay(1000);}
}
实验效果:


实验三:语音控制灯
功能:按下A键开始录制语音,当识别到语音信息中包含开灯或者关灯信息时,分别亮灯或关灯并在屏幕实时显示当前信息。
实时模式图形化;

上传模式图形化;

C代码:
#include <MPython.h>
#include <DFRobot_Iot.h>
#include <MPython_ASR.h>
// 创建对象
DFRobot_Iot myIot;
MPython_ASR mpythonAsr;
String      str_mpythonAsr_result;// 主程序开始
void setup() {mPython.begin();myIot.wifiConnect("HONOR V20", "1234567890");while (!myIot.wifiStatus()) {yield();}display.fillScreen(0);display.setCursor(42, 22);display.print("WIFI连接成功");delay(1000);
}
void loop() {if ((buttonA.isPressed())) {while (!(!buttonA.isPressed())) {yield();}display.fillScreen(0);display.setCursor(42, 22);display.print("开始识别语音");str_mpythonAsr_result=mpythonAsr.getAsrResult(4);if (((String(str_mpythonAsr_result).indexOf(String("开灯")) != -1))) {rgb.write(-1, 0x0000FF);display.fillScreen(0);display.setCursor(42, 22);display.print("开灯了哟");}else if (((String(str_mpythonAsr_result).indexOf(String("关灯")) != -1))) {rgb.write(-1, 0x000000);display.fillScreen(0);display.setCursor(42, 22);display.print("关灯了哟");}}
}
实验效果:


实验四:mqtt信息
功能:当收到来自topic1的信息,亮紫灯并在屏幕显示出信息内容;当按下A键或者触摸键,将信息发送到topic0显示发送成功并闪烁led灯。
实时模式图形化;

上传模式图形化;

C代码:
#include <MPython.h>
#include <DFRobot_Iot.h>
// 函数声明
void obloqMqttEventT1(String& message);
// 静态常量
const String topics[5] = {"vhQz6T3Wg","URfU-9dGR","","",""};
const MsgHandleCb msgHandles[5] = {NULL,obloqMqttEventT1,NULL,NULL,NULL};
// 创建对象
DFRobot_Iot myIot;// 主程序开始
void setup() {mPython.begin();myIot.setMqttCallback(msgHandles);myIot.wifiConnect("HONOR V20", "123456789");if (myIot.wifiStatus()) {display.fillScreen(0);display.setCursor(42, 22);display.print("WIFI连接成功");}myIot.init("iot.dfrobot.com.cn","FoCTLajZR","","FojTL-CZgz",topics,1883);myIot.connect();if (myIot.connected()) {display.fillScreen(0);display.setCursor(42, 22);display.print("MQTT连接成功");}
}
void loop() {if (((buttonA.isPressed()) || (touchPadP.isTouched()))) {myIot.publish(topic_0, "烁斌快快");display.setCursorLine(1);display.printLine("发送成功");rgb.write(-1, 0xFFFF00);delay(1000);rgb.write(-1, 0x000000);delay(1000);rgb.write(-1, 0xFF0000);delay(3000);rgb.write(-1, 0x000000);}
}// 事件回调函数
void obloqMqttEventT1(String& message) {display.fillScreen(0);display.setCursorLine(2);display.printLine(message);rgb.write(-1, 0x0000FF);delay(2000);rgb.write(-1, 0x000000);
}
实验效果:


这篇关于【Mind+】掌控板的光控/声控/语音灯/mqtt通信的文章就介绍到这儿,希望我们推荐的文章对编程师们有所帮助!


