go-fly
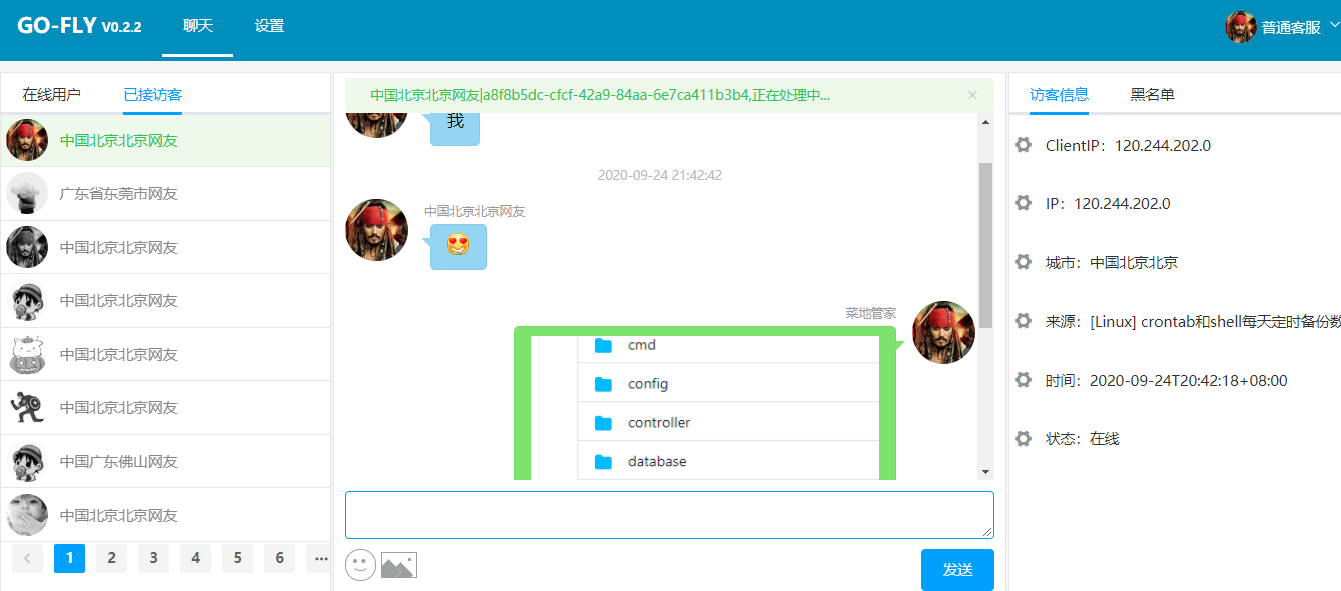
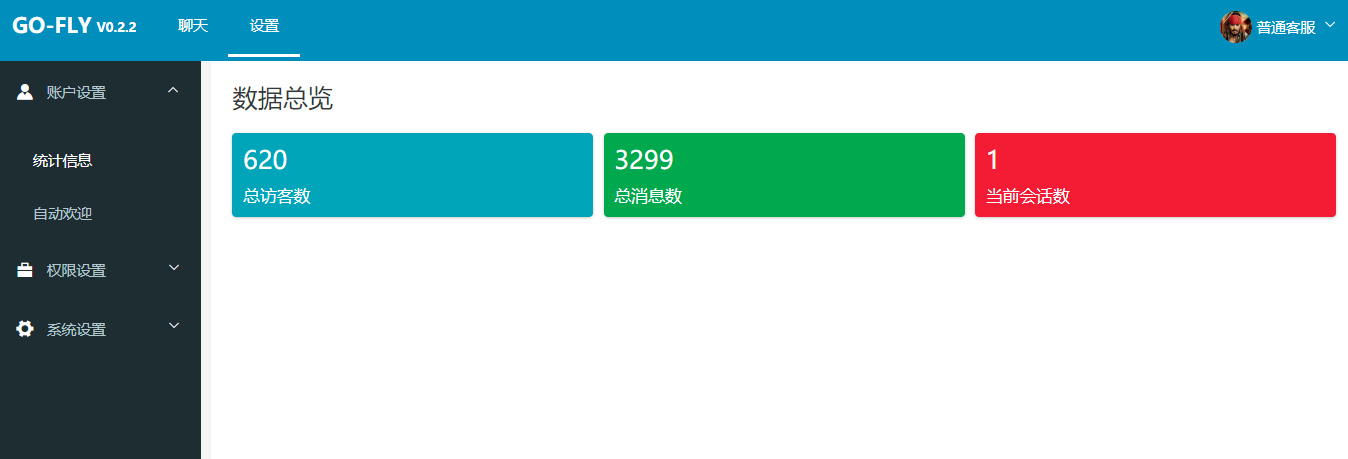
基于GO语言实现的web客服即时通讯与客服管理系统。非常适合给自己的网站增加在线客服功能,代码简单也适合学习。
Github地址:https://github.com/taoshihan1991/go-fly
后台管理地址: https://gofly.sopans.com/login 用户名:kefu2 密码:123
前台测试地址: https://gofly.sopans.com/
1.使用gin http框架实现restful风格的API和template包的模板语法进行展示界面
2.使用jwt-go配合gin中间件实现无状态的jwt登陆认证
3.数据库实现的rbac权限配合gin中间件实现权限控制
4.通过cobra进行命令行参数解析和执行对应的功能
5.使用go modoule解决依赖问题
6.使用swagger实现文档展示
7.使用go-imap实现邮件的列表展示和读取
8.使用go-smtp实现发送邮件
9.使用github.com/gorilla/websocket实现即时通讯
10.使用gorm配合mysql实现数据存储
11.前端使用elementUI和Vue展示界面
11.充分实践了struct,interface,map,slice,for range,groutine和channel管道等基础知识
项目预览


安装使用
-
先安装和运行mysql , 创建go-fly数据库,并导入*.sql创建表结构与数据.
-
基于go module使用
go env -w GO111MODULE=on
go env -w GOPROXY=https://goproxy.cn,direct
在任意目录 git clone https://github.com/taoshihan1991/go-fly.git
进入go-fly 目录
在config目录mysql.json中配置数据库
{"Server":"127.0.0.1","Port":"3306","Database":"go-fly","Username":"go-fly","Password":"go-fly"
}
-
源码运行 go run go-fly.go server port 8081
-
源码打包 go build go-fly.go 会生成go-fly可以执行文件
-
导入数据库(会删除表清空数据) ./go-fly install
-
二进制文件运行
linux: ./go-fly server port 8081
windows: go-fly.exe server port 8081
nginx部署
访问:https://gofly.sopans.com
参考支持https的部署示例 , 注意反向代理的端口号和证书地址
server {listen 443 ssl http2;ssl on;ssl_certificate   conf.d/cert/4263285_gofly.sopans.com.pem;ssl_certificate_key  conf.d/cert/4263285_gofly.sopans.com.key;ssl_session_timeout 5m;ssl_ciphers ECDHE-RSA-AES128-GCM-SHA256:ECDHE:ECDH:AES:HIGH:!NULL:!aNULL:!MD5:!ADH:!RC4;ssl_protocols TLSv1 TLSv1.1 TLSv1.2;ssl_prefer_server_ciphers on;#listen          80; server_name  gofly.sopans.com;access_log  /var/log/nginx/gofly.sopans.com.access.log  main;location / {proxy_pass http://127.0.0.1:8081;proxy_http_version 1.1;proxy_set_header X-Real-IP $remote_addr;proxy_set_header Upgrade $http_upgrade;proxy_set_header Connection "upgrade";proxy_set_header Origin "";}
}
server{listen 80;server_name  gofly.sopans.com;access_log  /var/log/nginx/gofly.sopans.com.access.log  main;location / {proxy_pass http://127.0.0.1:8081;proxy_http_version 1.1;proxy_set_header X-Real-IP $remote_addr;proxy_set_header Upgrade $http_upgrade;proxy_set_header Connection "upgrade";proxy_set_header Origin "";}
}
生成文档
- 需要先安装swag
- 在根目录swag init


