本文主要是介绍H5播放HLS之DPlayer播放,希望对大家解决编程问题提供一定的参考价值,需要的开发者们随着小编来一起学习吧!
一、创建vue项目
http://dplayer.js.org/guide.html
DPlayer使用是基于vue的,所以先安装vue并创建vue项目
卸载vue
npm uninstall -g vue-cli
安装vue为最新(4.x)
npm install -g @vue/cli
vue -V
如果需要指定版本安装vue3.x则可以
npm i -g @vue/cli@^3.12.1
vue -V
创建项目
vue create video
cd video
npm run serve
vue add router
安装DPlayer组件
npm i dplayer -S
或
yarn add dplayer
二、DPlayer播放
创建好项目后使用vscode编辑器打开,按照如下步骤实现dplayer的使用
1、删除不必要的路由器,修改router.js将HelloWorld.vue设置为跟路由
const routes = [{path: "/",name: "HelloWorld",component: HelloWorld,},
];
2、添加Dplayer的自定义播放组件VueDplayerHLS.vue
<template><div class="dplayer"></div>
</template><script>
import DPlayer from "dplayer";
export default {props: {autoplay: {type: Boolean,default: false,},theme: {type: String,default: "#FADFA3",},loop: {type: Boolean,default: false,},lang: {type: String,default: "zh",},screenshot: {type: Boolean,default: false,},hotkey: {type: Boolean,default: true,},preload: {type: String,default: "auto",},contextmenu: {type: Array,},logo: {type: String,},video: {type: Object,required: true,validator(value) {return typeof value.url === 'string'}},},data() {return {dp: null,};},mounted() {const player = (this.dp = new DPlayer({// 挂载元素element: this.$el,// 自动播放autoplay: this.autoplay,// 主题颜色theme: this.theme,// 循环播放loop: this.loop,// 显示语言lang: this.lang,// 显示抓拍screenshot: this.screenshot,// 快捷键hotkey: this.hotkey,// 预加载preload: this.preload,// 播放器上下文菜单contextmenu: this.contextmenu,// 左上角logologo: this.logo,// 播放视频源video: {// 播放器背景图pic: this.video.pic,defaultQuality: this.video.defaultQuality,// 不同播放质量源quality: [{url: this.video.quality[0].url,name: this.video.quality[0].name,},{url: this.video.quality[1].url,name: this.video.quality[1].name,}],// 缩略图thumbnails: this.video.thumbnails,// 视频源类型type: this.video.type,},}));// 播放事件player.on("play", () => {this.$emit("play");});// 停止事件player.on("pause", () => {this.$emit("pause");});// 可播放事件player.on("canplay", () => {this.$emit("canplay");});// 正在播放事件player.on("playing", () => {this.$emit("playing");});// 结束播放事件player.on("ended", () => {this.$emit("ended");});// 播放错误事件player.on("error", () => {this.$emit("error");});}
};
</script>
<style scoped></style>
关于vue自定义组件基础知识我这里不再涉及!
3、根路由HelloWorld.vue引用播放器组件
<template><div class="hello"><d-playerref="player"@play="play"@pause="pause":logo="logo":lang="lang":video="video":contextmenu="contextmenu"></d-player></div>
</template><script>
import VueDPlayer from "./VueDplayerHLS";
import logoImg from "@/assets/logo.png";
import backImg from "@/assets/back.jpg";export default {name: "HelloWorld",data() {return {video: {// 视频质量列表quality: [{name: "240P",url: "http://192.168.12.187:8080/live/1.m3u8",},{name: "360P",url: "http://192.168.12.187:8080/live/1.m3u8",},{name: "720P",url: "http://192.168.12.187:8080/live/1.m3u8",},],// 播放器背景图pic: backImg,// 默认播放视频质量0开始defaultQuality: 2,// 视频缩略图thumbnails: logoImg,// 播放视频格式type: "hls",},// 播放器语言lang: "zh-cn",// 左上角视频logo图logo: logoImg,// 是否自动播放autoplay: false,// 播放器实例player: null,// 上下文菜单列表contextmenu: [{text: "CSDN",link: "https://blog.csdn.net/lixiang987654321",},{text: "百度",link: "https://www.baidu.com",},],};},components: {"d-player": VueDPlayer,},methods: {play() {console.log('开始播放...')},pause() {console.log('停止播放...')},},mounted() {//this.player = this.$refs.player.dp;//console.log(this.player);//var hls = new Hls();//hls.loadSource('http://192.168.12.187:8080/live/1.m3u8');//hls.attachMedia(this.player);},
};
</script><style scoped>
h1,
h2 {font-weight: normal;
}
ul {list-style-type: none;padding: 0;
}
li {display: inline-block;margin: 0 10px;
}
a {color: #42b983;
}
.hello {width: 750px;margin: 0 auto 50px;
}
@media only screen and (max-width: 640px) {.hello {width: 100%;}
}
</style>
4、打包测试
我们使用开发环境测试,运行如下命令打包
npm run serve
打包完成后,直接打开浏览器地址
http://192.168.50.7:8080/
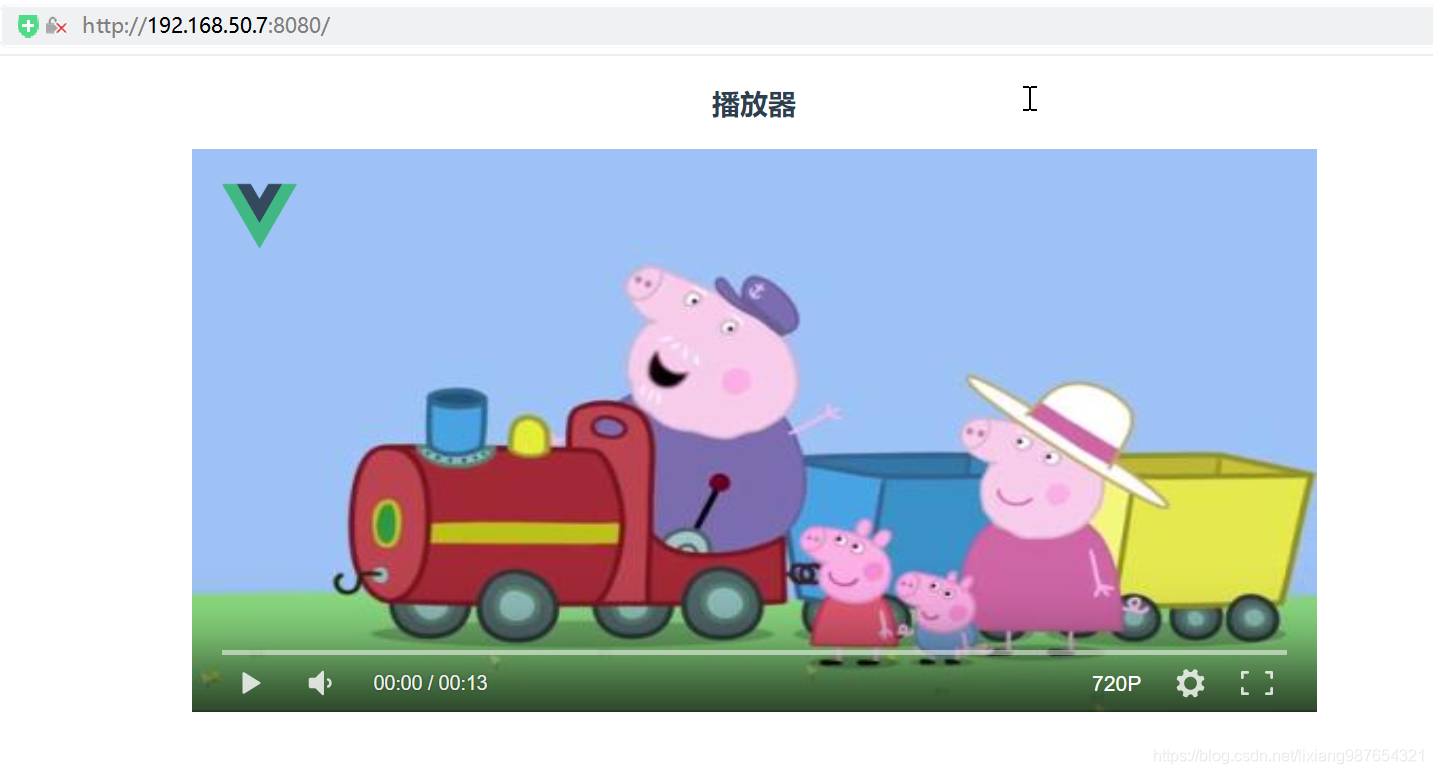
点击播放即可播放我们的HLS视频流了

经过初步测试Dplayer的延迟比hls.min.js和videojs延迟还要大,大概在10s左右,而videojs大概在7-8s
源码获取、合作、技术交流请获取如下联系方式:
QQ交流群:961179337

微信账号:lixiang6153
公众号:IT技术快餐
电子邮箱:lixx2048@163.com
这篇关于H5播放HLS之DPlayer播放的文章就介绍到这儿,希望我们推荐的文章对编程师们有所帮助!


