本文主要是介绍uniapp原生插件之安卓腾讯Bugly专业版原生插件,希望对大家解决编程问题提供一定的参考价值,需要的开发者们随着小编来一起学习吧!
插件介绍
Bugly专业版是TDS腾讯端服务(Tencent Device-oriented Service)旗下的端质量监控平台,通过采集、监控、定位、告警等核心能力,提供专业的质量监控服务,帮助开发者及时发现并解决质量问题,打造高质量应用。
Bugly专业版本可以帮助你发现多类异常问题,如崩溃,ANR,OOM,内存使用异常,应用操作卡顿,启动耗时过长等质量问题。Bugly专业版通过灵活的告警配置,支持分钟粒度的异常探测,快速识别异常并及时告警。与此同时,平台提供了丰富的归因分析能力,包含不限于异常现场分析,条件对比分析,自定义下钻分析,维度分析等等。通过分钟级的上报趋势,以及多维度统计,用户可以快速了解到各类指标的变化趋势。
插件地址
安卓腾讯bugly专业版原生插件 - DCloud 插件市场
超级福利
uniapp 插件购买超级福利
详细使用文档
uniapp 安卓腾讯Bugly专业版原生插件使用文档
用法
在需要使用插件的页面加载以下代码
const module = uni.requireNativePlugin("leven-qqBuglyPro-BuglyModule");页面内容
<template><view><uni-card title="腾讯bugly专业版APP性能监控原生插件"><view style="margin-bottom: 20px;"><button type="primary" @click="init">初始化</button><button type="primary" @click="updateUniqueId">更新设备ID</button><button type="primary" @click="updateUserId">更新用户ID</button><button type="primary" @click="updateDeviceModel">更新设备型号</button><button type="primary" @click="postException">上报自定义异常</button><button type="primary" @click="putUserData">添加自定义数据</button><button type="primary" @click="removeUserData">移除自定义数据</button><button type="primary" @click="enterScene">进入自定义场景</button><button type="primary" @click="exitScene">退出自定义场景</button><button type="primary" @click="setCrashMonitorAble">设置crash监控动态开关</button><button type="primary" @click="getBuglyMonitorNames">获取所有监控项</button><button type="primary" @click="setPerformanceMonitorsAble">设置性能监控动态开关</button><button type="primary" @click="setPerformanceMonitorAble">设置单个性能监控动态开关</button><button type="primary" @click="abolishPerformanceMonitors">停止所有的性能监控项</button><button type="primary" @click="appLaunchStart">开启启动监控</button><button type="primary" @click="appLaunchSpanStart">启动监控打点</button><button type="primary" @click="appLaunchSpanEnd">启动监控结束打点</button><button type="primary" @click="appLaunchEnd">结束整个启动监控</button><button type="primary" @click="crashTest('Java')">崩溃模拟JAVA异常</button><button type="primary" @click="crashTest('Native')">崩溃模拟Native异常</button><button type="primary" @click="crashTest('ANR')">模拟ANR异常</button><button type="primary" @click="crashTest('OOM')">模拟OOM异常</button></view></uni-card></view></view>
</template><script>const module = uni.requireNativePlugin("leven-qq-buglyPro-BuglyModule");export default {data() {return {}},methods: {// 初始化init() {module.init({// 【必需设置】在Bugly 专业版 注册产品的appIDappID: "c6a0a9f61f",// 【必需设置】在Bugly 专业版 注册产品的appKeyappKey: "70472715-1aaa-49c4-aef3-1c05275d24e3",// 【推荐设置】设置设备唯一ID,必须保证唯一性,不设置则由Bugly生成唯一ID,影响设备异常率的统计以及联网设备数的统计,建议sp保存复用;uniqueId: "asdasd",// 【推荐设置】设置用户ID,影响用户异常率的统计,建议sp保存复用,同一进程生命周期里面,暂不支持多次设置;userId: "leven",// 【推荐设置】设置设备类型,设置机型后,Bugly SDK不再读取系统的机型deviceModel: "phone",// 【推荐设置】设置App版本号,不设置则从packageManager中读取。建议按应用的规范,主动设置,需要跟上传符号表的应用版本参数保持一致。appVersion: "1.0.0.20231027",// 【推荐设置】设置App版本的构建号,用于Java堆栈翻译关联版本,跟上传符号表的构建号参数保持一致。buildNumber: "100",// 【推荐设置】设置版本类型appVersionType: "debug",// 设置App的渠道appChannel: "android1",//设置Crash时是否抓取全部线程堆栈,默认开启enableAllThreadStackCrash: true,//设置Anr时是否抓取全部线程堆栈,默认开启enableAllThreadStackAnr: true,//设置性能监控时开启Crash保护模式,默认开启enableCrashProtect: true}, res => {console.log(res)})},// 更新设备idupdateUniqueId() {module.updateUniqueId({deviceId: "abcdefg"}, res => {console.log(res)})},// 更新用户idupdateUserId() {module.updateUserId({userId: "leven1"}, res => {console.log(res)})},// 更新设备型号updateDeviceModel() {module.updateDeviceModel({model: "ANN00"}, res => {console.log(res)})},// 上报自定义异常postException() {module.postException({// 异常类型 u3d c# : 4 | js : 8 | cocos2d lua : 6category: 8,// 错误类型errorType: "JSON",// 错误信息errorMsg: "这是一条自定义异常消息",// 出错堆栈stack: "Exception",// 额外信息extraInfo: [{key: "extra1",value: "extra1"}, {key: "extra2",value: "extra2"}]}, res => {console.log(res)})},// 添加自定义数据putUserData() {module.putUserData({key: "key1",value: "value1"}, res => {console.log(res)})},// 移除自定义数据removeUserData() {module.removeUserData({key: "key1"}, res => {console.log(res)})},// 进入自定义场景enterScene() {module.enterScene({sceneName: "sceneName1"}, res => {console.log(res)})},// 退出自定义场景exitScene() {module.exitScene({sceneName: "sceneName1"}, res => {console.log(res)})},// 设置crash监控动态开关setCrashMonitorAble() {module.setCrashMonitorAble({// crash类型,可填入JAVA_CRASH、NATIVE_CRASH、ANR_CRASHcrashType: "JAVA_CRASH",// true 打开,false 关闭isAble: true}, res => {console.log(res)})},// 获取所有监控项getBuglyMonitorNames() {module.getBuglyMonitorNames(res => {console.log(res)})},// 设置性能监控动态开关setPerformanceMonitorsAble() {module.setPerformanceMonitorsAble({// 监控项monitorList: ["looper_metric", "looper_stack"],// true 打开,false 关闭isAble: true}, res => {console.log(res)})},// 设置单个性能监控动态开关setPerformanceMonitorAble() {module.setPerformanceMonitorAble({// 监控项monitorName: "looper_metric",// true 打开,false 关闭isAble: false}, res => {console.log(res)})},// 停止所有的性能监控项abolishPerformanceMonitors() {module.abolishPerformanceMonitors(res => {console.log(res)})},// 开启启动监控appLaunchStart() {module.appLaunchStart({// 启动标签,可以为空tag: "login"}, res => {console.log(res)})},// 启动监控打点,必须先开启启动监控appLaunchSpanStart() {module.appLaunchSpanStart({// 开始打点的span名称spanName: "verification_code",// 当前要打点的span的父span的名称parentSpanName: "login"}, res => {console.log(res)})},// 启动监控结束打点,必须先开启启动监控appLaunchSpanEnd() {module.appLaunchSpanEnd({// 开始打点的span名称spanName: "verification_code"}, res => {console.log(res)})},// 结束启动监控appLaunchEnd() {module.appLaunchEnd(res => {console.log(res)})},// 崩溃测试crashTest(type) {module.crashTest({//Java:Java异常,Native:Native异常type: type}, res => {console.log(res)})}}}
</script><style></style>
插件方法
- 初始化
- 更新设备ID
- 更新用户ID
- 更新设备型号
- 上报自定义异常
- 添加自定义数据
- 移除自定义数据
- 进入自定义场景
- 退出自定义场景
- 设置crash监控动态开关
- 获取所有监控项
- 设置性能监控动态开关
- 设置单个性能监控动态开关
- 停止所有的性能监控项
- 开启启动监控
- 启动监控打点
- 启动监控结束打点
- 结束整个启动监控
- 崩溃模拟
具体方法的使用请参考使用说明文档
联系作者
购买插件前请先试用,试用通过再购买。在试用中如果遇到任何问题,可与作者联系,QQ:334106817,将全力协助你使用本插件
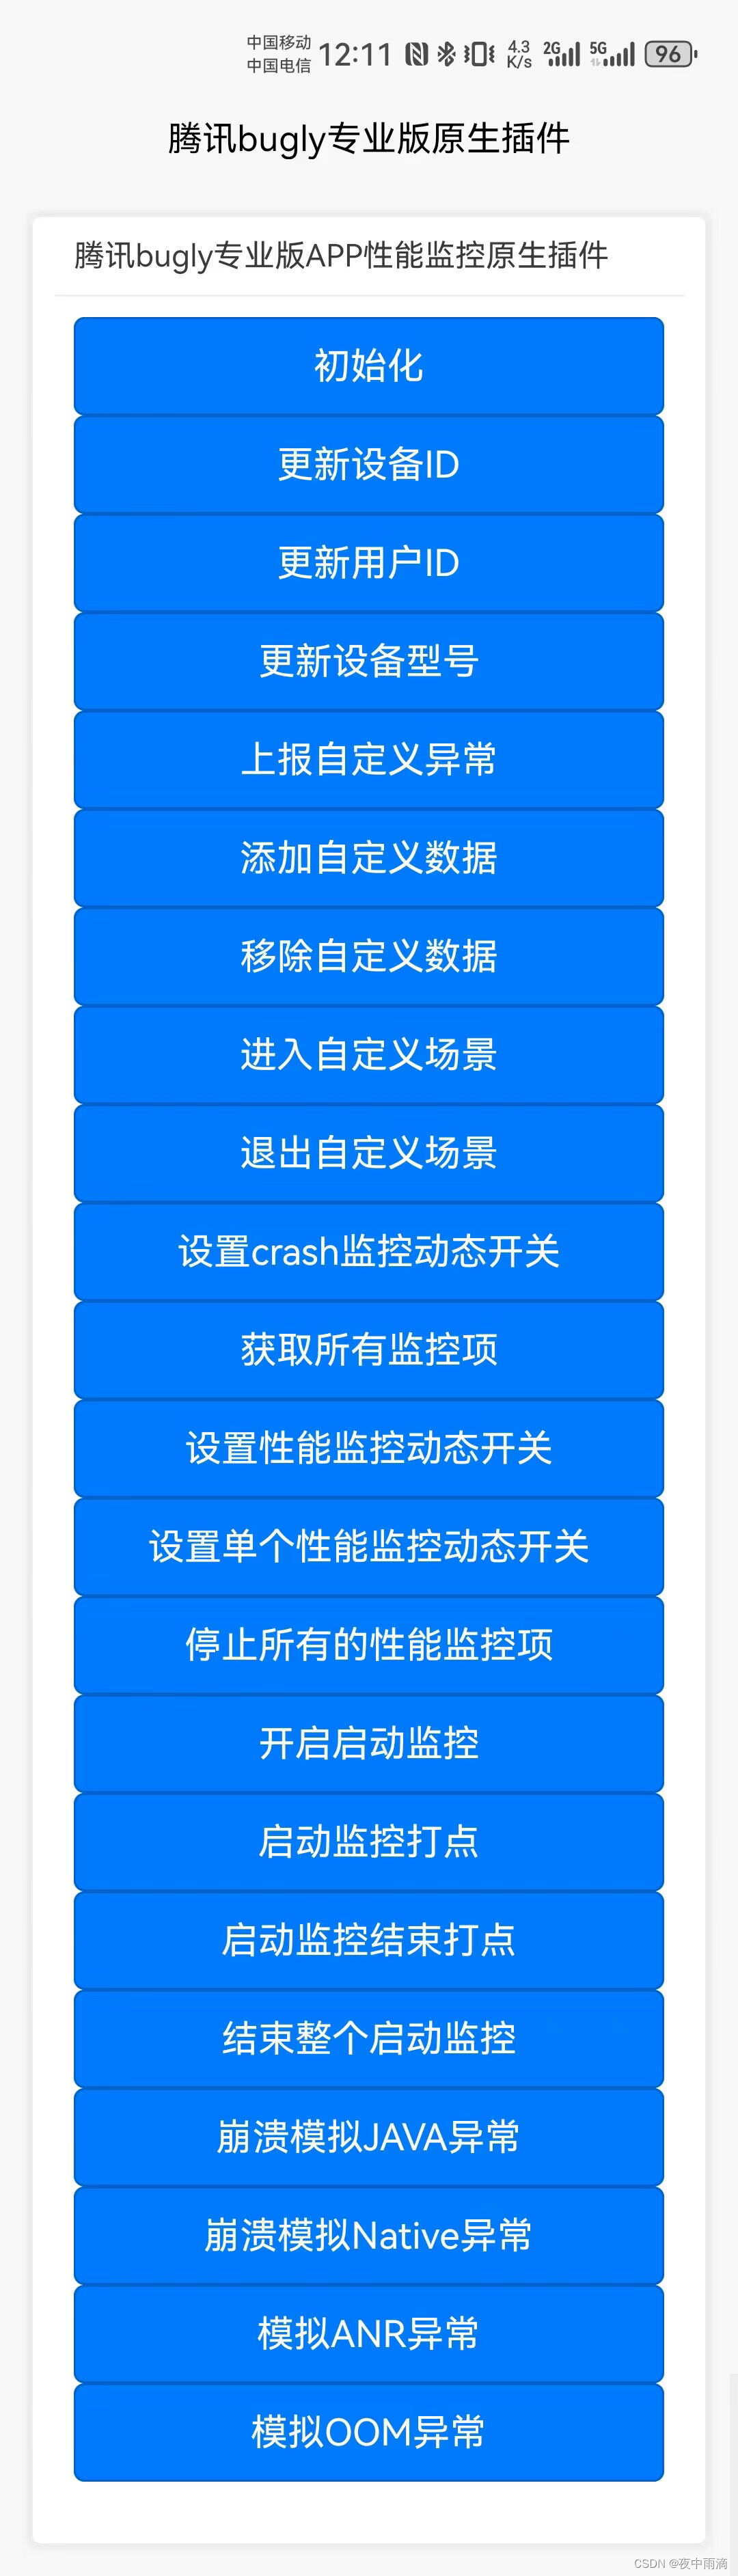
预览图片
这篇关于uniapp原生插件之安卓腾讯Bugly专业版原生插件的文章就介绍到这儿,希望我们推荐的文章对编程师们有所帮助!


