本文主要是介绍SwiftUI: Navigation all know,希望对大家解决编程问题提供一定的参考价值,需要的开发者们随着小编来一起学习吧!
Here is the repo’s url: https://gitee.com/kmyhy/SwiftUINavigation/
In normal UIKit, we use UINavigationController to make the navigaion within App. But in SwiftUI, we can’t make good use of UINavigationController anyway.
Actually, SwiftUI has a totally different navigation system which include NavigationView - just like an alternative to UINavigationController - and NavigationLink - just like a kind of UIButton which allow you jump to another view.
Today, let’s have a look how to use them step by step.
Here we go!
Demo app & NavigationView
Create a new SwiftUI project in Xcode, rename the ContentView.swift with FirstView.swift. First of all, we need other views which we want to jump to, so create a new View called SecondView and another View ThirdView. For now, we no need to care about their details. No worries, we will update them afterwards.
If we want to jump to SecondView from FirstView, and from SecondView to another View, we need to set FirstView as root view of NavigationView. In FirstView.swift, we need to update the definition ofbody:
var body: some View {NavigationView{VStack{Button("2nd view"){}}}.navigationViewStyle(StackNavigationViewStyle())}
Please always use ‘.navigationViewStyle(StackNavigationViewStyle())’ to you NavigationView, or else the result won’t be what you expect.
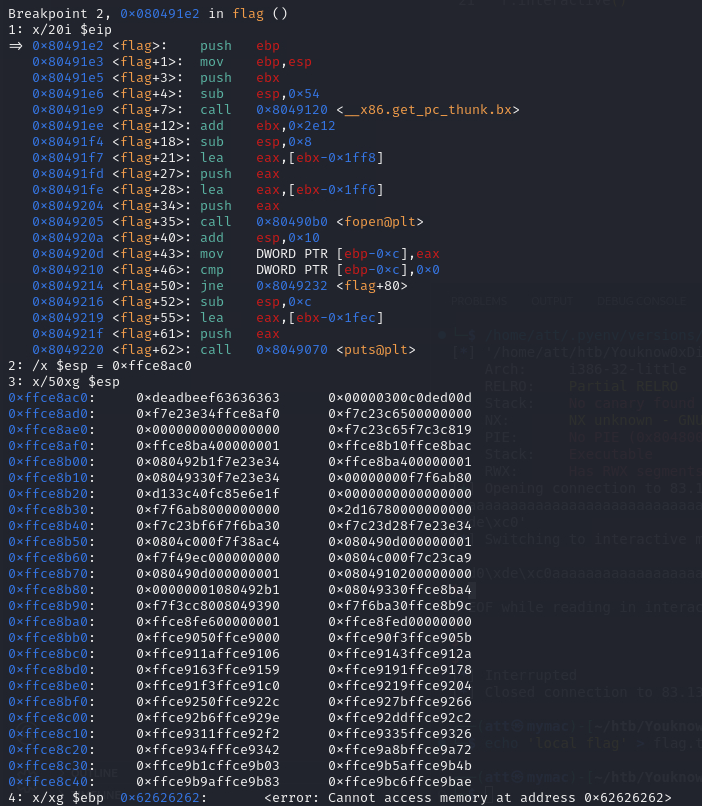
Build & run. You can see a button set in the middle of the screen, but it doesn’t anything when you click it:

You used a NavigationView as the root view of FirstView, and it wrapped all of view’s body up. It literally set the FirstView as root view of NavigationView just like you did in UIKit before which you set a view controller as root view controller of an UINavigationController.
But NavigationView only works with NavigationLink together. A button isn’t sensible here. Let’s replace it with NavigationLink.
But, hold on, before you do that, you need a responsive data object or an environment object. What?
Environment Object
Unlike UIKit, SwiftUI use Data-Driven mechanism instead of Event-Driven mechanism. Instead of you manually push a view controlle to UINavigationController’s viewcontroller stack, you actually need change a little bit Data’s status or membership variable. Seeing as these statuses of navigation system always have been saved as global variables so that all views can access them, they absolutely should be seen as an ‘environment object’.
Define environment object
We define this enviroment objest first:
//
//  Navigation.swift
//  NavigationDemo
//
//  Created by hongyan.yang on 2022/5/10.
//
import SwiftUIclass Navigation: ObservableObject {@Published var secondViewShowing = false
}
Navigation should be a class, never be a struct because it conformed ObservableObject protocol. ObservableObject is a kind of object which should be considered as responsive object in Vue.js or React.js. It contains some observable members that they can be listened by outside listeners and listeners will get notices as long as their values are modified.
We used a bool (secondViewShowing) denote whether SecondView should be shown in screen. @Published is a property decorator in Swift, it says this property will be bound by some special operations such as sending a notice to all listner or triggering a UI refreshment.
We needn’t to define a bool which denote FirstView’s status of appearing cuz it’s a root view. A root view always stay here, it shows when other views disappear , otherwise, it’s overlay by other view.
Inject environment object
The environment object is named the environment object because it’s managed by SwiftUI Container. Just like spring IoC, before we can use it we need to inject it into the SwiftUI Container.
We use environmentObject modifiers to inject an enviroment object, In App.swift :
var body: some Scene {WindowGroup {FirstView().environmentObject(Navigation())}}
We create a Navigation instance and inject it to environment variabs.
Environment object must be supplied by an ancestor view . So we can access the enviroment object on FirstView.
This lets us share data among all of views, also make our views automatically stay updated when data is changed.
NavigationLink
We will create a 3 page’s navigation stack, like this:
FirstView -> SecondView -> ThirdView
Firstly, we take the first step: FirstView -> SecondView
Make the first navigation
Let’s replace Button with NavigationLink.
NavigationLink(destination: SecondView(), isActive: $navigation.secondViewShowing) {Text("2nd view")}.navigationBarTitle("first view")
NavigationLink() has 3 parameters:
- the first one is the Next Screen View which should be navigate to.
- the second one is an observable variable which should be bound to specific property of an environment object. Once we did that, we can use this property to show/hide the destination view.
- the last one is a ViewBuilder that can be consider as special closure, we can use it to return a group of views just like you do in this property:
var body: some View.
navigationBarTitle() set the navigation bar title of SecondView.
Wait, there’s a error in the line :
Cannot find '$navigation' in scope
That’s beacause we haven’t still declare a local variable refer to our environment object. This required step just acts as spring’s @Autowired annotation except for using the @EnvironmentObject instead of @Autowired:
@EnvironmentObject var navigation: Navigation
We can change SecondView with a little difference:
var body: some View {VStack{Text("2nd View")}}
Build & run, you can see the FirstView with a navigation title says “first fiew”:

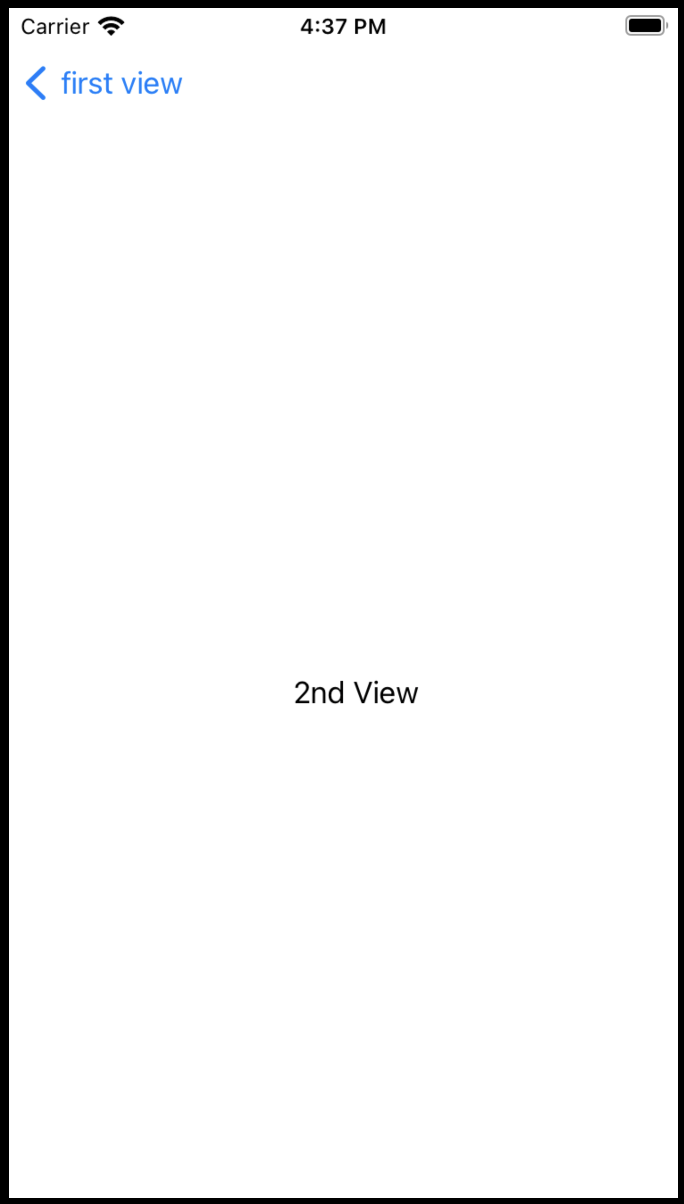
SecondView shows with a navigation bar and back button when you click the NavigationLink ‘2nd view’:
Add more navigations
Let’s update the environment object first. Keep this in mind: now that SwiftUI is Data-Driven, if we want to change anything, then we need to change it’s data at first.
Open Navigation.swift and add a bool to indicate whether the ThirdView is showing or not:
@Published var thirdViewShowing = false
And make some difference to ThirdView:
@EnvironmentObject var navigation: Navigationvar body: some View {VStack{Text("3rd View")}}
Then we can take the second step: SecondView -> ThirdView.
Update var body in SecondView.swift to:
var body: some View {VStack{Text("2nd View")NavigationLink(destination: ThirdView(), isActive: $navigation.thirdViewShowing) {Text("3rd view")}}
}
Now we added a NavigationLink under the Text:
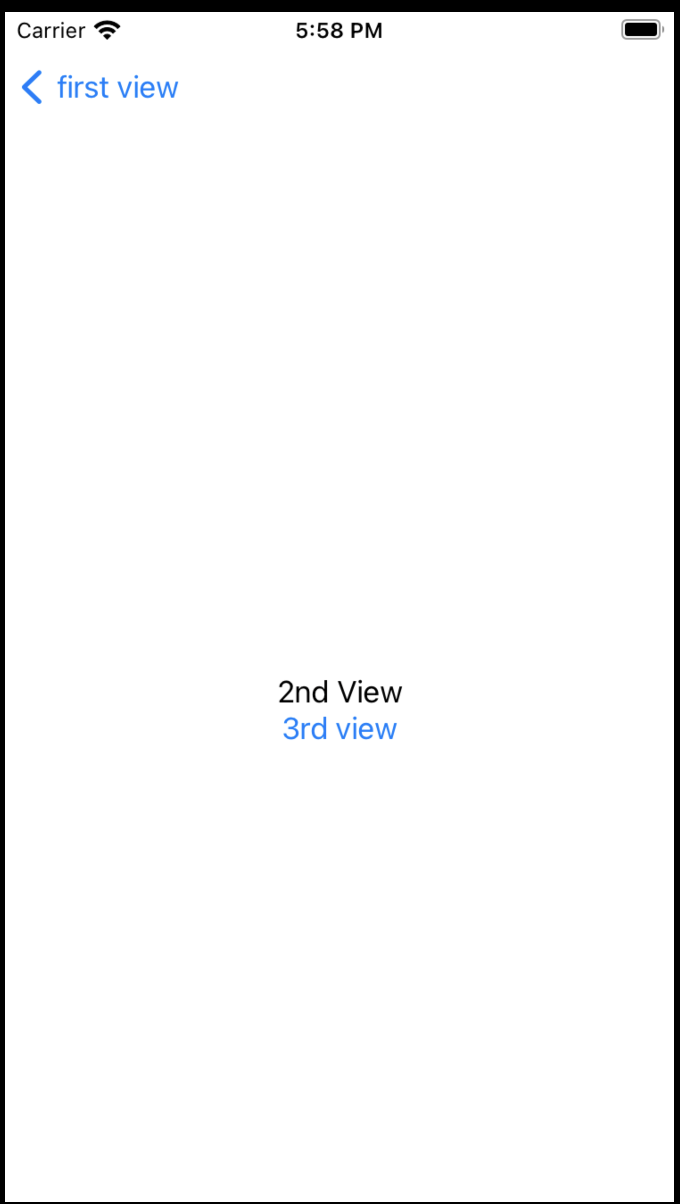
when you can tap the NavigationLink, the ThirdView appear:

Actually, the thirdViewShowing vairable doesn’t need to stay in Navigation.swift. It isn’t a global variable more than a instance variable because we just use it in SecondView, not in anywhere else. So, we can move it from Navigation struct to SecondView.
Firstly, remove it from Navigation.swift, then add into SecondView:
@State var thirdViewShowing = false...NavigationLink(destination: ThirdView(), isActive: $thirdViewShowing) {...
You can also let
thirdViewShowingstay in original place, but sometimes it can cause some wired issues.
Customize navigation bar
Navigation bar can be costomized. For example, you might want to change navigation title、backbutton outlook and so on.
We can do that by means of a toolbar as a substitue for navigation bar.
struct NavigationToolBar: ViewModifier {var title: String  // 1var rightTitle: String // 2var rightAction: ()->() // 3// 4 init(_ title:String, _ rightTitle:String, _ rightAction:@escaping ()->()){self.title = titleself.rightTitle = rightTitleself.rightAction = rightAction}// 5func body(content: Content) -> some View {content.navigationBarBackButtonHidden(true) // 6.navigationBarTitleDisplayMode(.inline) // 7.toolbar(content: buildToolbar) // 8}// 9@ToolbarContentBuilderfunc buildToolbar() -> some ToolbarContent {// 10ToolbarItem(placement: .principal) {Text(title).font(.system(size: 17, weight: .bold, design: .default))}// 11ToolbarItem(placement: .navigationBarTrailing) {Button(action: {rightAction()}) {Text(rightTitle).font(.system(size: 17, weight: .regular, design: .default))}}}
}
NavigationToolBar conforms protocol ViewModifier, so it should provide body() method.
Let me break down the codes to several parts as below:
- the title lies in the middle of toolbar.
- the right button’s title lies in the right of toolbar.
- The right button’s callback function or closure created for it’s tap event handling.
- Init function which initialize 3 members from parameters one by one.
- body() function from protocol ViewModifier aims to customize the navigation bar. The parameter content should refer to an ancestor view.
- Hide the back button which NavigationBar provide by default.
- Disabled the default NavigationBar’s big title display mode.
- this modifier replace NavigationBar with a customized toolbar.
- buildToolbar() funciton acts as a view builder which returns 1 or many ToolbarItems. A view builder is a special function which returns a collection include 1 or many typed views.
- define a ToolbarItem which will be applied to middle text title of toolbar.
- define a ToolbarItem which will be applied to right button of toolbar.
To be convenient , we should implement an extension to View:
extension View {func navigationToolBar(_ title:String, _ rightTitle:String, _ rightAction:@escaping ()->()) -> some View {return modifier(NavigationToolBar(title, rightTitle, rightAction))}
}
navigationToolBar extends View in which we call the modifier function with a new NavigationToolBar instance.
modifier function includes some special behaviors. It will pass its ancestor view - in this specific case it’s the SecondView, ThirdView or ForthView - to received parameter i.e. NavigationToolBar instance.
At the meantime modifier() also will call NavigatioinToolBar’s body() when it needs to.
OKay, don’t beat round the bush, cut to the chase. Let’s use this new navigation bar like this:
struct SecondView: View {...var body: some View {VStack{...}.navigationToolBar("SecondView", "back") { // to do}}
}
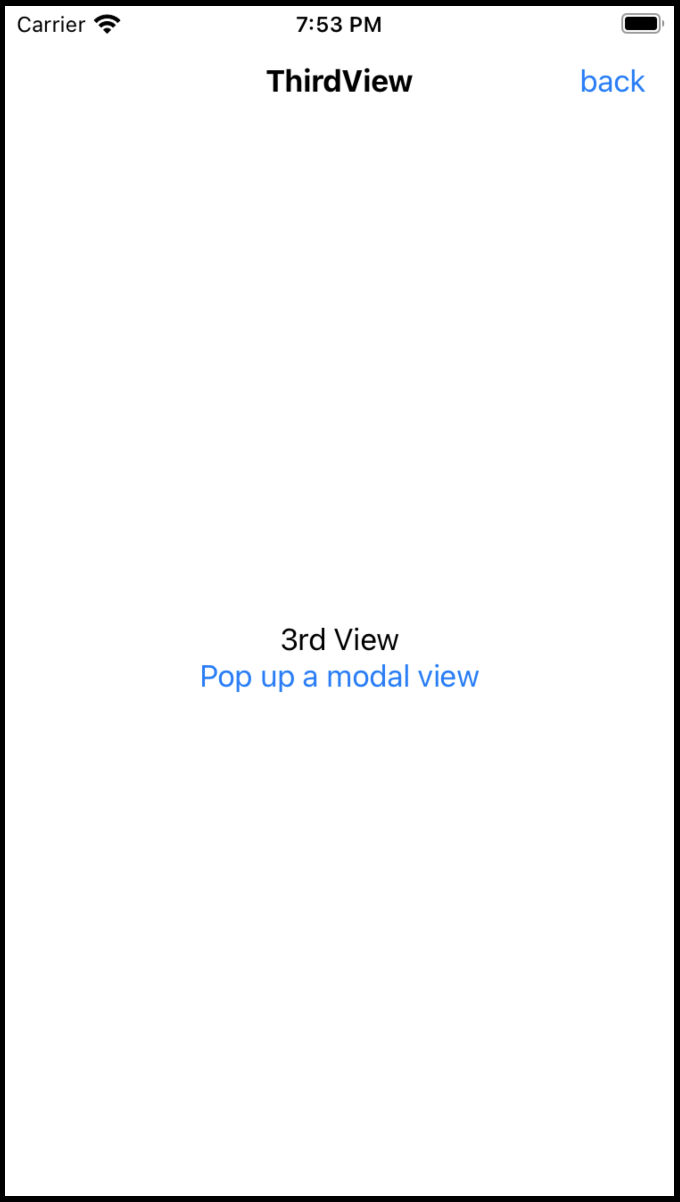
We called navigationToolBar modifier to customize our navigation bar with a ‘SecondView’ in the middle and a ‘back’ title on the right. Aside from that, we didn’t fulfill the back button’s action.

Likewise, we apply it in ThirdView correspondingly:
struct ThirdView: View {...var body: some View {VStack{...}.navigationToolBar("ThirdView", "back") {// to do}}
}
return to previous screen
In SwiftUI, if we need to return to previous screen, we just could use:
@Environment(\.presentationMode) var presentationMode: Binding<PresentationMode>...presentationMode.wrappedValue.dismiss()
.presentationMode is a SwiftUI Enviromental Variable, we have this one on tap and we can refer it via @Enviroment(.presentationMod).
Then we can call presentationMode.wrappedValue.dismiss() to return to parent screen /dismiss current screen.
Please add these statements into SecondView secondView and ThirdView.
Popup modal view
Sometimes, we want to present a full screen view without adding it to navigation stack. In this case, we could use some special view modifiers other than NavigaionLink.
But we still need a bool variable to indicate the showing status of upcoming view. Add a bool into ThirdView:
@State var forthViewShowing = false
Then we can popup another view. In ThirdView.swift, we use fullScreenCover modifier to show the ForthView :
var body: some View {VStack{...}.fullScreenCover(isPresented: $navigation.forthViewShowing) {ForthView()}
}
In VStack closure, we have this button to pop the new view:
Button("Pop up a modal view"){navigation.forthViewShowing = true}
The only thing we need to do is set forthViewShowing to true when users tap this Button and this make the ForthView pop up from bottom of screen instantaneously.
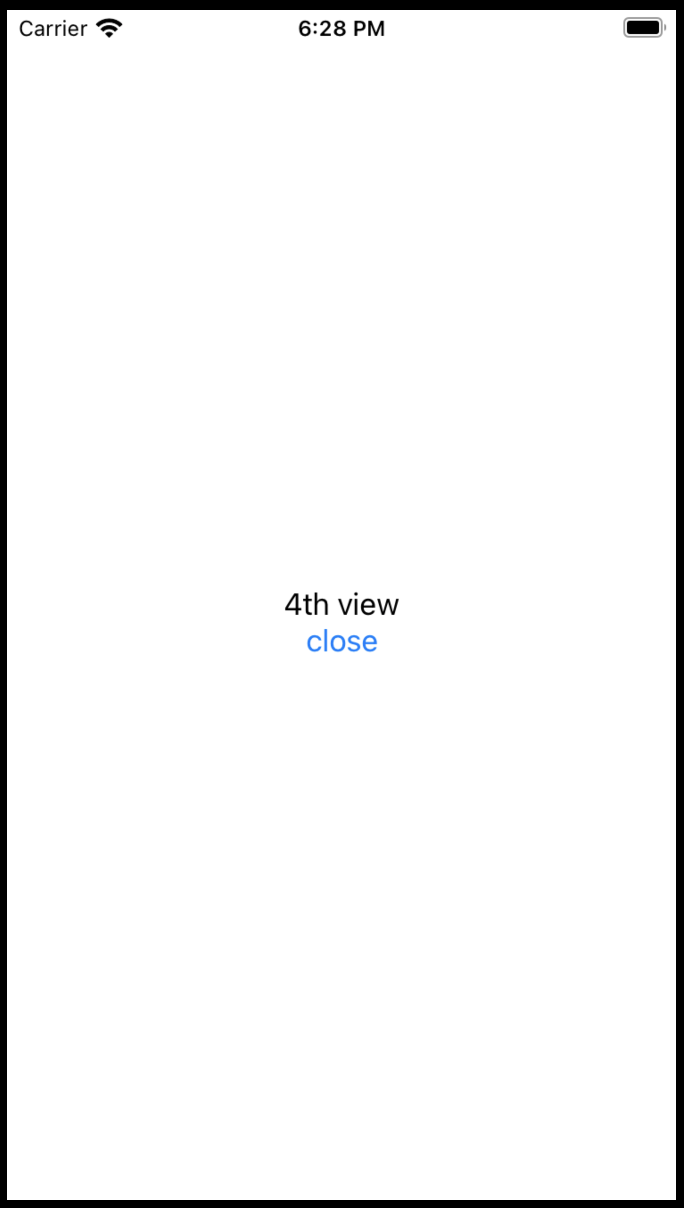
Here is what ForthView look like:
@Environment(\.presentationMode) var presentationMode: Binding<PresentationMode>@State var forthViewShowing = falsevar body: some View {VStack {Text("4th view")Button("close", action: {presentationMode.wrappedValue.dismiss()})}}
We add a close Button. When users tap this Button we directly close the ForthView. As you see, presentationMode.wrappedValue.dismiss() can act on not only navigation-styled screen but also pop-styled screen.
Back to root view
SwiftUI’s Navigation system can back to not only preceding view but also root view. For example, let’s back to root view from ThirdView. We add a new Button in ThirdView.swift, just below the ‘Pop up a modal view’ button:
Button("Pop to root view") {navigation.secondViewShowing = false}
Build & run, you can see there is a new button says ‘Pop to root view’:

Click it, we will directly back to FirstView skipping the SecondView.
All we’ve done is set secondViewShowing value to false.It’s a magic!
Only use NavigationView in root view
I’d like to grab your attention! Don’t use NabigationView more than once, becuase it cause embedded more than one NavigationBar as below:

Even if you continue pushing new views into navigation stack, you can get more stacked NavigationBars:

So please check your SwiftUI views carefully in case you used NavigationViews outside of root view:

这篇关于SwiftUI: Navigation all know的文章就介绍到这儿,希望我们推荐的文章对编程师们有所帮助!