本文主要是介绍Andriod类微信(一),希望对大家解决编程问题提供一定的参考价值,需要的开发者们随着小编来一起学习吧!
- - -类微信的门户页面框架设计- - -
一、设计目标:
制作一个类似微 信的门户页面(包括微 信头部、底部和四个内容区),通过点击实现tab界面的相互切换显示不同的内容。
二、功能实现:
1 界面功能介绍
1.可以显示微 信、通讯录、发现、我的四个界面 。
2.界面整体布局有上、中、下三个部分,上为微 信界面头部显示APP名称"Mywechat",中间部分是四个界面的内容显示,下为微信界面底部包括四个图标及微 信、通讯录、发现、我的。
3.通过点击实现四个界面的切换,中间部分内容根据点击部分切换相应内容,其余部分不变。
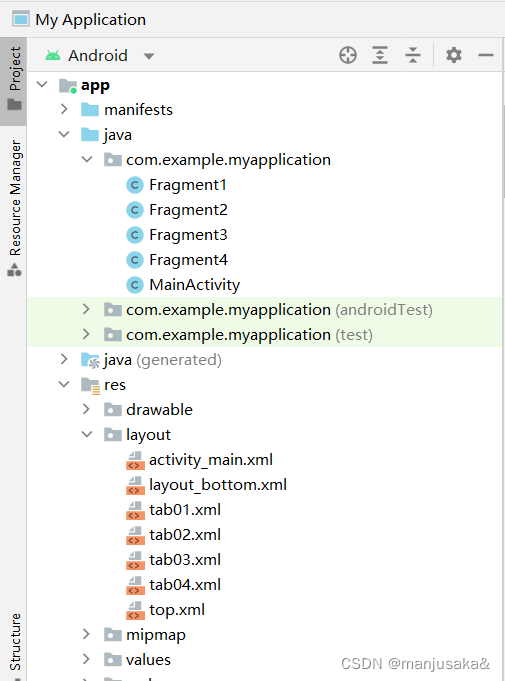
2 项目结构截图
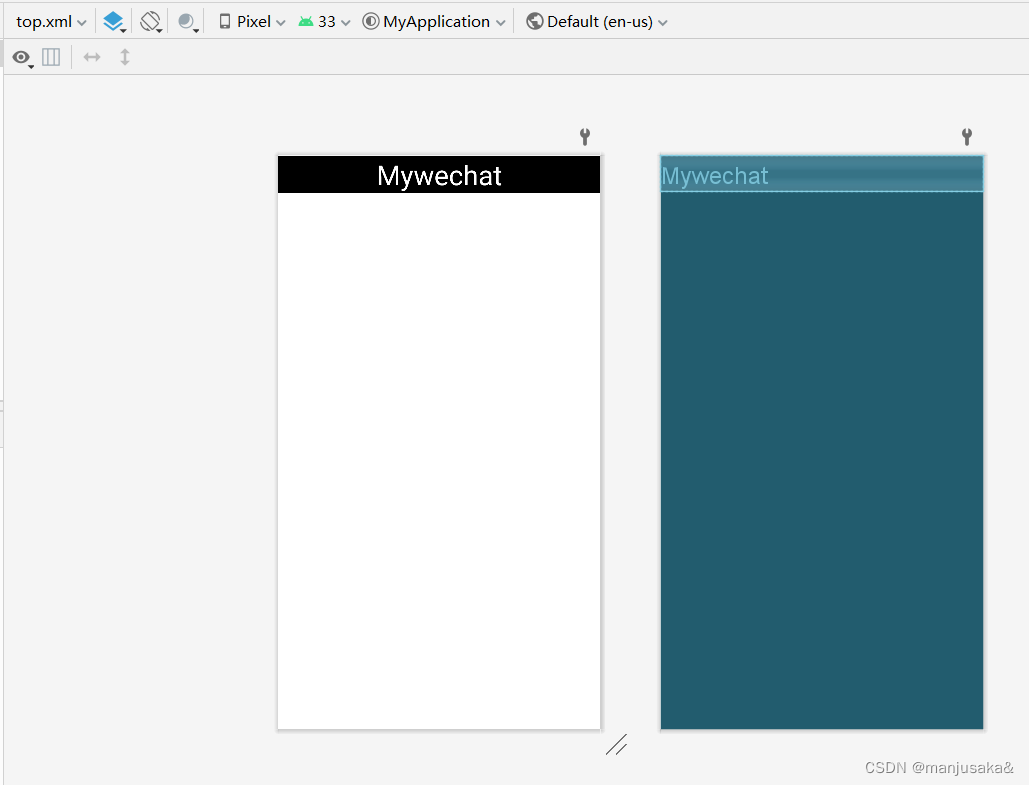
3 微信头部
创建 top.xml 文件,使用的是Linearlayout布局
效果展示:
代码:
<?xml version="1.0" encoding="utf-8"?>
<LinearLayout xmlns:android="http://schemas.android.com/apk/res/android"android:layout_width="match_parent"android:layout_height="wrap_content"android:orientation="vertical"><TextViewandroid:id="@+id/textView"android:layout_width="match_parent"android:layout_height="wrap_content"android:background="@color/black"android:gravity="center"android:text="Mywechat"android:textColor="@color/white"android:textSize="35sp" />
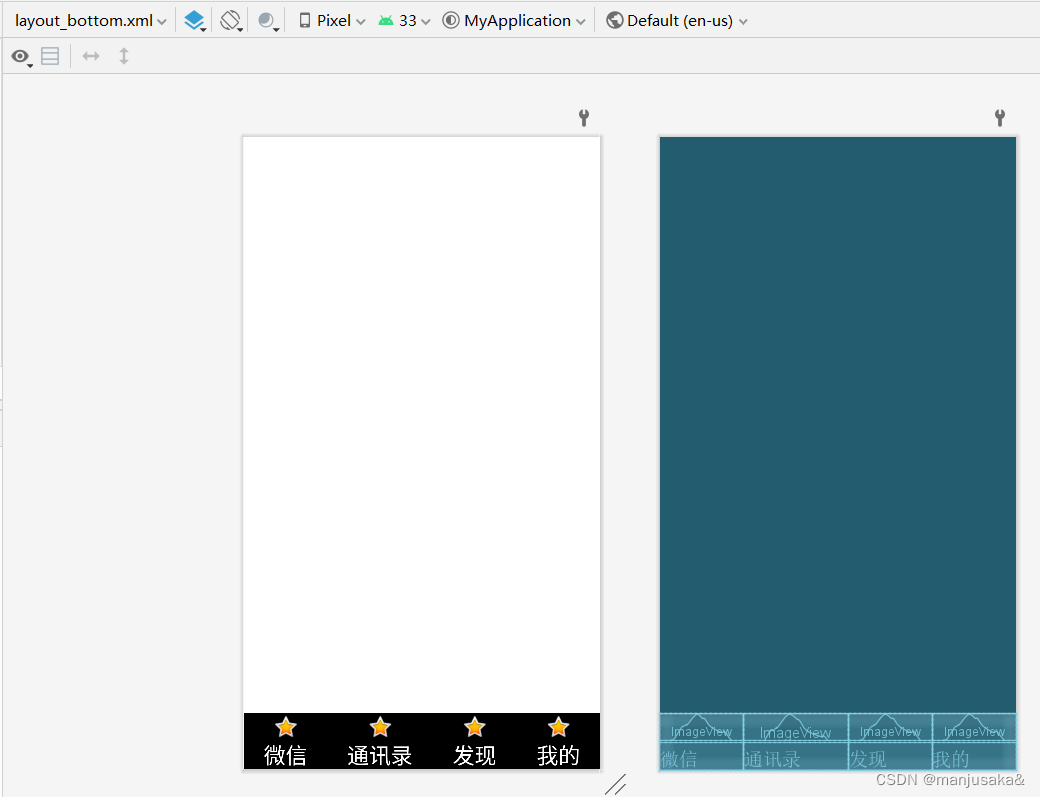
</LinearLayout>4 微信底部
创建 layout_bottom.xml 文件,在外层的是水平的Linearlayout布局,内层是垂直的Linearlayout布局,一个Linearlayout中嵌套了四个Linearlayout实现底部的设计,再分别拖入一个imageview和一个textview。

效果展示:
注意:Linearlayout(vertical) 的 android:layout_width="wrap_content",由控件内容来控制宽度;android:layout_gravity是设置该控件相对于父容器对齐方式,而android:gravity是设置子元素在该容器内的对齐方式,在textview中使用android:gravity="center"来控制内容居中。
代码:
<?xml version="1.0" encoding="utf-8"?>
<LinearLayout xmlns:android="http://schemas.android.com/apk/res/android"xmlns:app="http://schemas.android.com/apk/res-auto"android:layout_width="match_parent"android:layout_height="wrap_content"android:layout_gravity="bottom"android:orientation="horizontal"><LinearLayoutandroid:id="@+id/Linearlayout1"android:layout_width="wrap_content"android:layout_height="match_parent"android:layout_gravity="center"android:layout_weight="1"android:orientation="vertical"><ImageViewandroid:id="@+id/imageView1"android:layout_width="match_parent"android:layout_height="wrap_content"android:background="@color/black"app:srcCompat="@android:drawable/btn_star_big_on" /><TextViewandroid:id="@+id/textView1"android:layout_width="match_parent"android:layout_height="wrap_content"android:gravity="center"android:background="@color/black"android:textColor="@color/white"android:text="微信"android:textSize="25sp" /></LinearLayout><LinearLayoutandroid:id="@+id/Linearlayout2"android:layout_width="wrap_content"android:layout_height="match_parent"android:layout_weight="1"android:orientation="vertical"><ImageViewandroid:id="@+id/imageView2"android:layout_width="match_parent"android:layout_height="wrap_content"android:background="@color/black"app:srcCompat="@android:drawable/btn_star_big_on" /><TextViewandroid:id="@+id/textView2"android:layout_width="match_parent"android:layout_height="wrap_content"android:gravity="center"android:background="@color/black"android:textColor="@color/white"android:text="通讯录"android:textSize="25sp" /></LinearLayout><LinearLayoutandroid:id="@+id/Linearlayout3"android:layout_width="wrap_content"android:layout_height="match_parent"android:layout_weight="1"android:orientation="vertical"><ImageViewandroid:id="@+id/imageView3"android:layout_width="match_parent"android:layout_height="wrap_content"android:background="@color/black"app:srcCompat="@android:drawable/btn_star_big_on" /><TextViewandroid:id="@+id/textView3"android:layout_width="match_parent"android:layout_height="wrap_content"android:gravity="center"android:background="@color/black"android:textColor="@color/white"android:text="发现"android:textSize="25sp" /></LinearLayout><LinearLayoutandroid:id="@+id/Linearlayout4"android:layout_width="wrap_content"android:layout_height="match_parent"android:layout_weight="1"android:orientation="vertical"><ImageViewandroid:id="@+id/imageView4"android:layout_width="match_parent"android:layout_height="wrap_content"android:background="@color/black"app:srcCompat="@android:drawable/btn_star_big_on" /><TextViewandroid:id="@+id/textView4"android:layout_width="match_parent"android:layout_height="wrap_content"android:gravity="center"android:background="@color/black"android:textColor="@color/white"android:text="我的"android:textSize="25sp" /></LinearLayout>
</LinearLayout>
5 中间内容区
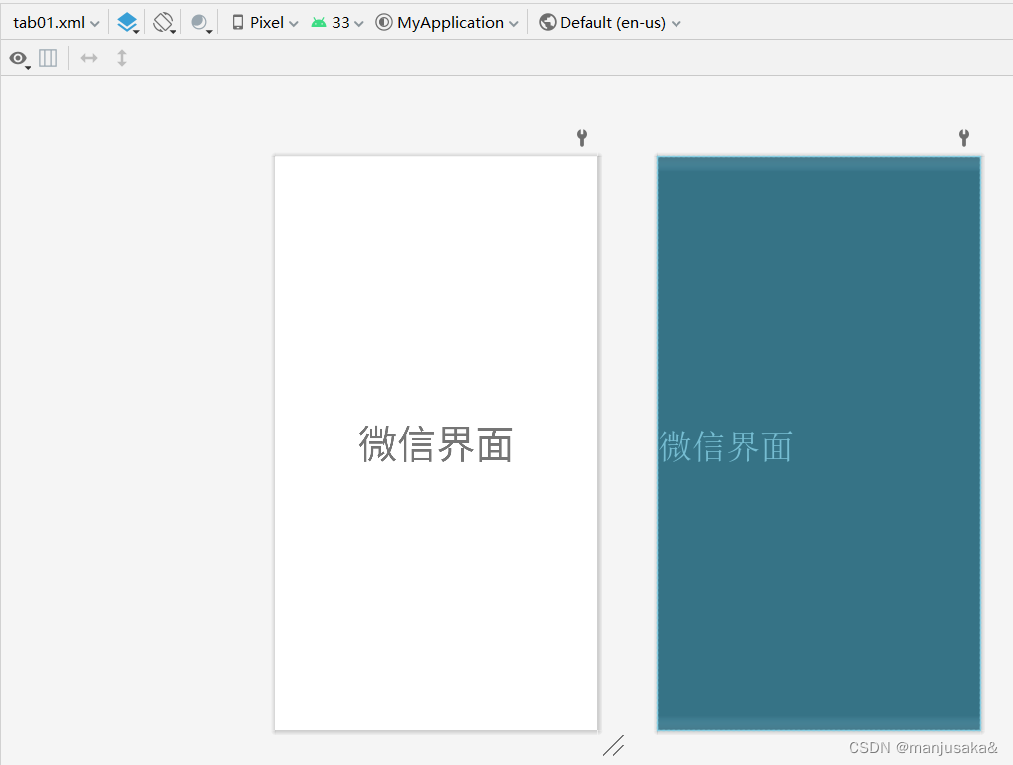
创建4个 fragment 文件(Fragment1、Fragment2、Fragment3、Fragment4),分别对应微 信、通讯录、发现、我的中间部分的内容显示。同时在layout中会自动生成4个xml文件,在这里删除了这些自动创建的xml文件,新建了4个 xml文件 分别命名为tab01.xml、tab02.xml、tab03.xml、tab04.xml。
4个界面类似,所以就以微信界面展示
效果展示:
代码:
java文件(Fragment1.java)
package com.example.myapplication;import android.os.Bundle;import androidx.fragment.app.Fragment;import android.view.LayoutInflater;
import android.view.View;
import android.view.ViewGroup;public class Fragment1 extends Fragment {@Overridepublic View onCreateView(LayoutInflater inflater, ViewGroup container,Bundle savedInstanceState) {// Inflate the layout for this fragmentreturn inflater.inflate(R.layout.tab01, container, false);}
}
xml文件(tab01.xml)
<?xml version="1.0" encoding="utf-8"?>
<LinearLayout xmlns:android="http://schemas.android.com/apk/res/android"android:layout_width="match_parent"android:layout_height="match_parent"android:orientation="vertical"><TextViewandroid:id="@+id/textview5"android:layout_width="match_parent"android:layout_height="match_parent"android:layout_weight="1"android:gravity="center"android:text="微信界面"android:textSize="50sp" />
</LinearLayout>
6 MainActivity 和 activity_main.xml文件
在主界面通过<include>将 top 和 layout_bottom 引入主界面,通过framelayout将四个中间界面引入主界面并实现四个界面在同一空间下的重叠,作为四个子窗口,使得通过点击可以切换中间界面。

效果展示:

代码:
activity_main.xml
<?xml version="1.0" encoding="utf-8"?>
<LinearLayout xmlns:android="http://schemas.android.com/apk/res/android"xmlns:app="http://schemas.android.com/apk/res-auto"xmlns:tools="http://schemas.android.com/tools"android:layout_width="match_parent"android:layout_height="match_parent"android:orientation="vertical"tools:context=".MainActivity" ><includelayout="@layout/top"android:layout_width="match_parent"android:layout_height="wrap_content" /><FrameLayoutandroid:id="@+id/frameLayout"android:layout_width="match_parent"android:layout_height="match_parent"android:layout_weight="3" /><includelayout="@layout/layout_bottom"android:layout_width="match_parent"android:layout_height="wrap_content" />
</LinearLayout>
MainActivity.java
package com.example.myapplication;import androidx.appcompat.app.AppCompatActivity;
import androidx.fragment.app.Fragment;
import androidx.fragment.app.FragmentManager;
import androidx.fragment.app.FragmentTransaction;import android.os.Bundle;
import android.view.View;
import android.widget.LinearLayout;public class MainActivity extends AppCompatActivity implements View.OnClickListener {//dyblprivate Fragment fragment1, fragment2, fragment3, fragment4;private FragmentTransaction transaction;private FragmentManager manager;private LinearLayout linearLayout1, linearLayout2, linearLayout3, linearLayout4;@Overrideprotected void onCreate(Bundle savedInstanceState) {super.onCreate(savedInstanceState);setContentView(R.layout.activity_main);fragment1 = new Fragment1();fragment2 = new Fragment2();fragment3 = new Fragment3();fragment4 = new Fragment4();linearLayout1 = findViewById(R.id.Linearlayout1);linearLayout2 = findViewById(R.id.Linearlayout2);linearLayout3 = findViewById(R.id.Linearlayout3);linearLayout4 = findViewById(R.id.Linearlayout4);manager = getSupportFragmentManager();initial();hidden();linearLayout2.setOnClickListener(this);linearLayout3.setOnClickListener(this);linearLayout4.setOnClickListener(this);linearLayout1.setOnClickListener(this);}private void initial() {transaction = manager.beginTransaction().add(R.id.frameLayout, fragment1).add(R.id.frameLayout, fragment2).add(R.id.frameLayout, fragment3).add(R.id.frameLayout, fragment4);transaction.commit();}@Overridepublic void onClick(View view) {switch (view.getId()) {case R.id.Linearlayout1:select(1);break;case R.id.Linearlayout2:select(2);break;case R.id.Linearlayout3:select(3);break;case R.id.Linearlayout4:select(4);break;}}private void select(int i) {hidden();switch (i) {case 1:showfragment(fragment1);break;case 2:showfragment(fragment2);break;case 3:showfragment(fragment3);break;case 4:showfragment(fragment4);break;}}private void showfragment(Fragment fragment) {transaction.show(fragment);}private void hidden() {transaction = manager.beginTransaction().hide(fragment1).hide(fragment2).hide(fragment3).hide(fragment4);transaction.commit();}
}
解析:
为避免对每个控件都要进行监听,设置了全局监听:
public class MainActivity extends AppCompatActivity implements View.OnClickListenerthis 指当前 Activity 环境变量,通过 this 实现对不同 linearLayout 的点击监听:
linearLayout2.setOnClickListener(this);linearLayout3.setOnClickListener(this);linearLayout4.setOnClickListener(this);linearLayout1.setOnClickListener(this);
通过初始化 initial() 函数中会有4个 fragment 界面的叠加效果,所以在初始化后添加一个 hidden()函数来隐藏4个界面:
initial();hidden();通过onClick()函数实现响应监听,4个控件响应监听时分别向select()函数传入参数1、2、3、4,从而在showfragment()实现相应的显示内容。
三、界面运行效果截图:
点击微信
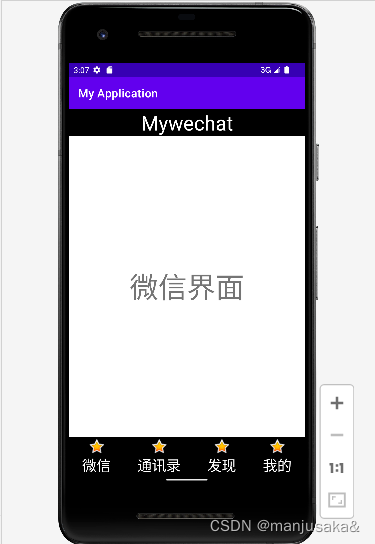
点击通讯录

点击发现

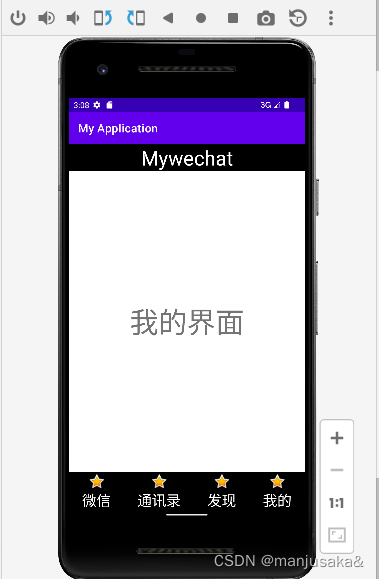
点击我的
四、源码仓库地址:
https://gitee.com/m-an-ju-saka/manulm.git
这篇关于Andriod类微信(一)的文章就介绍到这儿,希望我们推荐的文章对编程师们有所帮助!


