本文主要是介绍ubuntu18.04 下slowfast网络环境安装及模型测试( python3.9),希望对大家解决编程问题提供一定的参考价值,需要的开发者们随着小编来一起学习吧!
用pip 安装建议用国内源,如 pip install xxx -i https://pypi.tuna.tsinghua.edu.cn/simple
目录
1.conda env 环境创建
2. install pytorch
3. install fvcore
4. install simplejson
5. gcc版本查看
6. PyAV
7.ffmpeg with PyAV
8. PyYaml , tqdm
9.iopath
10. psutil
11. opencv
12. tensorboard
13. moviepy
14. PyTorchVideo
15. Detectron2
16. FairScale
17. SlowFast
运行Demo测试模型
安装过程中遇到的一些errors
error0
error1
error2
error3
error4
error5
error6
error7
1.conda env 环境创建
conda create -n py39 python=3.9
2. install pytorch
先查看cuda版本 , 再对应pytorch版本
查看系统nvidia驱动版本支持最高cuda版本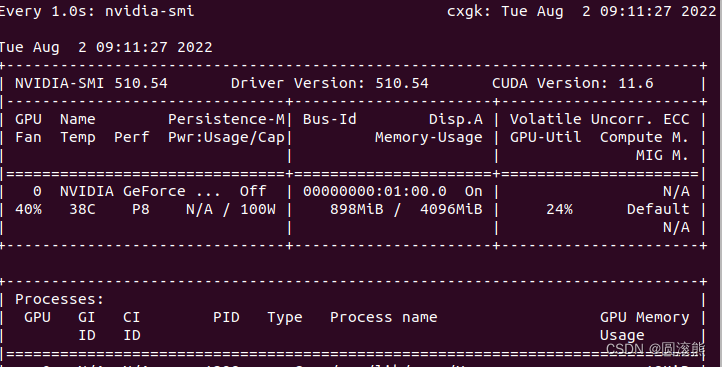
查看当前cuda版本

根据对应cuda版本安装pytorch torchvision
source activate py39
conda install pytorch torchvision cudatoolkit=11.3 -c pytorch
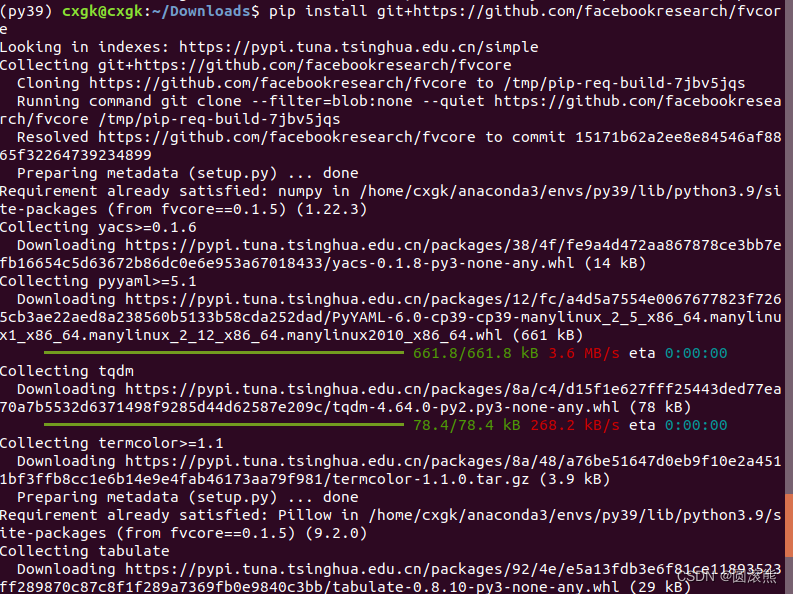
3. install fvcore
pip install git+https://github.com/facebookresearch/fvcore
4. install simplejson
pip install simplejson

5. gcc版本查看
gcc -v
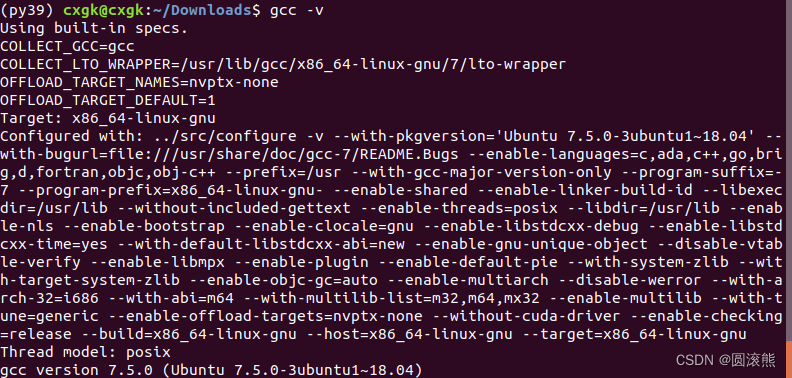
版本是 7.5.0
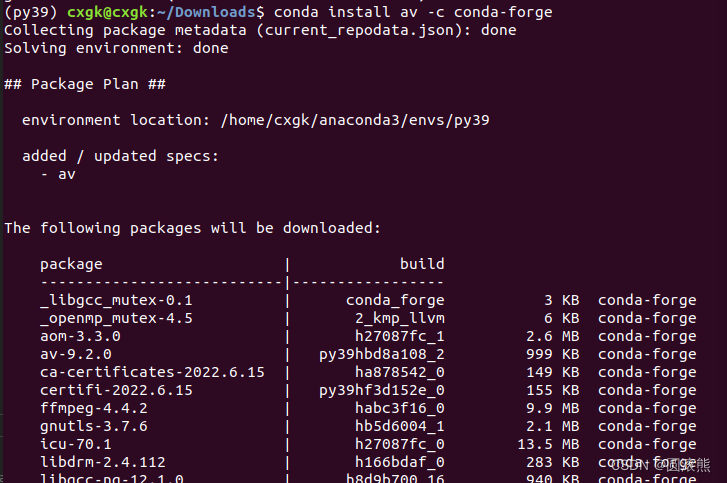
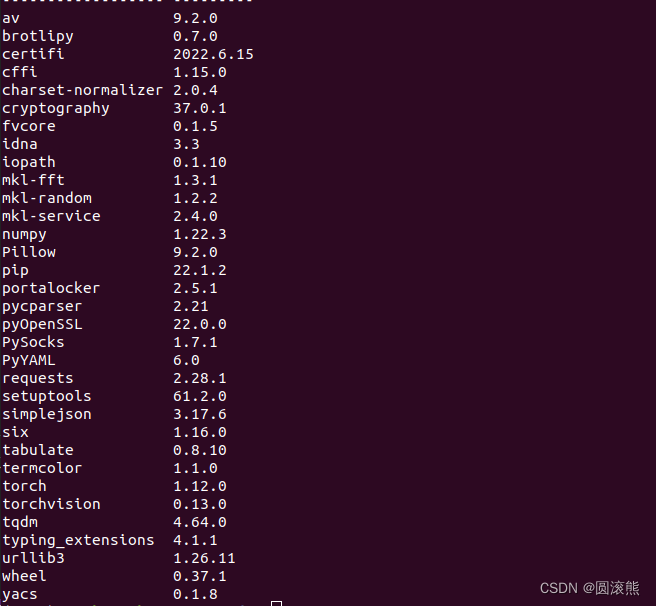
6. PyAV
conda install av -c conda-forge
7.ffmpeg with PyAV
pip install av
8. PyYaml , tqdm
pip list fvcore
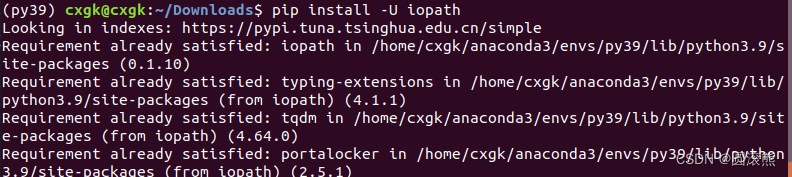
9.iopath
pip install -U iopath
10. psutil
pip install psutil
11. opencv
pip install opencv-python
12. tensorboard
查看是否安装tensorboard:
conda list tensorboard
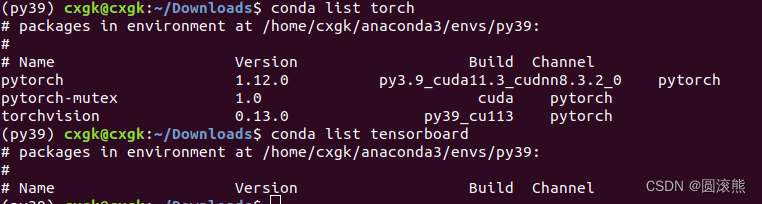
没有安装tensorboard
pip install tensorboard
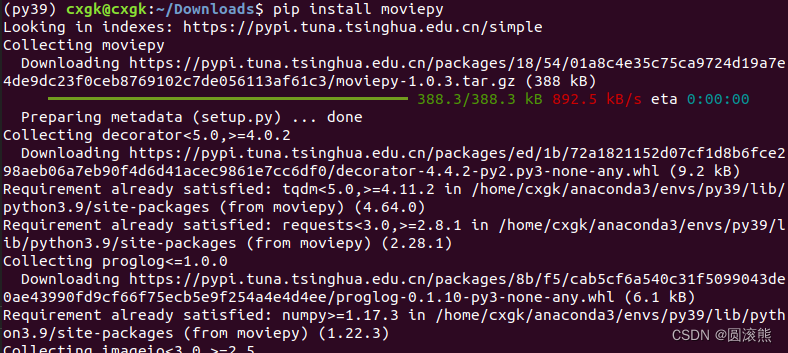
13. moviepy
pip install moviepy
14. PyTorchVideo
pip install pytorchvideo

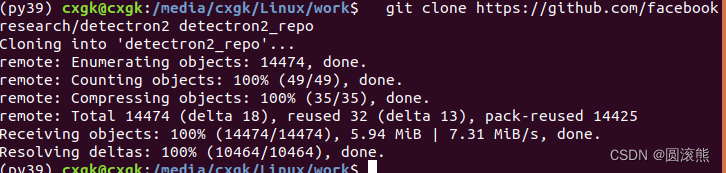
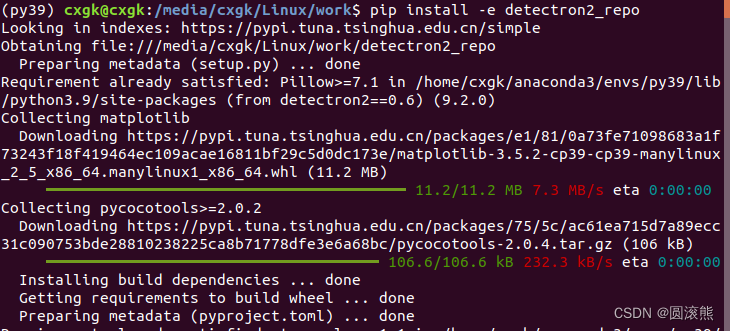
15. Detectron2
git clone https://github.com/facebookresearch/detectron2 detectron2_repo
pip install -e detectron2_repo
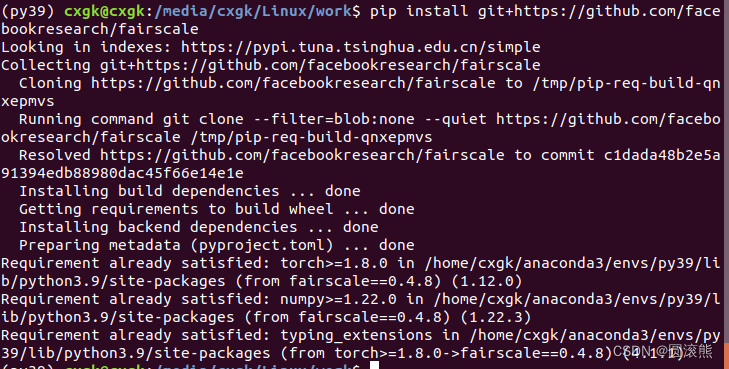
16. FairScale
pip install git+https://github.com/facebookresearch/fairscale
17. SlowFast
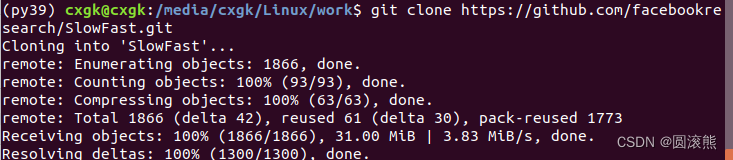
git clone https://github.com/facebookresearch/SlowFast.git
cd SlowFast
python setup.py build develop
运行Demo测试模型
python3 tools/run_net.py --cfg demo/AVA/SLOWFAST_32x2_R101_50_50.yaml
安装过程中遇到的一些errors
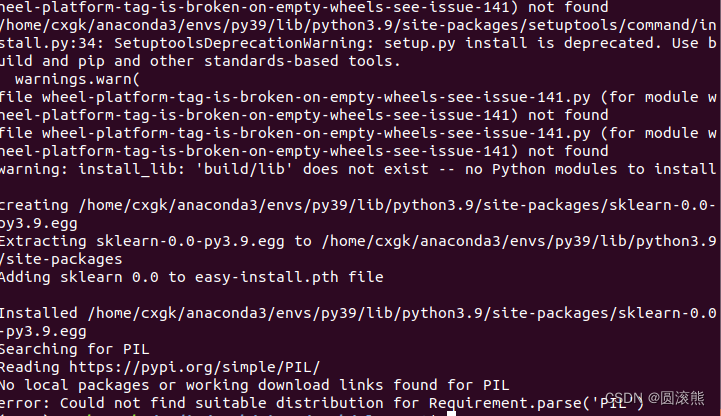
error0
not find PIL
解决办法:将setup.py 中的 PIL 更改为 Pillow

error1
from pytorchvideo.layers.distributed import ( # noqa
ImportError: cannot import name 'cat_all_gather' from 'pytorchvideo.layers.distributed' (/home/cxgk/anaconda3/envs/sf/lib/python3.9/site-packages/pytorchvideo/layers/distributed.py)
解决方式:
方式一:将pytorchvideo/pytorchvideo at main · facebookresearch/pytorchvideo · GitHub文件下内容复制到虚拟环境所对应的文件下,这里是:/home/cxgk/anaconda3/envs/sf/lib/python3.9/site-packages/pytorchvideo/
方式二:
layers/distributed.py添加如下内容
# Copyright (c) Facebook, Inc. and its affiliates. All Rights Reserved."""Distributed helpers."""import torch
import torch.distributed as dist
from torch._C._distributed_c10d import ProcessGroup
from torch.autograd.function import Function_LOCAL_PROCESS_GROUP = Nonedef get_world_size() -> int:"""Simple wrapper for correctly getting worldsize in both distributed/ non-distributed settings"""return (torch.distributed.get_world_size()if torch.distributed.is_available() and torch.distributed.is_initialized()else 1)def cat_all_gather(tensors, local=False):"""Performs the concatenated all_reduce operation on the provided tensors."""if local:gather_sz = get_local_size()else:gather_sz = torch.distributed.get_world_size()tensors_gather = [torch.ones_like(tensors) for _ in range(gather_sz)]torch.distributed.all_gather(tensors_gather,tensors,async_op=False,group=_LOCAL_PROCESS_GROUP if local else None,)output = torch.cat(tensors_gather, dim=0)return outputdef init_distributed_training(cfg):"""Initialize variables needed for distributed training."""if cfg.NUM_GPUS <= 1:returnnum_gpus_per_machine = cfg.NUM_GPUSnum_machines = dist.get_world_size() // num_gpus_per_machinefor i in range(num_machines):ranks_on_i = list(range(i * num_gpus_per_machine, (i + 1) * num_gpus_per_machine))pg = dist.new_group(ranks_on_i)if i == cfg.SHARD_ID:global _LOCAL_PROCESS_GROUP_LOCAL_PROCESS_GROUP = pgdef get_local_size() -> int:"""Returns:The size of the per-machine process group,i.e. the number of processes per machine."""if not dist.is_available():return 1if not dist.is_initialized():return 1return dist.get_world_size(group=_LOCAL_PROCESS_GROUP)def get_local_rank() -> int:"""Returns:The rank of the current process within the local (per-machine) process group."""if not dist.is_available():return 0if not dist.is_initialized():return 0assert _LOCAL_PROCESS_GROUP is not Nonereturn dist.get_rank(group=_LOCAL_PROCESS_GROUP)def get_local_process_group() -> ProcessGroup:assert _LOCAL_PROCESS_GROUP is not Nonereturn _LOCAL_PROCESS_GROUPclass GroupGather(Function):"""GroupGather performs all gather on each of the local process/ GPU groups."""@staticmethoddef forward(ctx, input, num_sync_devices, num_groups):"""Perform forwarding, gathering the stats across different process/ GPUgroup."""ctx.num_sync_devices = num_sync_devicesctx.num_groups = num_groupsinput_list = [torch.zeros_like(input) for k in range(get_local_size())]dist.all_gather(input_list, input, async_op=False, group=get_local_process_group())inputs = torch.stack(input_list, dim=0)if num_groups > 1:rank = get_local_rank()group_idx = rank // num_sync_devicesinputs = inputs[group_idx * num_sync_devices : (group_idx + 1) * num_sync_devices]inputs = torch.sum(inputs, dim=0)return inputs@staticmethoddef backward(ctx, grad_output):"""Perform backwarding, gathering the gradients across different process/ GPUgroup."""grad_output_list = [torch.zeros_like(grad_output) for k in range(get_local_size())]dist.all_gather(grad_output_list,grad_output,async_op=False,group=get_local_process_group(),)grads = torch.stack(grad_output_list, dim=0)if ctx.num_groups > 1:rank = get_local_rank()group_idx = rank // ctx.num_sync_devicesgrads = grads[group_idx* ctx.num_sync_devices : (group_idx + 1)* ctx.num_sync_devices]grads = torch.sum(grads, dim=0)return grads, None, None
error2
from scipy.ndimage import gaussian_filter
ModuleNotFoundError: No module named 'scipy'
解决方法:
pip install scipy
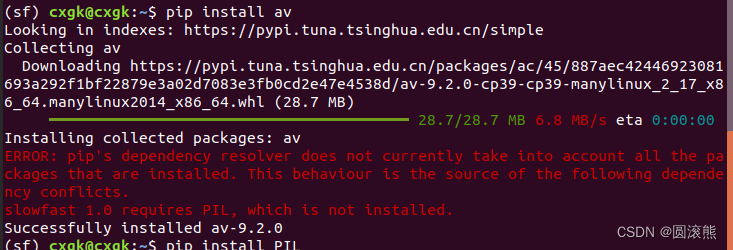
error3
from av._core import time_base, library_versions
ImportError: /home/cxgk/anaconda3/envs/sf/lib/python3.9/site-packages/av/../../.././libgnutls.so.30: symbol mpn_copyi version HOGWEED_6 not defined in file libhogweed.so.6 with link time reference
解决方法:
先移处av包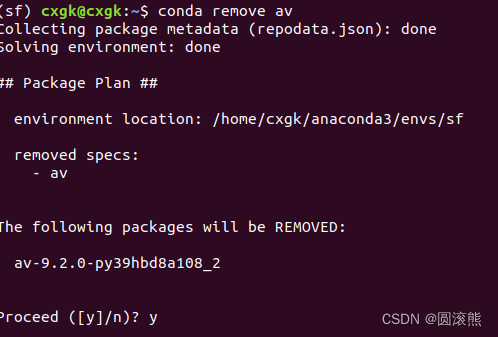
使用 pip安装
pip install av
error4
File "/media/cxgk/Linux/work/SlowFast/slowfast/models/losses.py", line 11, in
from pytorchvideo.losses.soft_target_cross_entropy import (
ModuleNotFoundError: No module named 'pytorchvideo.losses'
解决办法:
打开"/home/cxgk/anaconda3/envs/sf/lib/python3.9/site-packages/pytorchvideo/losses",在文件夹下新建 soft_target_cross_entropy.py, 并打开添加如下代码:
# Copyright (c) Facebook, Inc. and its affiliates. All Rights Reserved.import torch
import torch.nn as nn
import torch.nn.functional as F
from pytorchvideo.layers.utils import set_attributes
from pytorchvideo.transforms.functional import convert_to_one_hotclass SoftTargetCrossEntropyLoss(nn.Module):"""Adapted from Classy Vision: ./classy_vision/losses/soft_target_cross_entropy_loss.py.This allows the targets for the cross entropy loss to be multi-label."""def __init__(self,ignore_index: int = -100,reduction: str = "mean",normalize_targets: bool = True,) -> None:"""Args:ignore_index (int): sample should be ignored for loss if the class is this value.reduction (str): specifies reduction to apply to the output.normalize_targets (bool): whether the targets should be normalized to a sum of 1based on the total count of positive targets for a given sample."""super().__init__()set_attributes(self, locals())assert isinstance(self.normalize_targets, bool)if self.reduction not in ["mean", "none"]:raise NotImplementedError('reduction type "{}" not implemented'.format(self.reduction))self.eps = torch.finfo(torch.float32).epsdef forward(self, input: torch.Tensor, target: torch.Tensor) -> torch.Tensor:"""Args:input (torch.Tensor): the shape of the tensor is N x C, where N is the number ofsamples and C is the number of classes. The tensor is raw input withoutsoftmax/sigmoid.target (torch.Tensor): the shape of the tensor is N x C or N. If the shape is N, wewill convert the target to one hot vectors."""# Check if targets are inputted as class integersif target.ndim == 1:assert (input.shape[0] == target.shape[0]), "SoftTargetCrossEntropyLoss requires input and target to have same batch size!"target = convert_to_one_hot(target.view(-1, 1), input.shape[1])assert input.shape == target.shape, ("SoftTargetCrossEntropyLoss requires input and target to be same "f"shape: {input.shape} != {target.shape}")# Samples where the targets are ignore_index do not contribute to the lossN, C = target.shapevalid_mask = torch.ones((N, 1), dtype=torch.float).to(input.device)if 0 <= self.ignore_index <= C - 1:drop_idx = target[:, self.ignore_idx] > 0valid_mask[drop_idx] = 0valid_targets = target.float() * valid_maskif self.normalize_targets:valid_targets /= self.eps + valid_targets.sum(dim=1, keepdim=True)per_sample_per_target_loss = -valid_targets * F.log_softmax(input, -1)per_sample_loss = torch.sum(per_sample_per_target_loss, -1)# Perform reductionif self.reduction == "mean":# Normalize based on the number of samples with > 0 non-ignored targetsloss = per_sample_loss.sum() / torch.sum((torch.sum(valid_mask, -1) > 0)).clamp(min=1)elif self.reduction == "none":loss = per_sample_lossreturn
error5
from sklearn.metrics import confusion_matrix
ModuleNotFoundError: No module named 'sklearn'
解决办法:
pip install scikit-learn
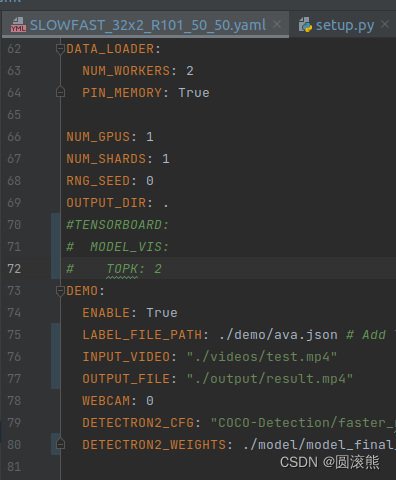
error6
raise KeyError("Non-existent config key: {}".format(full_key))
KeyError: 'Non-existent config key: TENSORBOARD.MODEL_VIS.TOPK'
解决方法:
注释掉如下三行:
TENSORBOARD
MODEL_VIS
TOPK
error7
RuntimeError: CUDA out of memory. Tried to allocate 20.00 MiB (GPU 0; 3.94 GiB total capacity; 2.83 GiB already allocated; 25.44 MiB free; 2.84 GiB reserved in total by PyTorch) If reserved memory is >> allocated memory try setting max_split_size_mb to avoid fragmentation. See documentation for Memory Management and PYTORCH_CUDA_ALLOC_CONF
解决方法:
将yaml里的帧数改小:
DATA:
NUM_FRAMES: 16
Reference:
https://github.com/facebookresearch/pytorchvideo/blob/main/pytorchvideo
这篇关于ubuntu18.04 下slowfast网络环境安装及模型测试( python3.9)的文章就介绍到这儿,希望我们推荐的文章对编程师们有所帮助!


