本文主要是介绍Mac pro 租用服务器整体流程 Vast.ai,希望对大家解决编程问题提供一定的参考价值,需要的开发者们随着小编来一起学习吧!
1、我租用的是Vast.ai,里面有不同套餐供人选择。
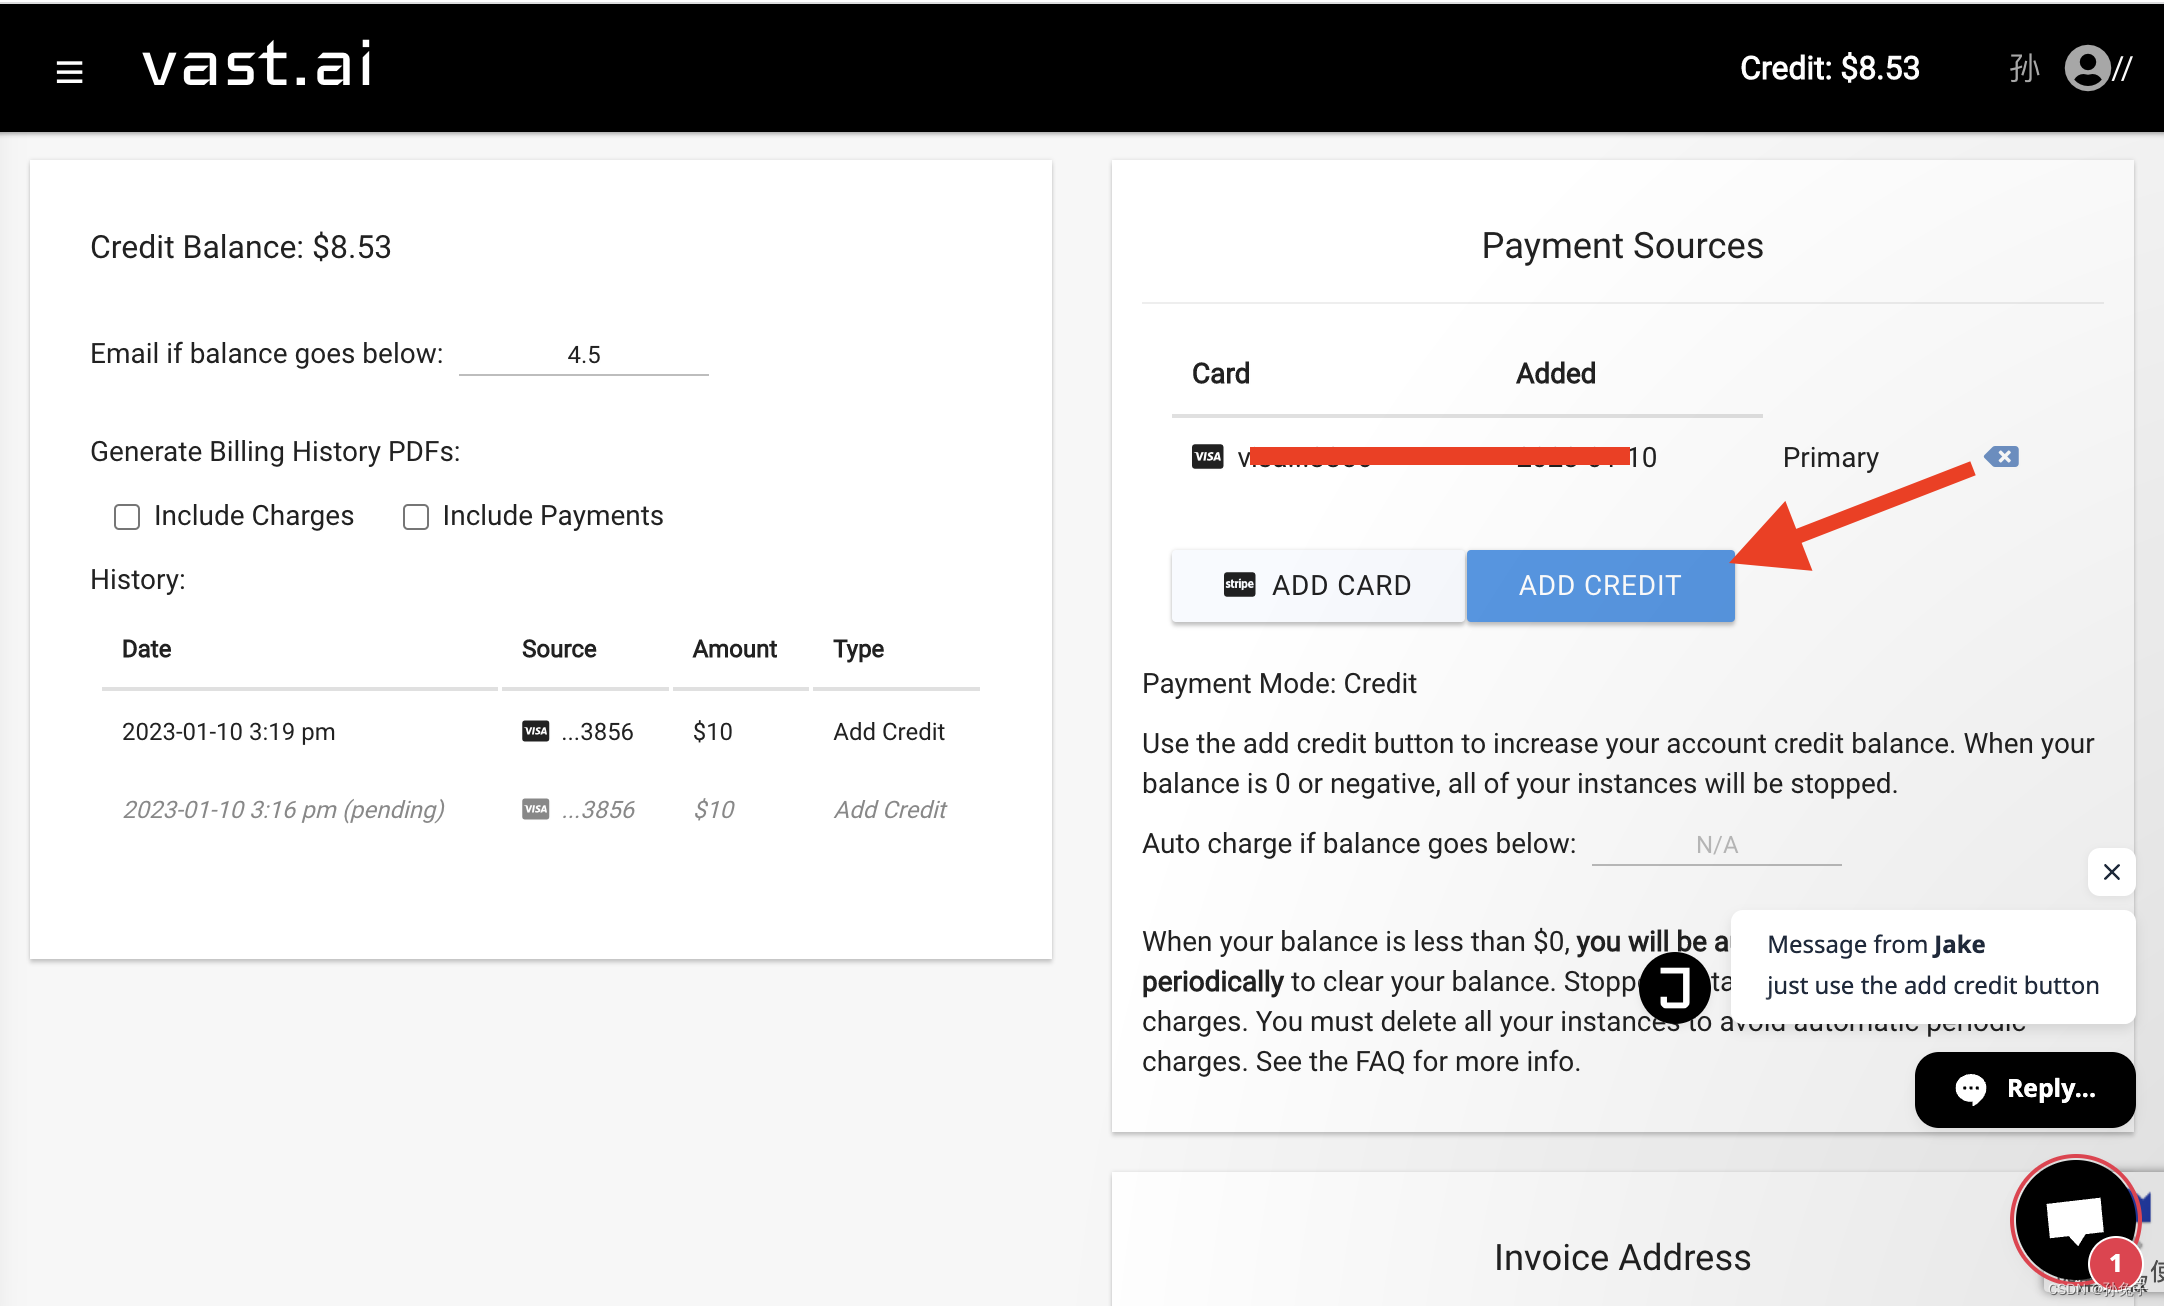
2、首先需要在Billing下添加一张信用卡,冲$10,这个大概就可以使用了。
第一步:

第二步
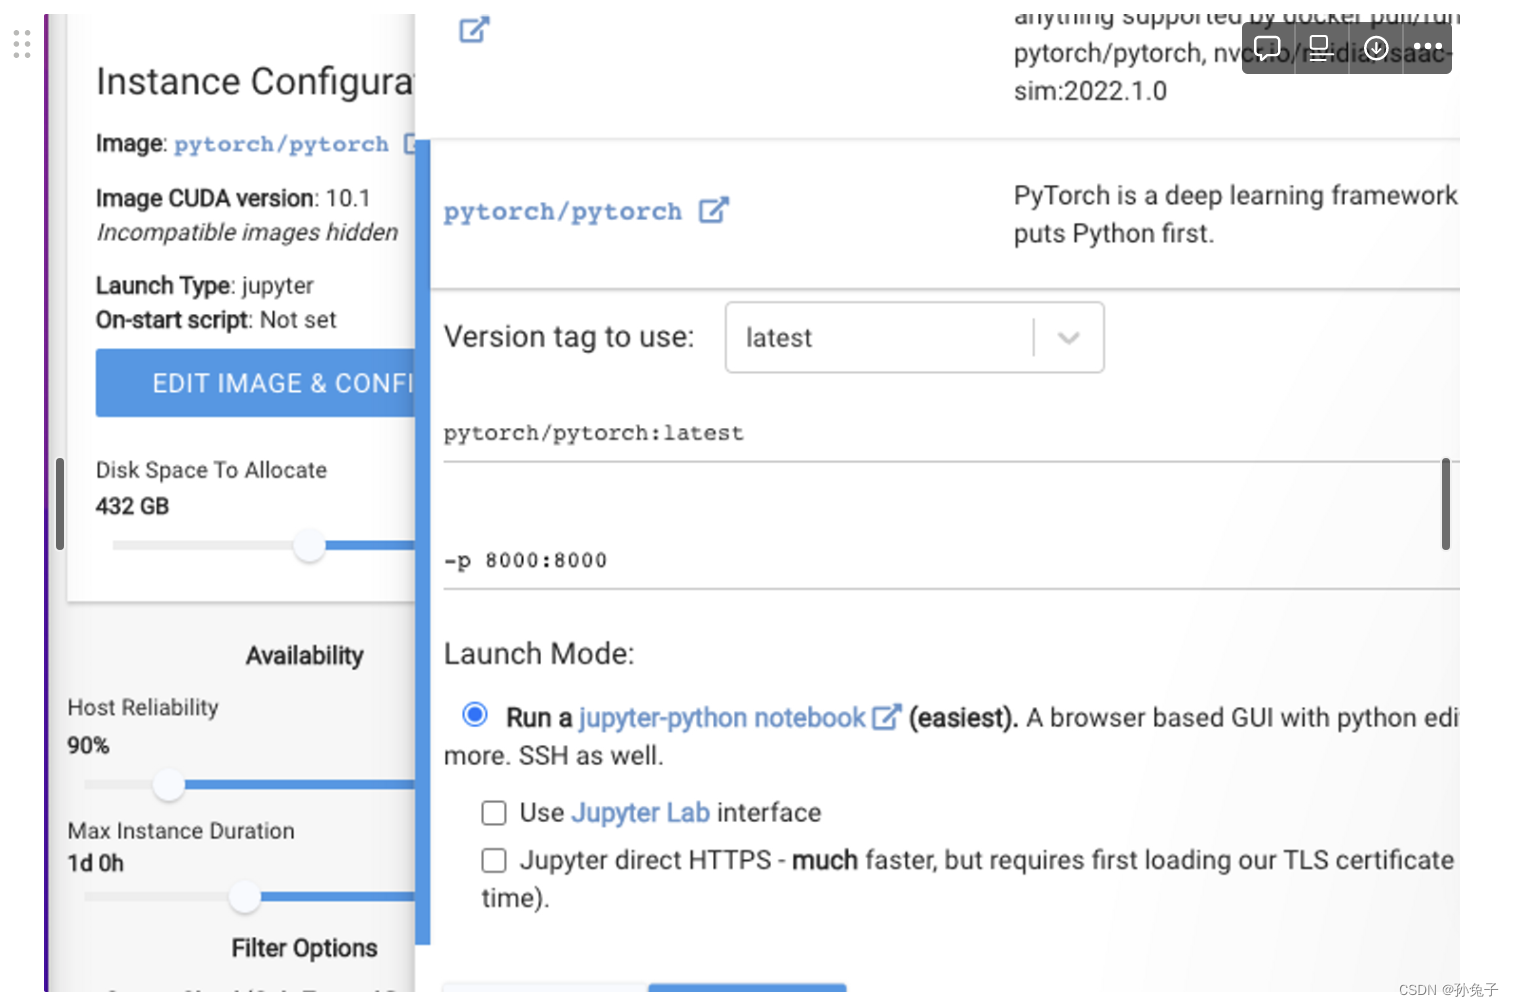
3、添加实例。
4、第一次创建Instance时需要配置SSH, 具体操作网站有提示,也可以参照如下步骤:
There is no ssh password, we use ssh key authentication. If ssh asks for a password, typically this means there is something wrong with the ssh key that you entered or your ssh client is misconfigured. On Ubuntu or Mac, first you need to generate an rsa ssh public/private keypair using the command:
ssh-keygen -t rsa
Next you may need to force the daemon to load the new private key:
ssh-add
这一步如果出现Permission Deny需要先启动SSH-AGENT:
eval 'ssh-agent'
然后再执行
ssh-add
Then get the contents of the public key with:
cat ~/.ssh/id_rsa.pub
Copy the entire output to your clipboard, then paste that into the “Change SSH Key” text box under console/account. The key text includes the opening “ssh-rsa” part and the ending “user@something” part. If you don’t copy the entire thing, it won’t work.
example SSH key text:
5、复制你的ssh连接,打开mac终端,将ssh连接输入进去就可以成功连上啦。
6、服务器连jupyter,vast.ai 配置jupyter需要进行的端口映射
这篇关于Mac pro 租用服务器整体流程 Vast.ai的文章就介绍到这儿,希望我们推荐的文章对编程师们有所帮助!


