本文主要是介绍SpringBoot整合DataWay配置前端查询,希望对大家解决编程问题提供一定的参考价值,需要的开发者们随着小编来一起学习吧!
Dataway介绍
Dataway 是基于 DataQL 服务聚合能力,为应用提供的一个接口配置工具。使得使用者无需开发任何代码就配置一个满足需求的接口。整个接口配置、测试、冒烟、发布。一站式都通过 Dataway 提供的 UI 界面完成。UI 会以 Jar 包方式提供并集成到应用中并和应用共享同一个 http 端口,应用无需单独为 Dataway 开辟新的管理端口。
这种内嵌集成方式模式的优点是,可以使得大部分老项目都可以在无侵入的情况下直接应用 Dataway。进而改进老项目的迭代效率,大大减少企业项目研发成本。
Dataway 工具化的提供 DataQL 配置能力。这种研发模式的变革使得,相当多的需求开发场景只需要配置即可完成交付。从而避免了从数据存取到前端接口之间的一系列开发任务,例如:Mapper、BO、VO、DO、DAO、Service、Controller 统统不在需要。
Dataway 是 Hasor 生态中的一员,因此在 Spring 中使用 Dataway 首先要做的就是打通两个生态。根据官方文档中推荐的方式我们将 Hasor 和 Spring Boot 整合起来。这里是原文:https://www.hasor.net/web/extends/spring/for_boot.html
第一步:引入相关依赖
<dependency><groupId>com.alibaba</groupId><artifactId>druid-spring-boot-starter</artifactId><version>1.1.10</version></dependency><dependency><groupId>net.hasor</groupId><artifactId>hasor-spring</artifactId><version>4.1.3</version></dependency><dependency><groupId>net.hasor</groupId><artifactId>hasor-dataway</artifactId><version>4.1.3-fix20200414</version></dependency><dependency><groupId>mysql</groupId><artifactId>mysql-connector-java</artifactId><version>5.1.32</version></dependency>
hasor-spring 负责 Spring 和 Hasor 框架之间的整合。 hasor-dataway 是工作在 Hasor 之上,利用 hasor-spring 我们就可以使用 dataway了。
第二步:配置 Dataway,并初始化数据表
dataway 会提供一个界面让我们配置接口,这一点类似 Swagger 只要jar包集成就可以实现接口配置。找到我们 springboot 项目的配置文件 application.yml
server:port: 9001
spring:datasource:driver-class-name: com.mysql.jdbc.Driverurl: jdbc:mysql://localhost:3306/xx?useUnicode=true&characterEncoding=utf8username: xxpassword: xxtype: com.alibaba.druid.pool.DruidDataSourcedruid:initial-size: 3min-idle: 3max-active: 10max-wait: 60000stat-view-servlet:login-username: adminlogin-password: adminfilter:stat:log-slow-sql: trueslow-sql-millis: 1redis:host: localhostport: 6379database: 0timeout: 1800000password: 123456lettuce:pool:max-wait: -1max-idle: 5min-idle: 0max-active: 20
logging:level:root: INFO
# 是否启用 Dataway 功能(必选:默认false)
HASOR_DATAQL_DATAWAY: true
# 是否开启 Dataway 后台管理界面(必选:默认false)
HASOR_DATAQL_DATAWAY_ADMIN: true
# dataway  API工作路径(可选,默认:/api/)
HASOR_DATAQL_DATAWAY_API_URL: /api/
# dataway-ui 的工作路径(可选,默认:/interface-ui/)
HASOR_DATAQL_DATAWAY_UI_URL: /interface-ui/
# SQL执行器方言设置(可选,建议设置)
HASOR_DATAQL_FX_PAGE_DIALECT: mysql
Dataway 一共涉及到 5个可以配置的配置项,但不是所有配置都是必须的。
其中 HASOR_DATAQL_DATAWAY、HASOR_DATAQL_DATAWAY_ADMIN 两个配置是必须要打开的,默认情况下 Datawaty 是不启用的。
Dataway 需要两个数据表才能工作,下面是这两个数据表的简表语句。下面这个 SQL 可以在 dataway的依赖 jar 包中 “META-INF/hasor-framework/mysql” 目录下面找到,建表语句是用 mysql 语法写的。
CREATE TABLE `interface_info` (`api_id`          int(11)      NOT NULL AUTO_INCREMENT   COMMENT 'ID',`api_method`      varchar(12)  NOT NULL                  COMMENT 'HttpMethod:GET、PUT、POST',`api_path`        varchar(512) NOT NULL                  COMMENT '拦截路径',`api_status`      int(2)       NOT NULL                  COMMENT '状态:0草稿,1发布,2有变更,3禁用',`api_comment`     varchar(255)     NULL                  COMMENT '注释',`api_type`        varchar(24)  NOT NULL                  COMMENT '脚本类型:SQL、DataQL',`api_script`      mediumtext   NOT NULL                  COMMENT '查询脚本:xxxxxxx',`api_schema`      mediumtext       NULL                  COMMENT '接口的请求/响应数据结构',`api_sample`      mediumtext       NULL                  COMMENT '请求/响应/请求头样本数据',`api_create_time` datetime     DEFAULT CURRENT_TIMESTAMP COMMENT '创建时间',`api_gmt_time`    datetime     DEFAULT CURRENT_TIMESTAMP COMMENT '修改时间',PRIMARY KEY (`api_id`)
) ENGINE=InnoDB AUTO_INCREMENT=0 DEFAULT CHARSET=utf8mb4 COMMENT='Dataway 中的API';CREATE TABLE `interface_release` (`pub_id`          int(11)      NOT NULL AUTO_INCREMENT   COMMENT 'Publish ID',`pub_api_id`      int(11)      NOT NULL                  COMMENT '所属API ID',`pub_method`      varchar(12)  NOT NULL                  COMMENT 'HttpMethod:GET、PUT、POST',`pub_path`        varchar(512) NOT NULL                  COMMENT '拦截路径',`pub_status`      int(2)       NOT NULL                  COMMENT '状态:0有效,1无效(可能被下线)',`pub_type`        varchar(24)  NOT NULL                  COMMENT '脚本类型:SQL、DataQL',`pub_script`      mediumtext   NOT NULL                  COMMENT '查询脚本:xxxxxxx',`pub_script_ori`  mediumtext   NOT NULL                  COMMENT '原始查询脚本,仅当类型为SQL时不同',`pub_schema`      mediumtext       NULL                  COMMENT '接口的请求/响应数据结构',`pub_sample`      mediumtext       NULL                  COMMENT '请求/响应/请求头样本数据',`pub_release_time`datetime     DEFAULT CURRENT_TIMESTAMP COMMENT '发布时间(下线不更新)',PRIMARY KEY (`pub_id`)
) ENGINE=InnoDB AUTO_INCREMENT=0 DEFAULT CHARSET=utf8mb4 COMMENT='Dataway API 发布历史。';create index idx_interface_release on interface_release (pub_api_id);
第三步:把数据源设置到 Hasor 容器中
Spring Boot 和 Hasor 本是两个独立的容器框架,我们做整合之后为了使用 Dataway 的能力需要把 Spring 中的数据源设置到 Hasor 中。
首先新建一个 Hasor 的 模块,并且将其交给 Spring 管理。然后把数据源通过 Spring 注入进来。
import net.hasor.core.ApiBinder;
import net.hasor.core.DimModule;
import net.hasor.db.JdbcModule;
import net.hasor.db.Level;
import net.hasor.spring.SpringModule;
import org.springframework.stereotype.Component;import javax.annotation.Resource;
import javax.sql.DataSource;@DimModule
@Component
public class ModuleDemo implements SpringModule {@Resourceprivate DataSource dataSource = null;@Overridepublic void loadModule(ApiBinder apiBinder) throws Throwable {apiBinder.installModule(new JdbcModule(Level.Full, this.dataSource));}
}
第四步:在SprintBoot 中启用 Hasor
import net.hasor.spring.boot.EnableHasor;
import net.hasor.spring.boot.EnableHasorWeb;
import org.springframework.boot.SpringApplication;
import org.springframework.boot.autoconfigure.SpringBootApplication;@SpringBootApplication
@EnableHasor()
@EnableHasorWeb()
public class DataWayLearnApplication {public static void main(String[] args) {SpringApplication.run(DataWayLearnApplication.class, args);}
}
第五步:启动应用
2023-10-10 10:32:47.441  INFO 27040 --- [           main] n.hasor.core.context.TemplateAppContext  : loadModule class net.hasor.web.render.RenderWebPlugin
2023-10-10 10:32:47.441  INFO 27040 --- [           main] n.hasor.core.context.TemplateAppContext  : loadModule class net.hasor.core.exts.startup.StartupModule
2023-10-10 10:32:47.441  INFO 27040 --- [           main] n.hasor.core.context.TemplateAppContext  : loadModule class net.hasor.core.exts.aop.AopModule
2023-10-10 10:32:47.441  INFO 27040 --- [           main] n.hasor.core.context.TemplateAppContext  : loadModule class net.hasor.dataql.fx.FxModule
2023-10-10 10:32:47.449  INFO 27040 --- [           main] n.hasor.core.context.TemplateAppContext  : loadModule class com.qy.config.ModuleDemo
2023-10-10 10:32:47.449  INFO 27040 --- [           main] n.h.core.context.TemplateAppContext$1    : installModule ->net.hasor.db.JdbcModule@49a4355e
2023-10-10 10:32:47.457  INFO 27040 --- [           main] n.hasor.core.context.TemplateAppContext  : loadModule class net.hasor.spring.boot.BasicHasorConfiguration$$Lambda$618/1388779121
2023-10-10 10:32:47.493  INFO 27040 --- [           main] net.hasor.dataway.config.DatawayModule   : dataway dbMapping MySQL to default
2023-10-10 10:32:47.493  INFO 27040 --- [           main] net.hasor.web.render.RenderWebPlugin     : RenderPlugin init -> useLayout=false, layoutPath=/layout, templatePath=/templates, placeholder=content_placeholder, defaultLayout=default.html
2023-10-10 10:32:47.509  INFO 27040 --- [sor-EventPool-1] n.hasor.core.context.TemplateAppContext  : Hasor StartCompleted!
2023-10-10 10:32:47.619  INFO 27040 --- [           main] net.hasor.web.startup.RuntimeListener    : ServletContext Attribut is net.hasor.core.AppContext
2023-10-10 10:32:47.627  INFO 27040 --- [           main] net.hasor.web.invoker.InvokerContext     : mapingTo -> type ‘class net.hasor.dataway.web.ApiDetailController’ mappingTo: ‘/interface-ui/api/api-detail’.
2023-10-10 10:32:47.627  INFO 27040 --- [           main] net.hasor.web.invoker.InvokerContext     : mapingTo -> type ‘class net.hasor.dataway.web.ApiHistoryListController’ mappingTo: ‘/interface-ui/api/api-history’.
2023-10-10 10:32:47.627  INFO 27040 --- [           main] net.hasor.web.invoker.InvokerContext     : mapingTo -> type ‘class net.hasor.dataway.web.ApiInfoController’ mappingTo: ‘/interface-ui/api/api-info’.
2023-10-10 10:32:47.627  INFO 27040 --- [           main] net.hasor.web.invoker.InvokerContext     : mapingTo -> type ‘class net.hasor.dataway.web.ApiListController’ mappingTo: ‘/interface-ui/api/api-list’.
2023-10-10 10:32:47.627  INFO 27040 --- [           main] net.hasor.web.invoker.InvokerContext     : mapingTo -> type ‘class net.hasor.dataway.web.ApiHistoryGetController’ mappingTo: ‘/interface-ui/api/get-history’.
2023-10-10 10:32:47.627  INFO 27040 --- [           main] net.hasor.web.invoker.InvokerContext     : mapingTo -> type ‘class net.hasor.dataway.web.DisableController’ mappingTo: ‘/interface-ui/api/disable’.
2023-10-10 10:32:47.627  INFO 27040 --- [           main] net.hasor.web.invoker.InvokerContext     : mapingTo -> type ‘class net.hasor.dataway.web.SmokeController’ mappingTo: ‘/interface-ui/api/smoke’.
2023-10-10 10:32:47.627  INFO 27040 --- [           main] net.hasor.web.invoker.InvokerContext     : mapingTo -> type ‘class net.hasor.dataway.web.SaveApiController’ mappingTo: ‘/interface-ui/api/save-api’.
2023-10-10 10:32:47.627  INFO 27040 --- [           main] net.hasor.web.invoker.InvokerContext     : mapingTo -> type ‘class net.hasor.dataway.web.PublishController’ mappingTo: ‘/interface-ui/api/publish’.
2023-10-10 10:32:47.627  INFO 27040 --- [           main] net.hasor.web.invoker.InvokerContext     : mapingTo -> type ‘class net.hasor.dataway.web.PerformController’ mappingTo: ‘/interface-ui/api/perform’.
2023-10-10 10:32:47.627  INFO 27040 --- [           main] net.hasor.web.invoker.InvokerContext     : mapingTo -> type ‘class net.hasor.dataway.web.DeleteController’ mappingTo: ‘/interface-ui/api/delete’.
2023-10-10 10:32:47.671  INFO 27040 --- [           main] net.hasor.web.startup.RuntimeFilter      : RuntimeFilter started, at Apache Tomcat/9.0.53
第六步:访问接口管理页面进行接口配置
在浏览器中输入 “http://localhost:9001/interface-ui/#/” 就可以看到期待已久的界面了。
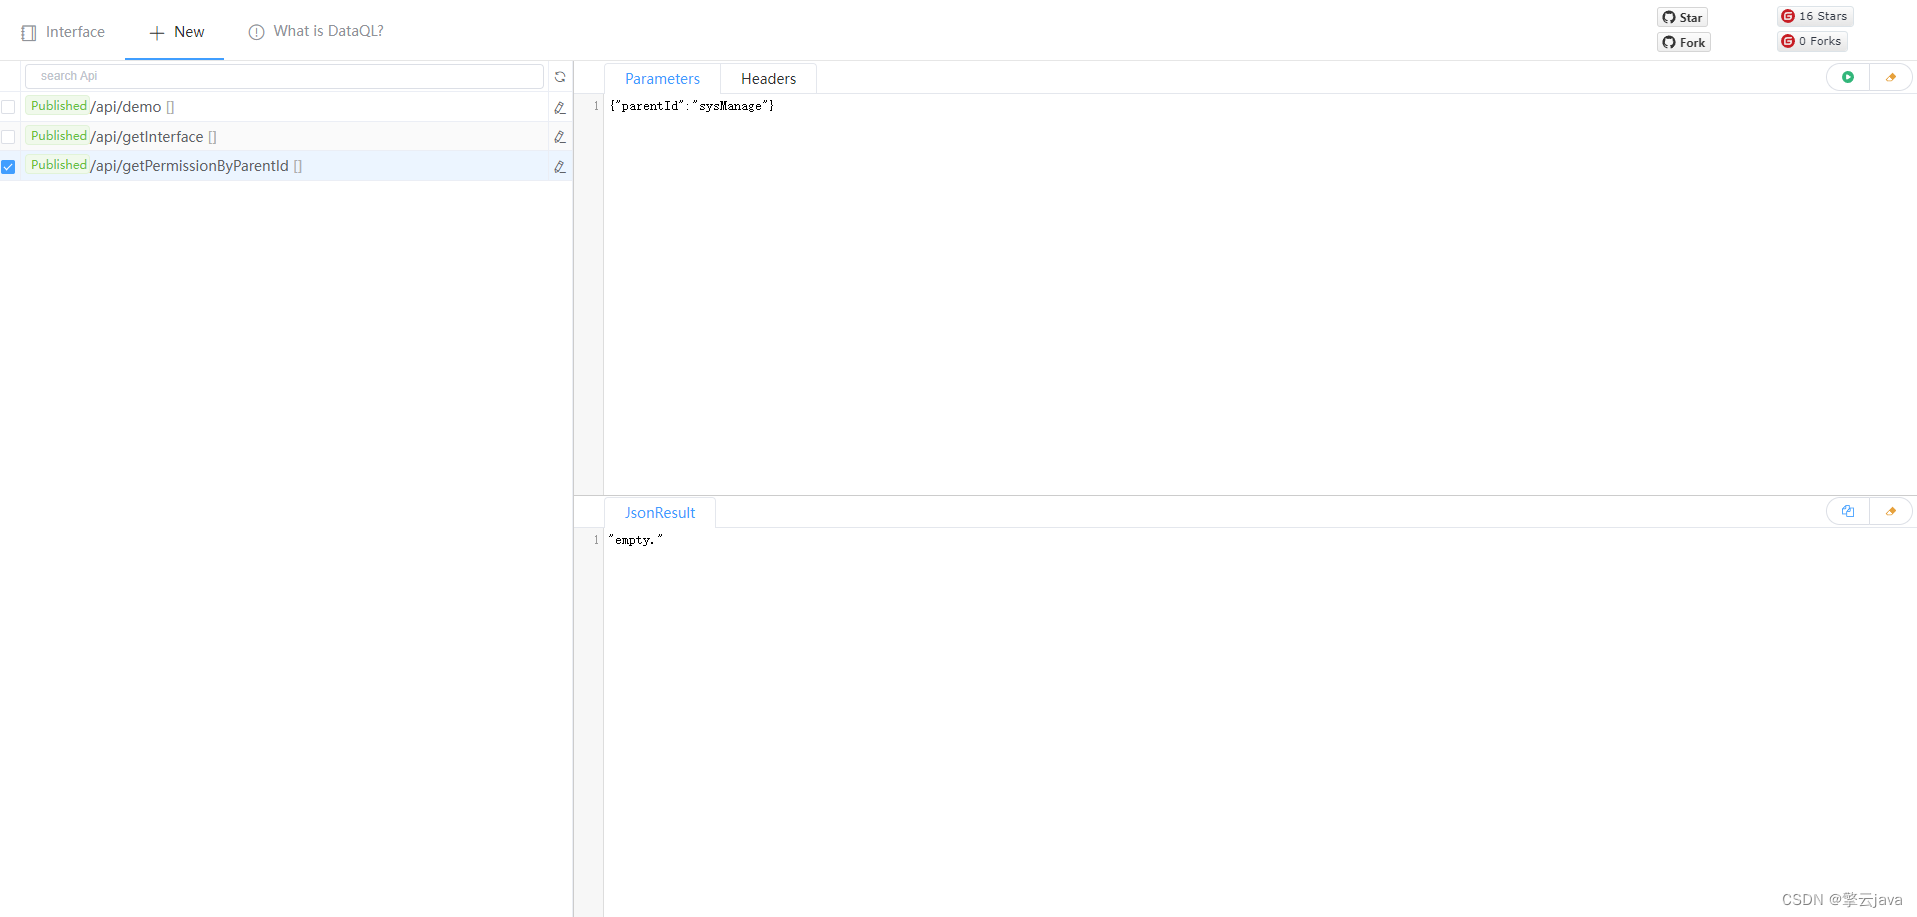
第七步:新建一个接口
Dataway 提供了2中语言模式,我们可以使用强大的 DataQL 查询语言,也可以直接使用 SQL 语言(在 Dataway 内部 SQL 语言也会被转换为 DataQL 的形式执行。)

第八步:APIPOST测试

这篇关于SpringBoot整合DataWay配置前端查询的文章就介绍到这儿,希望我们推荐的文章对编程师们有所帮助!


