本文主要是介绍Android如何反编译xml文件 ,和防止代码反编译,希望对大家解决编程问题提供一定的参考价值,需要的开发者们随着小编来一起学习吧!
Android反编译xml文件
一、前言:
大家好,今天给大家分享一下Android中的拿来主义,我们时常会碰到一个自己觉得很漂亮很帅气的应用(apk),所以我们会尝试用WinRAR等之类工具查看,而一般的应用程序打包后的目录通常是这样的如下图:
当然res里的图片是可以拿来就用的(笔者的好多应用的图片都是从别人的apk里扣出来的),而诸如layout里的布局及权限文件(AndroidManifest.xml)已经是一堆乱码了,完全看不懂,想看看别人是怎么布局的都不容易。还有源代码都被编译成了classes.dex,完全看不出什么线索。基于以上的困惑,笔者给大家分享一下Android中的拿来主义。
二、所需工具(点击各自连接进入下载页面):
1.AXMLPrinter2.jar
2.baksmali.jar
3.smali.jar
三、准备工作
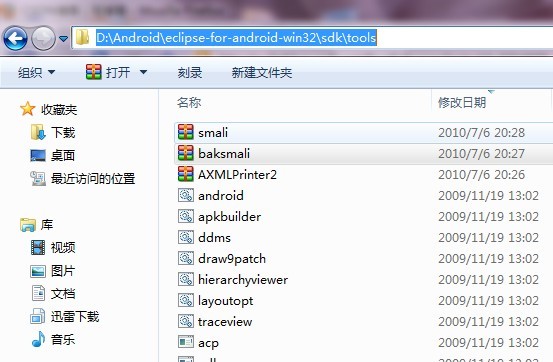
为了方便起见,作者把AXMLPrinter2.jar,还有baksmali.jar,还有smali.jar(下下来为了方便重命名),放在Android SDK tools文件夹中如下图所示:
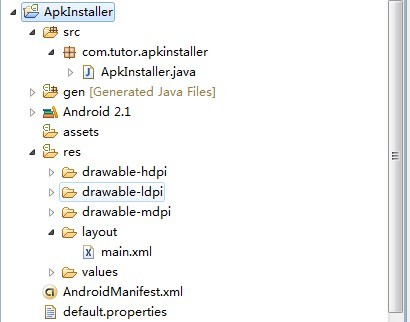
为了便于大家更容易程序比对,作者写了一个简单的应用(叫APKInstaller)目录结构如下图所示:
四、开始拿来主义
1.用AXMLPrinter2.jar查看apk中的布局xml文件:
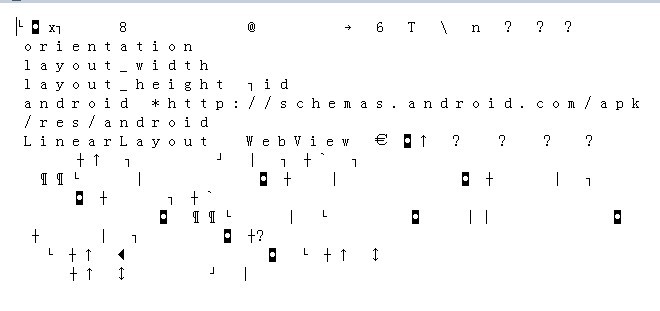
将ApkInstaller应用生成的ApkInstaller.apk(为了方便起见放到tools目录里)用WinRAR等工具打开,将res/layout/main.xml解压出来(也还是放在tools目录里哦)
打开main.xml文件,内容如下(一堆天文):
这时候AXMLPrinter2.jar派上用场了,打开cmd终端,一直进入到tools目录下,输入如下命令:
java -jar AXMLPrinter2.jar main.xml > main.txt. (如下图所示)

打开main.txt代码如下(是不是有个123了呵呵~):
- view plaincopy to clipboardprint?
- <?xml version="1.0" encoding="utf-8"?>
- <LinearLayout
- xmlns:android="http://schemas.android.com/apk/res/android"
- android:orientation="1"
- android:layout_width="-1"
- android:layout_height="-1"
- >
- <WebView
- android:id="@7F050000"
- android:layout_width="-1"
- android:layout_height="-2"
- >
- </WebView>
- </LinearLayout>
- view plaincopy to clipboardprint?
- <?xml version="1.0" encoding="utf-8"?>
- <LinearLayout xmlns:android="http://schemas.android.com/apk/res/android"
- android:orientation="vertical"
- android:layout_width="fill_parent"
- android:layout_height="fill_parent"
- >
- <WebView
- android:id="@+id/apk_web"
- android:layout_height="wrap_content"
- android:layout_width="fill_parent"
- />
- </LinearLayout>
混淆文件 proguard.cfg 参数详解

-optimizationpasses 5                                                           # 指定代码的压缩级别
-dontusemixedcaseclassnames                                                     # 是否使用大小写混合
-dontskipnonpubliclibraryclasses                                                # 是否混淆第三方jar
-dontpreverify                                                                  # 混淆时是否做预校验
-verbose                                                                        # 混淆时是否记录日志
-optimizations !code/simplification/arithmetic,!field/*,!class/merging/*        # 混淆时所采用的算法-keep public class * extends android.app.Activity                               # 保持哪些类不被混淆
-keep public class * extends android.app.Application                            # 保持哪些类不被混淆
-keep public class * extends android.app.Service                                # 保持哪些类不被混淆
-keep public class * extends android.content.BroadcastReceiver                  # 保持哪些类不被混淆
-keep public class * extends android.content.ContentProvider                    # 保持哪些类不被混淆
-keep public class * extends android.app.backup.BackupAgentHelper               # 保持哪些类不被混淆
-keep public class * extends android.preference.Preference                      # 保持哪些类不被混淆
-keep public class com.android.vending.licensing.ILicensingService              # 保持哪些类不被混淆-keepclasseswithmembernames class * {                                           # 保持 native 方法不被混淆native <methods>;
}-keepclasseswithmembers class * {                                               # 保持自定义控件类不被混淆public <init>(android.content.Context, android.util.AttributeSet);
}-keepclasseswithmembers class * {public <init>(android.content.Context, android.util.AttributeSet, int);     # 保持自定义控件类不被混淆
}-keepclassmembers class * extends android.app.Activity {                        # 保持自定义控件类不被混淆public void *(android.view.View);
}-keepclassmembers enum * {                                                      # 保持枚举 enum 类不被混淆public static **[] values();public static ** valueOf(java.lang.String);
}-keep class * implements android.os.Parcelable {                                # 保持 Parcelable 不被混淆public static final android.os.Parcelable$Creator *;
}-keep class MyClass;                                                            # 保持自己定义的类不被混淆
代码混淆的方法
根据 SDK 的版本不同有 2 中不同的代码混淆方式,以上的 proguard.cfg 参数详解中所涉及到的信息是在较低版本SDK 下的混淆脚本,事实上在高版本的SDK 下混淆的原理和参数也与低版本的相差无几,只是在不同SDK 版本的环境下引入混淆脚本的方式有所不同。具体方法如下:
- 低版本 SDK 下,项目中同时包含 proguard.cfg 和 project.properties 文件,则只需在project.properties 文件末尾添加 proguard.config=proguard.cfg再将项目 Export 即可。
- 高版本SDK 下,项目中同时包含proguard-project.txt 和 project.properties 文件,这时需要在proguard-project.txt 文件中进行如下信息的配置,然后再将项目Export 即可。下面以真实的文件进行演示说明。
# This file is automatically generated by Android Tools.
# Do not modify this file -- YOUR CHANGES WILL BE ERASED!
#
# This file must be checked in Version Control Systems.
#
# To customize properties used by the Ant build system edit
# "ant.properties", and override values to adapt the script to your
# project structure.
#
# To enable ProGuard to shrink and obfuscate your code, uncomment this (available properties: sdk.dir, user.home):
#proguard.config=${sdk.dir}/tools/proguard/proguard-android.txt:proguard-project.txtproguard.config=${sdk.dir}/tools/proguard/proguard-android.txt:proguard-project.txt# Project target.
target=android-16
以上的配置信息即是 project.properties 文件中内容,蓝色文字为我们在代码混淆过程中需要添加的配置信息,其中:sdk.dir 为你在当前机器上 SDK 的安装路径。如果想保留某个包下的文件不被混淆,可以在 proguard-project.txt 文件中加入保留对应包名的语句即可。
# To enable ProGuard in your project, edit project.properties
# to define the proguard.config property as described in that file.
#
# Add project specific ProGuard rules here.
# By default, the flags in this file are appended to flags specified
# in ${sdk.dir}/tools/proguard/proguard-android.txt
# You can edit the include path and order by changing the ProGuard
# include property in project.properties.
#
# For more details, see
#   http://developer.android.com/guide/developing/tools/proguard.html# Add any project specific keep options here:-dontwarn com.cnki.android.cnkireader.**
-keep class com.cnki.android.cnkireader.** { *; }# If your project uses WebView with JS, uncomment the following
# and specify the fully qualified class name to the JavaScript interface
# class:
#-keepclassmembers class fqcn.of.javascript.interface.for.webview {
#   public *;
#}
这篇关于Android如何反编译xml文件 ,和防止代码反编译的文章就介绍到这儿,希望我们推荐的文章对编程师们有所帮助!


