本文主要是介绍Application UI,希望对大家解决编程问题提供一定的参考价值,需要的开发者们随着小编来一起学习吧!
本节包含关于如何用DevExpress控件模拟许多流行的应用程序ui的教程。
Windows 11 UI
Windows 11和最新一代微软Office产品启发的UI。
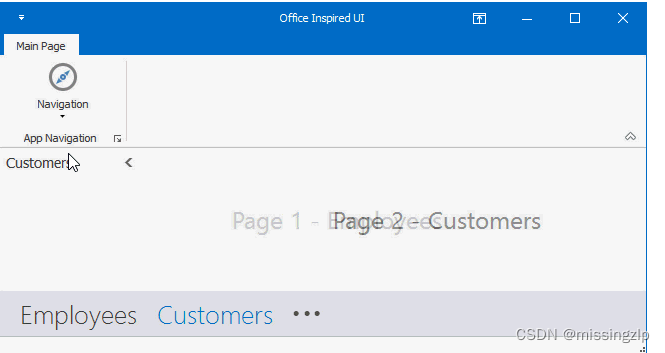
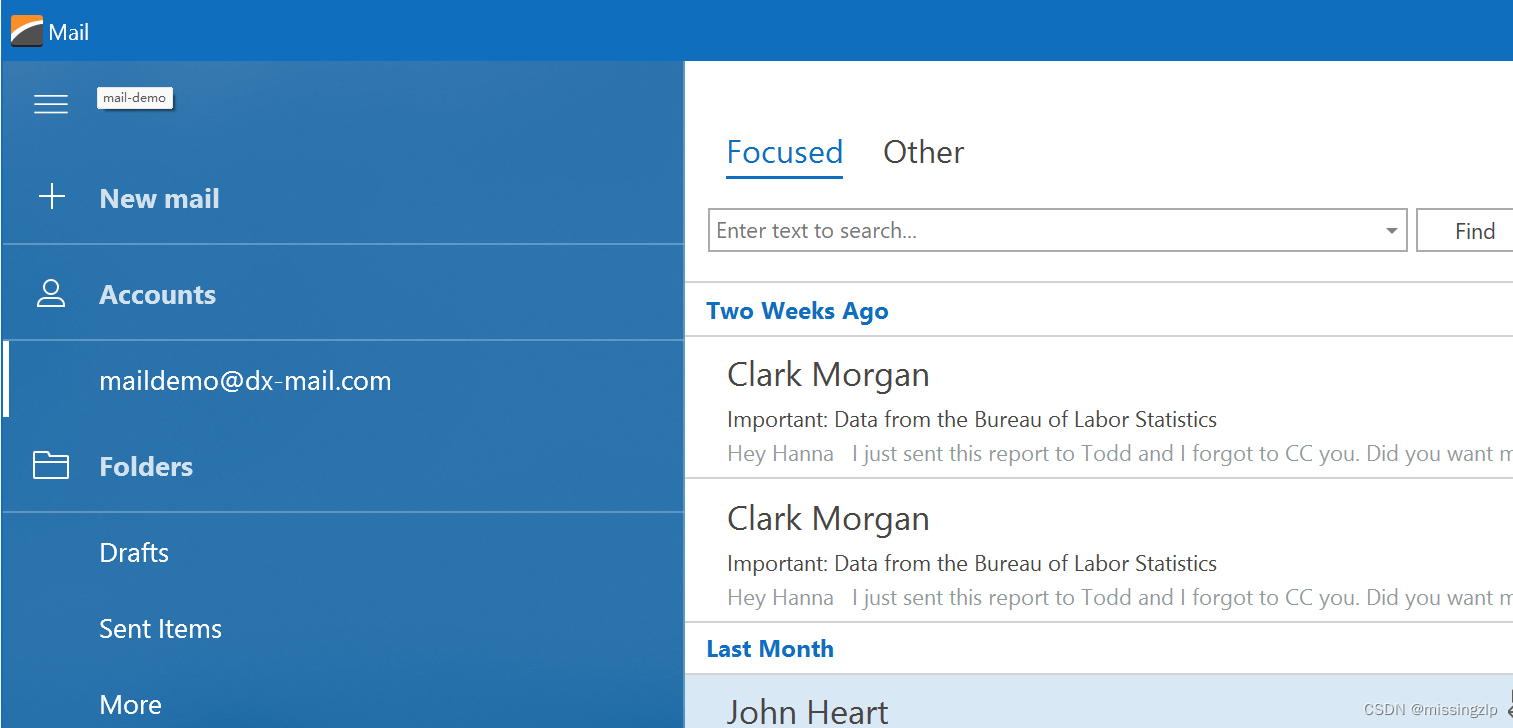
Office Inspired UI
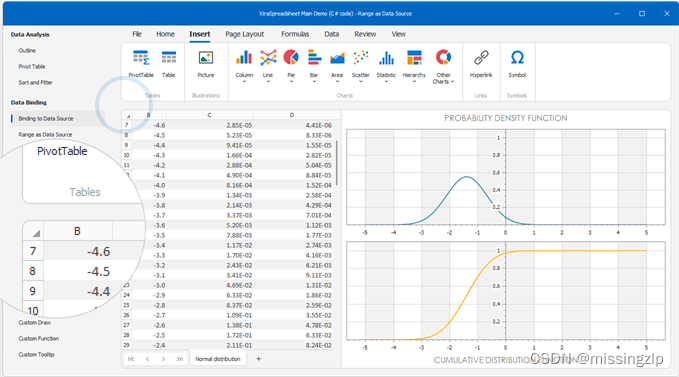
Word、Excel、PowerPoint和Visio等微软Office应用程序启发的UI。
How to: Build an Office-inspired UI manually
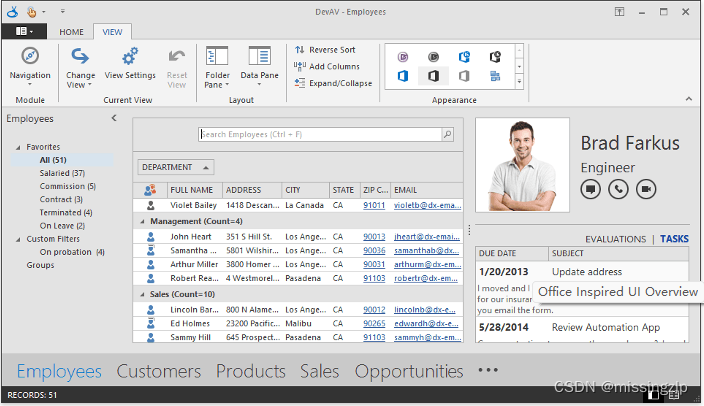
本教程演示如何构建一个典型的受Office启发的UI,如下所示。请注意,您还可以使用Template Gallery来构建相同的UI类型。
-
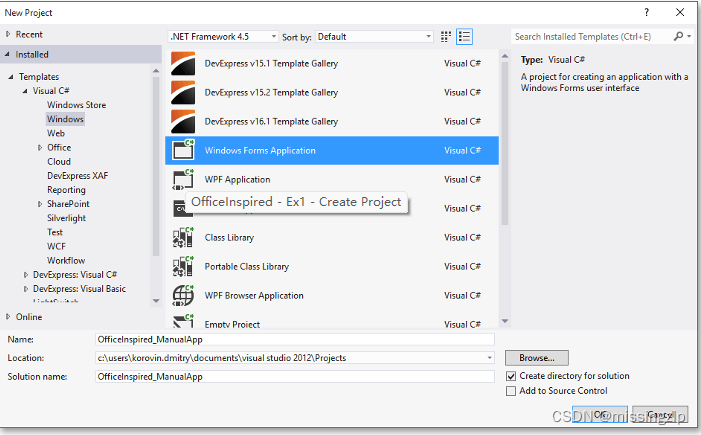
In Visual Studio, go to “File | New | Project” or press CTRL+SHIFT+N to create a new project. Select the default Visual Studio “Windows Forms Application” template and click OK.
-
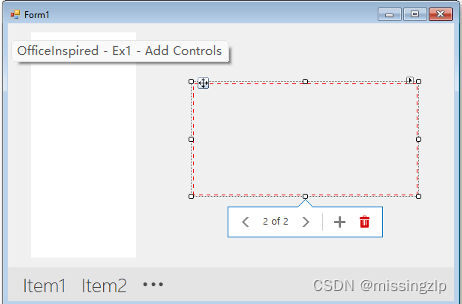
Use the Visual Studio Toolbox to add Navigation Frame, Navigation Bar and Office Navigation Bar controls to your form.
-
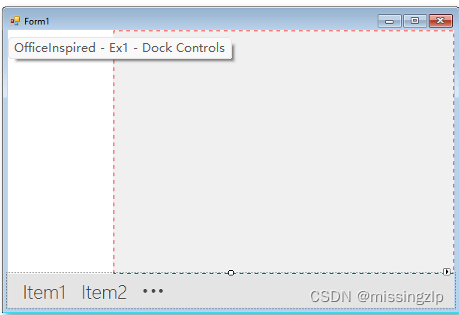
Arrange the controls as illustrated below.
-
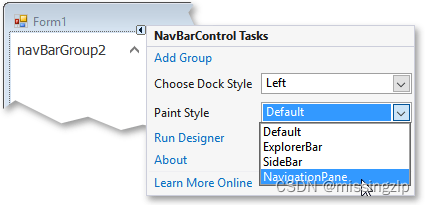
Use the Navigation Bar smart tag to switch the bar to the Navigation Pane View.
-
Change captions for automatically created NavBarGroup and NavigationPage controls to “Employees” and “Customers”. Assign the same text strings to the Tag property of both pages, as demonstrated in the code below.
navigationPage1.Tag = navBarGroup1.Caption = navigationPage1.Caption = "Employees";
navigationPage2.Tag = navBarGroup2.Caption = navigationPage2.Caption = "Customers";
-
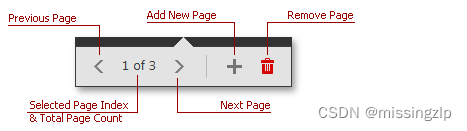
Click the Navigation Frame’s chevron buttons to select different pages and drop a LabelControl on each page, then customize label captions. At runtime, these labels will allow you to identify Navigation Frame pages.
-
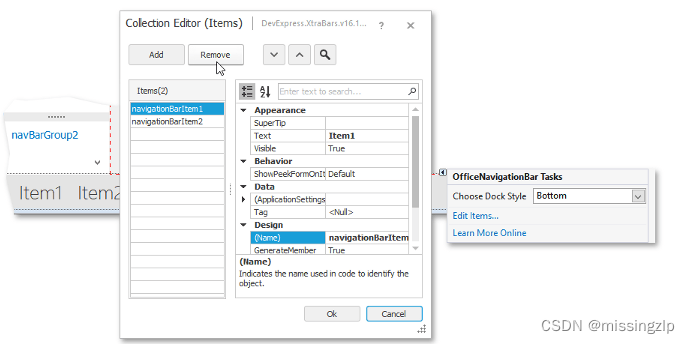
Use the Office Navigation Bar smart tag to remove automatically generated “Item1” and “Item2” elements.
-
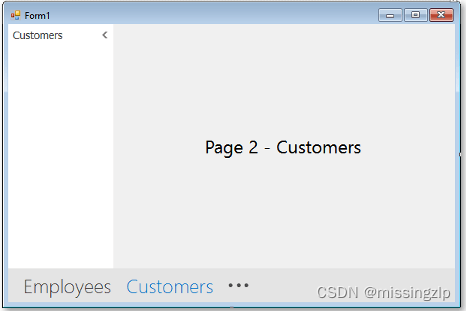
Assign the Navigation Bar to the OfficeNavigationBar.NavigationClient property to bind both controls together. You will notice that the bar now has “Employees” and “Customers” elements based on existing Navigation Bar groups. Launch the app and click an element to see that the corresponding group is activated.
-
Handle the NavBarControl.ActiveGroupChanged event to switch the selected Frame page. The code below uses page tags to find the required page.
private void navBarControl1_ActiveGroupChanged(object sender, DevExpress.XtraNavBar.NavBarGroupEventArgs e) {navigationFrame1.SelectedPage = (NavigationPage)navigationFrame1.Pages.FindFirst(x => (string)x.Tag == e.Group.Caption); } -
Test your application at runtime. Note that, by default, animation effects are enabled.

-
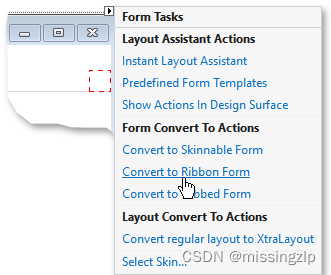
Return to design time, invoke the form smart tag (you may need to rebuild the project and reload the form to see it) and click “Convert to Ribbon Form”. This will convert your main form to a Ribbon Form, which will add Ribbon and Ribbon Status Bar controls.
-
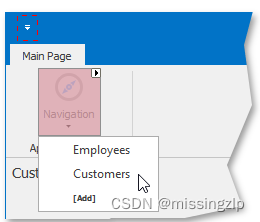
Add a BarSubItem with two child BarButtonItems to the Ribbon Page Group. End-users will be able to toggle between “Employees” and “Customers” Navigation Frame pages by clicking these buttons.
-
At design time, double-click the first button to create a BarItem.ItemClick event handler. The code sample below illustrates how to switch active Navigation Bar groups. Coupled with the previously handled NavBarControl.ActiveGroupChanged event, this button also changes Navigation Frame pages.
private void barButtonItem1_ItemClick(object sender, DevExpress.XtraBars.ItemClickEventArgs e) {navBarControl1.ActiveGroup = navBarControl1.Groups.First(x => x.Caption == e.Link.Caption); } -
Select the second BarButtonItem and locate the ItemClick event in the Visual Studio Properties window. Use the combo box to choose the same event handler as for the first button, so that both sub-menu items are functional. Launch the application and make sure the Navigation Frame changes its pages correctly.
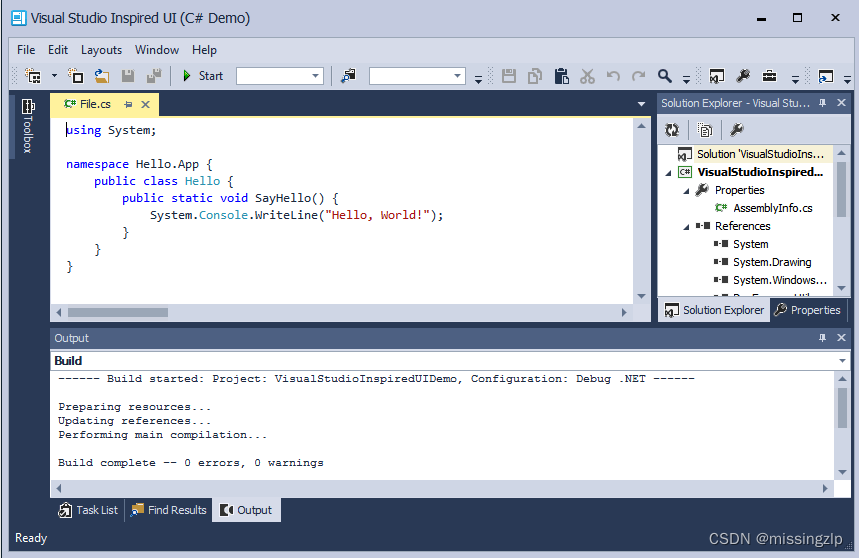
Visual Studio Inspired UI
一种Microsoft Visual studio风格的布局,在主工作区中包含一个选项卡或MDI界面,在表单的一侧包含面板,在顶部包含一个主菜单。
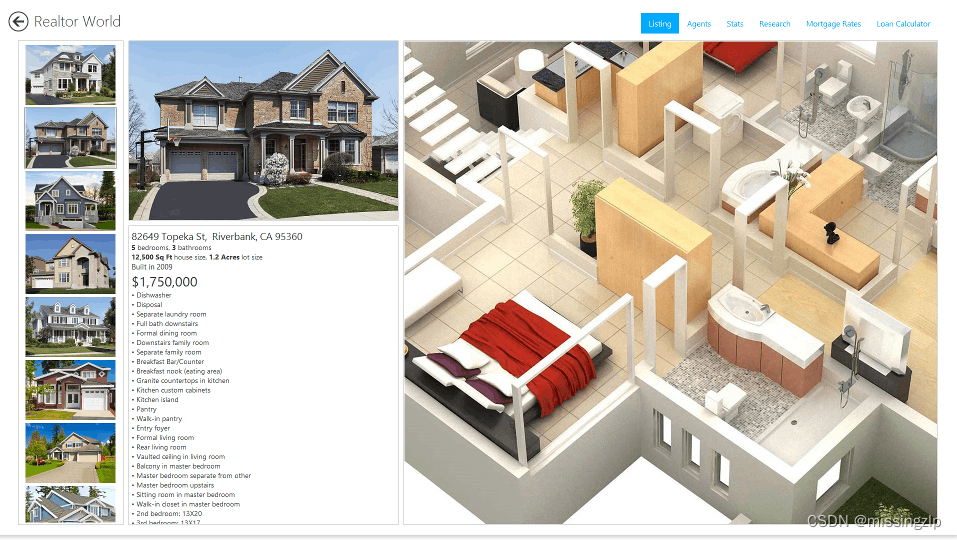
Windows Modern UI
一个平面,干净和轻量级的UI,灵感来自Windows商店应用程序。
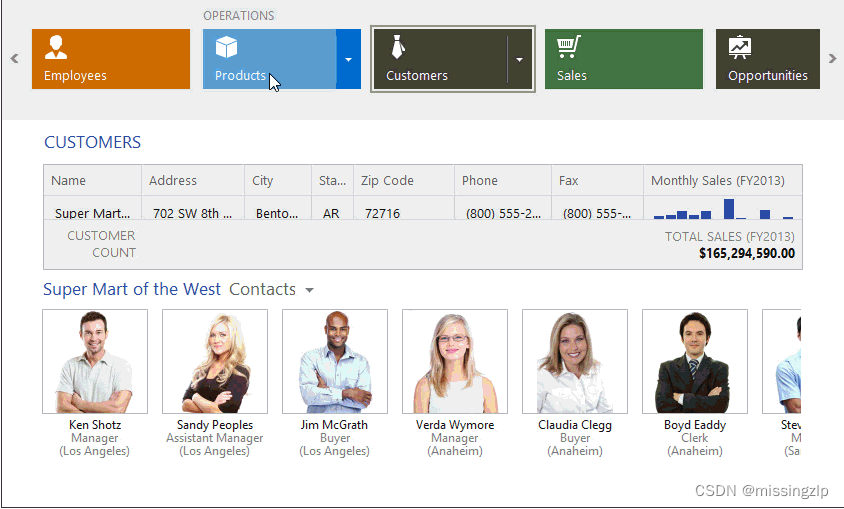
Touch-Enabled Tile UI
支持触摸的应用程序,有时被
称为混合应用程序,是易于在台式机和平板电脑等触摸设备上使用的应用程序。
Fluent Design UI
这篇关于Application UI的文章就介绍到这儿,希望我们推荐的文章对编程师们有所帮助!