本文主要是介绍React - 实现走马灯组件,希望对大家解决编程问题提供一定的参考价值,需要的开发者们随着小编来一起学习吧!
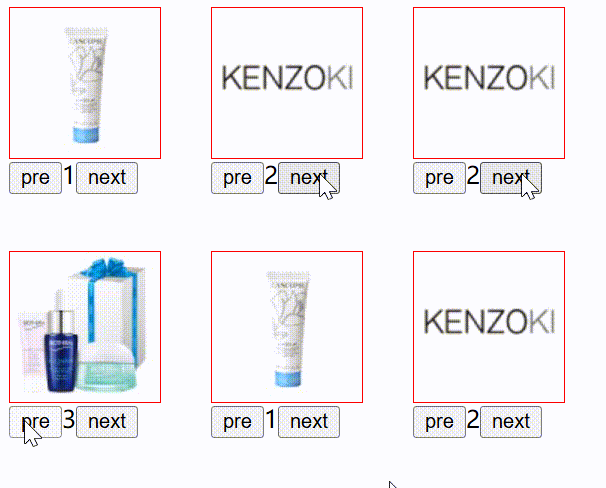
一、实现效果

二、源码分析
import {useRef, useState} from "react";export const Carousel = () => {const images = [{id: 3, url: 'https://sslstage3.sephorastatic.cn/products/2/4/6/8/1/6/1_n_new03504_100x100.jpg'}, {id: 1, url: 'https://sslstage2.sephorastatic.cn/products/2/4/5/3/5/8/1_n_new03504_100x100.jpg'}, {id: 2, url: 'https://sslstage1.sephorastatic.cn/products/2/4/5/2/8/2/1_n_new03504_100x100.jpg'}];const [index, setIndex] = useState(0);const refreshInterval = useRef(null)if (refreshInterval.current === null) {refreshInterval.current = setInterval(() => setIndex(val => (val + 1) % images.length), 3000)}const containerStyle = {width: '100px', height: '100px', overflow: "hidden", border: '1px solid red',}const imageStyle = {width: 100 * images.length + 'px',transition: 'transform 1.5s ease',position: 'relative',left: -1 * index * 100 + 'px',}return (<div><div style={containerStyle}><div style={imageStyle}>{images.map(item =><div style={{display: 'inline-block'}}><img width={100} height={100} key={item.id} src={item.url} alt='product'/></div>)}</div></div><div><button onClick={() => setIndex(val => (val - 1) % images.length)}>pre</button>{index + 1}<button onClick={() => setIndex(val => (val + 1) % images.length)}>next</button></div></div>)
}
本文给的代码是基于定位实现,父容器是显示区域,子容器是inline的图片数组,超过父容器的区域被隐藏。
这篇关于React - 实现走马灯组件的文章就介绍到这儿,希望我们推荐的文章对编程师们有所帮助!


