本文主要是介绍vue3 todolist 简单例子,希望对大家解决编程问题提供一定的参考价值,需要的开发者们随着小编来一起学习吧!
vue3 简单的TodList
地址: https://gitee.com/cheng_yong_xu/vue3-composition-api-todo-app-my
效果

step-1
初始化项项目
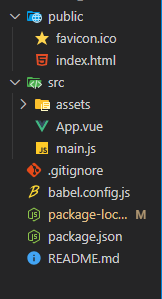
我们不采用vue cli 搭建项目
直接将上图文件夹,复制到vscode编辑器,清空App.vue的内容
安装包
# 安装包
npm i
# 启动
npm run serve
step-2
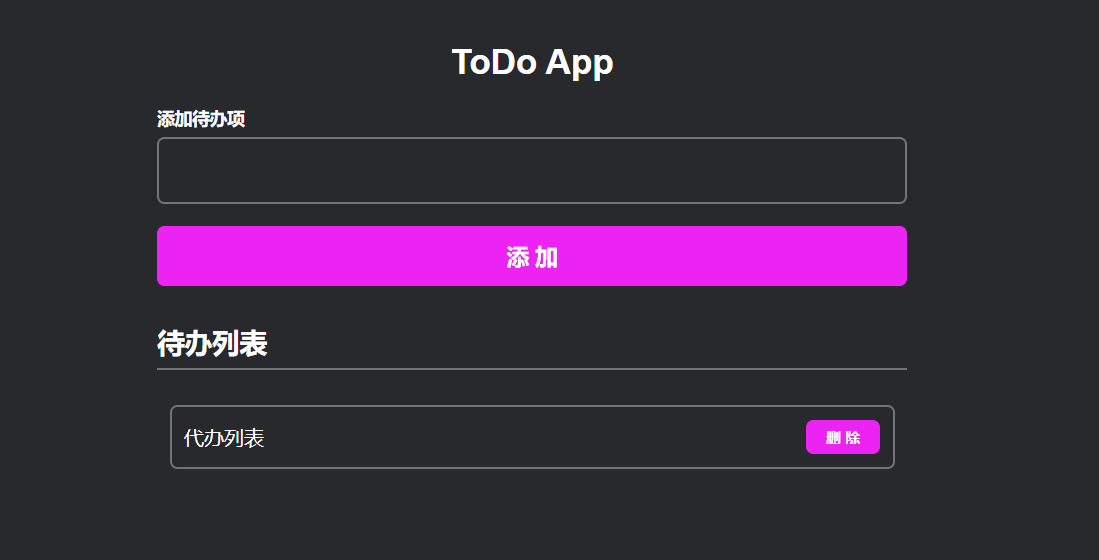
先写样式结构
<!-- src\App.vue -->
<template><h1>ToDo App</h1><form><label for="">添加待办项</label><input type="text" name="newTodo" autocomplete="off" /><button>添 加</button></form><h2>待办列表</h2><ul><li><span>代办列表</span><button>删 除</button></li></ul>
</template><script>
export default {}
</script><style lang="scss">
$size1: 6px;
$size2: 12px;
$size3: 18px;
$size4: 24px;
$size5: 48px;
$backgroundColor: #27292d;
$primaryColor: #EC23F3;
$secondTextColor: #1f2023;$border: 2px solid rgba($color: white,$alpha: 0.35,);$textColor: white;
$border_r: 2px solid red;
$border_y: 2px solid rgb(241, 229, 50);
$border_g: 2px solid rgb(50, 241, 50);
$border_w: 2px solid white;body {margin: 0;padding: 0;font-family: Avenir, Helvetica, Arial, sans-serif;-webkit-font-smoothing: antialiased;-moz-osx-font-smoothing: grayscale;background-color: $backgroundColor;color: $textColor;#app {max-width: 600px;margin-left: auto;margin-right: auto;padding: 20px;// border: $border_w;h1 {font-weight: bold;font-size: 28px;text-align: center;// border: $border_r;}form {display: flex;flex-direction: column;width: 100%;label {font-size: 14px;font-weight: bold;}input,button {height: $size5;box-shadow: none;outline: none;padding-left: $size2;padding-right: $size2;border-radius: $size1;font-size: 18px;margin-top: $size1;margin-bottom: $size2;transition: all 0.2s ease-in-out;/* 添加过渡效果,使变化平滑 */}input {background-color: transparent;border: $border;color: inherit;}input:hover {border: 2px solid rgb(236, 35, 243);}button {cursor: pointer;background-color: rgb(236, 35, 243);border: 1px solid $primaryColor;font-weight: bold;color: white;border-radius: $size1;}}h2 {// border: $border_g;font-size: 22px;border-bottom: $border;padding-bottom: $size1;}ul {padding: 10px;li {display: flex;justify-content: space-between;align-items: center;border: $border;padding: 10px;border-radius: $size1;margin-bottom: $size2;span {cursor: pointer;}button {cursor: pointer;font-size: $size2;background-color: rgb(236, 35, 243);border: 1px solid $primaryColor;font-weight: bold;color: white;padding: 5px 15px;border-radius: $size1;}}}}
}
</style>
step-3
双向绑定数据
<!-- src\App.vue -->
<template><h1>ToDo App</h1><form @submit.prevent="addTodo()"><label for="">添加待办项</label><input type="text" name="newTodo" autocomplete="off" v-model="newTodo"/><button>添 加</button></form><h2>待办列表</h2><ul><li><span>代办列表</span><button>删 除</button></li></ul>
</template><script>
import {ref } from 'vue';
export default {name: 'App',setup(){const newTodo = ref('');function addTodo(){if(newTodo.value){console.log(newTodo.value);}}return {newTodo,addTodo}}
}
</script>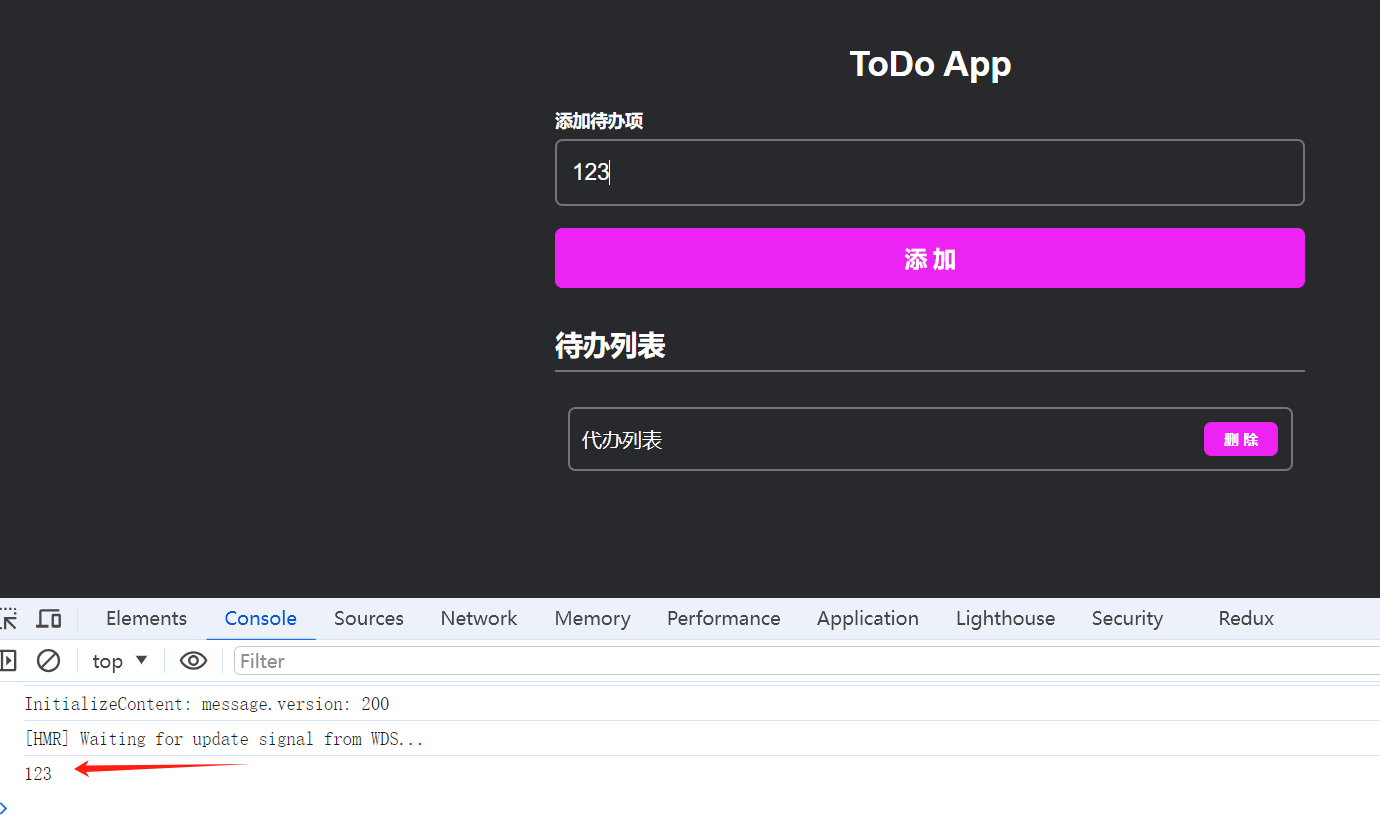
step-4
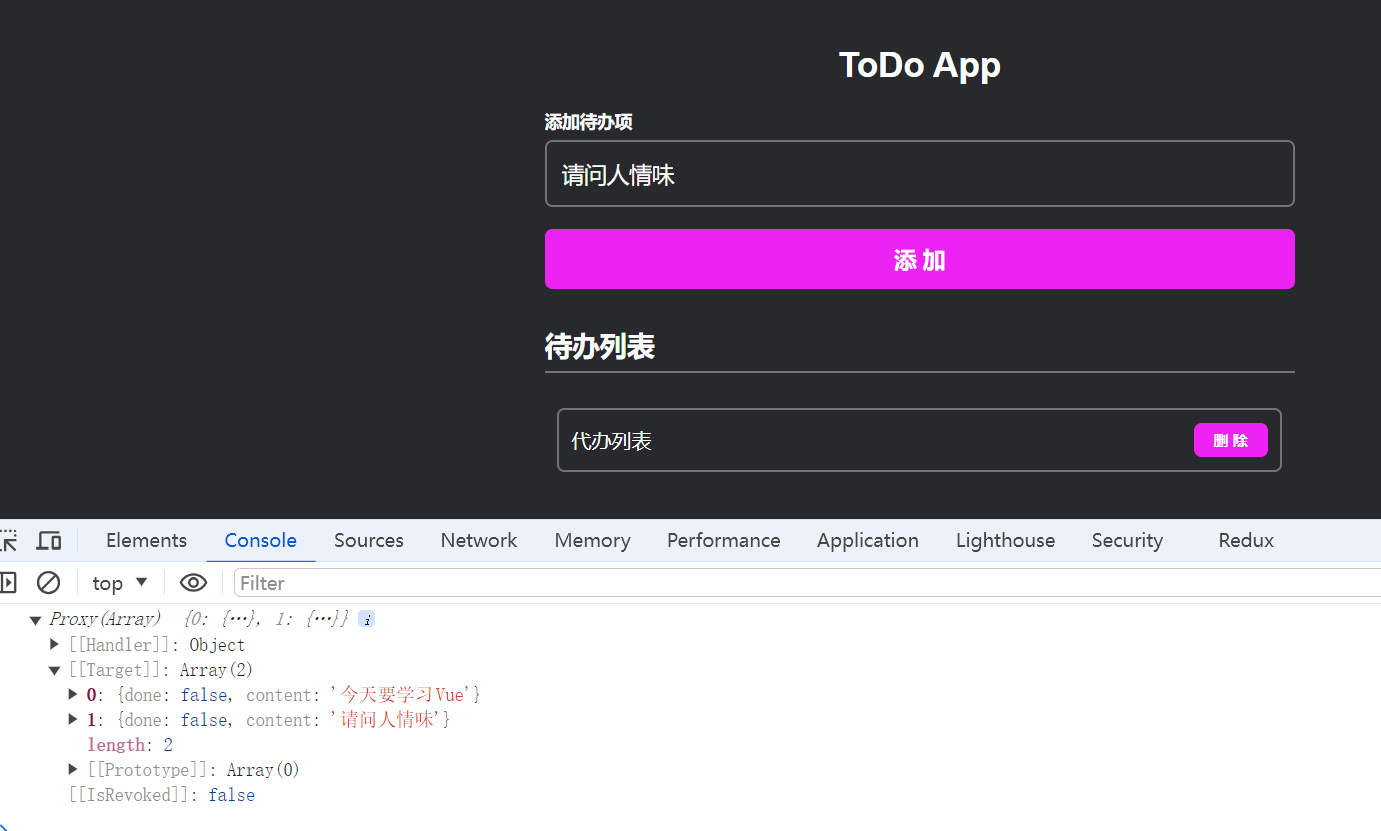
定义数据并将数据变成响应式的
将数据持久化到本地
定义数据并将数据变成响应式的
<script>
import { ref } from 'vue';
export default {name: 'App',setup() {const newTodo = ref('');const defaultData = ref([{done: false,content: '今天要学习Vue'}]);const todos = ref(defaultData);function addTodo() {if (newTodo.value) {todos.value.push({done: false,content: newTodo.value})}console.log(todos.value)}return {newTodo,addTodo}}
}
</script>
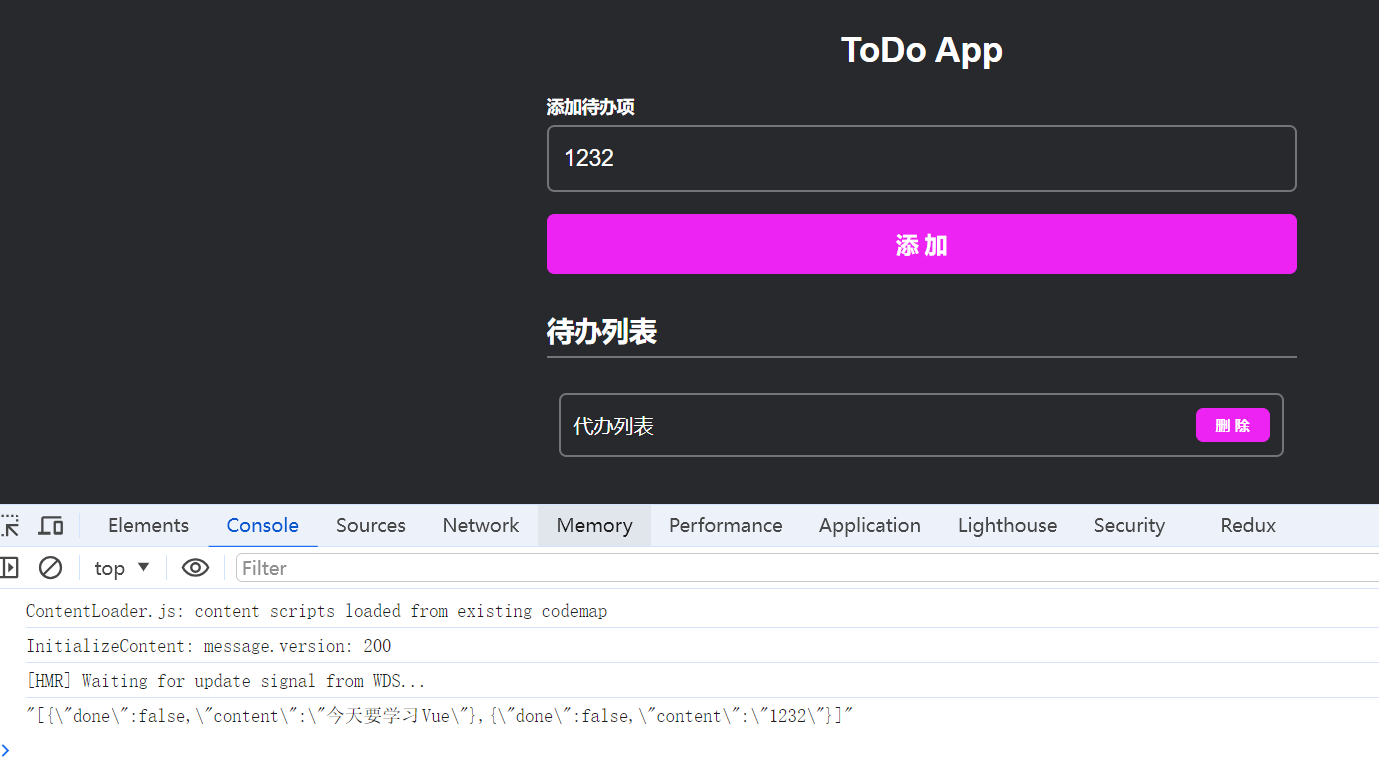
将数据持久化到本地
<script>
import { ref } from 'vue';
export default {name: 'App',setup() {const newTodo = ref('');const defaultData = ref([{done: false,content: '今天要学习Vue'}]);const todos = ref(defaultData);function addTodo() {if (newTodo.value) {todos.value.push({done: false,content: newTodo.value})}saveData()console.log(sessionStorage.getItem('todos'))}function saveData () {const storageData = JSON.stringify(todos.value)sessionStorage.setItem('todos', storageData)}return {newTodo,addTodo}}
}
</script>
step-5
渲染待办列表
<h2>待办列表</h2><ul><li v-for="(todo, index) in todos" :key="index"><span>{{ todo.content }}</span><button>删 除</button></li></ul>
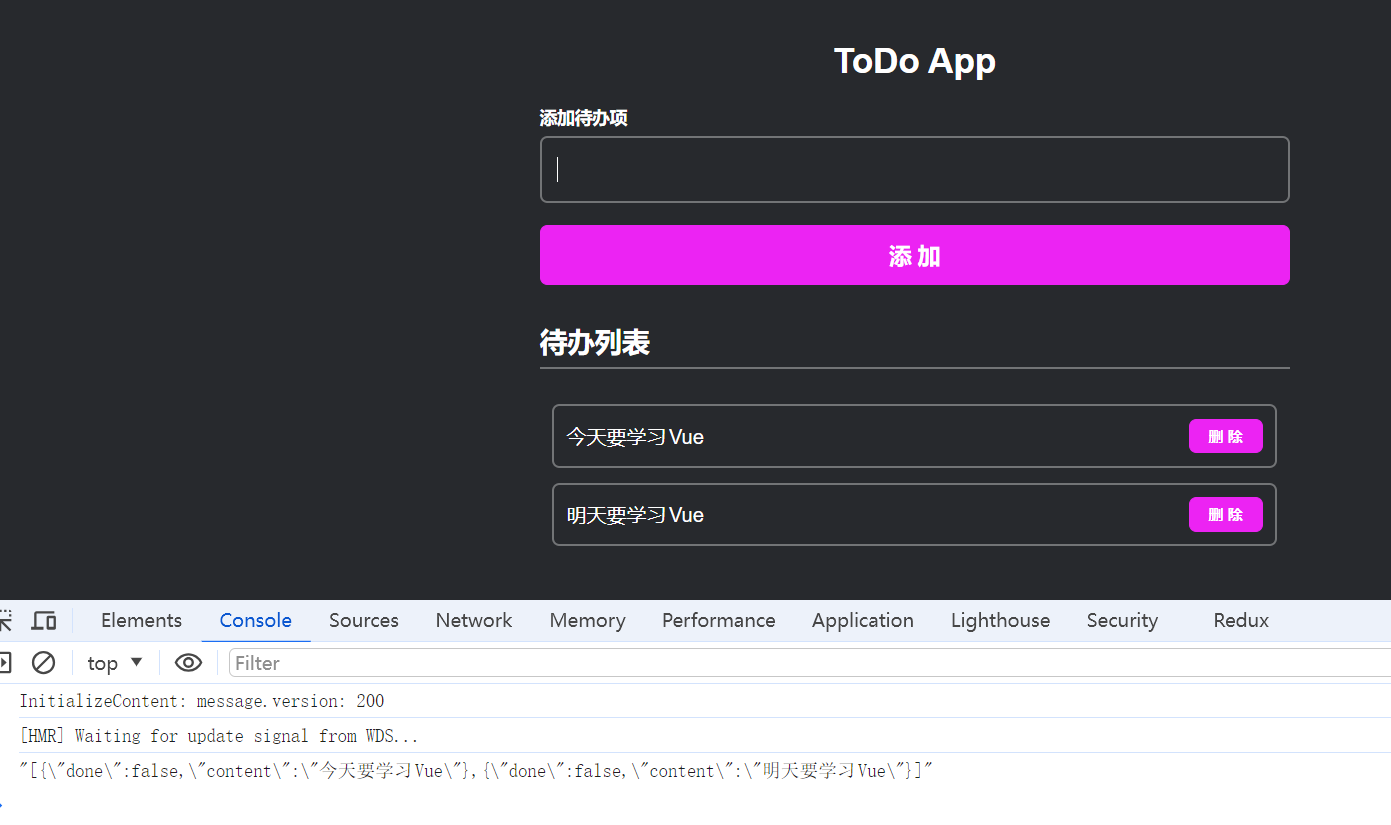
点击文字划横线
点击删除从待办列表移除
<!-- src\App.vue -->
<template><h1>ToDo App</h1><form @submit.prevent="addTodo()"><label for="">添加待办项</label><input type="text" name="newTodo" autocomplete="off" v-model="newTodo" /><button>添 加</button></form><h2>待办列表</h2><ul><li v-for="(todo, index) in todos" :key="index"><span:class="{ done: todo.done }"@click="todo.done = !todo.done">{{ todo.content }}</span><button @click="removeTodo(index)">删 除</button></li></ul>
</template><script>
import { ref } from 'vue';
export default {name: 'App',setup() {const newTodo = ref('');const defaultData = ref([{done: false,content: '今天要学习Vue'}]);const todos = ref(defaultData);function addTodo() {if (newTodo.value) {todos.value.push({done: false,content: newTodo.value})newTodo.value = ''}saveData()console.log(sessionStorage.getItem('todos'))}function removeTodo(index) {todos.value.splice(index, 1)saveData()}function saveData() {const storageData = JSON.stringify(todos.value)sessionStorage.setItem('todos', storageData)}return {newTodo,todos,addTodo,removeTodo}}
}
</script>
<style lang="scss">
$size1: 6px;
$size2: 12px;
$size3: 18px;
$size4: 24px;
$size5: 48px;
$backgroundColor: #27292d;
$primaryColor: #EC23F3;
$secondTextColor: #1f2023;$border: 2px solid rgba($color: white,$alpha: 0.35,);$textColor: white;
$border_r: 2px solid red;
$border_y: 2px solid rgb(241, 229, 50);
$border_g: 2px solid rgb(50, 241, 50);
$border_w: 2px solid white;body {margin: 0;padding: 0;font-family: Avenir, Helvetica, Arial, sans-serif;-webkit-font-smoothing: antialiased;-moz-osx-font-smoothing: grayscale;background-color: $backgroundColor;color: $textColor;#app {max-width: 600px;margin-left: auto;margin-right: auto;padding: 20px;// border: $border_w;h1 {font-weight: bold;font-size: 28px;text-align: center;// border: $border_r;}form {display: flex;flex-direction: column;width: 100%;label {font-size: 14px;font-weight: bold;}input,button {height: $size5;box-shadow: none;outline: none;padding-left: $size2;padding-right: $size2;border-radius: $size1;font-size: 18px;margin-top: $size1;margin-bottom: $size2;transition: all 0.2s ease-in-out;/* 添加过渡效果,使变化平滑 */}input {background-color: transparent;border: $border;color: inherit;}input:hover {border: 2px solid rgb(236, 35, 243);}button {cursor: pointer;background-color: rgb(236, 35, 243);border: 1px solid $primaryColor;font-weight: bold;color: white;border-radius: $size1;}}h2 {// border: $border_g;font-size: 22px;border-bottom: $border;padding-bottom: $size1;}ul {padding: 10px;li {display: flex;justify-content: space-between;align-items: center;border: $border;padding: 10px;border-radius: $size1;margin-bottom: $size2;span {cursor: pointer;}.done {text-decoration: line-through;}button {cursor: pointer;font-size: $size2;background-color: rgb(236, 35, 243);border: 1px solid $primaryColor;font-weight: bold;color: white;padding: 5px 15px;border-radius: $size1;}}}h4 {text-align: center;opacity: 0.5;margin: 0;}}
}
</style>

step-6
目前我们的数据虽然存在本地,但是我们使用的是内存中的数据,应该使用本地的数据
关闭浏览器再打开看到的还是和关闭之前一样的数据
<template><h1>ToDo App</h1><form @submit.prevent="addTodo()"><label>New ToDo </label><inputv-model="newTodo"name="newTodo"autocomplete="off"><button>Add ToDo</button></form><h2>ToDo List</h2><ul><liv-for="(todo, index) in todos":key="index"><span:class="{ done: todo.done }"@click="doneTodo(todo)">{{ todo.content }}</span><button @click="removeTodo(index)">Remove</button></li></ul><h4 v-if="todos.length === 0">Empty list.</h4>
</template><script>import { ref } from 'vue';export default {name: 'App',setup () {const newTodo = ref('');const defaultData = [{done: false,content: 'Write a blog post'}]const todosData = JSON.parse(localStorage.getItem('todos')) || defaultData;const todos = ref(todosData);function addTodo () {if (newTodo.value) {todos.value.push({done: false,content: newTodo.value});newTodo.value = '';}saveData();}function doneTodo (todo) {todo.done = !todo.donesaveData();}function removeTodo (index) {todos.value.splice(index, 1);saveData();}function saveData () {const storageData = JSON.stringify(todos.value);localStorage.setItem('todos', storageData);}return {todos,newTodo,addTodo,doneTodo,removeTodo,saveData}}}
</script><style lang="scss">
$border: 2px solidrgba($color: white,$alpha: 0.35,);
$size1: 6px;
$size2: 12px;
$size3: 18px;
$size4: 24px;
$size5: 48px;
$backgroundColor: #27292d;
$textColor: white;
$primaryColor: #a0a4d9;
$secondTextColor: #1f2023;
body {margin: 0;padding: 0;font-family: Avenir, Helvetica, Arial, sans-serif;-webkit-font-smoothing: antialiased;-moz-osx-font-smoothing: grayscale;background-color: $backgroundColor;color: $textColor;#app {max-width: 600px;margin-left: auto;margin-right: auto;padding: 20px;h1 {font-weight: bold;font-size: 28px;text-align: center;}form {display: flex;flex-direction: column;width: 100%;label {font-size: 14px;font-weight: bold;}input,button {height: $size5;box-shadow: none;outline: none;padding-left: $size2;padding-right: $size2;border-radius: $size1;font-size: 18px;margin-top: $size1;margin-bottom: $size2;}input {background-color: transparent;border: $border;color: inherit;}}button {cursor: pointer;background-color: $primaryColor;border: 1px solid $primaryColor;color: $secondTextColor;font-weight: bold;outline: none;border-radius: $size1;}h2 {font-size: 22px;border-bottom: $border;padding-bottom: $size1;}ul {padding: 10px;li {display: flex;justify-content: space-between;align-items: center;border: $border;padding: $size2 $size4;border-radius: $size1;margin-bottom: $size2;span {cursor: pointer;}.done {text-decoration: line-through;}button {font-size: $size2;padding: $size1;}}}h4 {text-align: center;opacity: 0.5;margin: 0;}}
}
</style>
这篇关于vue3 todolist 简单例子的文章就介绍到这儿,希望我们推荐的文章对编程师们有所帮助!


