本文主要是介绍【EFK日志系统】在kibana操作索引模板、生命周期、管道等,希望对大家解决编程问题提供一定的参考价值,需要的开发者们随着小编来一起学习吧!
kibana界面设置
- 管道
- 生命周期
- 索引模板
- 索引模式
- 注意事项
之前已经搭建好了es集群、es-head信息面板、kibana、filebeat和metricbeat,但是其中的索引模板等信息你在kibana界面暂时看不到
接下来我们设置索引模式、索引模板、生命周期、管道限制等,简单写一写样例,(大家可以根据自己的需求自定义,不过system-*这个索引我建议按照执行就行)使这个日志系统更加的完善
参考上几篇
docker一键部署EFK系统(elasticsearch filebeat kibana metricbeat es-head)
【EFK日志系统】docker一键部署kibana、es-head
【EFK日志系统】docker一键部署filebeat、metricbeat
【EFK日志系统】在kibana操作索引模板、生命周期、管道等
输入172.23.165.185:5601
输入账号密码登录
管道
在kibana界面找到开发工具,输入指令
这个管道是限制输出host.ip中其他多余的字段,这部分可以自定义,通过过滤、限制达到目的
PUT _ingest/pipeline/retain_first_ip_pipeline
{"description": "Retain only the first IP address in host.ip","processors": [{"script": {"lang": "painless","source": """if (ctx.host?.ip != null && ctx.host.ip.length > 0) {ctx.host.ip = [ctx.host.ip[0]];}"""}}]
}

生命周期
一般情况下,我们的日志量不大就没必要设置这个;如果日志量比较大,恰巧自己的磁盘容量不能扩充,那么只能设置生命周期回滚,保证日志总量有上限
我们设置是单日索引1GB,超过1G滚动,所有索引保存周期是30天
为了简单示意,我们只设置保存周期为30天
PUT _ilm/policy/system   #名字随便取,在模板对应好就行
{"policy": {"phases": {"hot": {"min_age": "0ms","actions": {"set_priority": {"priority": 100}}},"delete": {"min_age": "30d",  "actions": {"delete": {}}}}}
}
相应的,起的业务应用生命周期也是这样,这里只不过我们只是对系统日志进行了设置
索引模板
定义索引模板,这样传输的日志信息才能按照你给出的字段显示在kibana
PUT /_index_template/system   # 这个是索引模板的名字
{"index_patterns": ["system-*"],      #这个是索引模板的适用范围,凡是以system开头的索引都应用这个模板"template": {"settings": {"index": {"number_of_shards": 1,"codec": "best_compression","default_pipeline": "retain_first_ip_pipeline",     #这个是刚刚定义的管道(可以去掉哈)"lifecycle": {"name": "system"      #这个是刚刚定义的生命周期,名字对应好}}},"mappings": {"properties": {"@timestamp": {"type": "date"},"system": {"properties": {"process": {"properties": {"memory": {"properties": {"rss": {"properties": {"bytes": {"type": "long"}}}}},"name": {"type": "keyword"},"cpu": {"properties": {"total": {"properties": {"pct": {"type": "float"}}}}}}},"memory": {"properties": {"total": {"type": "long"},"used": {"properties": {"pct": {"type": "float"}}}}},"load": {"properties": {"1": {"type": "float"},"15": {"type": "float"},"5": {"type": "float"},"norm": {"properties": {"1": {"type": "float"},"15": {"type": "float"},"5": {"type": "float"}}}}},"cpu": {"properties": {"total": {"properties": {"pct": {"type": "float"}}},"cores": {"type": "long"}}},"network": {"properties": {"in": {"properties": {"bytes": {"type": "long"}}},"out": {"properties": {"bytes": {"type": "long"}}}}}}},"host": {"properties": {"hostname": {"type": "keyword"},"os": {"properties": {"family": {"type": "keyword"},"version": {"type": "keyword"},"platform": {"type": "keyword"}}},"name": {"type": "keyword"},"id": {"type": "keyword"},"architecture": {"type": "keyword"}}},"metricset": {"properties": {"period": {"type": "long"},"name": {"type": "keyword"}}},"event": {"properties": {"duration": {"type": "long"},"module": {"type": "keyword"},"dataset": {"type": "keyword"}}},"mongodb": {"properties": {"replstatus": {"properties": {"members": {"properties": {"down": {"properties": {"hosts": {"type": "keyword"},"count": {"type": "integer"}}},"recovering": {"properties": {"hosts": {"type": "keyword"}}},"rollback": {"properties": {"hosts": {"type": "keyword"}}},"startup2": {"properties": {"hosts": {"type": "keyword"}}},"unhealthy": {"properties": {"hosts": {"type": "keyword"}}},"unknown": {"properties": {"hosts": {"type": "keyword"}}}}}}}}}}},"aliases": {}}
}
索引模式
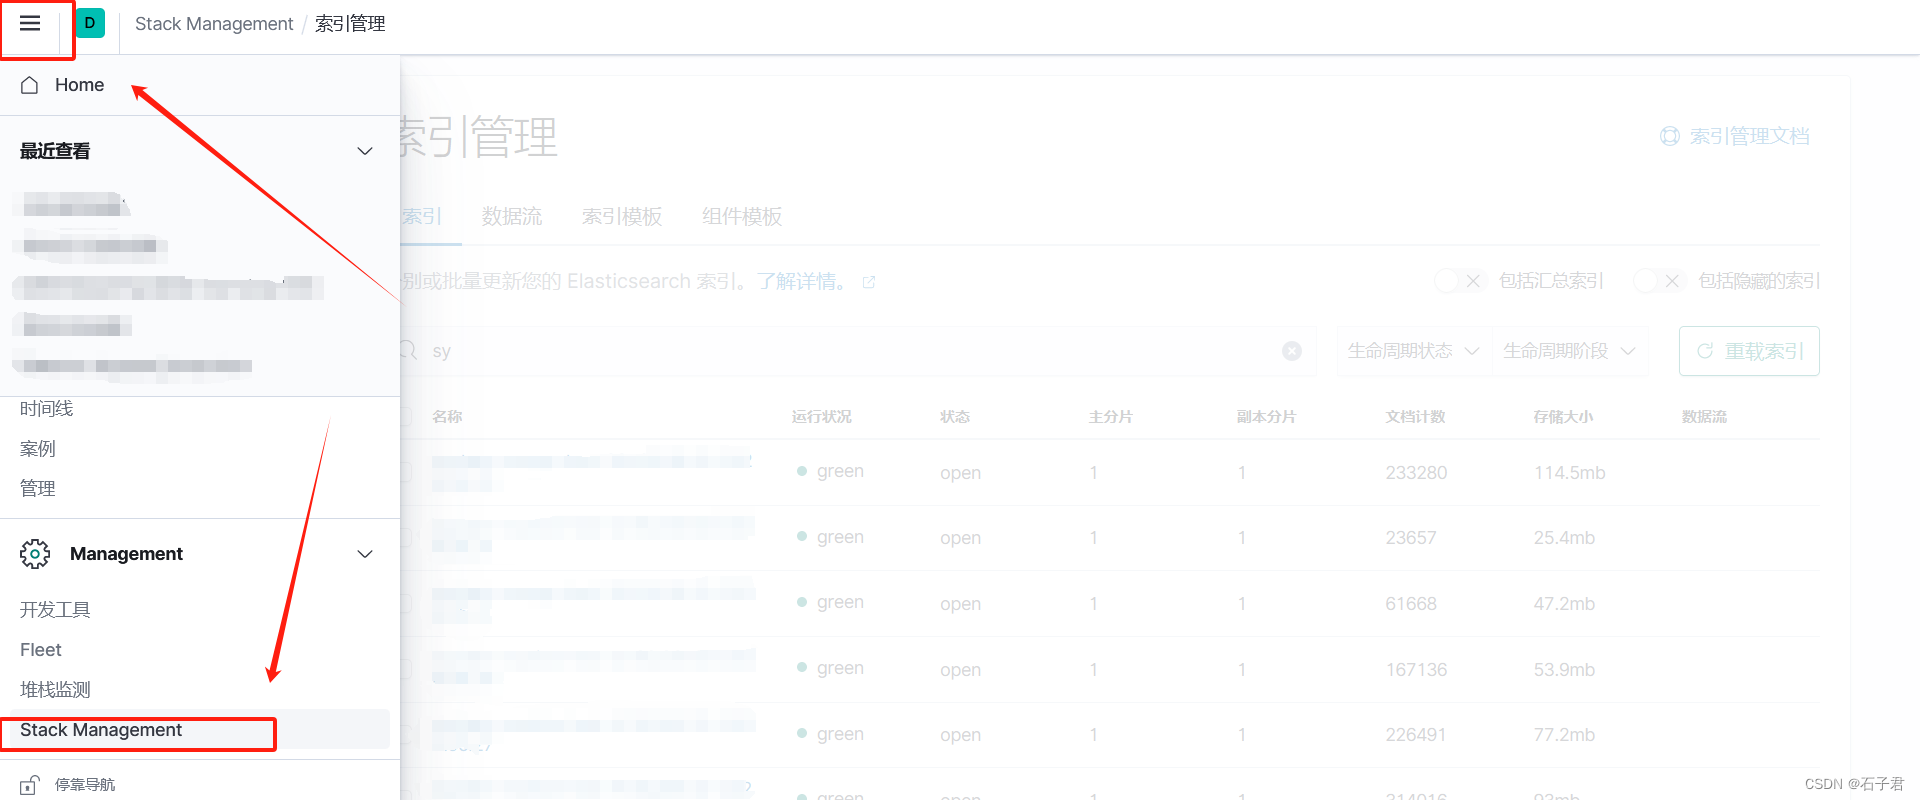
1.在kibana界面找到Stack Management

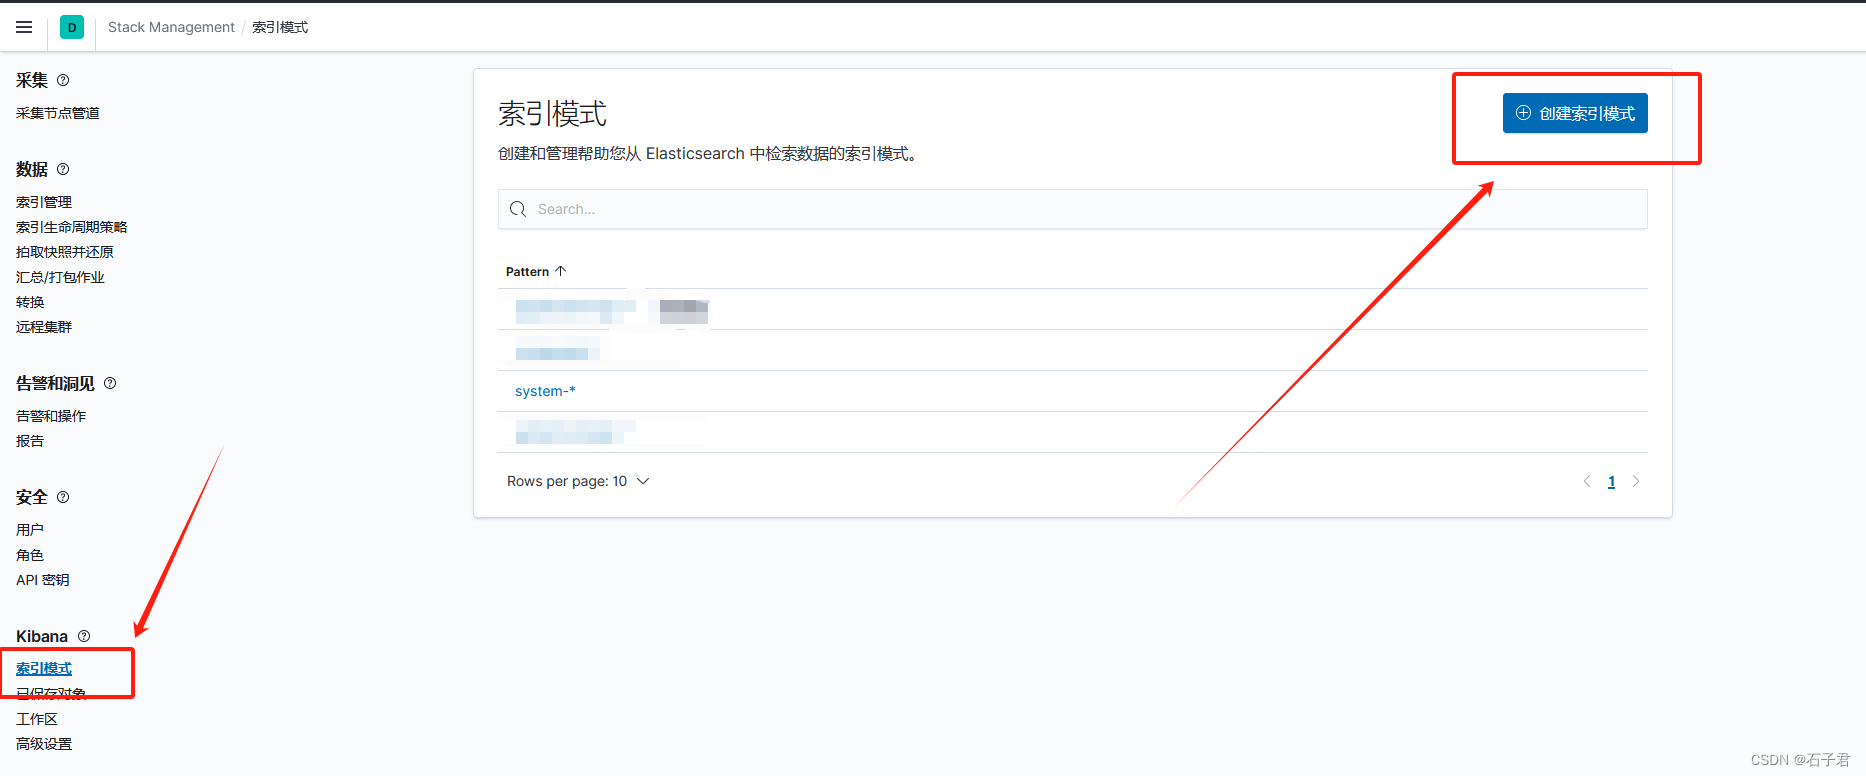
2.在索引模式下创建索引模式

3.在输入框输入system-*
下面应该会出现很多单个索引(表示有符合要求的索引),点击下一步
选择时间戳创建
记得刷新字段
至此就完成了
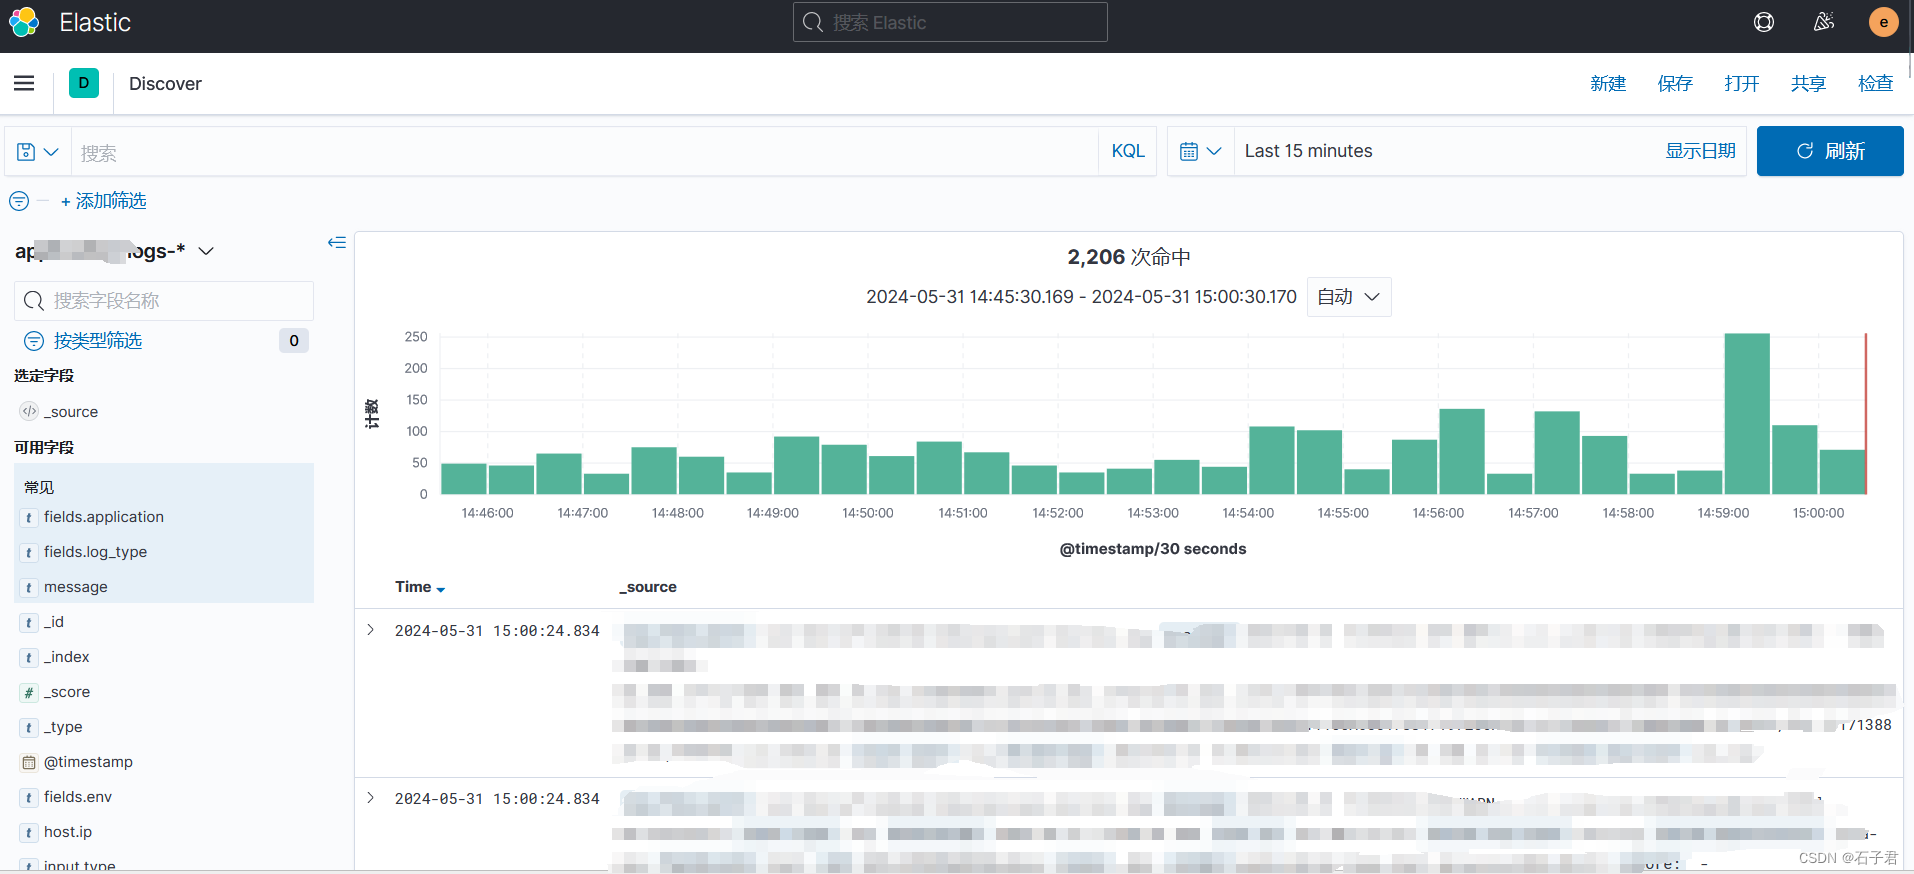
在kibana界面查看日志

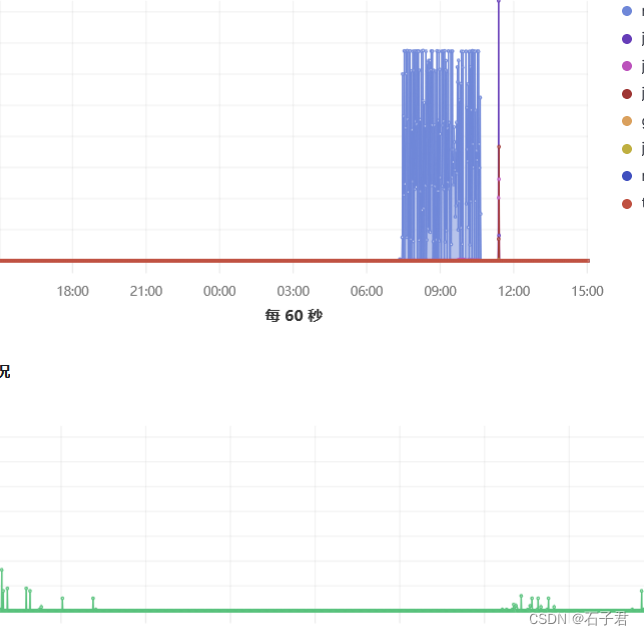
有需求的同学可以设置监控面板

注意事项
简单列一下
1.es集群不健康,说明三个节点不通,首先检查防火墙有没有给你开放这几个端口9100 9200 9300 5601等,再就是检查你的证书,是不是同一个证书文件,如果不是,重新在任意一个节点生成,然后复制到其他的节点config
2.生命周期有没有生效,可以在kibana的索引管理界面查看每个索引是否受管
正常的顺序是,我们首先创建了索引模板,然后es能够检索索引,然后在kibana创建索引模式,我们就可以看到日志信息
如果你发现没有受管,请将现在所有的索引删除,如果信息不能删除,那么请将生命周期重新跑一遍
遇到服务有问题docker logs name_id查看
纯摸索自用,不周望指正,欢迎交流!!
这篇关于【EFK日志系统】在kibana操作索引模板、生命周期、管道等的文章就介绍到这儿,希望我们推荐的文章对编程师们有所帮助!


