本文主要是介绍轻蜗牛直租平台-elasticsearch6.4.3 windows安装,希望对大家解决编程问题提供一定的参考价值,需要的开发者们随着小编来一起学习吧!
一、背景
我正在建设一个租房平台,进行基于租房业务的架构实践。由于租房平台是一个交易撮合型的平台,因此需要有PC端和移动端进行房源信息的动态展示,快速查询当前不同城市不同时间端的房源信息。另一方面我希望模拟出千万级的业务数据,因此希望通过elasticsearch来帮助实现整个房源的站内搜索功能。
二、es版本
关于es的版本其实有很多,不一定需要用最新版本,因此我这里为了适配springboot版本2.1.8选了6.4.3的版本。
因此从网上找了一套安装包,这里可以看一下我本地的安装包:
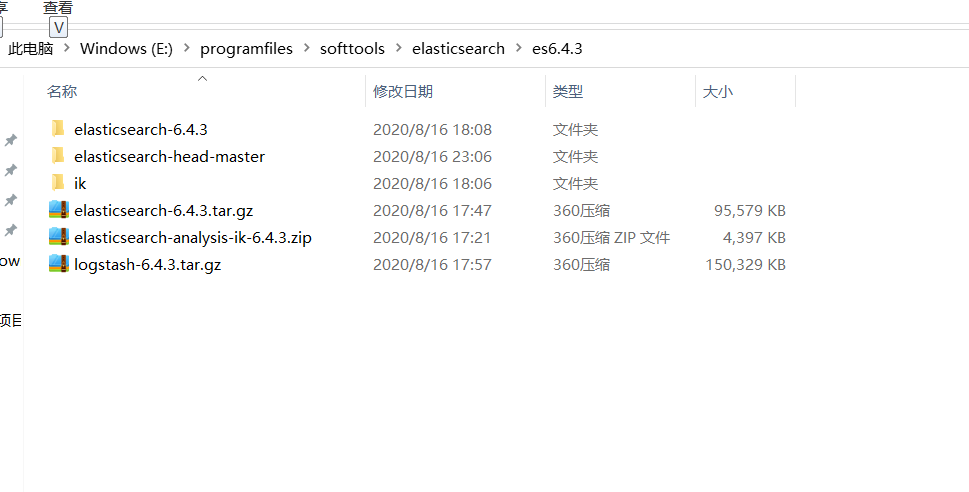
因此如果找版本的话最好找上面的,配套比较齐全的版本,不用单个寻找。
三、windows部署
3.1 配置调整
安装包搞到本地之后,就可以部署了。首先我们需要对elasticsearch进行一些配置,在E:\programfiles\softtools\elasticsearch\es6.4.3\elasticsearch-6.4.3\config目录下找到elasticsearch.yml进行配置调整,内容如下:
# ======================== Elasticsearch Configuration =========================
#
# NOTE: Elasticsearch comes with reasonable defaults for most settings.
#       Before you set out to tweak and tune the configuration, make sure you
#       understand what are you trying to accomplish and the consequences.
#
# The primary way of configuring a node is via this file. This template lists
# the most important settings you may want to configure for a production cluster.
#
# Please consult the documentation for further information on configuration options:
# https://www.elastic.co/guide/en/elasticsearch/reference/index.html
#
# ---------------------------------- Cluster -----------------------------------
#
# Use a descriptive name for your cluster:
#
cluster.name: my-application
#
# ------------------------------------ Node ------------------------------------
#
# Use a descriptive name for the node:
#
#node.name: node-1
#
# Add custom attributes to the node:
#
#node.attr.rack: r1
#
# ----------------------------------- Paths ------------------------------------
#
# Path to directory where to store the data (separate multiple locations by comma):
#
#path.data: /path/to/data
#
# Path to log files:
#
#path.logs: /path/to/logs
#
# ----------------------------------- Memory -----------------------------------
#
# Lock the memory on startup:
#
#bootstrap.memory_lock: true
#
# Make sure that the heap size is set to about half the memory available
# on the system and that the owner of the process is allowed to use this
# limit.
#
# Elasticsearch performs poorly when the system is swapping the memory.
#
# ---------------------------------- Network -----------------------------------
#
# Set the bind address to a specific IP (IPv4 or IPv6):
#
network.host: 0.0.0.0
#
# Set a custom port for HTTP:
#
http.port: 9200
#
# For more information, consult the network module documentation.
#
# --------------------------------- Discovery ----------------------------------
#
# Pass an initial list of hosts to perform discovery when new node is started:
# The default list of hosts is ["127.0.0.1", "[::1]"]
#
#discovery.zen.ping.unicast.hosts: ["host1", "host2"]
#
# Prevent the "split brain" by configuring the majority of nodes (total number of master-eligible nodes / 2 + 1):
#
#discovery.zen.minimum_master_nodes:
#
# For more information, consult the zen discovery module documentation.
#
# ---------------------------------- Gateway -----------------------------------
#
# Block initial recovery after a full cluster restart until N nodes are started:
#
#gateway.recover_after_nodes: 3
#
# For more information, consult the gateway module documentation.
#
# ---------------------------------- Various -----------------------------------
#
# Require explicit names when deleting indices:
#
#action.destructive_requires_name: true
http.cors.enabled: truehttp.cors.allow-origin: "*"node.master: truenode.data: true
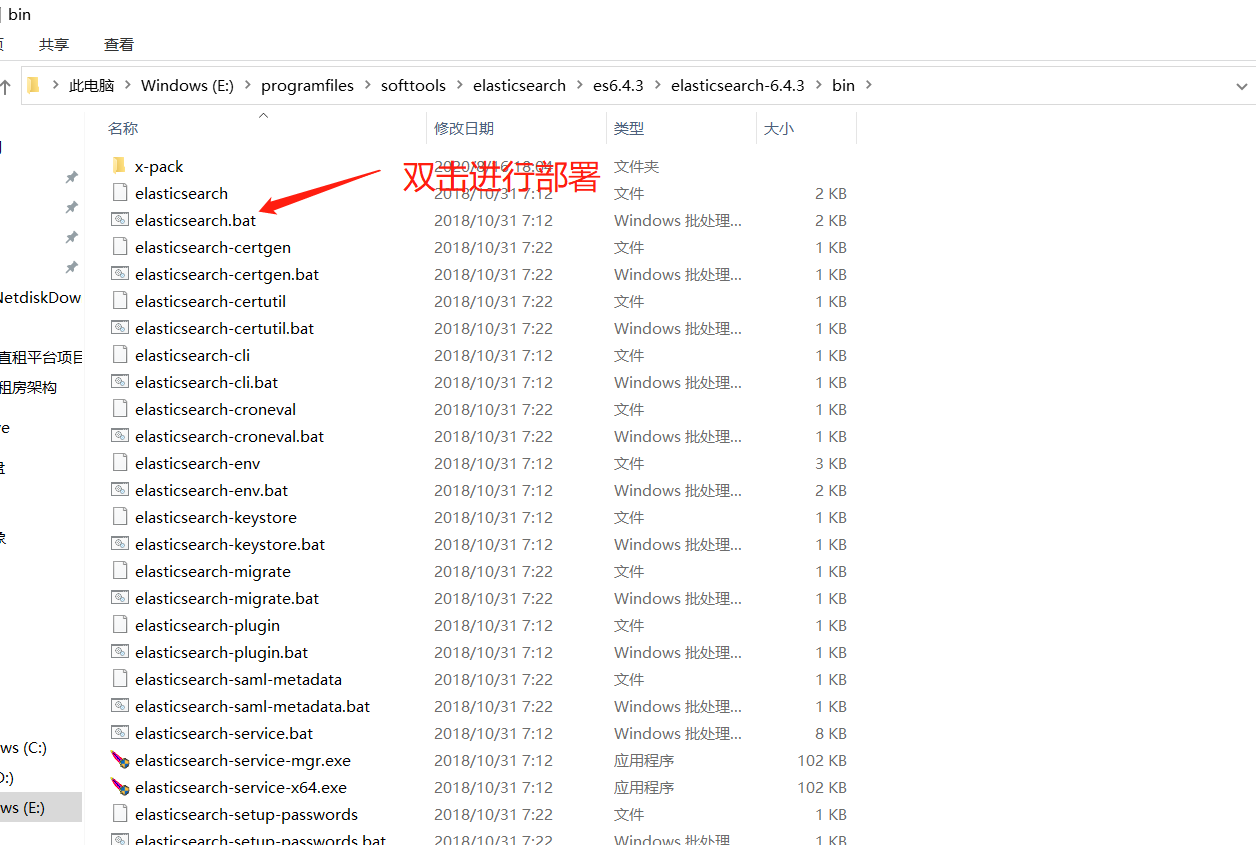
3.2 部署
四、插件安装
这里主要介绍两个插件的安装
4.1 ik分词器安装
将elasticsearch-analysis-ik-6.4.3.zip解压之后重命名为ik,并将ik文件夹整个复制到E:\programfiles\softtools\elasticsearch\es6.4.3\elasticsearch-6.4.3\plugins下,即可完成插件的安装。
重启之后可以看到启动日志中会显示加载了ik分词器
4.2 head插件安装
该插件依赖node.js,因此安装之前请先确保已经安装了node.js,elasticsearch-head下载之后,解压到E:\programfiles\softtools\elasticsearch\es6.4.3\目录下,进入head目录.按如下命令执行
- 打开cmd窗口
- 执行npm install -g grunt-cli
- npm install
- grunt server
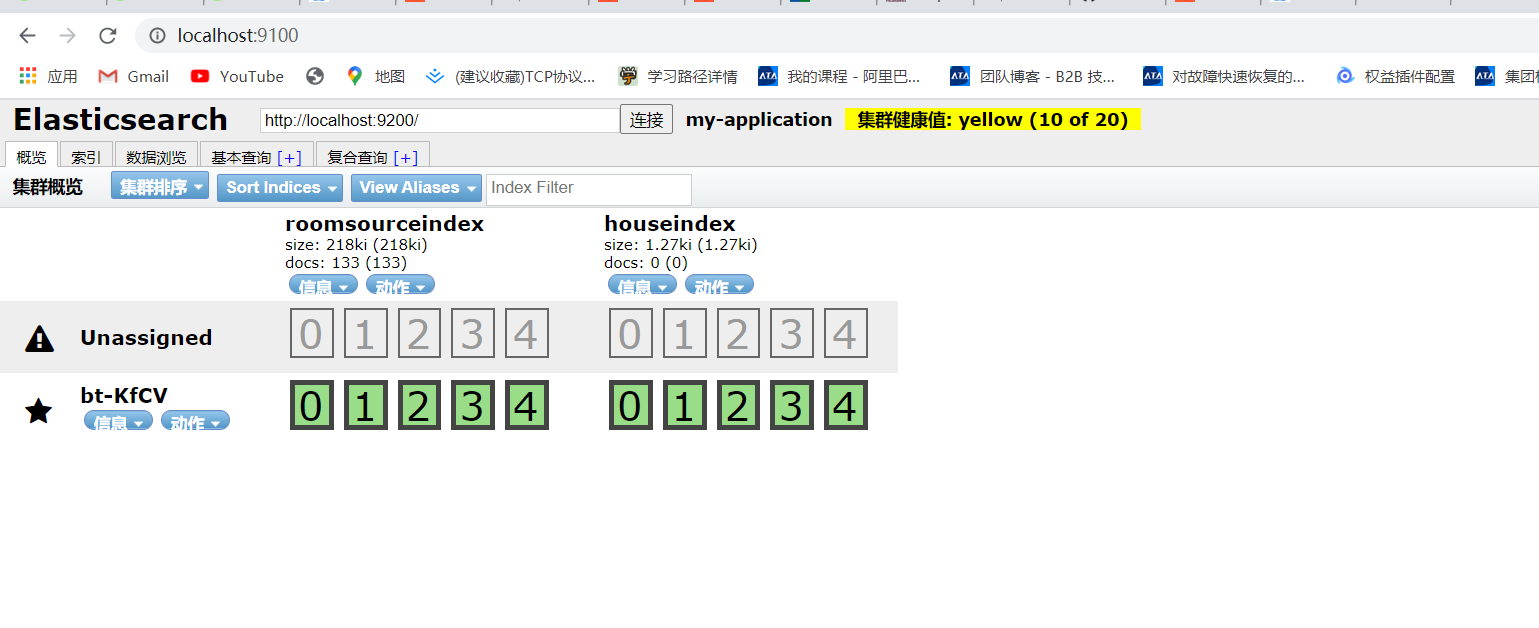
打开浏览器访问http://localhost:9100则可看到如下效果:
五、springboot整合
5.1 pom.xml配置
上述操作完成之后我们看一下如何基于springboot进行整合,首先看一下pom.xml依赖:
<!--默认springboot版本 -->
<parent><groupId>org.springframework.boot</groupId><artifactId>spring-boot-starter-parent</artifactId><version>2.1.8.RELEASE</version><relativePath/> <!-- lookup parent from repository --></parent>
<!--默认springcloud版本 --> <dependencyManagement><dependencies><dependency><groupId>org.springframework.cloud</groupId><artifactId>spring-cloud-dependencies</artifactId><version>Greenwich.SR3</version><type>pom</type><scope>import</scope></dependency><dependency><groupId>org.springframework.boot</groupId><artifactId>spring-boot-dependencies</artifactId><version>2.1.8.RELEASE</version><type>pom</type><scope>import</scope></dependency><dependency><groupId>com.alibaba.cloud</groupId><artifactId>spring-cloud-alibaba-dependencies</artifactId><version>2.1.0.RELEASE</version><type>pom</type><scope>import</scope></dependency></dependencies></dependencyManagement>
<!-- es核心jar包 start --><dependency><groupId>org.elasticsearch</groupId><artifactId>elasticsearch</artifactId></dependency><dependency><groupId>org.springframework.boot</groupId><artifactId>spring-boot-starter-data-elasticsearch</artifactId></dependency><dependency><groupId>org.springframework.data</groupId><artifactId>spring-data-elasticsearch</artifactId></dependency><!-- es核心jar包 end -->5.2 配置连接es
首先看application.yml中的配置:
server:port: 8078
spring:profiles:active: nacos,elasticsearch,rocketmqconsumer
然后新增一个配置文件,名为application-elasticsearch.yml,配置内容是:
spring:data:elasticsearch:cluster-name: my-applicationcluster-nodes: xx.xx.xx,xx:9300repositories:enabled: true配置完成之后启动服务即可看到已经连接到es服务了
这篇关于轻蜗牛直租平台-elasticsearch6.4.3 windows安装的文章就介绍到这儿,希望我们推荐的文章对编程师们有所帮助!


