本文主要是介绍Npm Install Docusaurus Demo【npm 安装 docusaurus 实践 】,希望对大家解决编程问题提供一定的参考价值,需要的开发者们随着小编来一起学习吧!

文章目录
- 1. 简介
- 2. 前提
- 2.1 安装 git
- 2.2 安装 node
- 3. 安装
- 4. 项目结构
- 5. 访问
- 5.1 localhost 访问
- 5.2 ip 访问
1. 简介
Docusaurus 是一个facebook的开源项目,旨在帮助开发者构建易于维护和部署的文档网站。它提供了一个简单的方法来创建专业的文档网站,包括易于导航的页面、响应式设计和内置搜索功能。Docusaurus 非常适合开源项目、产品文档、团队内部文档等各种场景。
Docusaurus 的主要特点包括:
- 易于使用:Docusaurus 提供了简单的命令行工具和预设模板,使得创建和维护文档网站变得轻而易举。
- 响应式设计:文档网站可以自适应不同的设备和屏幕尺寸,确保在桌面、平板和手机上都能提供良好的阅读体验。
- 内置搜索:Docusaurus 集成了强大的搜索功能,使用户可以快速找到所需的文档内容。
- 可定制性:开发者可以根据自己的需求定制主题、布局和样式,以适应特定的品牌或风格。
- 社区支持:Docusaurus 拥有活跃的社区,提供了丰富的文档和教程,帮助用户快速上手并解决问题。
总的来说,Docusaurus 是一个强大而灵活的工具,可以帮助开发者轻松构建漂亮、实用的文档网站,从而更好地展示和传播他们的项目或产品。
2. 前提
2.1 安装 git
1. 安装依赖```bash
yum -y upgrade
sudo yum -y install wget make autoconf automake cmake perl-CPAN libcurl-devel libtool gcc gcc-c++ glibc-headers zlib-devel git-lfs telnet lrzsz jq expat-devel openssl-devel
- 安装 Git
cd /tmp
wget --no-check-certificate https://mirrors.edge.kernel.org/pub/software/scm/git/git-2.45.0.tar.gz
tar -xvzf git-2.45.0.tar.gz
cd git-2.45.0/
./configure
make
sudo make install
按照上面的步骤安装好之后,我们要把 Git 的二进制目录添加到 PATH 路径中,不然 Git 可能会因为找不到一些命令而报错。你可以通过执行以下命令添加目录:
tee -a $HOME/.bashrc <<'EOF'
# Configure for git
export PATH=/usr/local/libexec/git-core:$PATH
EOF
source  $HOME/.bashrc
$ git --version          # 输出 git 版本号,说明安装成功
git version 2.45.0
git config --global user.name "ghostwritten"
git config --global user.email "1zoxun1@gmail.com"
git config --global credential.helper store
git config --global core.longpaths true
git config --global core.quotepath off
git lfs install --skip-repo
2.2 安装 node
- 安装 nvm
curl -o- https://raw.githubusercontent.com/nvm-sh/nvm/v0.39.7/install.sh | bash
export NVM_DIR="$([ -z "${XDG_CONFIG_HOME-}" ] && printf %s "${HOME}/.nvm" || printf %s "${XDG_CONFIG_HOME}/nvm")"
[ -s "$NVM_DIR/nvm.sh" ] && \. "$NVM_DIR/nvm.sh"
- 安装node
nvm install node
查看版本
$ node --version
v22.1.0
3. 安装
使用命令行工具可以帮助你快速简单地安装 Docusaurus 并搭建网站框架。 你可以在空仓库或现有仓库的任何地方运行这个命令,它会创建一个包含模板文件的新目录。
npx create-docusaurus@latest upmdocs classic
Need to install the following packages:
create-docusaurus@3.3.2
Ok to proceed? (y) y✔ Which language do you want to use? › JavaScript
[INFO] Creating new Docusaurus project...
[INFO] Installing dependencies with npm...added 1193 packages, and audited 1194 packages in 53s296 packages are looking for fundingrun `npm fund` for detailsfound 0 vulnerabilities
[SUCCESS] Created upmdocs.
[INFO] Inside that directory, you can run several commands:`npm start`Starts the development server.`npm run build`Bundles your website into static files for production.`npm run serve`Serves the built website locally.`npm run deploy`Publishes the website to GitHub pages.We recommend that you begin by typing:`cd upmdocs``npm start`Happy building awesome websites!
推荐使用 classic 模板来快速上手,同时它也包含 Docusaurus 1 中的功能。 classic 模板内含 @docusaurus/preset-classic 包,后者包含了标准文档、博客、自定义页面及 CSS 框架(支持暗黑模式)。 你可以用经典模板来快速设立网站,在熟悉了 Docusaurus 之后,再逐步对其自定义。
你也可以用 --typescript 选项来使用模板的 TypeScript 变种。 更多详情请查看 Typescript 支持。
npx create-docusaurus@latest my-website classic --typescript
4. 项目结构
假设你选择了经典模板并将网站命名为 my-website,你将会在新目录 my-website/ 下看到下列文件:
my-website
├── blog
│   ├── 2019-05-28-hola.md
│   ├── 2019-05-29-hello-world.md
│   └── 2020-05-30-welcome.md
├── docs
│   ├── doc1.md
│   ├── doc2.md
│   ├── doc3.md
│   └── mdx.md
├── src
│   ├── css
│   │   └── custom.css
│   └── pages
│       ├── styles.module.css
│       └── index.js
├── static
│   └── img
├── docusaurus.config.js
├── package.json
├── README.md
├── sidebars.js
└── yarn.lock
项目结构解读
/blog/- 包含博客的 Markdown 文件。 如果你后续禁用了博客插件,你可以删除这个目录,或者你也可以在设置 path 选项之后修改它的名称。 详情可参考博客指南/docs/- 包含文档的 Markdown 文件。 你可以在 sidebars.js 中自定义文档的侧边栏顺序。 如果你后续禁用了文档插件,你可以删除这个目录,或者你也可以在设置 path 选项之后修改它的名称。 详情可参考文档指南/src/- 如页面或自定义 React 组件一类的非文档文件。 严格来说,你不一定要把非文档类文件放在这里。不过把它们放在一个集中的目录,可以让代码检查或者处理更为简便。/src/pages- 所有放在此目录中的 JSX/TSX/MDX 文件都会被转换成网站页面。 详情可参考页面指南
/static/- 静态目录。 此处的所有内容都会被复制进 build 文件夹/docusaurus.config.js- 站点配置文件。 这等效于 Docusaurus 1 中的 siteConfig.js 文件/package.json- Docusaurus 网站是一个 React 应用。 你可以安装并使用任何 npm 包。/sidebars.js- 由文档使用,用于指定侧边栏中的文档顺序
5. 访问
5.1 localhost 访问
$ npm start> upmdocs@0.0.0 start
> docusaurus start[INFO] Starting the development server...
(node:11880) [DEP0040] DeprecationWarning: The `punycode` module is deprecated. Please use a userland alternative instead.
(Use `node --trace-deprecation ...` to show where the warning was created)
[SUCCESS] Docusaurus website is running at: http://localhost:3000/✔ ClientCompiled successfully in 1.13sclient (webpack 5.91.0) compiled successfully
注意:只能 http://localhost:3000/ 访问,无法 http://ip:3000/访问
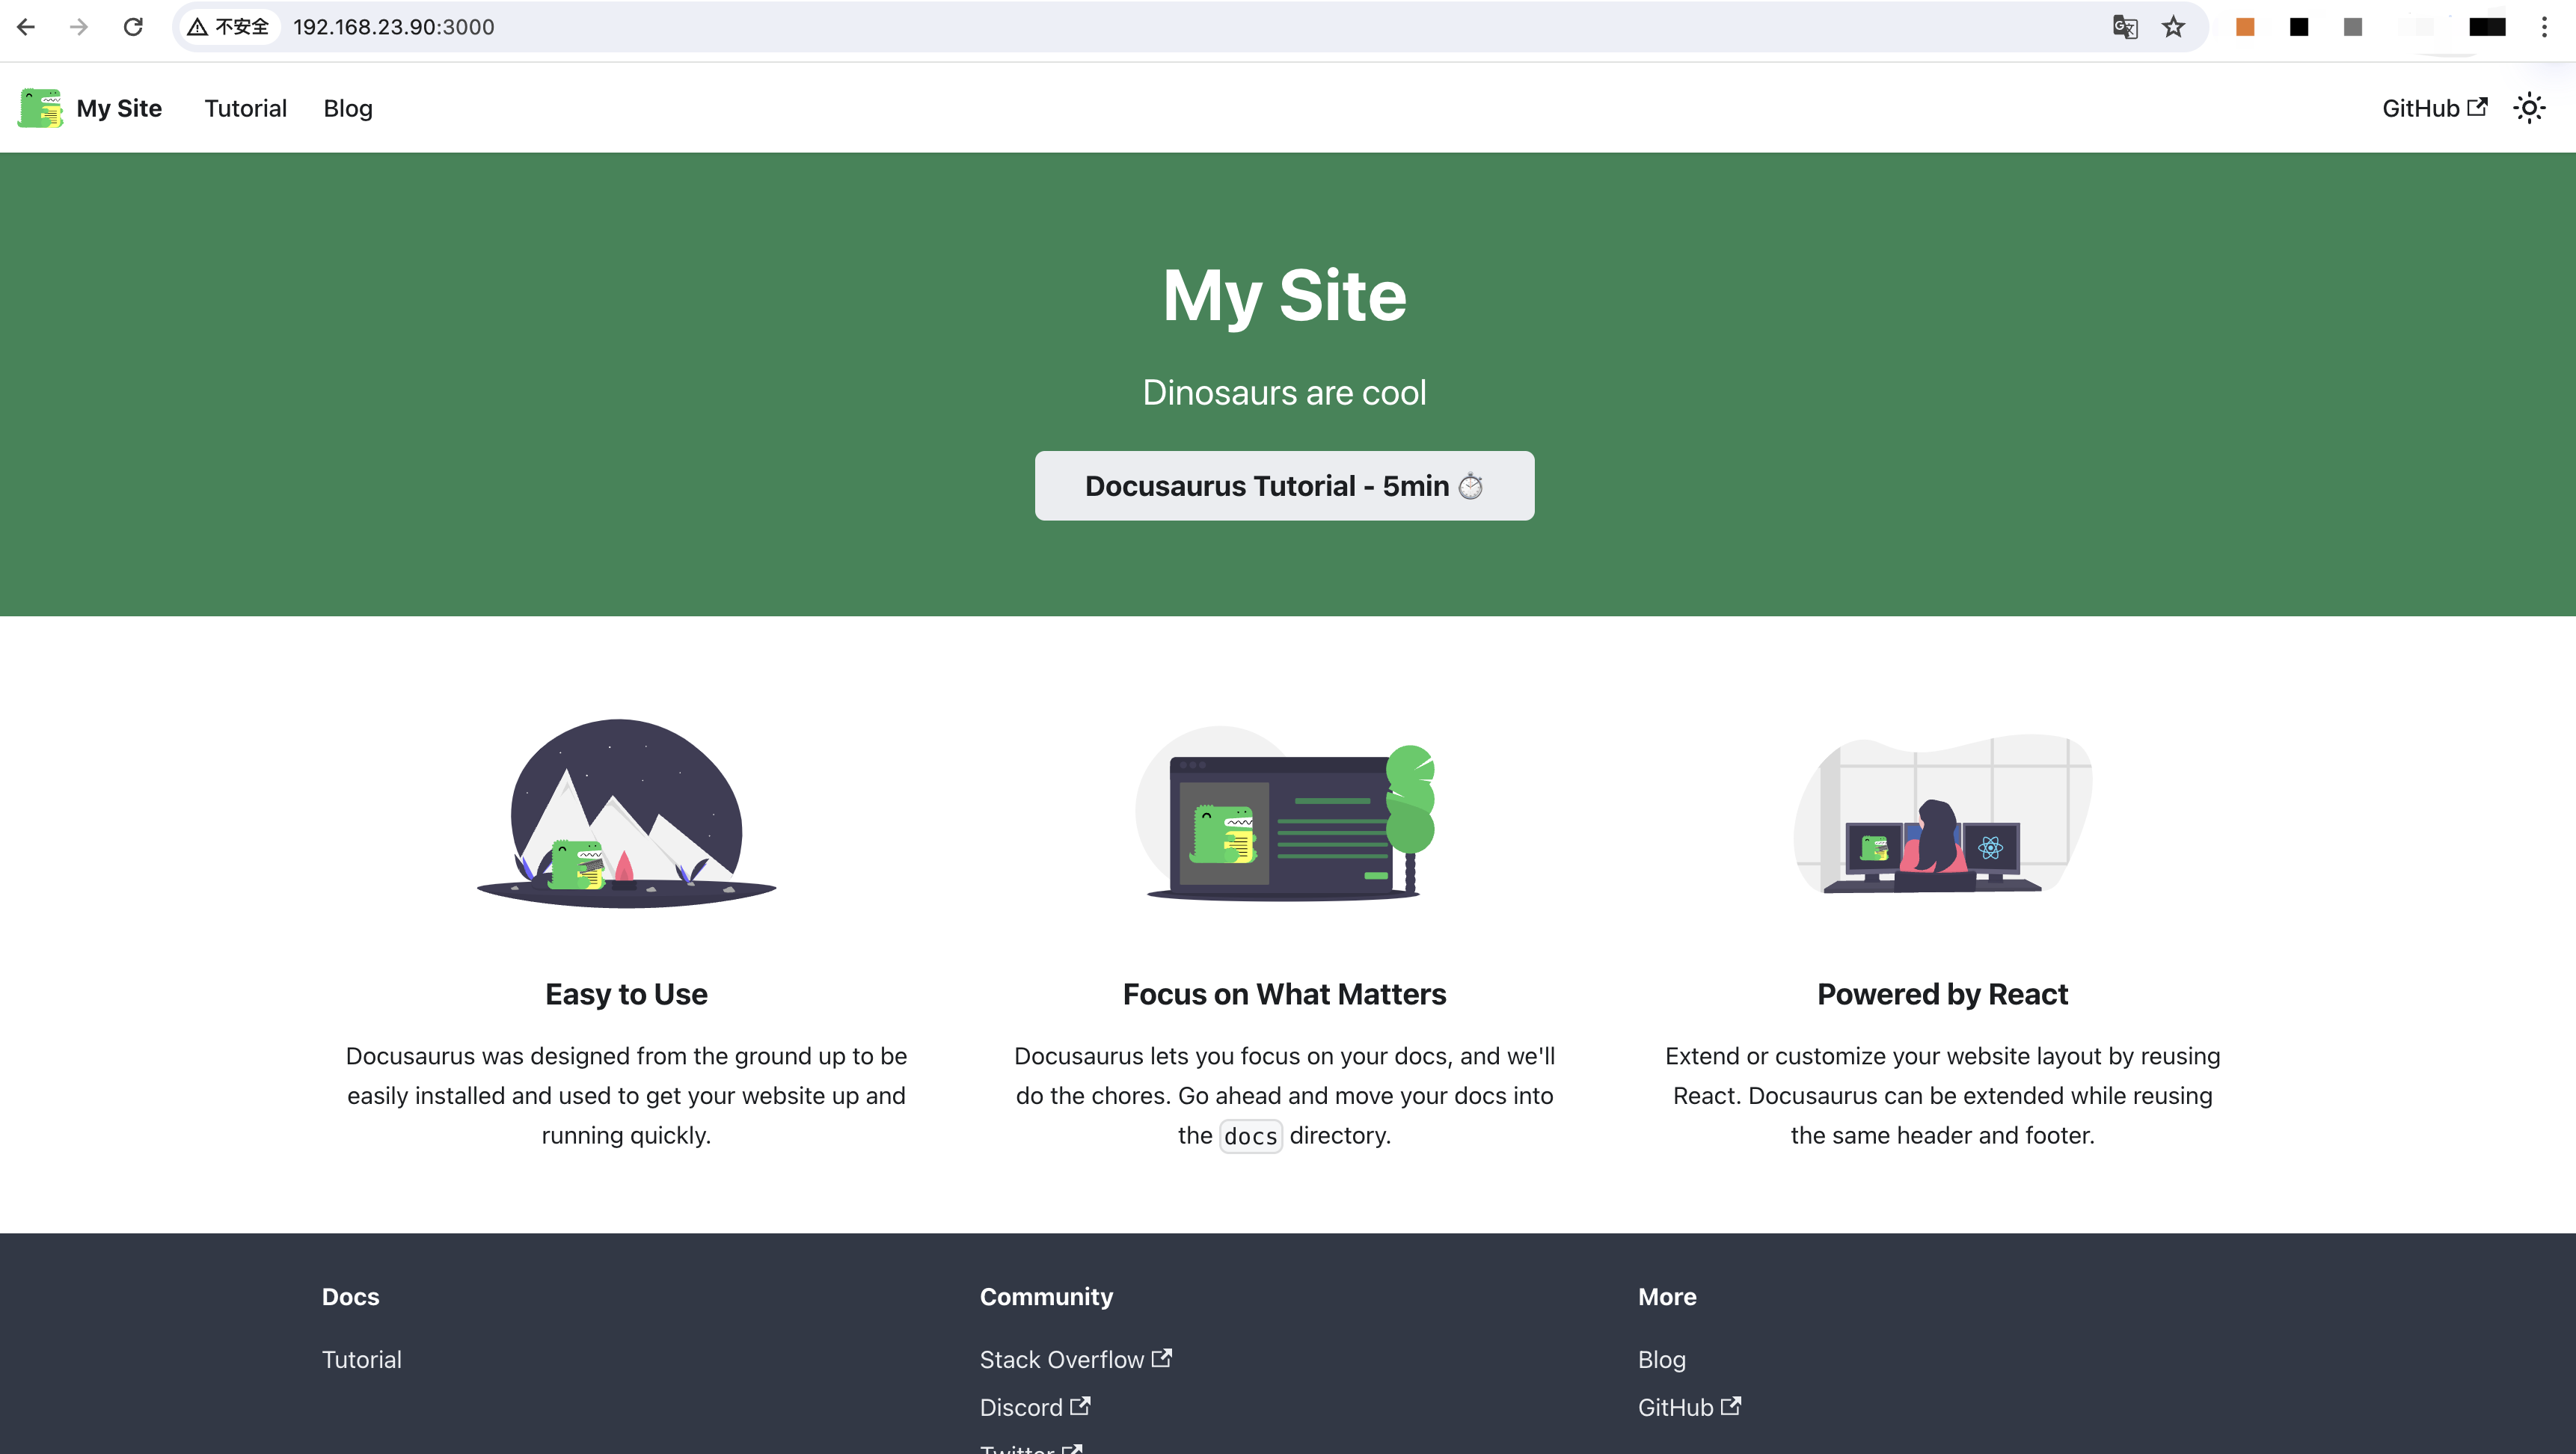
5.2 ip 访问
$ npm run serve -- --build --port 3000 --host 0.0.0.0> upmdocs@0.0.0 serve
> docusaurus serve --build --port 3000 --host 0.0.0.0(node:10452) [DEP0040] DeprecationWarning: The `punycode` module is deprecated. Please use a userland alternative instead.
(Use `node --trace-deprecation ...` to show where the warning was created)
[INFO] [en] Creating an optimized production build...✔ ClientCompiled successfully in 11.36s✔ Server● Client █████████████████████████ cache (99%) shutdown IdleFileCachePluginstored✔ Server[SUCCESS] Generated static files in "build".
[INFO] Use `npm run serve` command to test your build locally.
[SUCCESS] Serving "build" directory at: http://0.0.0.0:3000/
参考:
- https://docusaurus.io/zh-CN/docs/next
- https://docusaurus.io/
这篇关于Npm Install Docusaurus Demo【npm 安装 docusaurus 实践 】的文章就介绍到这儿,希望我们推荐的文章对编程师们有所帮助!


