本文主要是介绍【C++】环境搭建CentOS Clion报错Unsupported git Version 1.8.3.1,希望对大家解决编程问题提供一定的参考价值,需要的开发者们随着小编来一起学习吧!
【C++】环境搭建Clion-Unsupported git Version 1.8.3.1
- Git升级步骤
- 1.卸载旧版本
- 2.安装依赖
- 3.下载git最新版本包
- 4.解压git文件包
- 5.编译文件
- 5.将git加入环境变量
- 6.验证git版本

如上图所示,报错Unsupported git Version 1.8.3.1 At least 2.17.0 is required
报错意思如下:
当前git版本为1.8.3.1最低要求版本为2.17.0
现在我们要做的事就是升级git版本,步骤如下:
1.卸载旧版本
2.安装依赖
3.下载git最新版本包
4.解压git文件包
5.编译文件
5.将git加入环境变量
6.验证git版本
Git升级步骤
1.卸载旧版本
执行如下命令:
sudo yum remove git
演示如下
[root@localhost KingbaseManagerTools]# sudo yum remove git
已加载插件:fastestmirror
正在解决依赖关系
--> 正在检查事务
---> 软件包 git.x86_64.0.1.8.3.1-25.el7_9 将被 删除
--> 正在处理依赖关系 git = 1.8.3.1-25.el7_9,它被软件包 perl-Git-1.8.3.1-25.el7_9.noarch 需要
--> 正在检查事务
---> 软件包 perl-Git.noarch.0.1.8.3.1-25.el7_9 将被 删除
--> 解决依赖关系完成依赖关系解决=====================================================================================================================================================================================================Package                                       架构                                        版本                                                  源                                             大小
=====================================================================================================================================================================================================
正在删除:git                                           x86_64                                      1.8.3.1-25.el7_9                                      @updates                                       22 M
为依赖而移除:perl-Git                                      noarch                                      1.8.3.1-25.el7_9                                      @updates                                       57 k事务概要
=====================================================================================================================================================================================================
移除  1 软件包 (+1 依赖软件包)安装大小:22 M
是否继续?[y/N]:y
Downloading packages:
Running transaction check
Running transaction test
Transaction test succeeded
Running transaction正在删除    : perl-Git-1.8.3.1-25.el7_9.noarch                                                                                                                                                 1/2 正在删除    : git-1.8.3.1-25.el7_9.x86_64                                                                                                                                                      2/2 验证中      : git-1.8.3.1-25.el7_9.x86_64                                                                                                                                                      1/2 验证中      : perl-Git-1.8.3.1-25.el7_9.noarch                                                                                                                                                 2/2 删除:git.x86_64 0:1.8.3.1-25.el7_9                                                                                                                                                                      作为依赖被删除:perl-Git.noarch 0:1.8.3.1-25.el7_9                                                                                                                                                                 完毕!
2.安装依赖
执行如下命令:
sudo yum install curl-devel expat-devel gettext-devel openssl-devel zlib-devel
演示如下:
[root@localhost KingbaseManagerTools]# sudo yum install curl-devel expat-devel gettext-devel openssl-devel zlib-devel
已加载插件:fastestmirror
Loading mirror speeds from cached hostfile* base: mirrors.ustc.edu.cn* extras: mirrors.ustc.edu.cn* updates: mirrors.ustc.edu.cn
正在解决依赖关系
--> 正在检查事务
---> 软件包 expat-devel.x86_64.0.2.1.0-15.el7_9 将被 安装
--> 正在处理依赖关系 expat = 2.1.0-15.el7_9,它被软件包 expat-devel-2.1.0-15.el7_9.x86_64 需要
---> 软件包 gettext-devel.x86_64.0.0.19.8.1-3.el7 将被 安装
--> 正在处理依赖关系 gettext-common-devel = 0.19.8.1-3.el7,它被软件包 gettext-devel-0.19.8.1-3.el7.x86_64 需要
--> 正在处理依赖关系 git,它被软件包 gettext-devel-0.19.8.1-3.el7.x86_64 需要
....验证中      : krb5-libs-1.15.1-50.el7.x86_64                                                                                                                                                 30/30 已安装:expat-devel.x86_64 0:2.1.0-15.el7_9  gettext-devel.x86_64 0:0.19.8.1-3.el7  libcurl-devel.x86_64 0:7.29.0-59.el7_9.2  openssl-devel.x86_64 1:1.0.2k-26.el7_9  zlib-devel.x86_64 0:1.2.7-21.el7_9 作为依赖被安装:gettext-common-devel.noarch 0:0.19.8.1-3.el7           git.x86_64 0:1.8.3.1-25.el7_9               keyutils-libs-devel.x86_64 0:1.5.8-3.el7           krb5-devel.x86_64 0:1.15.1-55.el7_9          libcom_err-devel.x86_64 0:1.42.9-19.el7                libkadm5.x86_64 0:1.15.1-55.el7_9           libselinux-devel.x86_64 0:2.5-15.el7               libsepol-devel.x86_64 0:2.5-10.el7           libverto-devel.x86_64 0:0.2.5-4.el7                    pcre-devel.x86_64 0:8.32-17.el7             perl-Git.noarch 0:1.8.3.1-25.el7_9                作为依赖被升级:curl.x86_64 0:7.29.0-59.el7_9.2            expat.x86_64 0:2.1.0-15.el7_9      krb5-libs.x86_64 0:1.15.1-55.el7_9      libcurl.x86_64 0:7.29.0-59.el7_9.2      openssl.x86_64 1:1.0.2k-26.el7_9     openssl-libs.x86_64 1:1.0.2k-26.el7_9      zlib.x86_64 0:1.2.7-21.el7_9      完毕!
3.下载git最新版本包
查看git官网查看最新版本:(附GIT官网地址如下)
git官方网站
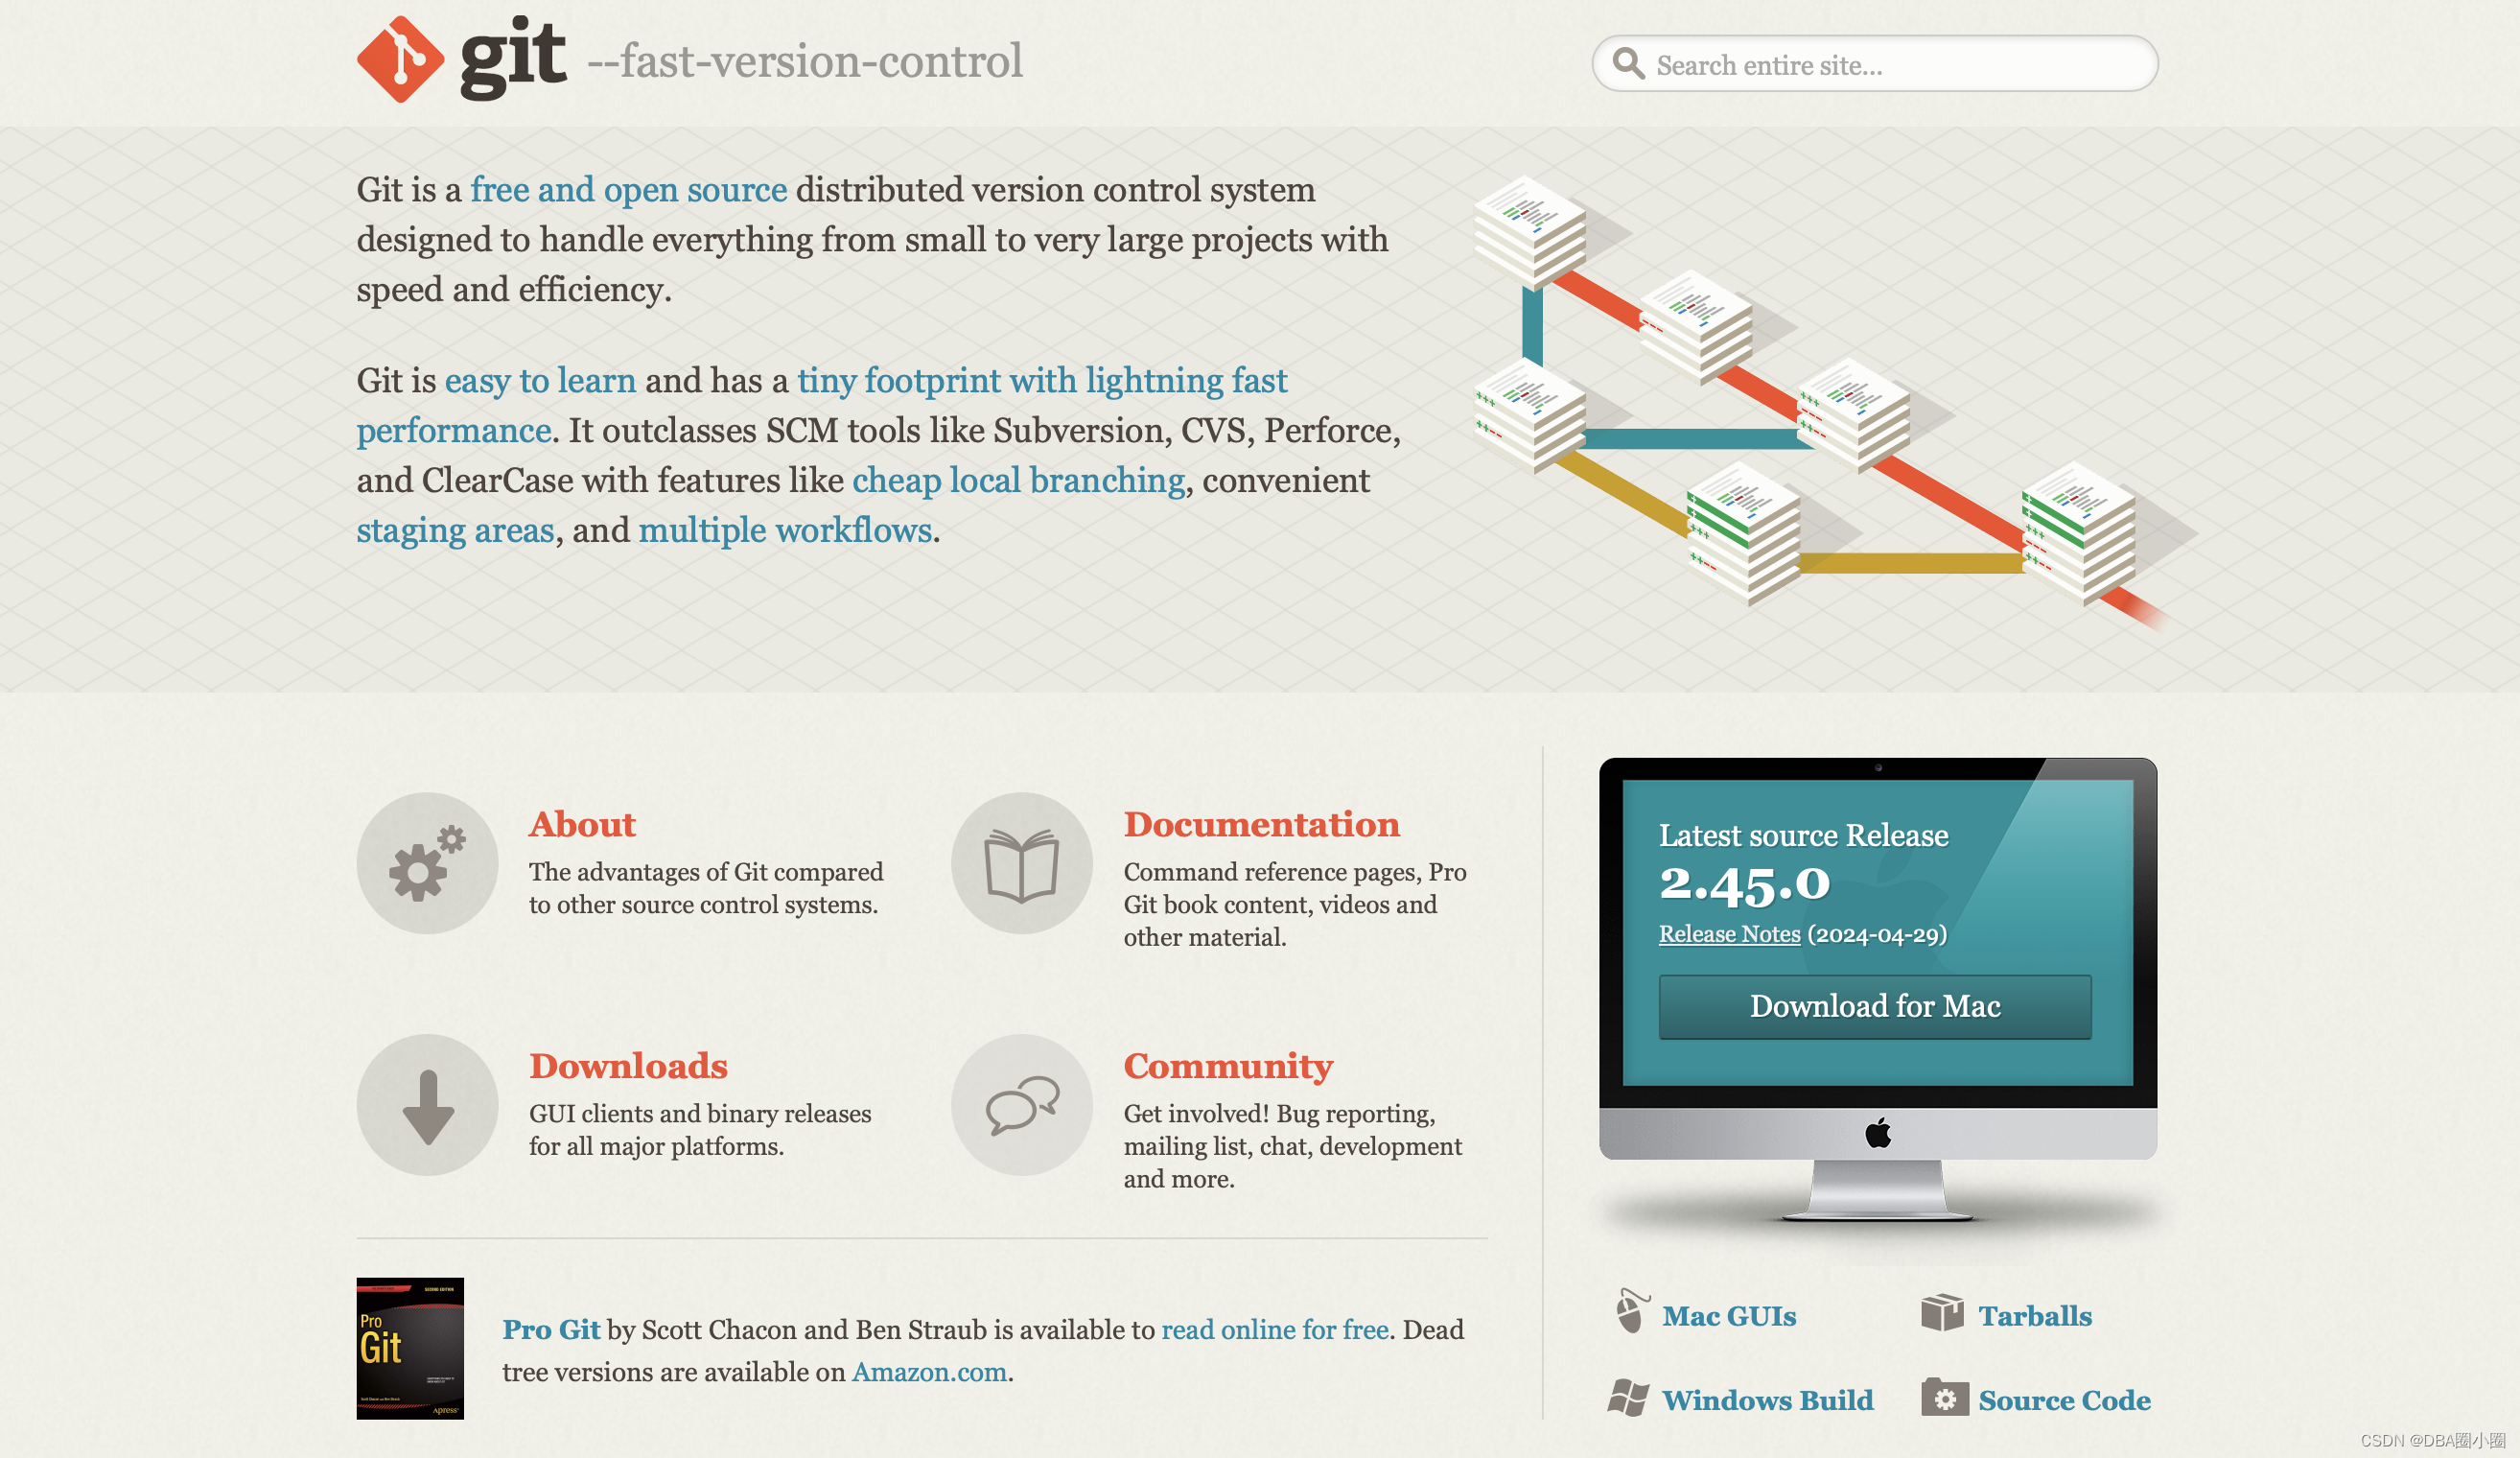
这里看到最新版本为2.45.0
下载到/usr/src 目录下
[root@localhost KingbaseManagerTools]# cd /usr/src
[root@localhost src]# wget https://www.kernel.org/pub/software/scm/git/git-2.45.0.tar.gz
bash: wget: 未找到命令
如上所示:报错了我们缺少了wget下载组建
解决方法如下:
yum install -y wget
演示如下:
[root@localhost src]# yum install -y wget
已加载插件:fastestmirror
Loading mirror speeds from cached hostfile* base: mirrors.ustc.edu.cn* extras: mirrors.ustc.edu.cn* updates: mirrors.ustc.edu.cn
正在解决依赖关系
--> 正在检查事务
---> 软件包 wget.x86_64.0.1.14-18.el7_6.1 将被 安装
--> 解决依赖关系完成依赖关系解决=====================================================================================================================================================================================================Package                                     架构                                          版本                                                    源                                           大小
=====================================================================================================================================================================================================
正在安装:wget                                        x86_64                                        1.14-18.el7_6.1                                         base                                        547 k事务概要
=====================================================================================================================================================================================================
安装  1 软件包总下载量:547 k
安装大小:2.0 M
Downloading packages:
wget-1.14-18.el7_6.1.x86_64.rpm                                                                                                                                               | 547 kB  00:00:00
Running transaction check
Running transaction test
Transaction test succeeded
Running transaction正在安装    : wget-1.14-18.el7_6.1.x86_64                                                                                                                                                      1/1 验证中      : wget-1.14-18.el7_6.1.x86_64                                                                                                                                                      1/1 已安装:wget.x86_64 0:1.14-18.el7_6.1                                                                                                                                                                      完毕!
安装完成,接下来我们继续下载git
执行命令
wget https://www.kernel.org/pub/software/scm/git/git-2.45.0.tar.gz
示例如下:
[root@localhost src]# wget https://www.kernel.org/pub/software/scm/git/git-2.45.0.tar.gz
--2024-05-09 00:56:02--  https://www.kernel.org/pub/software/scm/git/git-2.45.0.tar.gz
正在解析主机 www.kernel.org (www.kernel.org)... 145.40.73.55, 2604:1380:40e1:4800::1
正在连接 www.kernel.org (www.kernel.org)|145.40.73.55|:443... 已连接。
已发出 HTTP 请求,正在等待回应... 301 Moved Permanently
位置:https://mirrors.edge.kernel.org/pub/software/scm/git/git-2.45.0.tar.gz [跟随至新的 URL]
--2024-05-09 00:56:05--  https://mirrors.edge.kernel.org/pub/software/scm/git/git-2.45.0.tar.gz
正在解析主机 mirrors.edge.kernel.org (mirrors.edge.kernel.org)... 147.75.48.161, 2604:1380:40f1:3f00::1
正在连接 mirrors.edge.kernel.org (mirrors.edge.kernel.org)|147.75.48.161|:443... 已连接。
已发出 HTTP 请求,正在等待回应... 200 OK
长度:11106279 (11M) [application/x-gzip]
正在保存至: “git-2.45.0.tar.gz”100%[===========================================================================================================================================================>] 11,106,279   839KB/s 用时 7.6s   2024-05-09 00:56:15 (1.39 MB/s) - 已保存 “git-2.45.0.tar.gz” [11106279/11106279])
查看下载的文件是否存在
[root@localhost src]# ls -l
总用量 10848
drwxr-xr-x. 2 root root        6 4月  11 2018 debug
-rw-r--r--. 1 root root 11106279 4月  30 00:54 git-2.45.0.tar.gz
drwxr-xr-x. 2 root root        6 4月  11 2018 kernels
[root@localhost src]#
这里我们已经看到下载了一个名为git-2.45.0.tar.gz的文件
4.解压git文件包
sudo tar xzf git-2.45.0.tar.gz
示例如下:
[root@localhost src]# sudo tar xzf git-2.45.0.tar.gz
[root@localhost src]# ls -l
总用量 10880
drwxr-xr-x.  2 root root        6 4月  11 2018 debug
drwxrwxr-x. 28 root root    16384 4月  30 00:19 git-2.45.0
-rw-r--r--.  1 root root 11106279 4月  30 00:54 git-2.45.0.tar.gz
drwxr-xr-x.  2 root root        6 4月  11 2018 kernels
[root@localhost src]#
5.编译文件
执行如下命令:
cd git-2.45.0
sudo make prefix=/usr/local all
sudo make prefix=/usr/local install
遇到报错如下:
[root@localhost src]# cd git-2.45.0
[root@localhost git-2.45.0]# sudo make prefix=/usr/local all
GIT_VERSION = 2.45.0* new build flagsGEN command-list.hGEN config-list.hGEN hook-list.hCC oss-fuzz/dummy-cmd-main.o
/bin/sh: cc: 未找到命令
原因是缺少了GCC编译文件,可以通过如下命令安装
sudo yum install gcc
安装完成后再次执行编译
sudo make prefix=/usr/local all
sudo make prefix=/usr/local install
到这里可以正常编译完成了
          cp "$bindir/git" "$bindir/$p" || exit; }; \
done && \
for p in  git-add git-am git-annotate git-apply git-archive git-bisect git-blame git-branch git-bugreport git-bundle git-cat-file git-check-attr git-check-ignore git-check-mailmap git-check-ref-format git-checkout--worker git-checkout-index git-checkout git-clean git-clone git-column git-commit-graph git-commit-tree git-commit git-config git-count-objects git-credential-cache--daemon git-credential-cache git-credential-store git-credential git-describe git-diagnose git-diff-files git-diff-index git-diff-tree git-diff git-difftool git-fast-export git-fast-import git-fetch-pack git-fetch git-fmt-merge-msg git-for-each-ref git-for-each-repo git-fsck git-fsmonitor--daemon git-gc git-get-tar-commit-id git-grep git-hash-object git-help git-hook git-index-pack git-init-db git-interpret-trailers git-log git-ls-files git-ls-remote git-ls-tree git-mailinfo git-mailsplit git-merge-base git-merge-file git-merge-index git-merge-ours git-merge-recursive git-merge-tree git-merge git-mktag git-mktree git-multi-pack-index git-mv git-name-rev git-notes git-pack-objects git-pack-redundant git-pack-refs git-patch-id git-prune-packed git-prune git-pull git-push git-range-diff git-read-tree git-rebase git-receive-pack git-reflog git-remote-ext git-remote-fd git-remote git-repack git-replace git-replay git-rerere git-reset git-rev-list git-rev-parse git-revert git-rm git-send-pack git-shortlog git-show-branch git-show-index git-show-ref git-sparse-checkout git-stash git-stripspace git-submodule--helper git-symbolic-ref git-tag git-unpack-file git-unpack-objects git-update-index git-update-ref git-update-server-info git-upload-archive git-upload-pack git-var git-verify-commit git-verify-pack git-verify-tag git-worktree git-write-tree git-cherry git-cherry-pick git-format-patch git-fsck-objects git-init git-maintenance git-merge-subtree git-restore git-show git-stage git-status git-switch git-version git-whatchanged; do \rm -f "$execdir/$p" && \if test -z ""; \then \test -n "" && \ln -s "$destdir_from_execdir_SQ/bin/git" "$execdir/$p" || \{ test -z "" && \ln "$execdir/git" "$execdir/$p" 2>/dev/null || \ln -s "git" "$execdir/$p" 2>/dev/null || \cp "$execdir/git" "$execdir/$p" || exit; }; \fi \
done && \
remote_curl_aliases="git-remote-https git-remote-ftp git-remote-ftps" && \
for p in $remote_curl_aliases; do \rm -f "$execdir/$p" && \test -n "" && \ln -s "git-remote-http" "$execdir/$p" || \{ test -z "" && \ln "$execdir/git-remote-http" "$execdir/$p" 2>/dev/null || \ln -s "git-remote-http" "$execdir/$p" 2>/dev/null || \cp "$execdir/git-remote-http" "$execdir/$p" || exit; } \
done
[root@localhost git-2.45.0]#
5.将git加入环境变量
echo 'export PATH=$PATH:/usr/local/bin' >> ~/.bashrc
source ~/.bashrc
6.验证git版本
git --version
示例如下:
[root@localhost git-2.45.0]# echo 'export PATH=$PATH:/usr/local/bin' >> ~/.bashrc
[root@localhost git-2.45.0]# source ~/.bashrc
[root@localhost git-2.45.0]# git --version
git version 2.45.0
到这里git就升级完成了
这篇关于【C++】环境搭建CentOS Clion报错Unsupported git Version 1.8.3.1的文章就介绍到这儿,希望我们推荐的文章对编程师们有所帮助!


