本文主要是介绍Ansible-Tower安装破解,希望对大家解决编程问题提供一定的参考价值,需要的开发者们随着小编来一起学习吧!
| 主机 | IP地址 | 版本 |
|---|---|---|
| Ansible | 192.168.169.204 | 2.9.1 |
| Tower | 192.168.169.204 | 3.6.2 |
基础环境
systemctl disable firewalld --now && setenforce 0
sed -i 's/SELINUX=enforcing/SELINUX=disabled/g' /etc/selinux/config
mv /etc/yum.repos.d/CentOS-* /tmp/
curl -o /etc/yum.repos.d/centos.repo http://mirrors.aliyun.com/repo/Centos-7.repo
curl -o /etc/yum.repos.d/epel.repo http://mirrors.aliyun.com/repo/epel-7.repo
yum install -y vim net-tools wget unzip
下载安装包
[root@ansible ~]# wget https://releases.ansible.com/ansible-tower/setup-bundle/ansible-tower-setup-bundle-3.6.2-1.el7.tar.gz --no-check-certificate[root@ansible ~]# tar xf ansible-tower-setup-bundle-3.6.2-1.el7.tar.gz[root@ansible ~]# cd ansible-tower-setup-bundle-3.6.2-1[root@ansible ansible-tower-setup-bundle-3.6.2-1]# cat inventory
[tower]
localhost ansible_connection=local[database][all:vars]
admin_password='tower' 		### tower登录密码pg_host=''
pg_port=''pg_database='awx'
pg_username='awx'
pg_password='tower'	 ### 密码
pg_sslmode='prefer'  # set to 'verify-full' for client-side enforced SSLrabbitmq_username=tower
rabbitmq_password='tower'	### rabbitmq密码
rabbitmq_cookie=cookiemonster# Isolated Tower nodes automatically generate an RSA key for authentication;
# To disable this behavior, set this value to false
# isolated_key_generation=true# SSL-related variables# If set, this will install a custom CA certificate to the system trust store.
# custom_ca_cert=/path/to/ca.crt# Certificate and key to install in nginx for the web UI and API
# web_server_ssl_cert=/path/to/tower.cert
# web_server_ssl_key=/path/to/tower.key# Use SSL for RabbitMQ inter-node communication.  Because RabbitMQ never
# communicates outside the cluster, a private CA and certificates will be
# created, and do not need to be supplied.
# rabbitmq_use_ssl=False# Server-side SSL settings for PostgreSQL (when we are installing it).
# postgres_use_ssl=False
# postgres_ssl_cert=/path/to/pgsql.crt
# postgres_ssl_key=/path/to/pgsql.key
开始安装
[root@ansible ansible-tower-setup-bundle-3.6.2-1]# ./setup.sh### 安装报错 需要安装 rsync
TASK [repos_el : Copy bundle packages to repo source directory] ***********************************************************************************************************
fatal: [localhost]: FAILED! => {"changed": false, "msg": "Failed to find required executable rsync in paths: /usr/local/sbin:/usr/local/bin:/usr/sbin:/usr/bin:/root/bin:/sbin"}[root@ansible ansible-tower-setup-bundle-3.6.2-1]# yum install -y rsync
安装成功
RUNNING HANDLER [nginx : restart nginx] ***********************************************************************************************************************************
changed: [localhost] => {"changed": true, "name": "nginx", "state": "started", "status": {"ActiveEnterTimestamp": "Thu 2024-04-18 21:26:59 CST", "ActiveEnterTimestampMonotonic": "1316748983", "ActiveExitTimestampMonotonic": "0", "ActiveState": "active", "After": "system.slice -.mount nss-lookup.target network-online.target tmp.mount remote-fs.target systemd-journald.socket basic.target", "AllowIsolate": "no", "AmbientCapabilities": "0", "AssertResult": "yes", "AssertTimestamp": "Thu 2024-04-18 21:26:59 CST", "AssertTimestampMonotonic": "1316631572", "Before": "multi-user.target shutdown.target", "BlockIOAccounting": "no", "BlockIOWeight": "18446744073709551615", "CPUAccounting": "no", "CPUQuotaPerSecUSec": "infinity", "CPUSchedulingPolicy": "0", "CPUSchedulingPriority": "0", "CPUSchedulingResetOnFork": "no", "CPUShares": "18446744073709551615", "CanIsolate": "no", "CanReload": "yes", "CanStart": "yes", "CanStop": "yes", "CapabilityBoundingSet": "18446744073709551615", "CollectMode": "inactive", "ConditionResult": "yes", "ConditionTimestamp": "Thu 2024-04-18 21:26:59 CST", "ConditionTimestampMonotonic": "1316631572", "Conflicts": "shutdown.target", "ControlGroup": "/system.slice/nginx.service", "ControlPID": "0", "DefaultDependencies": "yes", "Delegate": "no", "Description": "The nginx HTTP and reverse proxy server", "DevicePolicy": "auto", "ExecMainCode": "0", "ExecMainExitTimestampMonotonic": "0", "ExecMainPID": "9598", "ExecMainStartTimestamp": "Thu 2024-04-18 21:26:59 CST", "ExecMainStartTimestampMonotonic": "1316748926", "ExecMainStatus": "0", "ExecReload": "{ path=/usr/sbin/nginx ; argv[]=/usr/sbin/nginx -s reload ; ignore_errors=no ; start_time=[n/a] ; stop_time=[n/a] ; pid=0 ; code=(null) ; status=0/0 }", "ExecStart": "{ path=/usr/sbin/nginx ; argv[]=/usr/sbin/nginx ; ignore_errors=no ; start_time=[Thu 2024-04-18 21:26:59 CST] ; stop_time=[Thu 2024-04-18 21:26:59 CST] ; pid=9596 ; code=exited ; status=0 }", "ExecStartPre": "{ path=/usr/sbin/nginx ; argv[]=/usr/sbin/nginx -t ; ignore_errors=no ; start_time=[Thu 2024-04-18 21:26:59 CST] ; stop_time=[Thu 2024-04-18 21:26:59 CST] ; pid=9593 ; code=exited ; status=0 }", "FailureAction": "none", "FileDescriptorStoreMax": "0", "FragmentPath": "/usr/lib/systemd/system/nginx.service", "GuessMainPID": "yes", "IOScheduling": "0", "Id": "nginx.service", "IgnoreOnIsolate": "no", "IgnoreOnSnapshot": "no", "IgnoreSIGPIPE": "yes", "InactiveEnterTimestampMonotonic": "0", "InactiveExitTimestamp": "Thu 2024-04-18 21:26:59 CST", "InactiveExitTimestampMonotonic": "1316639660", "JobTimeoutAction": "none", "JobTimeoutUSec": "0", "KillMode": "process", "KillSignal": "3", "LimitAS": "18446744073709551615", "LimitCORE": "18446744073709551615", "LimitCPU": "18446744073709551615", "LimitDATA": "18446744073709551615", "LimitFSIZE": "18446744073709551615", "LimitLOCKS": "18446744073709551615", "LimitMEMLOCK": "65536", "LimitMSGQUEUE": "819200", "LimitNICE": "0", "LimitNOFILE": "4096", "LimitNPROC": "15633", "LimitRSS": "18446744073709551615", "LimitRTPRIO": "0", "LimitRTTIME": "18446744073709551615", "LimitSIGPENDING": "15633", "LimitSTACK": "18446744073709551615", "LoadState": "loaded", "MainPID": "9598", "MemoryAccounting": "no", "MemoryCurrent": "2564096", "MemoryLimit": "18446744073709551615", "MountFlags": "0", "Names": "nginx.service", "NeedDaemonReload": "no", "Nice": "0", "NoNewPrivileges": "no", "NonBlocking": "no", "NotifyAccess": "none", "OOMScoreAdjust": "0", "OnFailureJobMode": "replace", "PIDFile": "/run/nginx.pid", "PermissionsStartOnly": "no", "PrivateDevices": "no", "PrivateNetwork": "no", "PrivateTmp": "yes", "ProtectHome": "no", "ProtectSystem": "no", "RefuseManualStart": "no", "RefuseManualStop": "no", "RemainAfterExit": "no", "Requires": "-.mount system.slice basic.target", "RequiresMountsFor": "/var/tmp", "Restart": "no", "RestartUSec": "100ms", "Result": "success", "RootDirectoryStartOnly": "no", "RuntimeDirectoryMode": "0755", "SameProcessGroup": "no", "SecureBits": "0", "SendSIGHUP": "no", "SendSIGKILL": "yes", "Slice": "system.slice", "StandardError": "inherit", "StandardInput": "null", "StandardOutput": "journal", "StartLimitAction": "none", "StartLimitBurst": "5", "StartLimitInterval": "10000000", "StartupBlockIOWeight": "18446744073709551615", "StartupCPUShares": "18446744073709551615", "StatusErrno": "0", "StopWhenUnneeded": "no", "SubState": "running", "SyslogLevelPrefix": "yes", "SyslogPriority": "30", "SystemCallErrorNumber": "0", "TTYReset": "no", "TTYVHangup": "no", "TTYVTDisallocate": "no", "TasksAccounting": "no", "TasksCurrent": "3", "TasksMax": "18446744073709551615", "TimeoutStartUSec": "1min 30s", "TimeoutStopUSec": "5s", "TimerSlackNSec": "50000", "Transient": "no", "Type": "forking", "UMask": "0022", "UnitFilePreset": "disabled", "UnitFileState": "enabled", "WantedBy": "multi-user.target", "Wants": "network-online.target", "WatchdogTimestamp": "Thu 2024-04-18 21:26:59 CST", "WatchdogTimestampMonotonic": "1316748951", "WatchdogUSec": "0"}}PLAY [Install Tower isolated node(s)] *************************************************************************************************************************************
skipping: no hosts matchedPLAY RECAP ****************************************************************************************************************************************************************
localhost                  : ok=151  changed=76   unreachable=0    failed=0    skipped=79   rescued=0    ignored=3   The setup process completed successfully.
Setup log saved to /var/log/tower/setup-2024-04-18-21:20:58.log
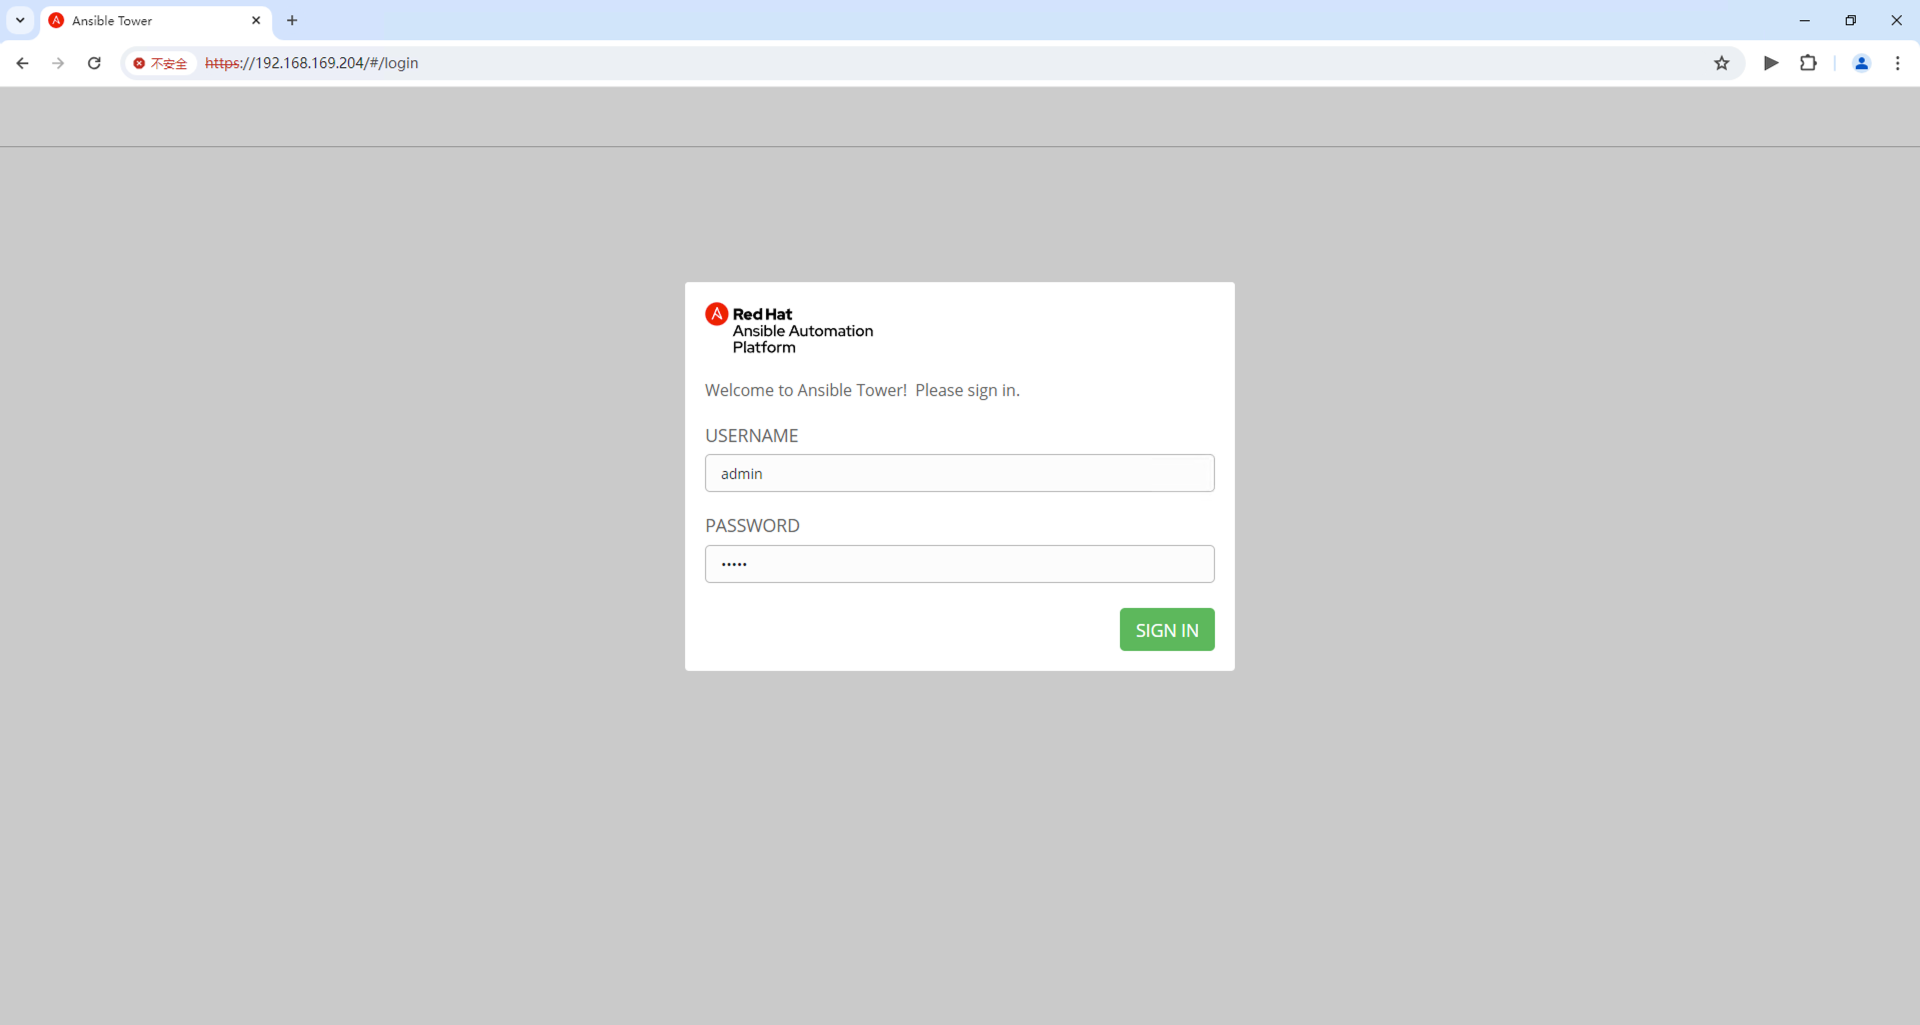
用户名admin
密码inventory文件中填写的密码

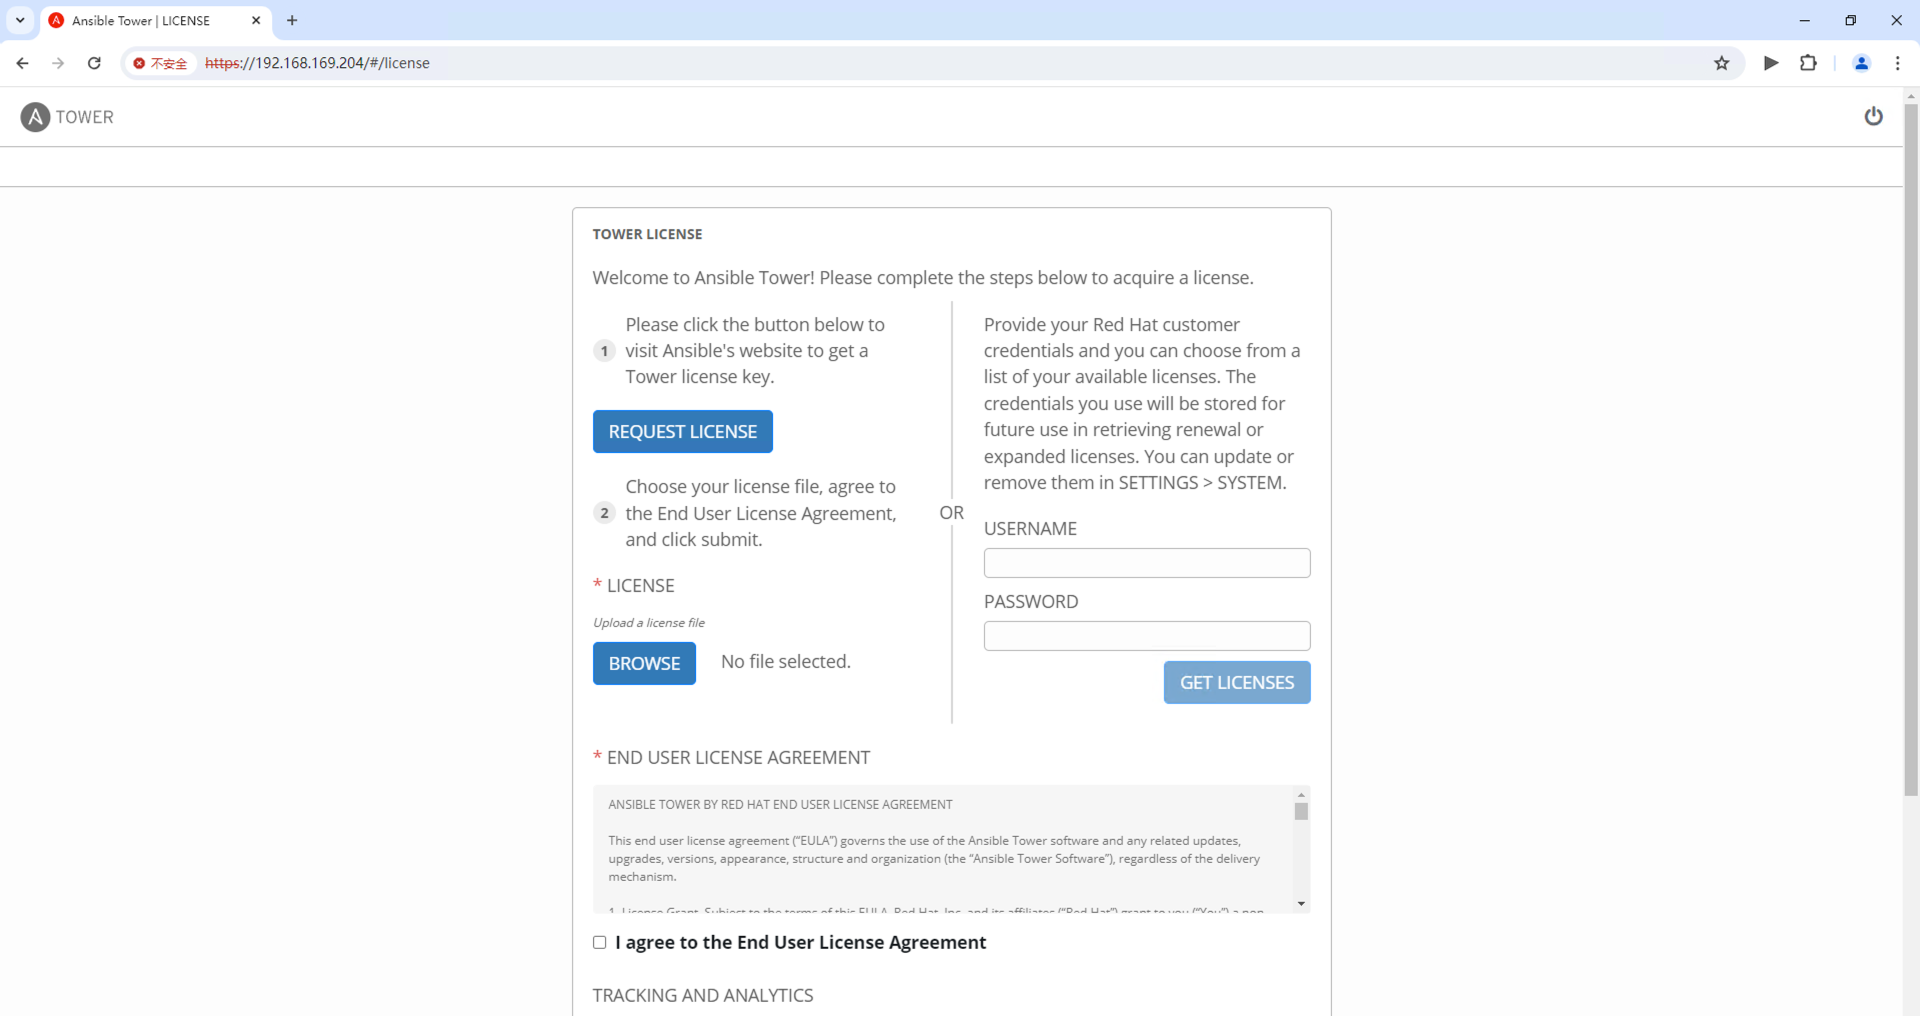
需要订阅

ansible-tower破解
[root@ansible ansible-tower-setup-bundle-3.6.2-1]# cd /var/lib/awx/venv/awx/lib/python3.6/site-packages/tower_license
[root@ansible tower_license]# ll
total 8
-rw-r--r--. 1 root root 7764 Dec 14  2019 __init__.pyc
drwxr-xr-x. 2 root root   37 Apr 18 21:22 __pycache__
安装pip
[root@ansible tower_license]# wget https://bootstrap.pypa.io/get-pip.py
--2024-04-18 21:36:37--  https://bootstrap.pypa.io/get-pip.py
Resolving bootstrap.pypa.io (bootstrap.pypa.io)... 151.101.76.175, 2a04:4e42:12::175
Connecting to bootstrap.pypa.io (bootstrap.pypa.io)|151.101.76.175|:443... connected.
HTTP request sent, awaiting response... 200 OK
Length: 2635835 (2.5M) [text/x-python]
Saving to: ‘get-pip.py’100%[=================================================================================================================================>] 2,635,835   1.46MB/s   in 1.7s   2024-04-18 21:36:39 (1.46 MB/s) - ‘get-pip.py’ saved [2635835/2635835]
安装python3.7
[root@ansible ~]# tar -zxvf Python-3.7.4.tgz
[root@ansible ~]# yum install -y gcc gcc-c++
[root@ansible ~]# yum install -y zlib*
[root@ansible ~]# yum -y install zlib-devel bzip2-devel openssl-devel ncurses-devel sqlite-devel readline-devel tk-devel gdbm-devel db4-devel libpcap-devel xz-devel libffi-devel[root@ansible ~]# cd Python-3.7.4
[root@ansible Python-3.7.4]# ./configure --prefix=/usr/local/python3 --with-ssl[root@ansible Python-3.7.4]# make && make install -j 4### 创建软链接
[root@ansible Python-3.7.4]# ln -s /usr/local/python3/bin/python3 /usr/bin/python3
[root@ansible Python-3.7.4]# ln -s /usr/local/python3/bin/pip3 /usr/bin/pip3[root@ansible tower_license]# python3 get-pip.py
ansible安装自带的python环境
[root@ansible tower_license]# /var/lib/awx/venv/awx/bin/pip3 install uncompyle6
Collecting uncompyle6Downloading https://files.pythonhosted.org/packages/b3/0b/19b3845e33ee9559b924e2039f9c1b387e82145cdfa6ba72bbb06433c1e5/uncompyle6-3.9.1-py3-none-any.whl (358kB)100% |████████████████████████████████| 358kB 148kB/s
Collecting click (from uncompyle6)Downloading https://files.pythonhosted.org/packages/4a/a8/0b2ced25639fb20cc1c9784de90a8c25f9504a7f18cd8b5397bd61696d7d/click-8.0.4-py3-none-any.whl (97kB)100% |████████████████████████████████| 102kB 19kB/s
Collecting xdis<6.2.0,>=6.0.8 (from uncompyle6)Downloading https://files.pythonhosted.org/packages/b9/a8/c3430daf90c3f2c791d145f05d5928878406b04b0c5e367eb87461112f9d/xdis-6.1.0-py3-none-any.whl (169kB)100% |████████████████████████████████| 174kB 28kB/s
Collecting spark-parser<1.9.0,>=1.8.9 (from uncompyle6)Downloading https://files.pythonhosted.org/packages/e1/c3/745adc57618998882a6e120cedebfba6ebf76aa9052c8b89e49c0fe47c2e/spark_parser-1.8.9-py3-none-any.whl
Collecting importlib-metadata; python_version < "3.8" (from click->uncompyle6)Downloading https://files.pythonhosted.org/packages/a0/a1/b153a0a4caf7a7e3f15c2cd56c7702e2cf3d89b1b359d1f1c5e59d68f4ce/importlib_metadata-4.8.3-py3-none-any.whl
Requirement already satisfied: six>=1.10.0 in /var/lib/awx/venv/awx/lib/python3.6/site-packages (from xdis<6.2.0,>=6.0.8->uncompyle6)
Collecting pygments (from xdis<6.2.0,>=6.0.8->uncompyle6)Downloading https://files.pythonhosted.org/packages/0b/42/d9d95cc461f098f204cd20c85642ae40fbff81f74c300341b8d0e0df14e0/Pygments-2.14.0-py3-none-any.whl (1.1MB)100% |████████████████████████████████| 1.1MB 28kB/s
Collecting term-background>=1.0.1 (from xdis<6.2.0,>=6.0.8->uncompyle6)Downloading https://files.pythonhosted.org/packages/59/72/4af08d7f5b7a4168b987541f6a81ef3531195743eb0c9056f0cfad54aa28/term_background-1.0.1-py3-none-any.whl
Collecting typing-extensions>=3.6.4; python_version < "3.8" (from importlib-metadata; python_version < "3.8"->click->uncompyle6)Downloading https://files.pythonhosted.org/packages/45/6b/44f7f8f1e110027cf88956b59f2fad776cca7e1704396d043f89effd3a0e/typing_extensions-4.1.1-py3-none-any.whl
Collecting zipp>=0.5 (from importlib-metadata; python_version < "3.8"->click->uncompyle6)Downloading https://files.pythonhosted.org/packages/bd/df/d4a4974a3e3957fd1c1fa3082366d7fff6e428ddb55f074bf64876f8e8ad/zipp-3.6.0-py3-none-any.whl
Installing collected packages: typing-extensions, zipp, importlib-metadata, click, pygments, term-background, xdis, spark-parser, uncompyle6
Successfully installed click-8.0.4 importlib-metadata-4.8.3 pygments-2.14.0 spark-parser-1.8.9 term-background-1.0.1 typing-extensions-4.1.1 uncompyle6-3.9.1 xdis-6.1.0 zipp-3.6.0
You are using pip version 9.0.1, however version 24.0 is available.
You should consider upgrading via the 'pip install --upgrade pip' command.
反汇编init.pyc
[root@ansible tower_license]# /var/lib/awx/venv/awx/bin/uncompyle6 __init__.pyc > __init__.py[root@ansible tower_license]# ll
total 2596
-rw-r--r--. 1 root root 2635835 Feb  3 18:15 get-pip.py
-rw-r--r--  1 root root   11454 Apr 18 21:56 __init__.py
-rw-r--r--. 1 root root    7764 Dec 14  2019 __init__.pyc
drwxr-xr-x. 2 root root      37 Apr 18 21:22 __pycache__
修改_init_.py文件
[root@ansible tower_license]# vim __init__.py
### 在第90行添加一下代码 "return True" 修改之后如下
...90     def _check_cloudforms_subscription(self):91         return True92         if os.path.exists("/var/lib/awx/i18n.db"):93             return True94         else:95             if os.path.isdir("/opt/rh/cfme-appliance"):96                 if os.path.isdir("/opt/rh/cfme-gemset"):97                     try:98                         has_rpms = subprocess.call(['rpm', '--quiet', '-q', 'cfme', 'cfme-appliance', 'cfme-gemset'])99                         if has_rpms == 0:
100                             return True
101                     except OSError:
102                         pass
103
104             return False
...
[root@ansible tower_license]# vim __init__.py
### 修改 "license_date=253370764800L" 为 "license_date=253370764800"
...83     def _generate_cloudforms_subscription(self):84         self._attrs.update(dict(company_name="Red Hat CloudForms License", instance_count=MAX_INSTANCES,85           license_date=253370764800,86           license_key="xxxx",87           license_type="enterprise",88           subscription_name="Red Hat CloudForms License"))
...
修改完重新编译一下
[root@ansible tower_license]# python -m py_compile __init__.py[root@ansible tower_license]# python -O -m py_compile __init__.py[root@ansible tower_license]# ll
total 2612
-rw-r--r--. 1 root root 2635835 Feb  3 18:15 get-pip.py
-rw-r--r--  1 root root   11474 Apr 18 22:04 __init__.py
-rw-r--r--. 1 root root    9165 Apr 18 22:05 __init__.pyc
-rw-r--r--  1 root root    9165 Apr 18 22:05 __init__.pyo
drwxr-xr-x. 2 root root      37 Apr 18 21:22 __pycache__
重启服务
[root@ansible tower_license]# ansible-tower-service restart
Restarting Tower
Redirecting to /bin/systemctl stop rh-postgresql10-postgresql.service
Redirecting to /bin/systemctl stop rabbitmq-server.service
Redirecting to /bin/systemctl stop nginx.service
Redirecting to /bin/systemctl stop supervisord.service
Redirecting to /bin/systemctl start rh-postgresql10-postgresql.service
Redirecting to /bin/systemctl start rabbitmq-server.service
Redirecting to /bin/systemctl start nginx.service
Redirecting to /bin/systemctl start supervisord.service
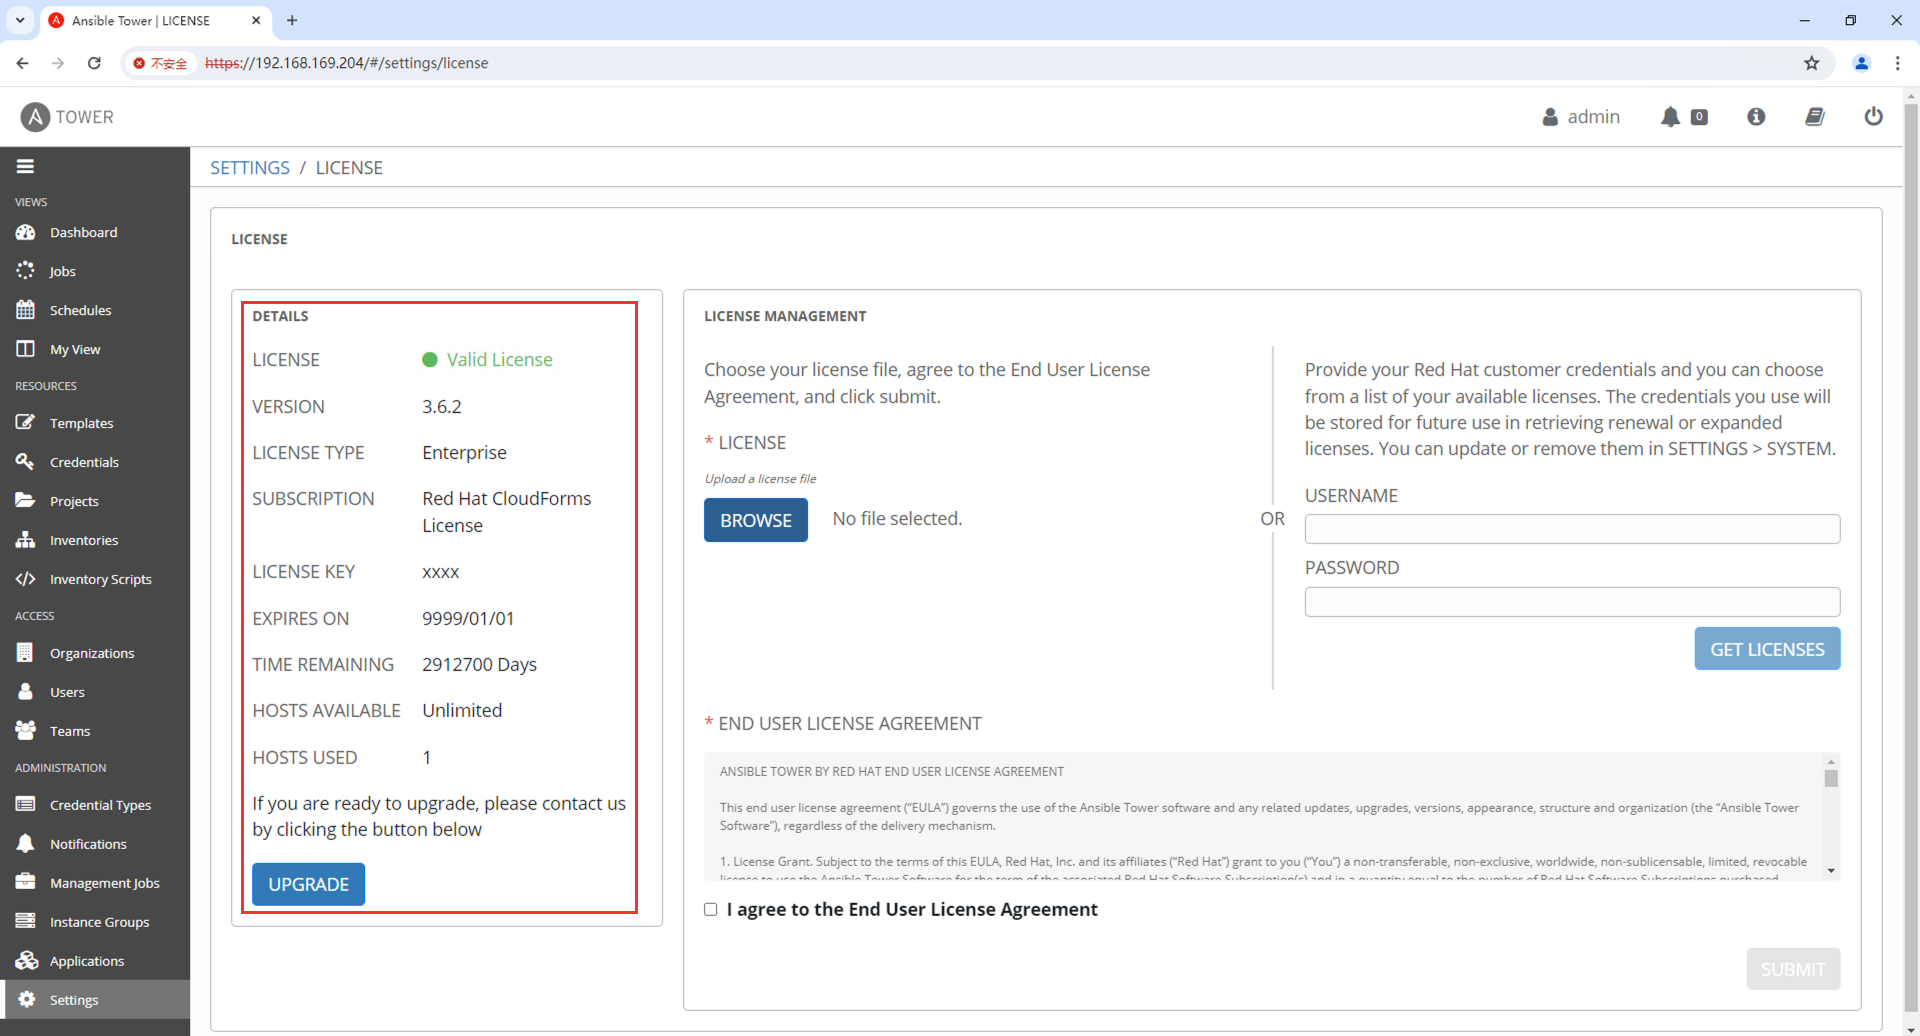
登录查看许可证

这篇关于Ansible-Tower安装破解的文章就介绍到这儿,希望我们推荐的文章对编程师们有所帮助!


