本文主要是介绍初始Python自动化实现掘金文章自动点赞功能,希望对大家解决编程问题提供一定的参考价值,需要的开发者们随着小编来一起学习吧!
最出圈的编程语言Python爬虫初体验
上次使用了Python体验了爬虫功能,相对于其他语言还是十分简单方便易上手的。
并且了解了Python的发展方向主要分为以下几点:
- Web开发
- 网络爬虫
- 数据分析
- 人工智能和机器学习
- 自动化测试
- 自动化运维
- …
今天我们就来体验一下Python的自动化功能~ 并且来实现一个自动给指定文章点赞功能。
PyAutoGUI
正如前面所了解的,Python拥有很多强大的库,我们这次使用的就是PyAutoGUI。
首先我们进入它的官网pyautogui.readthedocs.io/en/latest/

pyautogui.readthedocs.io/en/latest/i… 同样的,如果我们要使用它,首先要进行安装。我们点击它的Installtion页面,可以看到介绍了许多系统如何进行安装。

pip install pyautogui
安装成功后我们来学习如何使用吧。
使用

我们查看官网,可以发现主要是由四个功能:
- 鼠标控制
- 键盘控制
- 消息窗口
- 屏幕截图
我们通过其提供的Examples来感受一下
import pyautogui# get screen width and screen height
screenWidth, screenHeight = pyautogui.size()
print(screenWidth, screenHeight)# get current MouseX and MouseY
currentMouseX, currentMouseY = pyautogui.position()
print(currentMouseX, currentMouseY)# move the mouse to XY coordinates
pyautogui.moveTo(27, 104)# mouse click
pyautogui.click()# move the mouse to XY coordinates and click it
pyautogui.click(27, 104)# move the mouse 500 px the right of its current position
pyautogui.move(500, 0)# double click the mouse
pyautogui.doubleClick()# Use tweening/easing function to move mouse over 2 seconds.
pyautogui.moveTo(500, 500, duration=2, tween=pyautogui.easeInOutQuad)# type with quarter-second(0.25) pause in between each key
# pyautogui.write('Hello world!', interval=0.25)# Press the Esc key. All key names are in pyautogui.KEY_NAMES
pyautogui.press('esc')
# pyautogui.press("shift",presses=2)# Press the Shift key down and hold it.
with pyautogui.hold('shift'):# Press the right arrow key 4 times.pyautogui.press(['right', 'right', 'right', 'right'])# Shift key is released automatically.# Press the Ctrl-C hotkey combination.
pyautogui.hotkey('ctrl', 'c')# Make an alert box appear and pause the program until OK is clicked.
# pyautogui.alert('This is the message to display.')# distance = 200
# while distance > 0:
#     pyautogui.drag(distance, 0, duration=0.5)  # move right
#     distance -= 5
#     pyautogui.drag(0, distance, duration=0.5)  # move down
#     pyautogui.drag(-distance, 0, duration=0.5)  # move left
#     distance -= 5
# pyautogui.drag(0, -distance, duration=0.5) # move up- pyautogui.size():获取当前屏幕参数
- pyautogui.position():获取当前鼠标指针所在的X,Y位置
- pyautogui.moveTo():将鼠标移动到指定的X,Y位置
- pyautogui.click():鼠标进行点击
- pyautogui.doubleClick():鼠标双击
- pyautogui.press():按下指定键
- pyautogui.hold():一直按着指定键。
- pyautogui.hotkey():快捷键
通过上面给出的例子,我们可以看到pyautogui的鼠标、键盘控制功能。
通过代码模拟人移动鼠标,键盘控制。或许你就能想到我们一些简单的自动化步骤:
- 首先确定按钮或者图标在电脑上的坐标。
- 接着就是操控键盘或者鼠标。
实现自动化最关键的就是要定位,保证我们的操作能在我们想要的位置或者按钮触发后执行。
如何确定位置呢?
你可能会说我们把鼠标指针移动到我们想要的位置,然后运行程序通过
- pyautogui.position()
就可以获取到了。
这样的确可以获取到,但是不通用。如果你的电脑屏幕参数和别人的不一样,软件布局不一样,那么就无法实现精准的定位了。那么怎么办呢?
这里就要重点介绍PyAutoGUI的最重要的功能:Screenshot Functions,屏幕快照功能。
pyautogui.readthedocs.io/en/latest/s…

- pyautogui.screenshot(fileName):屏幕截图
- pyautogui.screenshot(region=(0,0, 300, 400)):并且可以指定屏幕截图的区域
- pyautogui.locateOnScreen(image):返回屏幕上第一个找到的图像实例的坐标(左、上、宽、高)。
- pyautogui.locateCenterOnScreen(image):返回在屏幕上找到的第一个图像实例的中心的(x, y)坐标。
>>> import pyautogui
>>> button7location = pyautogui.locateOnScreen('calc7key.png')
>>> button7location
Box(left=1416, top=562, width=50, height=41)
>>> button7location[0]
1416
>>> button7location.left
1416
>>> button7point = pyautogui.center(button7location)
>>> button7point
Point(x=1441, y=582)
>>> button7point[0]
1441
>>> button7point.x
1441
>>> button7x, button7y = button7point
>>> pyautogui.click(button7x, button7y)  # clicks the center of where the 7 button was found
>>> pyautogui.click('calc7key.png') # a shortcut version to click on the center of where the 7 button was found我们来试下pyautogui.locateCenterOnScreen(image) 功能。

我们选择这个ide的设置按钮保存命名为set.png
import pyautoguiprint(pyautogui.locateOnScreen('set.png'))
x, y = pyautogui.locateCenterOnScreen('set.png')
pyautogui.moveTo(x, y)
pyautogui.click(x, y)
运行程序,则会点击这个右上角的按钮。
接下来我们就可以实现一个简单的自动点赞功能了
自动点赞
我们实现一个掘金文章的评论自动进行一个点赞。
import pyautogui
import timedef tick() -> bool:try:global counttime.sleep(0.5)count -= 1xy = pyautogui.locateOnScreen('good1.png', confidence=0.7)if xy:center = pyautogui.center(xy)pyautogui.click(center)return Trueexcept pyautogui.ImageNotFoundException:pyautogui.scroll(-500)return Falseif __name__ == '__main__':print("start auto")count = 100while count:if tick():print("点赞成功")else:print("没有找到符合的位置,滚动屏幕")
我们点击运行查看效果。  大功告成~
大功告成~

代码其实很简单需要注意的是,如果没有在屏幕中找到符合图像的位置,则会抛出ImageNotFoundException
 可选的confidence关键字参数指定函数在屏幕上定位图像的精度。这在由于可忽略的像素差异而无法定位图像的情况下很有帮助,并且使用的会需要额外安装OpenCV
 pip install opencv-python

当然这个版本还是比较简陋,还是存在很多地方可以优化的。本篇文章只是介绍了PyAutoGUI,其实这个库还是很简单的,文档也比较短,但非常实用。大家可以通过它实现一些相当好玩的功能,欢迎再评论区分享自己的代码~~

关于Python学习指南
学好 Python 不论是就业还是做副业赚钱都不错,但要学会 Python 还是要有一个学习规划。最后给大家分享一份全套的 Python 学习资料,给那些想学习 Python 的小伙伴们一点帮助!
包括:Python激活码+安装包、Python web开发,Python爬虫,Python数据分析,人工智能、自动化办公等学习教程。带你从零基础系统性的学好Python!
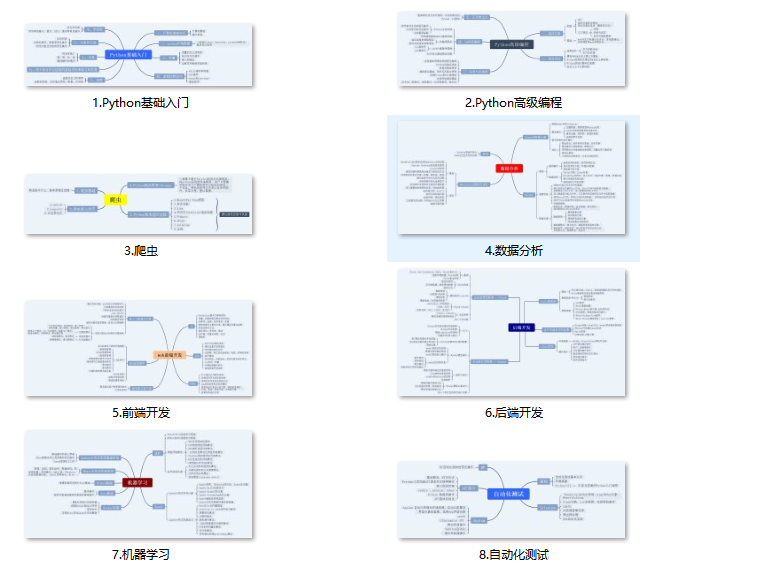
👉Python所有方向的学习路线👈
Python所有方向路线就是把Python常用的技术点做整理,形成各个领域的知识点汇总,它的用处就在于,你可以按照上面的知识点去找对应的学习资源,保证自己学得较为全面。(全套教程文末领取)

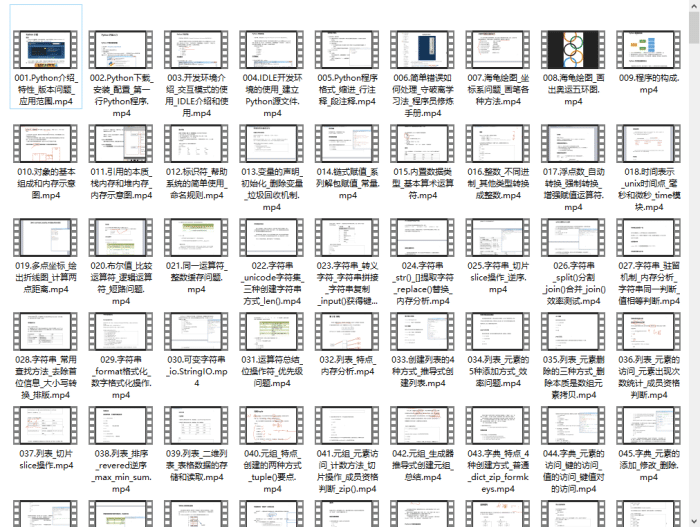
👉Python学习视频600合集👈
观看零基础学习视频,看视频学习是最快捷也是最有效果的方式,跟着视频中老师的思路,从基础到深入,还是很容易入门的。

温馨提示:篇幅有限,已打包文件夹,获取方式在:文末
👉Python70个实战练手案例&源码👈
光学理论是没用的,要学会跟着一起敲,要动手实操,才能将自己的所学运用到实际当中去,这时候可以搞点实战案例来学习。

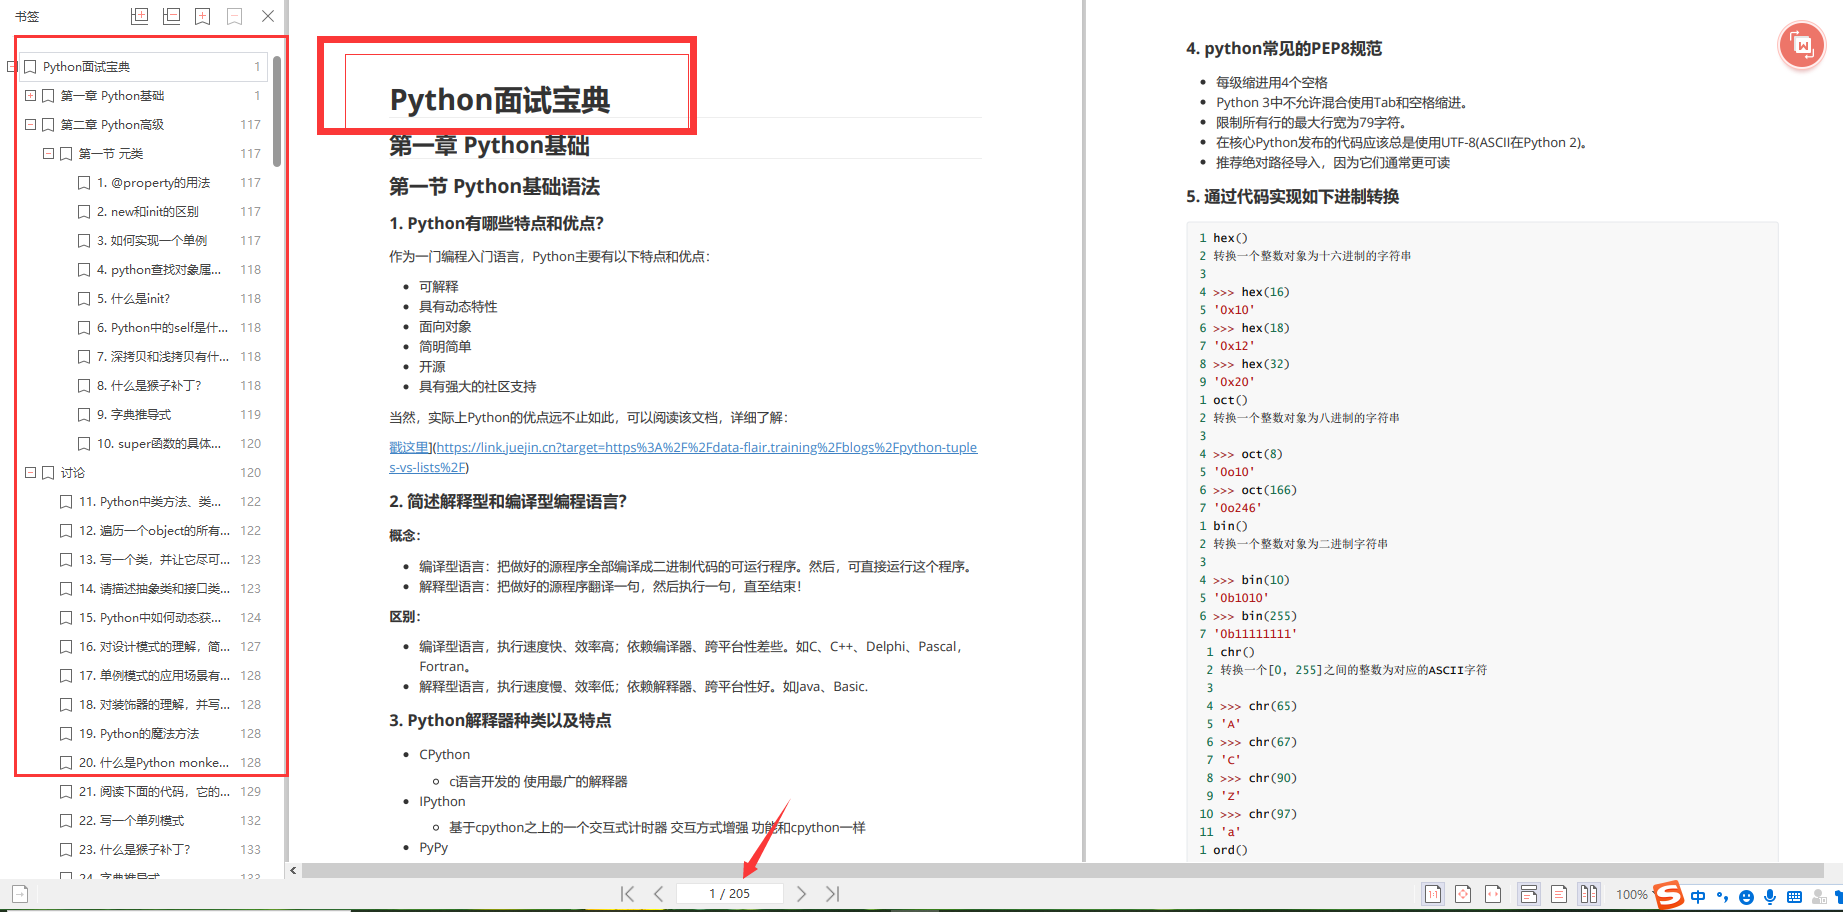
👉Python大厂面试资料👈
我们学习Python必然是为了找到高薪的工作,下面这些面试题是来自阿里、腾讯、字节等一线互联网大厂最新的面试资料,并且有阿里大佬给出了权威的解答,刷完这一套面试资料相信大家都能找到满意的工作。


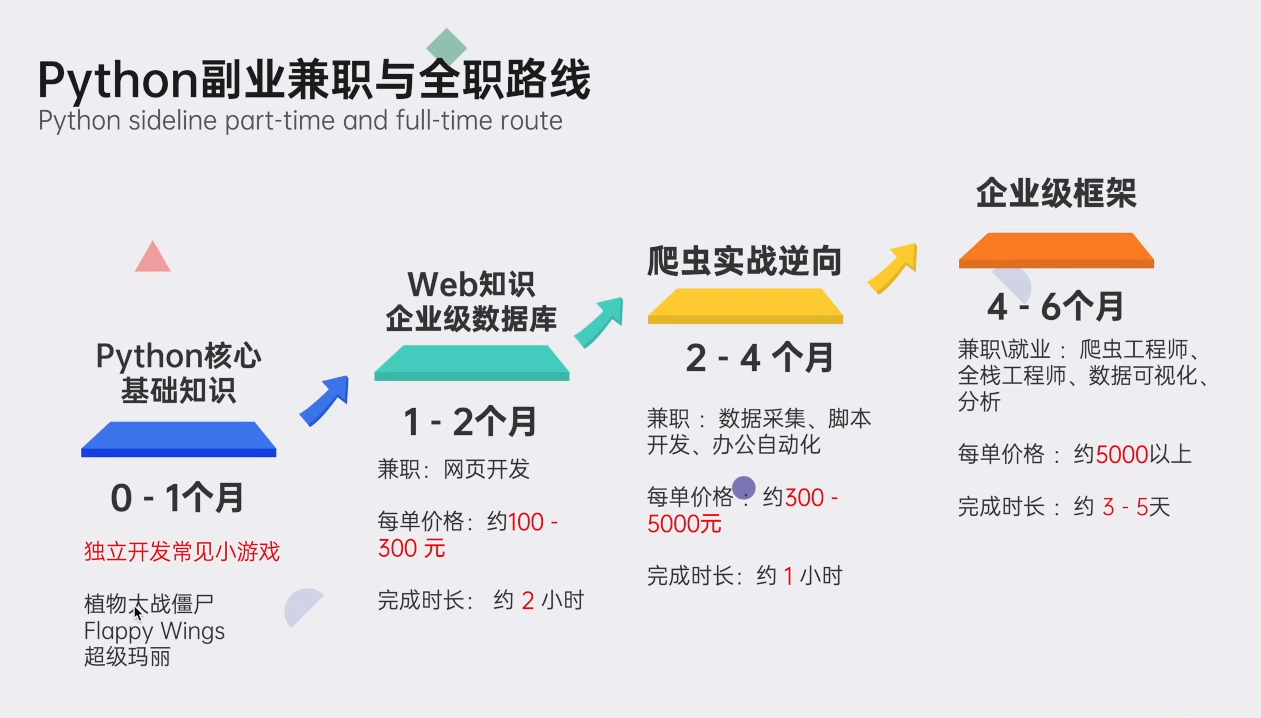
👉Python副业兼职路线&方法👈
学好 Python 不论是就业还是做副业赚钱都不错,但要学会兼职接单还是要有一个学习规划。

👉 这份完整版的Python全套学习资料已经上传,朋友们如果需要可以扫描下方CSDN官方认证二维码免费领取【保证100%免费】

这篇关于初始Python自动化实现掘金文章自动点赞功能的文章就介绍到这儿,希望我们推荐的文章对编程师们有所帮助!


