本文主要是介绍Activity——spring方式创建activiti所需数据表结构,希望对大家解决编程问题提供一定的参考价值,需要的开发者们随着小编来一起学习吧!
文章目录
- 前言
- 依赖引入
- 编写数据库连接等配置
- 配置日志文件
- 编写java代码生成数据库表结构
- 问题反馈与解决思路
- 问题一:Cause: java.sql.SQLSyntaxErrorException: Table 'activiti_02.act_ge_property' doesn't exist
- 为什么文件名必须写死?
前言
在之前创建activiti表结构的时候,采取的是配置Spring boot项目,并在启动的时候,由springboot 去启用activiti的bean,实现创建。
并且在之前博客中也有说明:
手动引入pom依赖出现一些依赖不全问题。
这么来说的话,如果是使用springboot的依赖引入,然后反用spring的方式创建表,这个思路也是可行的。
依赖引入
由于springboot对activiti各项版本的依赖,整体封装在org.activiti.activiti-spring-boot-starter-xxx中,所以直接引入对应的依赖即可。下面是完整的依赖引入:
<dependencies><dependency><groupId>org.springframework.boot</groupId><artifactId>spring-boot-starter-web</artifactId></dependency><dependency><groupId>org.springframework.boot</groupId><artifactId>spring-boot-starter-test</artifactId><scope>test</scope></dependency><dependency><groupId>org.projectlombok</groupId><artifactId>lombok</artifactId></dependency><dependency><groupId>com.alibaba</groupId><artifactId>fastjson</artifactId><version>1.2.69</version></dependency><dependency><groupId>cn.hutool</groupId><artifactId>hutool-all</artifactId><version>5.7.5</version></dependency><!-- Mysql依赖 --><dependency><groupId>mysql</groupId><artifactId>mysql-connector-java</artifactId><version>8.0.23</version></dependency><dependency><groupId>org.springframework.boot</groupId><artifactId>spring-boot-starter-jdbc</artifactId></dependency><!-- MybatisPlus依赖 --><dependency><groupId>com.baomidou</groupId><artifactId>mybatis-plus</artifactId><version>3.4.0</version></dependency><dependency><groupId>com.baomidou</groupId><artifactId>mybatis-plus-boot-starter</artifactId><version>3.4.0</version></dependency><!-- 数据库连接池 --><dependency><groupId>com.alibaba</groupId><artifactId>druid-spring-boot-starter</artifactId><version>1.1.21</version></dependency><dependency><groupId>com.alibaba</groupId><artifactId>druid</artifactId><version>1.1.21</version></dependency><!-- Activiti7依赖 --><dependency><groupId>org.activiti</groupId><artifactId>activiti-spring-boot-starter</artifactId><version>7.1.0.M6</version></dependency><dependency><groupId>org.activiti.dependencies</groupId><artifactId>activiti-dependencies</artifactId><version>7.1.0.M6</version><type>pom</type></dependency>
</dependencies><build><plugins><plugin><groupId>org.springframework.boot</groupId><artifactId>spring-boot-maven-plugin</artifactId></plugin></plugins>
</build>
编写数据库连接等配置
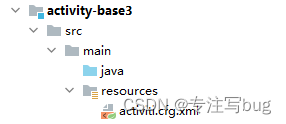
使用spring方式创建activiti的相关数据库表结构,需要按照官方的说明,创建对应的数据库连接配置文件
并且配置文件必须在
resources目录下,并且文件名必须是activiti.cgf.xml。
<?xml version="1.0" encoding="UTF-8"?>
<beans xmlns="http://www.springframework.org/schema/beans"xmlns:xsi="http://www.w3.org/2001/XMLSchema-instance"xmlns:context="http://www.springframework.org/schema/context"xmlns:tx="http://www.springframework.org/schema/tx"xsi:schemaLocation="http://www.springframework.org/schema/beanshttp://www.springframework.org/schema/beans/spring-beans.xsdhttp://www.springframework.org/schema/contexhttp://www.springframework.org/schema/context/spring-context.xsdhttp://www.springframework.org/schema/txhttp://www.springframework.org/schema/tx/spring-tx.xsd"><bean id="processEngineConfiguration" class="org.activiti.engine.impl.cfg.StandaloneProcessEngineConfiguration"><property name="jdbcDriver" value="com.mysql.cj.jdbc.Driver"/><property name="jdbcUrl" value="jdbc:mysql://xxxxx:3306/activiti_02?useSSL=false&useUnicode=true&characterEncoding=utf-8&serverTimezone=GMT%2B8"/><property name="jdbcUsername" value="root"/><property name="jdbcPassword" value="root"/><property name="databaseSchemaUpdate" value="true"/></bean><!-- <bean id="dataSource" class="org.apache.commons.dbcp.BasicDataSource"><property name="driverClassName" value="com.mysql.jdbc.Driver" /><property name="url" value="jdbc:mysql://xxxx:3306/activiti?useSSL=false&useUnicode=true&characterEncoding=utf-8&serverTimezone=GMT%2B8" /><property name="username" value="root" /><property name="password" value="root" /><property name="maxActive" value="3" /><property name="maxIdle" value="1" /></bean><bean id="processEngineConfiguration" class="org.activiti.engine.impl.cfg.StandaloneProcessEngineConfiguration"><property name="dataSource" ref="dataSource" /><property name="databaseSchemaUpdate" value="true"/></bean>--></beans>
配置日志文件
要想在控制台中能够更好地展示日志信息,需要配置log4j的配置文件。
log4j.properties
# Set root category priority to INFO and its only appender to CONSOLE.
#log4j.rootCategory=INFO, CONSOLE debug info warn error fatal
log4j.rootCategory=debug, CONSOLE, LOGFILE
# Set the enterprise logger category to FATAL and its only appender to CONSOLE.
log4j.logger.org.apache.axis.enterprise=FATAL, CONSOLE
# CONSOLE is set to be a ConsoleAppender using a PatternLayout.
log4j.appender.CONSOLE=org.apache.log4j.ConsoleAppender
log4j.appender.CONSOLE.layout=org.apache.log4j.PatternLayout
log4j.appender.CONSOLE.layout.ConversionPattern=%d{ISO8601} %-6r[%15.15t] %-5p %30.30c %x - %m\n
# LOGFILE is set to be a File appender using a PatternLayout.
log4j.appender.LOGFILE=org.apache.log4j.FileAppender
log4j.appender.LOGFILE.Append=true
log4j.appender.LOGFILE.layout=org.apache.log4j.PatternLayout
log4j.appender.LOGFILE.layout.ConversionPattern=%d{ISO8601} %-6r[%15.15t] %-5p %30.30c %x - %m\n
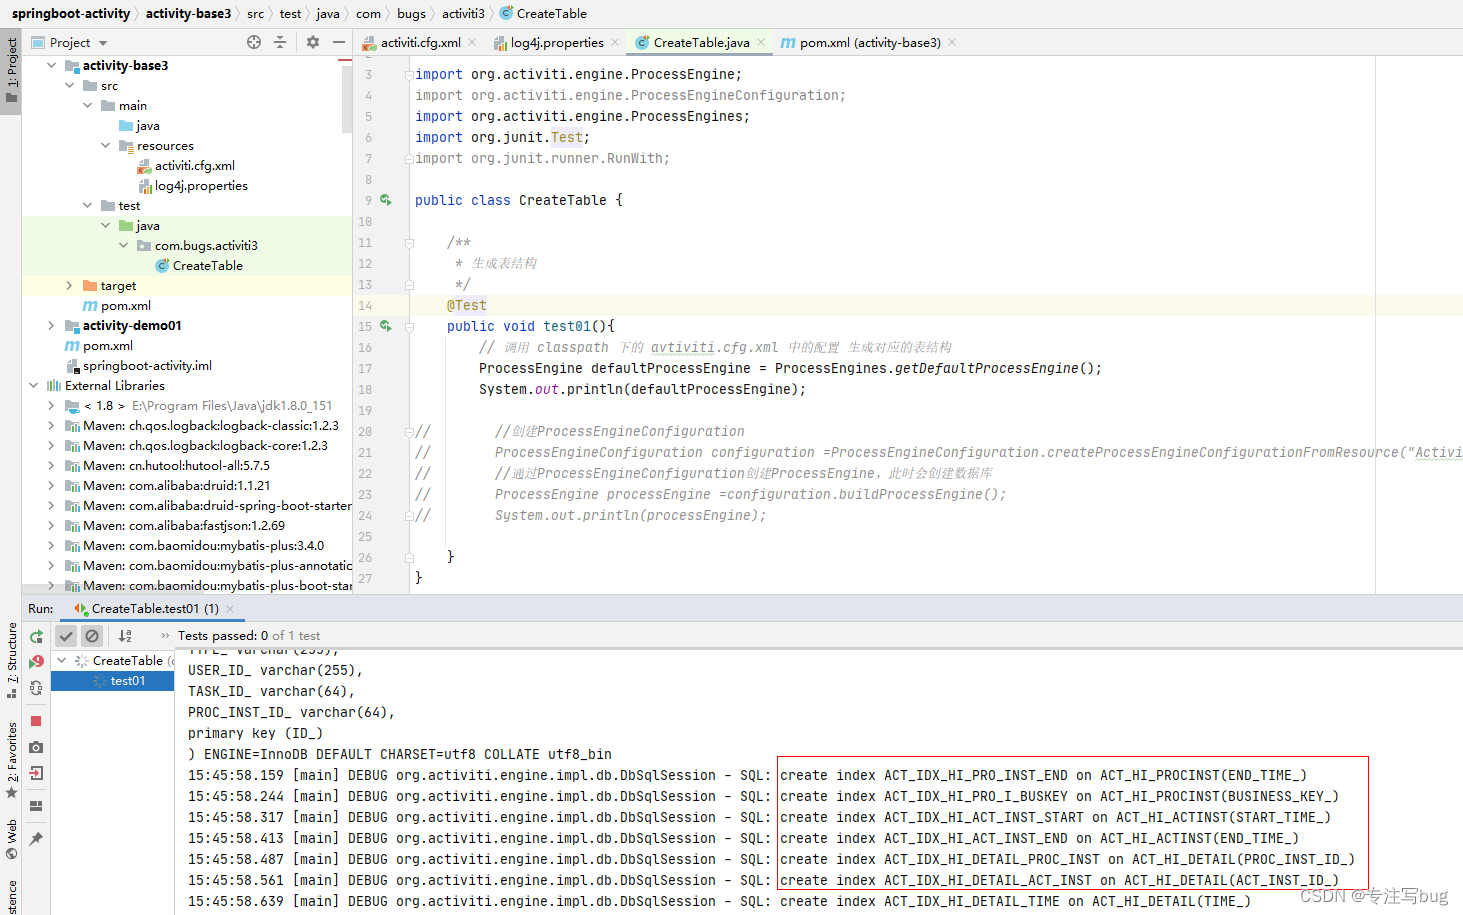
编写java代码生成数据库表结构
编写Java代码
package com.bugs.activiti3;import org.activiti.engine.ProcessEngine;
import org.activiti.engine.ProcessEngineConfiguration;
import org.activiti.engine.ProcessEngines;
import org.junit.Test;
import org.junit.runner.RunWith;public class CreateTable {/*** 生成表结构*/@Testpublic void test01(){// 调用 classpath 下的 avtiviti.cfg.xml 中的配置 生成对应的表结构ProcessEngine defaultProcessEngine = ProcessEngines.getDefaultProcessEngine();System.out.println(defaultProcessEngine);//        //创建ProcessEngineConfiguration
//        ProcessEngineConfiguration configuration =ProcessEngineConfiguration.createProcessEngineConfigurationFromResource("Activiti.cfg.xml");
//        //通过ProcessEngineConfiguration创建ProcessEngine,此时会创建数据库
//        ProcessEngine processEngine =configuration.buildProcessEngine();
//        System.out.println(processEngine);}
}
问题反馈与解决思路
问题一:Cause: java.sql.SQLSyntaxErrorException: Table ‘activiti_02.act_ge_property’ doesn’t exist
在resources/activiti.cgf.xml中明确配置了一个数据表的生成规则databaseSchemaUpdate为true。
但在执行的时候,依旧出现了数据库xxxx不存在。
原因在于在对应服务器的mysql中,可能出现同命名前缀的数据库信息。
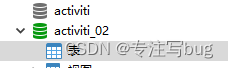
导致识别上面的数据库中存在表,但指定的数据库中并不存在对应的表。
解决方式:
在对应的url中配置
&nullCatalogMeansCurrent=true
这里的
&在xml语法中就是&。
修改配置文件。
<?xml version="1.0" encoding="UTF-8"?>
<beans xmlns="http://www.springframework.org/schema/beans"xmlns:xsi="http://www.w3.org/2001/XMLSchema-instance"xmlns:context="http://www.springframework.org/schema/context"xmlns:tx="http://www.springframework.org/schema/tx"xsi:schemaLocation="http://www.springframework.org/schema/beanshttp://www.springframework.org/schema/beans/spring-beans.xsdhttp://www.springframework.org/schema/contexhttp://www.springframework.org/schema/context/spring-context.xsdhttp://www.springframework.org/schema/txhttp://www.springframework.org/schema/tx/spring-tx.xsd"><bean id="processEngineConfiguration" class="org.activiti.engine.impl.cfg.StandaloneProcessEngineConfiguration"><property name="jdbcDriver" value="com.mysql.cj.jdbc.Driver"/><property name="jdbcUrl" value="jdbc:mysql://xxxxx:3306/activiti_02?useSSL=false&useUnicode=true&characterEncoding=utf-8&serverTimezone=GMT%2B8&nullCatalogMeansCurrent=true"/><property name="jdbcUsername" value="root"/><property name="jdbcPassword" value="root"/><property name="databaseSchemaUpdate" value="true"/></bean><!-- <bean id="dataSource" class="org.apache.commons.dbcp.BasicDataSource"><property name="driverClassName" value="com.mysql.jdbc.Driver" /><property name="url" value="jdbc:mysql://xxxx:3306/activiti?useSSL=false&useUnicode=true&characterEncoding=utf-8&serverTimezone=GMT%2B8&nullCatalogMeansCurrent=true" /><property name="username" value="root" /><property name="password" value="root" /><property name="maxActive" value="3" /><property name="maxIdle" value="1" /></bean><bean id="processEngineConfiguration" class="org.activiti.engine.impl.cfg.StandaloneProcessEngineConfiguration"><property name="dataSource" ref="dataSource" /><property name="databaseSchemaUpdate" value="true"/></bean>--></beans>
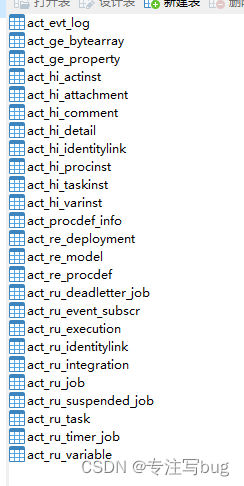
重新执行代码,观察控制台的日志打印,可以看到数据表语句成功执行。
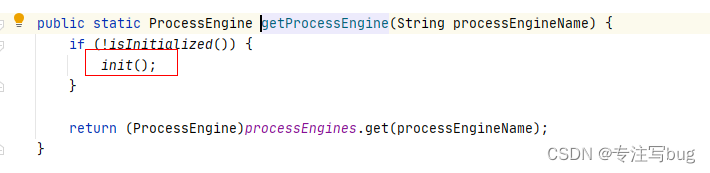
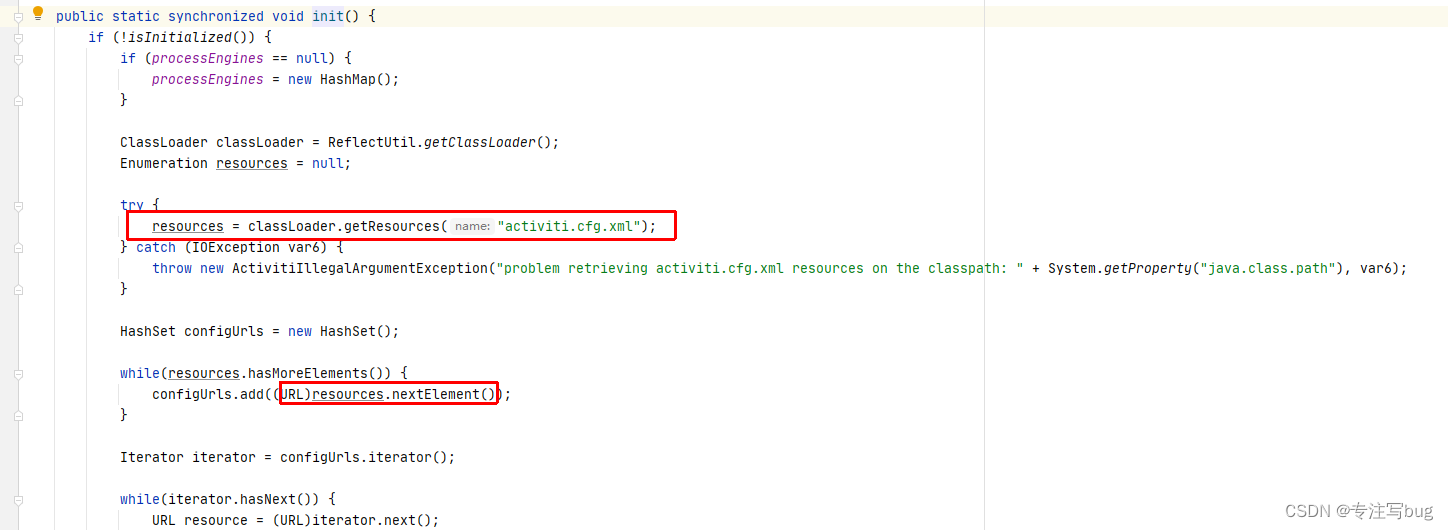
为什么文件名必须写死?
创建对应数据库表,使用的是ProcessEngines.getDefaultProcessEngine()执行,并自动创建的,打开他的源码,在init()中,查看对应的逻辑。
使用的是
ReflectUtil.getClassLoader()获取类加载器,该类加载器是识别resources目录下的配置文件。
如果配置文件名不是Activiti.cfg.xml,则可以使用下列的代码实现创建。
ProcessEngineConfiguration configuration =ProcessEngineConfiguration.createProcessEngineConfigurationFromResource("Activiti.cfg.xml");
ProcessEngine processEngine =configuration.buildProcessEngine();
这篇关于Activity——spring方式创建activiti所需数据表结构的文章就介绍到这儿,希望我们推荐的文章对编程师们有所帮助!


