本文主要是介绍applicaitonListener配合ApplicationEvent原理,希望对大家解决编程问题提供一定的参考价值,需要的开发者们随着小编来一起学习吧!
今天突然想看看applicationListener和applicationEvent是怎么实现的观察者模式所以看了下源码
先定义两个观察者
@Component
public class ListenerOne implements ApplicationListener<MyEvent> {@Overridepublic void onApplicationEvent(MyEvent event) {System.out.println(event.getSource() + "事件1执行了");}
}@Component
public class ListenerTwo implements ApplicationListener<MyEvent> {@Overridepublic void onApplicationEvent(MyEvent event) {System.out.println(event.getSource() + "事件2执行了");}
}
在定义一个被观察者
public class MyEvent extends ApplicationEvent {/*** Create a new {@code ApplicationEvent}.** @param source the object on which the event initially occurred or with*               which the event is associated (never {@code null})*/public MyEvent(Object source) {super(source);}
}
接着我们在编写代码的地方如果出现了需要推送事件执行listener的地方就对事件进行推送,我这里这是为了推送事件写的代码
@Configuration
public class BasicConfig {@Autowiredprivate ApplicationContext applicationContext;@PostConstructpublic void publish(){applicationContext.publishEvent(new MyEvent(1));}
}
结果:
事件1执行了 event传入的source:1
事件2执行了 event传入的source:1
源码分析
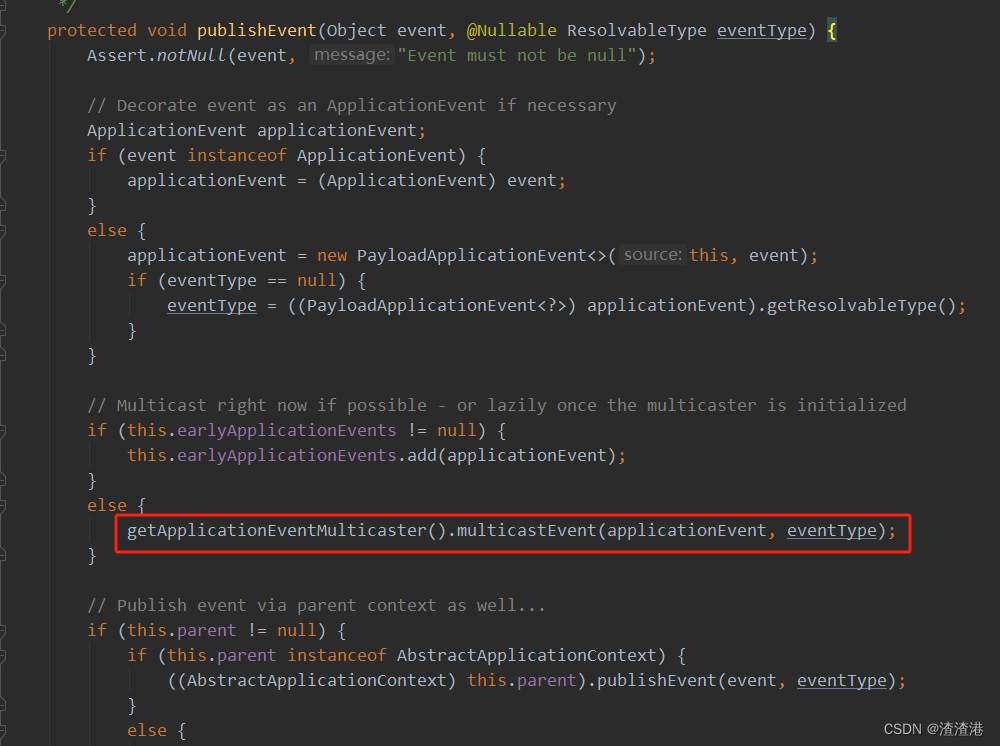
在publishEvent的时候主要是看红框框起来的部分,我们继续往下走
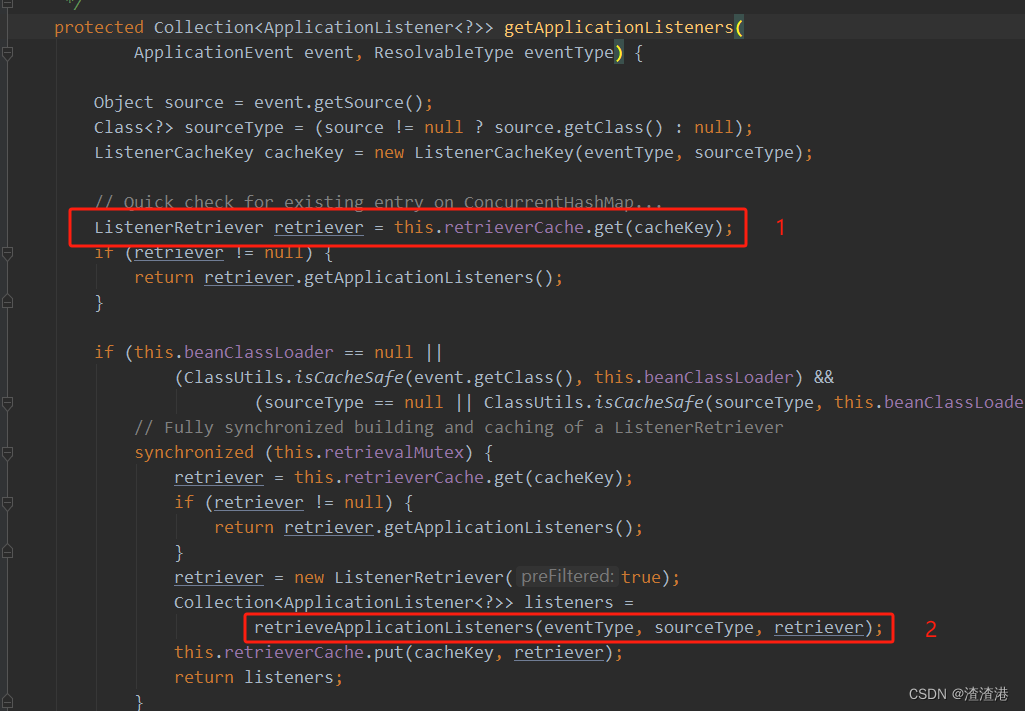
再往下追的的话 主要分为两步
1、通过我们推送的event类型和在创建event传入的字段类型解析出一个缓存的key,这里面存放的就是当前事件里面所支持的所有观察者
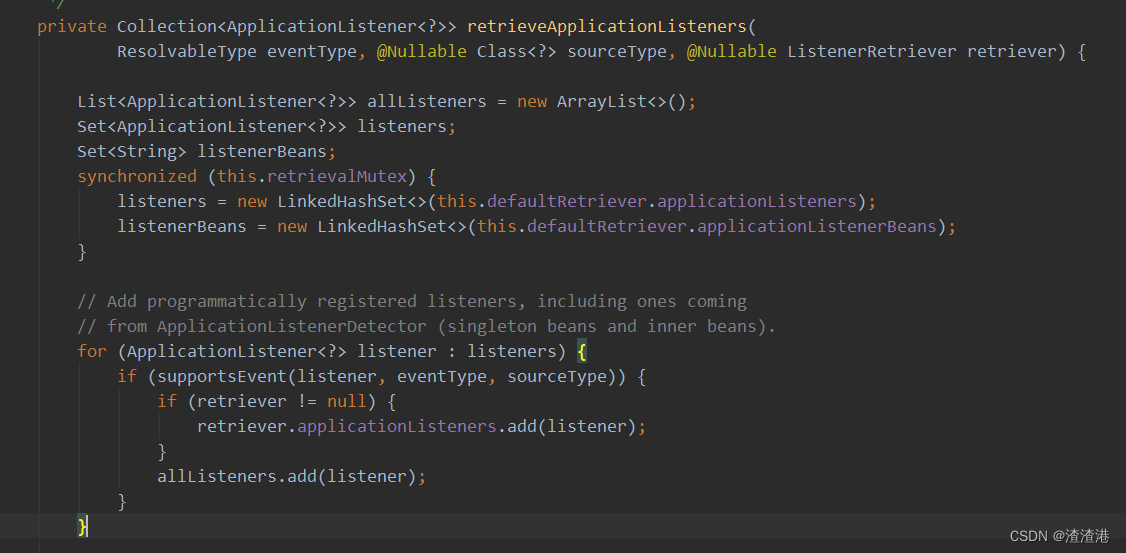
2、这里其实就是循环所有的观察着将符合事件类型和参数类型的拿出来,最终进行返回调用
总结:spring实现的这套观察者模式其实有点像mq也是发布订阅,通过当前推送的事件来循环所有的观察者,拿出适合当前推送事件的观察者执行来完成订阅
这篇关于applicaitonListener配合ApplicationEvent原理的文章就介绍到这儿,希望我们推荐的文章对编程师们有所帮助!


