本文主要是介绍Vue配置多页面,多入口【vue-cli3 配置登陆页面】,希望对大家解决编程问题提供一定的参考价值,需要的开发者们随着小编来一起学习吧!
很久之前就想去配置一个非单页面的登陆页面,一直到今天才完成
我将给出最简单的代码,完成最基本的配置。需要更强的功能自己去加上
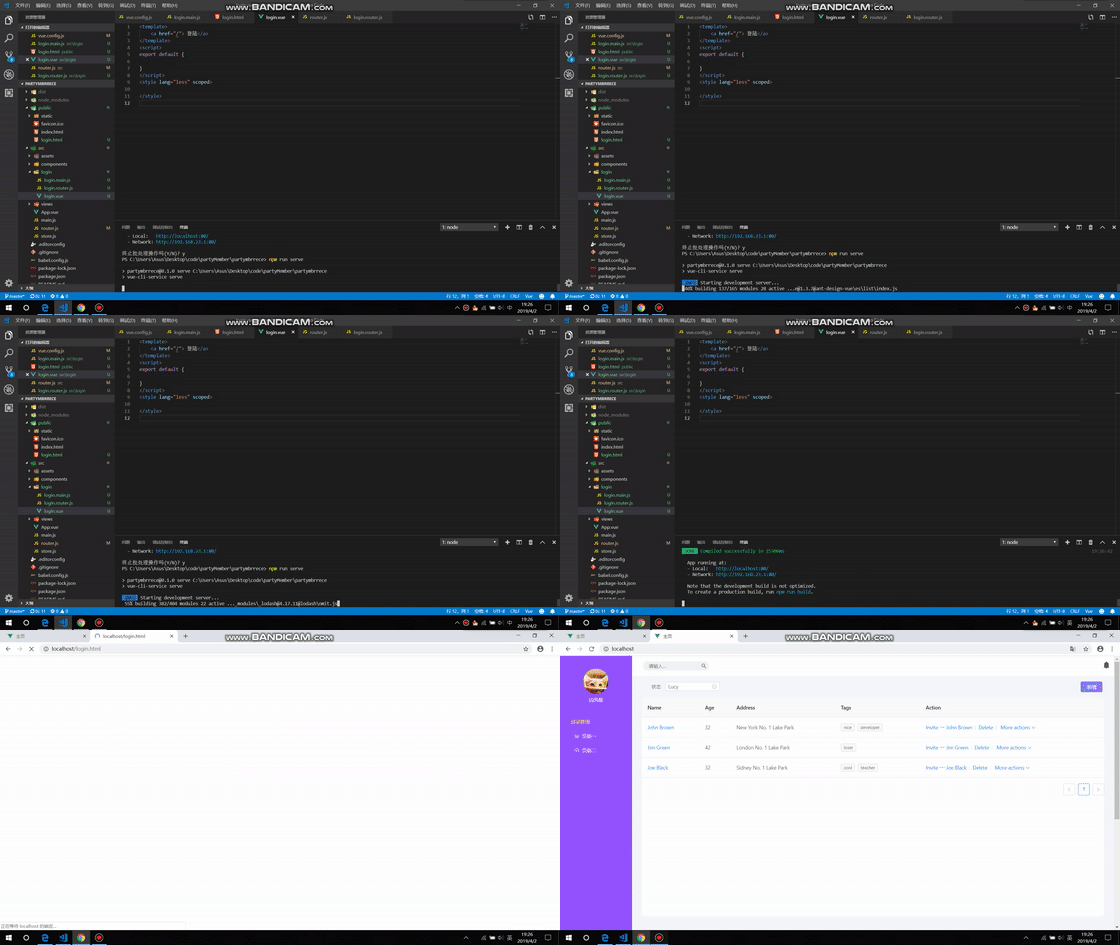
效果如下

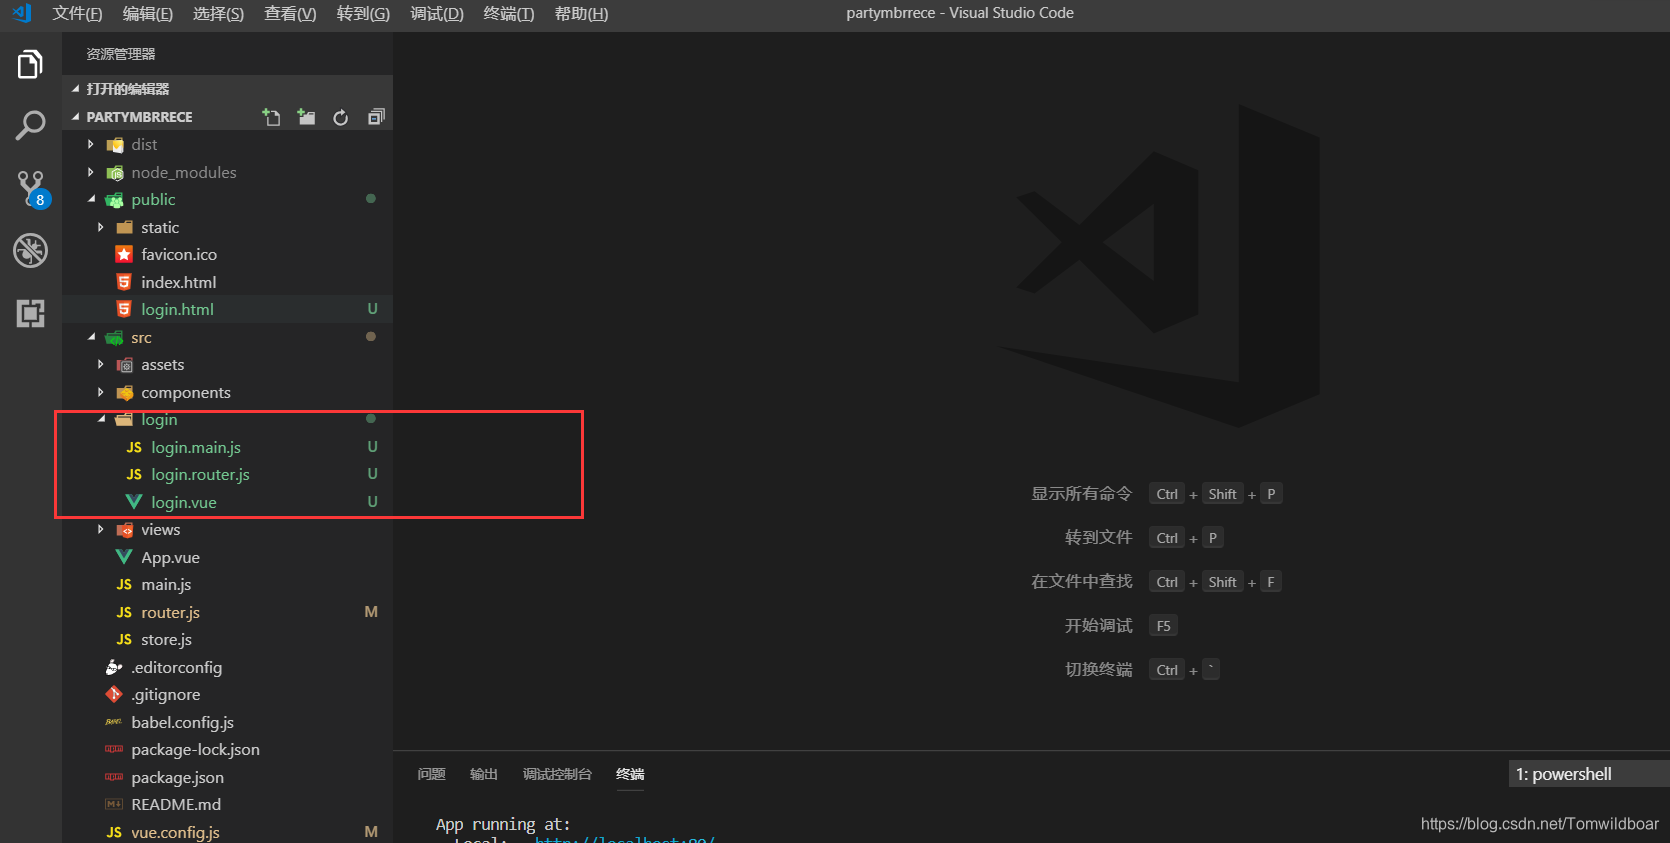
第一步:创建登陆页面的文件
1-1:login.html

<!DOCTYPE html>
<html lang="en">  <head>    <meta charset="utf-8">    <meta http-equiv="X-UA-Compatible" content="IE=edge">    <meta name="viewport" content="width=device-width,initial-scale=1.0">    <link rel="icon" href="<%= BASE_URL %>favicon.ico">    <title>login</title>  </head>  <body>    <div id="login"></div>  </body>
</html>
1-2:login.main.js login.router.js login.vue

login.main.js
import Vue from 'vue';
import login from './login.vue';
import router from './login.router';
// import store from './store';
Vue.config.productionTip = false;
new Vue({  router,  render: h => h(login),
}).$mount('#login');
login.router.js
import Vue from 'vue';
import Router from 'vue-router';
Vue.use(Router);
export default new Router({  mode: 'history',  base: process.env.BASE_URL,  routes: [      ],});
login.vue
<template>    <a href="/"> 登陆</a>
</template>
<script>export default {    }
</script>
<style lang="less" scoped>
</style>
第二步:配置 vue.config.js

const baseUrl = '/';
before: function(app) {          const base = baseUrl.replace(/\/+$/, ''); // 移除尾部斜杠          app.get(`${base}/:page/*`, function(req, res, next) {            if (['login', 'index'].includes(req.params.page)) {              // 把 /<base>/<page>/* 重定向到 /<base>/<page>/              req.url = `${base}/${req.params.page}/`;              next('route');            } else {              next();            }          });
},
pages: {        login: {          entry: 'src/login/login.main.js',          template: 'public/login.html',        },        index: {          entry: 'src/main.js',          template: 'public/index.html',        },
},
这篇关于Vue配置多页面,多入口【vue-cli3 配置登陆页面】的文章就介绍到这儿,希望我们推荐的文章对编程师们有所帮助!


