本文主要是介绍Squid反向手动编译--Debian10.x,希望对大家解决编程问题提供一定的参考价值,需要的开发者们随着小编来一起学习吧!
Squid反向手动编译-Debian10.x
实验环境:
server01:192.168.10.10 //CA证书-DNS服务器
server02:192.168.10.20 //squid服务器-需要做ssl 相同的一个ssl
server03:192.168.10.30 //apache2服务器-需要做ssl 相同的一个ssl
client01:192.168.10.40 //测试端前提:
1.配置好IP地址 /etc/network/interfaces
2.修改好主机名 hostnamectl set-hostname 名称
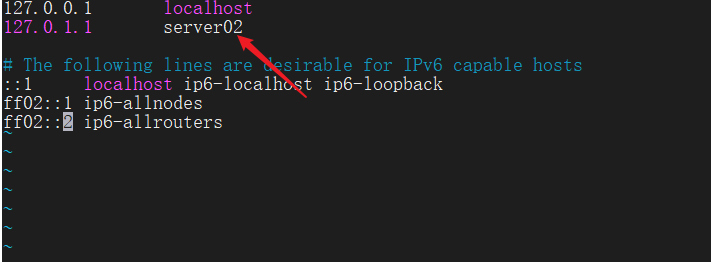
3./etc/hosts //如图
步骤:
squid服务器:
第一步:能访问百度-NAT默认-配置公网DNS
第二步:vim /etc/apt/source.list #打开配置文件源
deb http://mirrors.tuna.tsinghua.edu.cn/debian/ buster main contrib non-free
deb-src http://mirrors.tuna.tsinghua.edu.cn/debian/ buster main contrib non-free
deb http://mirrors.tuna.tsinghua.edu.cn/debian/ buster-updates main contrib non-free
deb-src http://mirrors.tuna.tsinghua.edu.cn/debian/ buster-updates main contrib non-free
deb http://mirrors.tuna.tsinghua.edu.cn/debian/ buster-backports main contrib non-free
deb-src http://mirrors.tuna.tsinghua.edu.cn/debian/ buster-backports main contrib non-free
deb http://mirrors.tuna.tsinghua.edu.cn/debian-security buster/updates main contrib non-free
deb-src http://mirrors.tuna.tsinghua.edu.cn/debian-security buster/updates main contrib non-free
第三步:apt update #更新
第四步:apt install libssl-dev -y #安装
第五步:apt build-dep squid -y
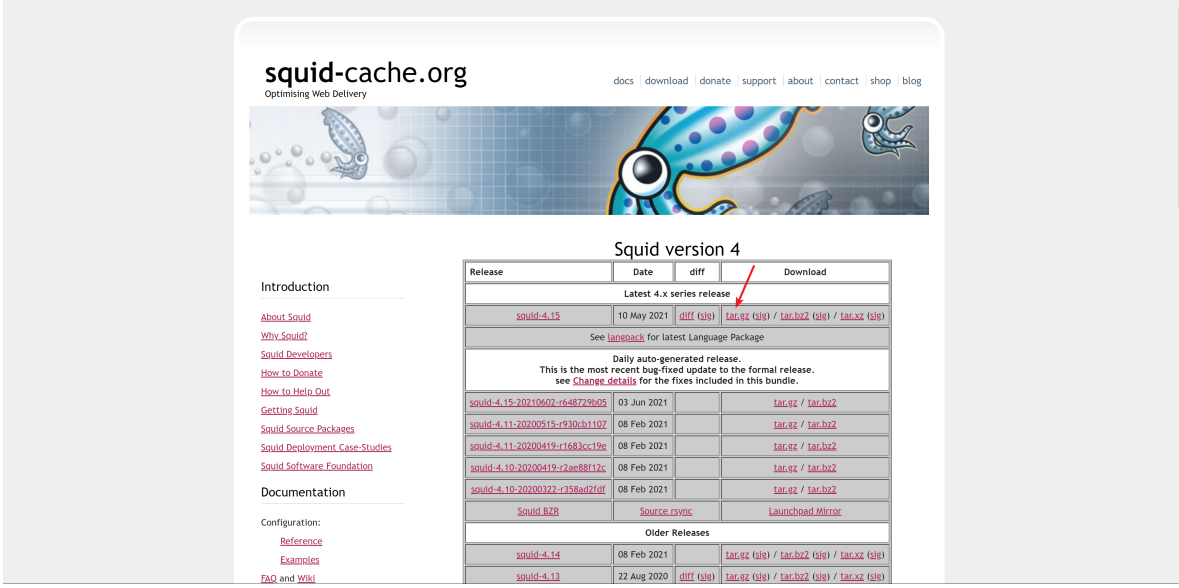
第六步:tar -xf squid-x.x.tar.gz
#squid软件包从squid官网下载 http://www.squid-cache.org/Versions/v4/
第七步:cd squid-x.x/ #进入路径
第八步: #开启所需的模块以及配置文件
./configure --prefix=/usr \
--localstatedir=/var \
--libexecdir=${prefix}/lib/squid \
--datadir=${prefix}/share/squid \
--sysconfdir=/etc/squid \
--with-default-user=proxy \
--with-logdir=/var/log/squid \
--with-pidfile=/var/run/squid.pid \
--enable-ssl \
--with-openssl \
--enable-ssl-crtd
第十步:make && make install //编译
第十一步:cd /etc/squid/ #进入路径
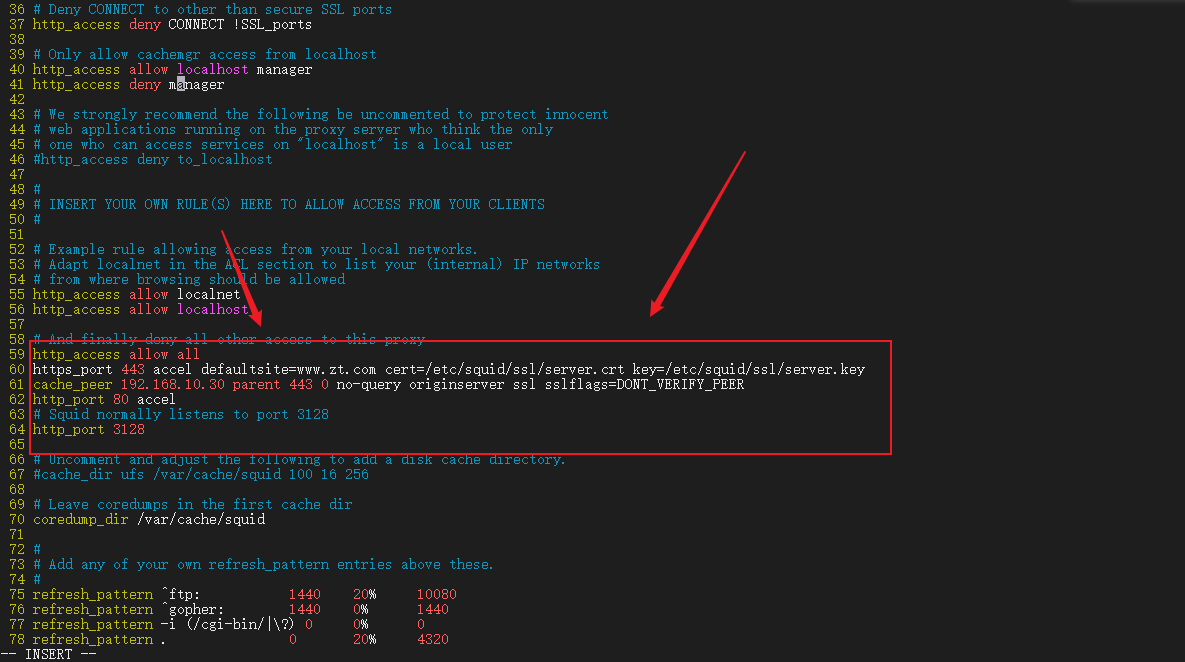
第十二步:vim squid.conf #打开配置文件
http_access allow all
https_port 443 accel defaultsite=www.zt.com cert=/etc/squid/ssl/server.crt key=/etc/squid/ssl/server.key
cache_peer 192.168.10.30 parent 443 0 no-query originserver ssl sslflags=DONT_VERIFY_PEER
http_port 80 accel
第十三步:chown -R proxy /etc/squid/ #修改拥有者
第十四步:chown -R proxy /var/log/squid/ #修改拥有者
第十五步:netstat -ntpul #查看端口 80、443、3128 是否起来 都是squid
第十六步:vim /etc/resolv.conf 		//修改回dns服务器nameserver 192.168.10.10
第十七步:mkdir /etc/squdi/ssl
第十八步:查看ssl证书是否从apache2服务器复制过来!
第十九步:squid -f /etc/squid/squid.conf  //开启squid服务
第二十步:关闭的方法 squid -k shutdown  /etc/squid/squid.conf
CA证书-DNS服务器:
CA证书:
第一步:/usr/lib/ssl/misc/CA.pl -newca #生成证书颁发机构
第二步:Apache2 发过来的newreq.pem
第二步:/usr/lib/ssl/misc/CA.pl -sign #签发证书
第三步:scp newcert.pem 192.168.10.30:/etc/apache2/ssl/server.crtDNS服务器:
第一步:apt install bind9
第二步:cd /etc/bind
第三步:cp db.0 db.zt
第四步:vim db.zt
添加正向区域:	www 	IN	 	A	192.168.10.20
第五步:vim named.conf.default-zones		//添加正向区域zone "zt.com" {type master;file "/etc/bind/db.zt";};
第六步:systemctl restart bind9
Apache2服务器:
第一步:apt install apache2 -y
第二步:cd /etc/apache2/
第三步:mkdir ssl #创建目录
第四步:cd ssl #进入路径
第五步:openssl genrsa -out server.key 2048 #生成key
第六步:openssl req -new -key server.key -out 1.csr #生产csr
第七步:scp 1.csr 192.168.10.10:/root/newreq.pem
第八步:vim sites-available/default-ssl.confSSLCertificateFile	/etc/apache2/ssl/server.crtSSLCertificateKeyFile /etc/apache2/ssl/server.key
第九步:a2enmod ssl
第十步:cd mods-enabled/
第十一步:a2ensite default-ssl.conf
第十二步:systemctl restart apache2
第十三步:scp /etc/apche2/ssl/* 192.168.10.20:/etc/squid/ssl  //把所有的证书发给squid服务器
client01客户端测试:
第一步:apt install curl -y
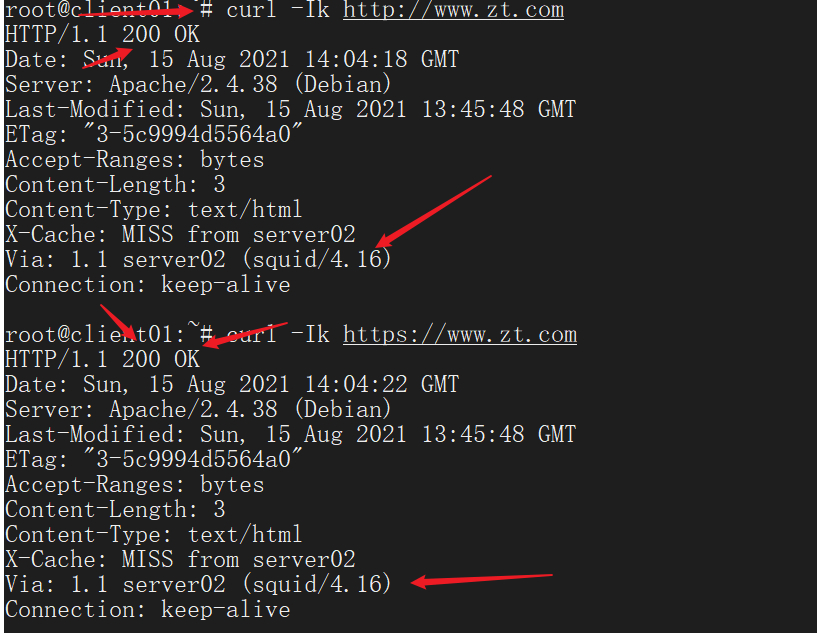
第二步:curl -Ik https://www.zt.com
第三步:curl -Ik http://www.zt.com
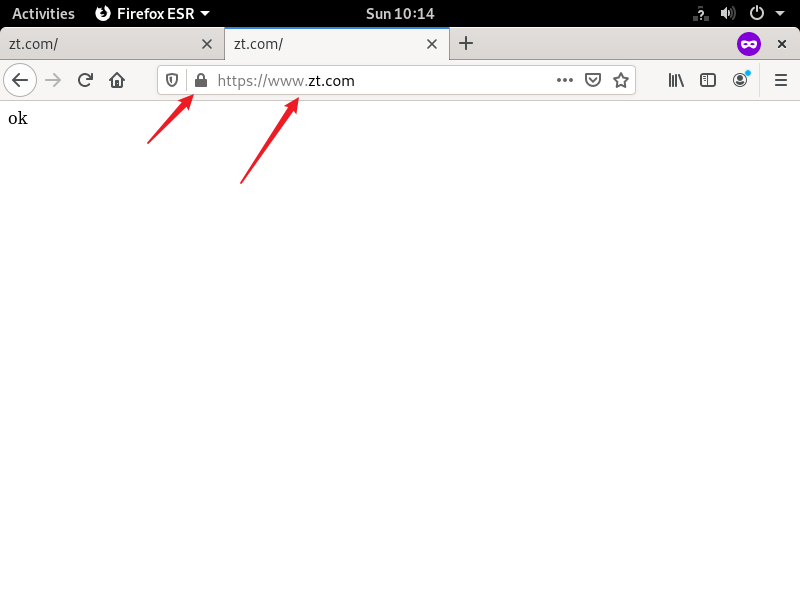
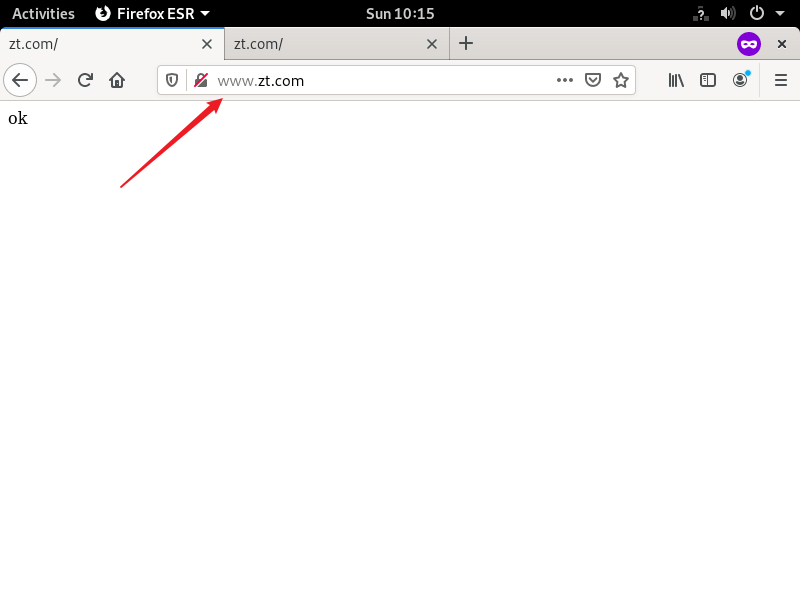
或者浏览器打开访问https://www.zt.com或者http://www.zt.com
第四步:如果需要变成小绿锁 需要从CA证书服务器 发一个 cacert.pem 到客户端服务器去认证到火狐浏览器的证书内
这篇关于Squid反向手动编译--Debian10.x的文章就介绍到这儿,希望我们推荐的文章对编程师们有所帮助!


