本文主要是介绍swagger3快速使用,希望对大家解决编程问题提供一定的参考价值,需要的开发者们随着小编来一起学习吧!

目录
🍿1.导入依赖
🌭2.添加配置文件
🧂3.添加注解
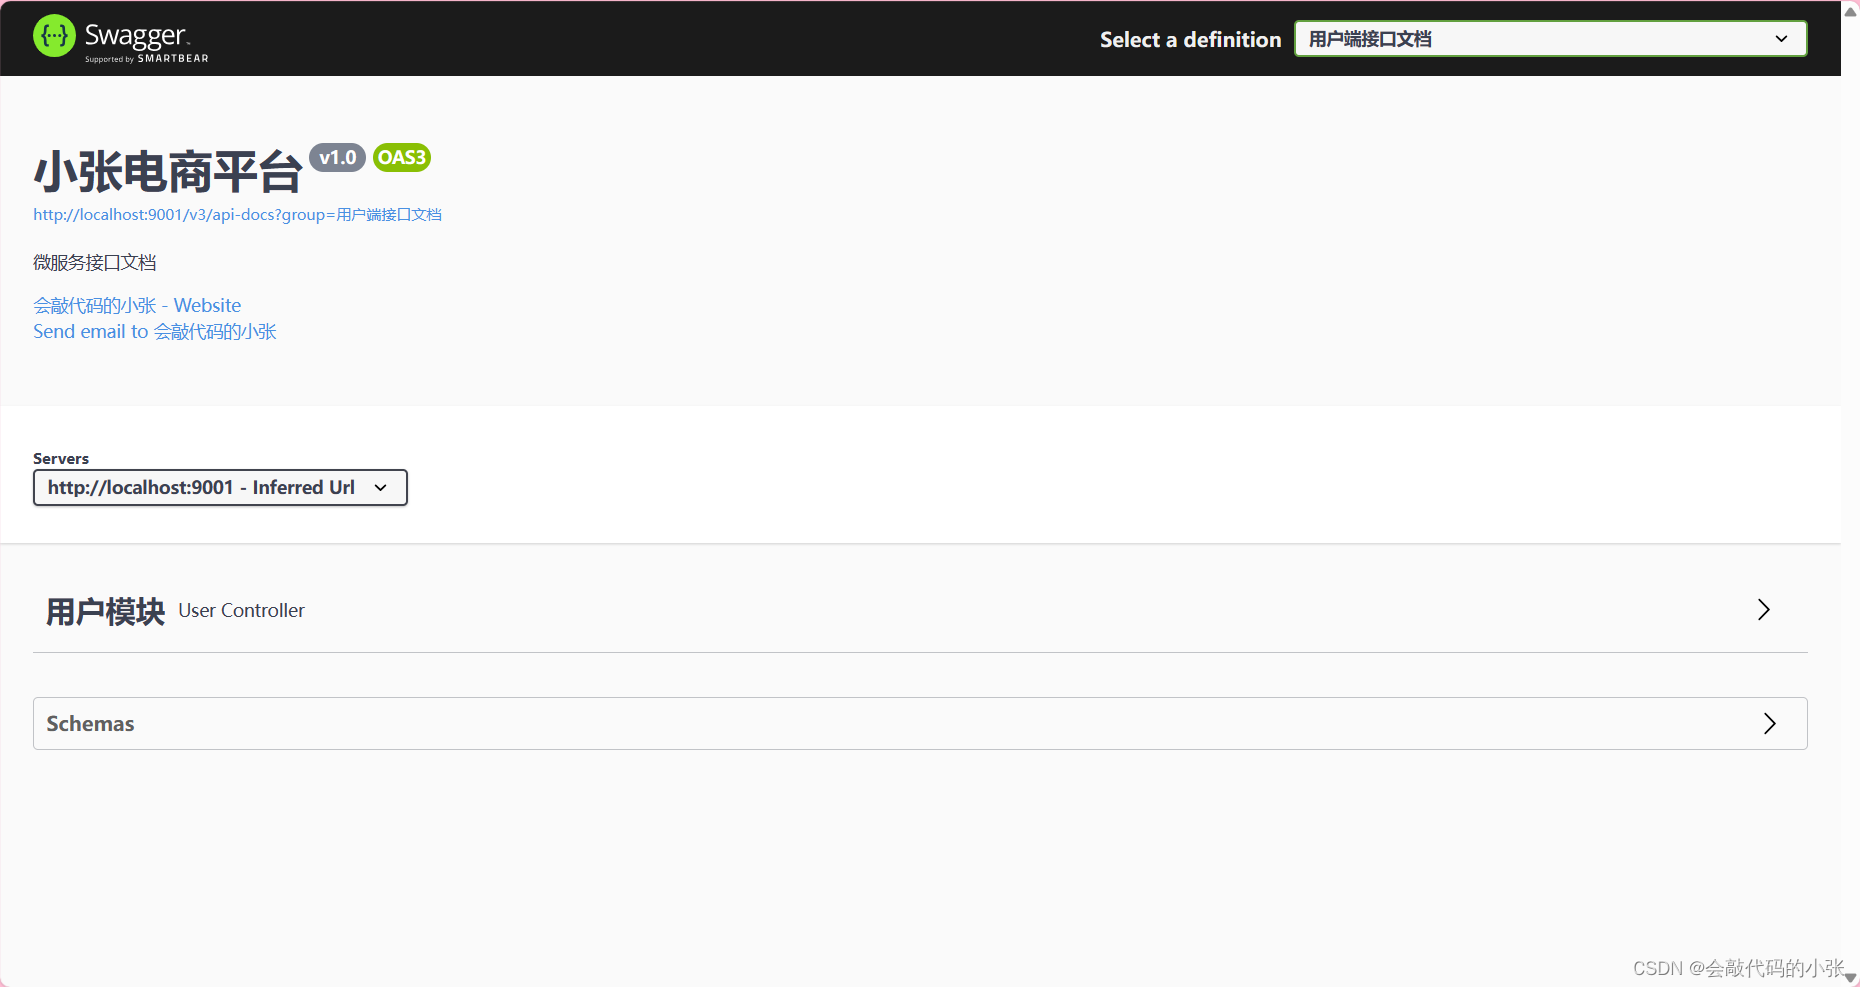
🥯4.访问客户端
1.导入依赖
引入swagger3的依赖包
<dependency><groupId>io.springfox</groupId><artifactId>springfox-boot-starter</artifactId><version>3.0.0</version></dependency>2.添加配置文件
- 创建swagger的配置,创建Docket对象,并构建相应的信息
- 注意:一定使用@EnableOpenApi开启swagger文档
@Component
@Data
@EnableOpenApi//开启swagger文档
public class SwaggerConfiguration {@Beanpublic Docket webApiDoc(){return new Docket(DocumentationType.OAS_30).groupName("用户端接口文档").pathMapping("/")//是否开启swagger.enable(true)//配置文档元信息.apiInfo(apiInfo()).select()//扫描的包.apis(RequestHandlerSelectors.basePackage("com.xz"))//正则匹配请求路径.paths(PathSelectors.ant("/api/**")).build();}public ApiInfo apiInfo(){return new ApiInfoBuilder().title("小张电商平台").description("微服务接口文档").contact(new Contact("会敲代码的小张","https://hqdmdxz","微信:886")).version("v1.0").build();}
}
3.添加注解
- 在controller层添加相应的注解
- 使用@api:表示模块信息
- 使用@ApiOperation:表示接口的具体信息说明
- 使用@ApiParam:表示参数的说明
@Api(tags = "用户模块")
@RestController
@RequestMapping("/api/user/v1")
public class UserController {@Autowiredprivate UserService userService;@ApiOperation("根据id查询用户信息")@GetMapping("/getUserById/{id}")public UserDO getUserById(@ApiParam(value = "用户id", required = true)@PathVariable("id") Long id) {UserDO user = userService.getById(id);return user;}
}
4.访问客户端
在浏览器访问Swagger3的UI页面:自己的项目地址/swagger-ui/index.html

这篇关于swagger3快速使用的文章就介绍到这儿,希望我们推荐的文章对编程师们有所帮助!


