本文主要是介绍BMP280 arduino调试,希望对大家解决编程问题提供一定的参考价值,需要的开发者们随着小编来一起学习吧!
终于成功了。
#include <SPI.h>
//定义数据类型
#define s32_t long signed int
#define u32_t long unsigned int
#define u16_t unsigned short
#define s16_t signed short
// 定义从设备选择引脚
const int chipSelectPin = 10;
//=============定义BMP280寄存器===========///
unsigned int temp_xlsb;
unsigned int temp_lsb;
unsigned int temp_msb;
unsigned int press_xlsb;
unsigned int press_lsb;
unsigned int press_msb;
u16_t dig_t1_lsb;
u16_t dig_t1_msb;
s16_t dig_t2_lsb;
s16_t dig_t2_msb;
s16_t dig_t3_lsb;
s16_t dig_t3_msb;
u32_t dig_t1;
s32_t dig_t2;
s32_t dig_t3;
s32_t temp;
s32_t temp_comp;
u16_t bmp_status;
byte addr_temp_xlsb = 0xFC;
byte addr_temp_lsb = 0xFB;
byte addr_temp_msb = 0xFA;
byte addr_press_xlsb = 0xF9;
byte addr_press_lsb = 0xF8;
byte addr_press_msb = 0xF7;
byte addr_dig_t1_lsb = 0x88;
byte addr_dig_t1_msb = 0x89;
byte addr_dig_t2_lsb = 0x8A;
byte addr_dig_t2_msb = 0x8B;
byte addr_dig_t3_lsb = 0x8C;
byte addr_dig_t3_msb = 0x8D;
byte addr_status = 0xF3;
byte addr_ctrl = 0xF4;
byte addr_timestandby = 0xF5;
byte addr_id = 0xd0;
s32_t t_fine;
void setup() {// 初始化串口通信Serial.begin(115200);// 配置从设备选择引脚pinMode(chipSelectPin, OUTPUT);// 初始化 SPISPI.begin();SPI.setClockDivider(SPI_CLOCK_DIV8); // 设置时钟分频,可根据需要调整//===============获得BMP280参数==================//dig_t1_lsb = readRegister(addr_dig_t1_lsb,1);dig_t1_msb = readRegister(addr_dig_t1_msb,1);dig_t2_lsb = readRegister(addr_dig_t2_lsb,1);dig_t2_msb = readRegister(addr_dig_t2_msb,1);dig_t3_lsb = readRegister(addr_dig_t3_lsb,1);dig_t3_msb = readRegister(addr_dig_t3_msb,1);bmp_status = readRegister(addr_status,1);dig_t1 = ((u32_t)dig_t1_msb << 8) | dig_t1_lsb;dig_t2 = ((s32_t)dig_t2_msb << 8) | dig_t2_lsb;dig_t3 = ((s32_t)dig_t3_msb << 8) | dig_t3_lsb;//===============获取BMP280器件ID==================//byte device_id = readRegister(addr_id,1);Serial.print("device_id = ");Serial.println(device_id, HEX);
//===============设置TIME_STANDBY采样时间==================//byte timestandby = readRegister(addr_timestandby,0x01);Serial.print("timestandby = ");Serial.println(timestandby, HEX); timestandby=timestandby | (0x001 << 5) ;writeRegister(addr_timestandby,timestandby);
//===============设置BMP280为连续模式==================//byte ctrl_meas = readRegister(addr_ctrl,1);Serial.print("ctrl_meas = ");Serial.println(ctrl_meas, BIN); writeRegister(addr_ctrl,0x03);//===============获得当前状态==================//ctrl_meas = readRegister(addr_ctrl,1);Serial.print("ctrl_meas = ");Serial.println(ctrl_meas, BIN); //===============打印BMP280校准参数==================//Serial.print("dig_t1 = ");Serial.println(dig_t1, HEX);Serial.print("dig_t2 = ");Serial.println(dig_t2, HEX);Serial.print("dig_t3 = ");Serial.println(dig_t3, HEX); Serial.print("bmp_status = ");Serial.println(bmp_status, BIN);
}void loop() {
// writeRegister(addr_ctrl,0x01);
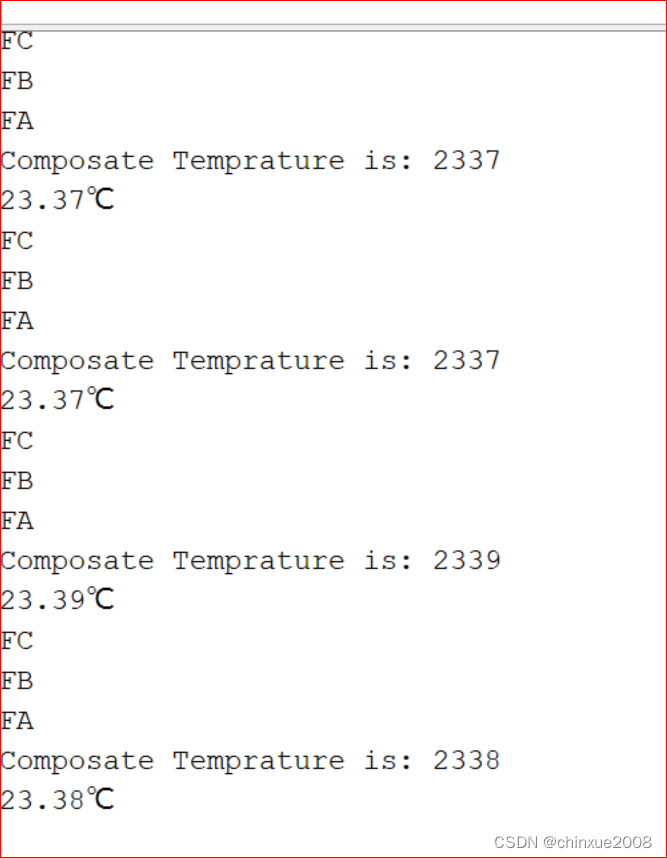
//===============获得全部数据==================//temp_xlsb = readRegister(addr_temp_xlsb,1);temp_lsb = readRegister(addr_temp_lsb,1);temp_msb = readRegister(addr_temp_msb,1);press_xlsb = readRegister(addr_press_xlsb,1);press_lsb = readRegister(addr_press_lsb,1);press_msb = readRegister(addr_press_msb,1);Serial.println(addr_temp_xlsb, HEX);Serial.println(addr_temp_lsb, HEX);Serial.println(addr_temp_msb, HEX);
//================计算温度值==================// temp = (u32_t)temp_msb << 12 | (u32_t)temp_lsb << 4 | (u32_t)temp_xlsb >> 4;temp_comp = bmp280_compensate(temp);float temp_comp_float = temp_comp/100.00;
//================串口打印温度值==================// Serial.print("Composate Temprature is: ");Serial.println(temp_comp, DEC);Serial.print(temp_comp_float);Serial.println("℃");// 延时等待delay(2000);
}
unsigned int readRegister(byte thisRegister, int bytesToRead) {byte inByte = 0; // incoming byte from the SPIunsigned int result = 0; // result to returnbyte dataToSend = thisRegister;digitalWrite(chipSelectPin, LOW);// send the device the register you want to read:SPI.transfer(dataToSend);// send a value of 0 to read the first byte returned:result = SPI.transfer(0x00);// decrement the number of bytes left to read:bytesToRead--;// if you still have another byte to read:if (bytesToRead > 0) {// shift the first byte left, then get the second byte:result = result << 8;inByte = SPI.transfer(0x00);// combine the byte you just got with the previous one:result = result | inByte;// decrement the number of bytes left to read:bytesToRead--;}// take the chip select high to de-select:digitalWrite(chipSelectPin, HIGH);// return the result:return (result);
}
void writeRegister(byte thisRegister, byte thisValue) {// take the chip select low to select the device:digitalWrite(chipSelectPin, LOW);SPI.transfer(thisRegister); //Send register locationSPI.transfer(thisValue); //Send value to record into register// take the chip select high to de-select:digitalWrite(chipSelectPin, HIGH);
}s32_t bmp280_compensate(s32_t adc_t)
{s32_t var1,var2,t;var1 = ((((adc_t>>3) - ((s32_t)dig_t1<<1))) * ((s32_t)dig_t2)) >>11;var2 = (((((adc_t>>4) - ((s32_t)dig_t1)) * ((adc_t>>4) - ((s32_t)dig_t1)))>>12) * ((s32_t)dig_t3)) >>14;t_fine = var1 + var2;t = (t_fine *5 +128) >>8;return t;
}
这篇关于BMP280 arduino调试的文章就介绍到这儿,希望我们推荐的文章对编程师们有所帮助!


