本文主要是介绍SpringBoot日记本系统全程直播02:登录页面搞起来撒~~,希望对大家解决编程问题提供一定的参考价值,需要的开发者们随着小编来一起学习吧!
上一节地址:SpringBoot日记本系统全程直播01:先把框架搞起来撒~~
那么大家晚上好,我是今天晚上的主讲老师,我是兔哥。
上一讲,我们已经完成了项目的搭建,那么这一讲,咱就把登录页面给造了。
登录页面如下图:
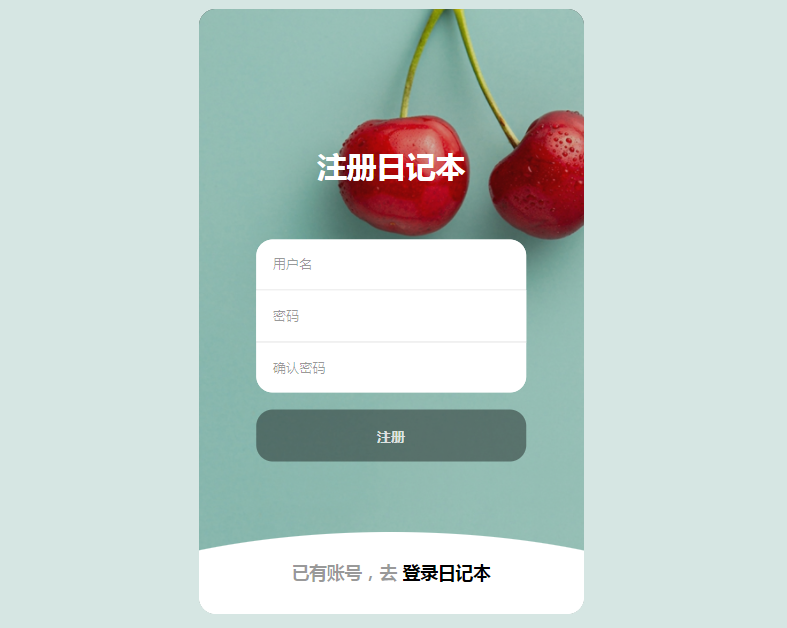
算是一种小清新风格,当然,本项目的重点还是SpringBoot项目开发。
因为是前后端一体的项目,所以我们采用模板引擎的方式,我个人非常不喜欢thymeleaf,那就用jsp吧。经典,不容易出错。
打开配置文件,添加视图解析器,和DataSource同级
spring:#视图解析器mvc:view:prefix: /WEB-INF/jsp/suffix: .jsp 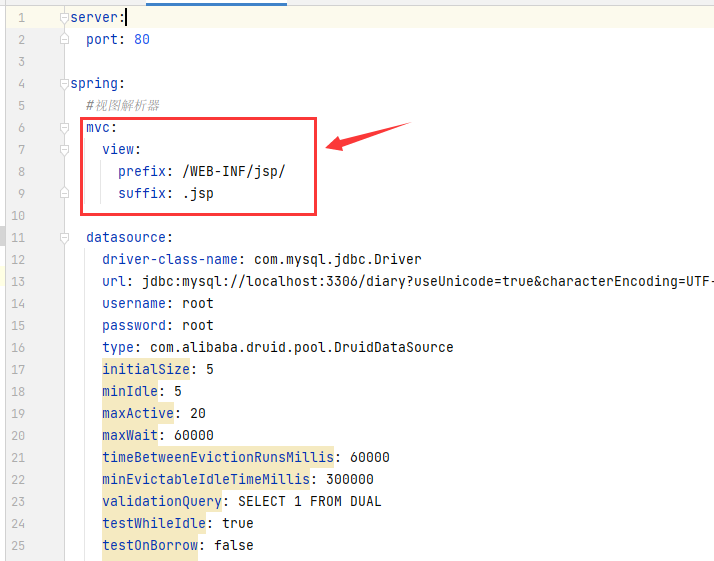
贴在这个位置,别弄错了。
在main下面创建一个新的目录:webapp
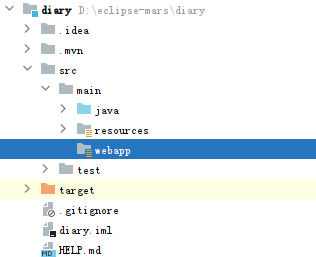
创建的时候会提醒你的
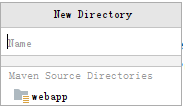
选择 下面的webapp,我们要保证文件夹的右下角有一个黄色的标记,这个代表资源目录。
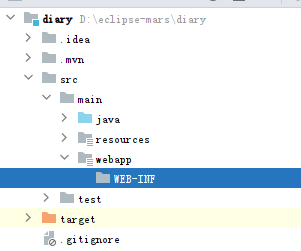
接下来,在里面创建WEB-INF(大写)目录
接下来是jsp目录
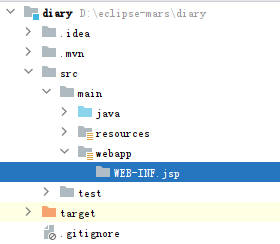
然后,我们需要在这个目录创建JSP文件。
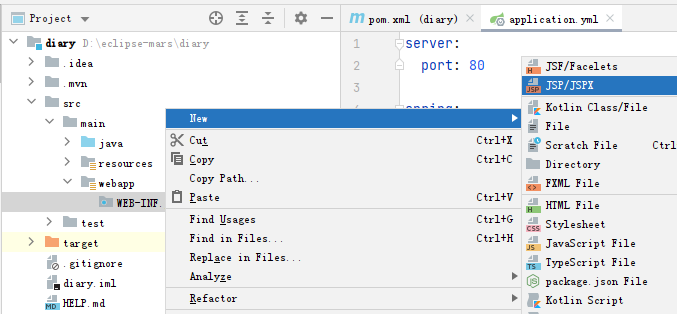
idea默认没法直接右键创建JSP,我们需要做一点操作。
点开这个:
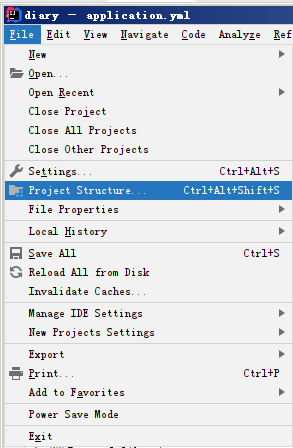
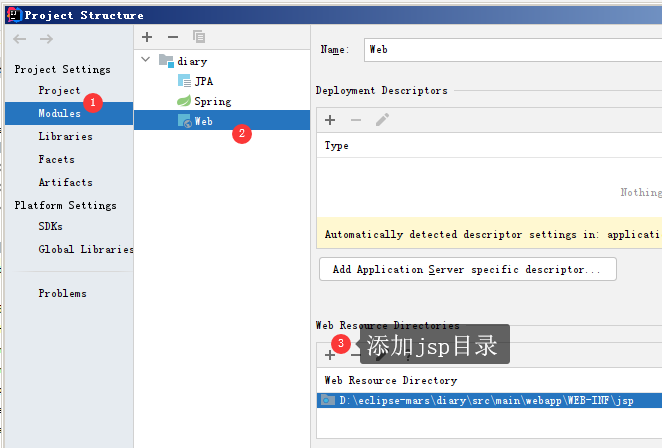
然后就可以新建JSP了
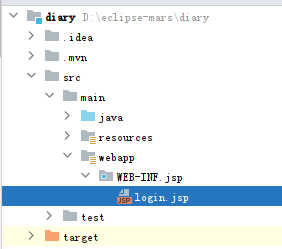
创建login.jsp
HTML代码如下:
<%@ page contentType="text/html;charset=UTF-8" language="java" %>
<!DOCTYPE html>
<html><head><meta http-equiv="content-type" content="text/html; charset=utf-8"><meta name="viewport" content="width=device-width,initial-scale=1,maximum-scale=1,user-scalable=no"><title>剽悍一小兔-日记本系统</title><style>*{margin: 0;padding: 0;}body{min-height: 100vh;/* 弹性布局 居中 */display: flex;justify-content: center;align-items: center;background-color: #94bfb560;}.container{background-color: #222;width: 350px;height: 550px;border-radius: 15px;overflow: hidden;position: relative;}.container::after{content: "";position: absolute;/* inset为0,相当于top、left、bottom、right都为0的缩写 */inset: 0;background: url("images/bg.jpg") no-repeat;background-size: 500px;background-position: left bottom;opacity: 0.8;}/* 注册区域(登录区域很多样式和注册区域的一样,故而一些统一的样式写在了一起) */.register-box{width: 70%;position: absolute;z-index: 1;top: 50%;left: 50%;transform: translate(-50%,-50%);transition: 0.3s ease;}.register-title,.login-title{color: #fff;font-size: 27px;text-align: center;}.register-title span,.login-title span{color: rgba(0,0,0,0.4);display: none;}.register-box .input-box,.login-box .input-box{background-color: #fff;border-radius: 15px;overflow: hidden;margin-top: 50px;opacity: 1;visibility: visible;transition: 0.6s ease;}.register-box input,.login-box input{width: 100%;height: 30px;border: none;border-bottom: 1px solid rgba(0,0,0,0.1);font-size: 12px;padding: 8px 0;text-indent: 15px;outline: none;}.register-box input:last-child,.login-box input:last-child{border-bottom: none;}.register-box input::placeholder,.login-box input::placeholder{color: rgba(0,0,0,0.4);}.register-box button,.login-box button{width: 100%;padding: 15px 45px;margin: 15px 0;background: rgba(0,0,0,0.4);border: none;border-radius: 15px;color: rgba(255,255,255,0.8);font-size: 13px;font-weight: bold;cursor: pointer;opacity: 1;visibility: visible;transition: 0.3s ease;}.register-box button:hover,.login-box button:hover{background-color: rgba(0,0,0,0.8);}/* 登录区域 */.login-box{position: absolute;inset: 0;top: 20%;z-index: 2;background-color: #fff;transition: 0.3s ease;}.login-box::before{content: "";background-color: #fff;width: 200%;height: 250px;border-radius: 50%;position: absolute;top: -20px;left: 50%;transform: translateX(-50%);}.login-box .center{width: 70%;position: absolute;z-index: 3;left: 50%;top: 40%;transform: translate(-50%,-50%);}.login-title{color: #000;}.login-box .input-box{border: 1px solid rgba(0,0,0,0.1);}.login-box button{background-color: #75a297;}/* 注册、登录区域收起 */.login-box.slide-up{top: 90%;}.login-box.slide-up .center{top: 10%;transform: translate(-50%,0%);}.login-box.slide-up .login-title,.register-box.slide-up .register-title{font-size: 16px;cursor: pointer;}.login-box.slide-up .login-title span,.register-box.slide-up .register-title span{margin-right: 5px;display: inline-block;}.login-box.slide-up .input-box,.login-box.slide-up .button,.register-box.slide-up .input-box,.register-box.slide-up .button{opacity: 0;visibility: hidden;}.register-box.slide-up{top: 6%;transform: translate(-50%,0%);}</style>
</head><body><div class="container"><div class="register-box"><h2 class="register-title"><span>没有账号,去</span>注册日记本</h2><div class="input-box"><input type="text" placeholder="用户名"><input type="password" placeholder="密码"><input type="password" placeholder="确认密码"></div><button>注册</button></div><div class="login-box slide-up"><div class="center"><h2 class="login-title"><span>已有账号,去</span>登录日记本</h2><div class="input-box"><input type="text" placeholder="用户名"><input type="password" placeholder="密码"></div><button>登录</button></div></div></div><script>// 获取要操作的元素let login_title=document.querySelector('.login-title');let register_title=document.querySelector('.register-title');let login_box=document.querySelector('.login-box');let register_box=document.querySelector('.register-box');// 绑定标题点击事件login_title.addEventListener('click',()=>{// 判断是否收起,收起才可以点击if(login_box.classList.contains('slide-up')){register_box.classList.add('slide-up');login_box.classList.remove('slide-up');}})register_title.addEventListener('click',()=>{if(register_box.classList.contains('slide-up')){login_box.classList.add('slide-up');register_box.classList.remove('slide-up');}})</script>
</body></html>
JSP准备好了,接下来,就是我们得用控制器去访问它。
创建PageController,专门用来访问某些页面
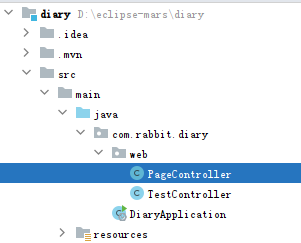
package com.rabbit.diary.web;import org.springframework.stereotype.Controller;
import org.springframework.web.bind.annotation.RequestMapping;@Controller
public class PageController {@RequestMapping("login")public String login(){return "login";}
}
login方法返回一个字符串,因为我们配置了视图解析器,所以返回字符串login,实际上找到的就是WEB-INF/jsp/login.jsp。
还有一个地方需要注意,就是SpringBoot访问jsp,还需要一个依赖,让我们加到pom.xml
<dependency><groupId>org.apache.tomcat.embed</groupId><artifactId>tomcat-embed-jasper</artifactId>
</dependency>
ok了,现在重启项目,访问http://localhost/login
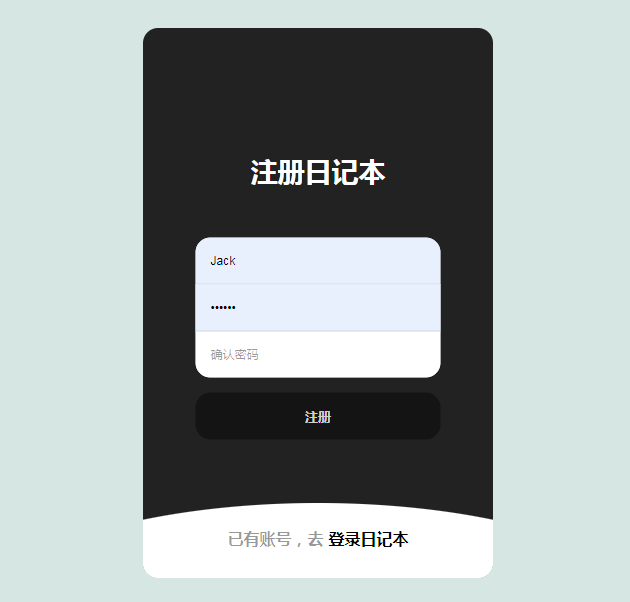
发现背景怎么黑不溜秋的,这是因为背景图片没有引入。
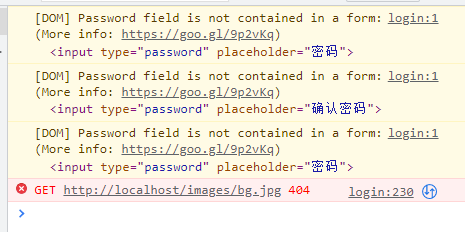
对于这种静态资源,我们需要配置一下静态资源路径,因为我们这边使用的是SpringBoot(2.6.4)的版本,可能跟你之前看到的写法不一样,这一点需要注意。还是yml文件,我们加上:
web:resources:static-locations: classpath:static/web和mvc是同级的,如果实在不知道加在哪里也不要紧,回头下载源代码就行了。源代码获取方式:关注最下方的公众号,回复【日记本】即可!
这个配置表示,以后你可以直接访问static目录下的资源。
比如,现在有这样的目录结构,找到bg.jpg
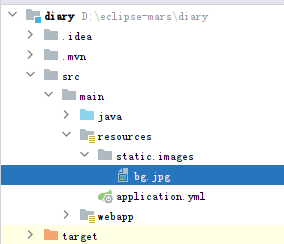
我们要访问它,直接 http://localhost/images/bg.jpg 即可!
接着,我们修改下login.jsp
添加项目根路径:
<c:set var="basePath" value="${pageContext.request.contextPath}"></c:set>这句代码的作用是获取项目的根,比如以后项目的根改为 diary,那么basePath就是diary,我们访问后台就得在localhost后面加上diary。
找到css中获取背景图片的地方,改为:
.container::after{content: "";position: absolute;/* inset为0,相当于top、left、bottom、right都为0的缩写 */inset: 0;background: url("${basePath}/images/bg.jpg") no-repeat;background-size: 500px;background-position: left bottom;opacity: 0.8;
}
OK,重启。
访问 http://localhost/login
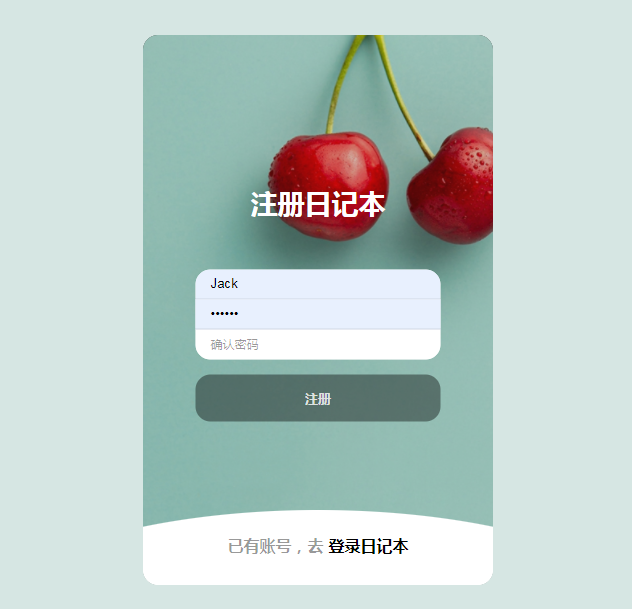
大功告成啦!
总结
这一讲,我们整合了jsp,学会了springboot访问jsp,以及springboot2.6版本如何访问静态资源的方法。
这篇关于SpringBoot日记本系统全程直播02:登录页面搞起来撒~~的文章就介绍到这儿,希望我们推荐的文章对编程师们有所帮助!


